admin
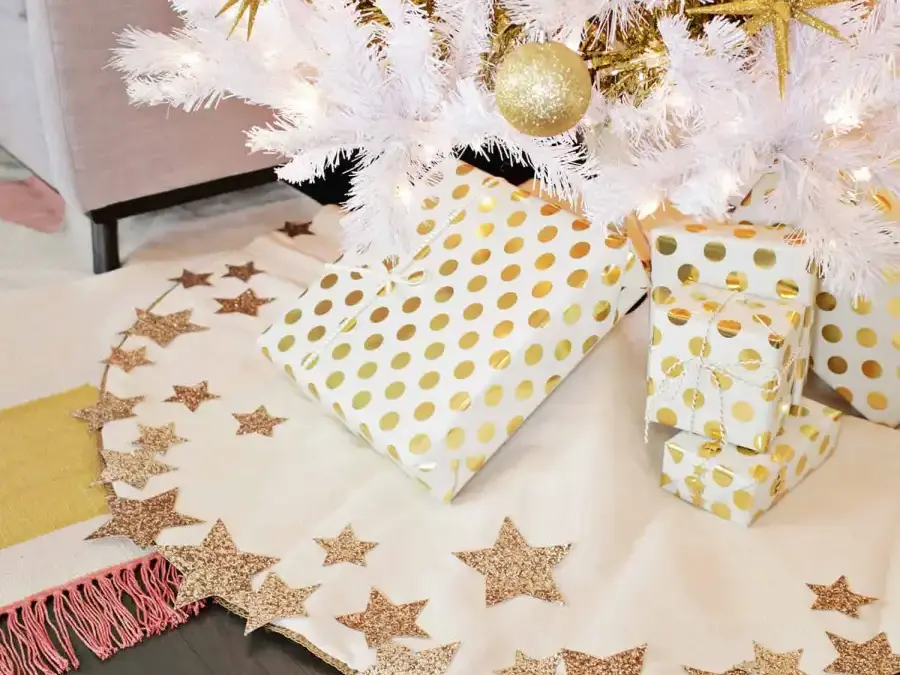
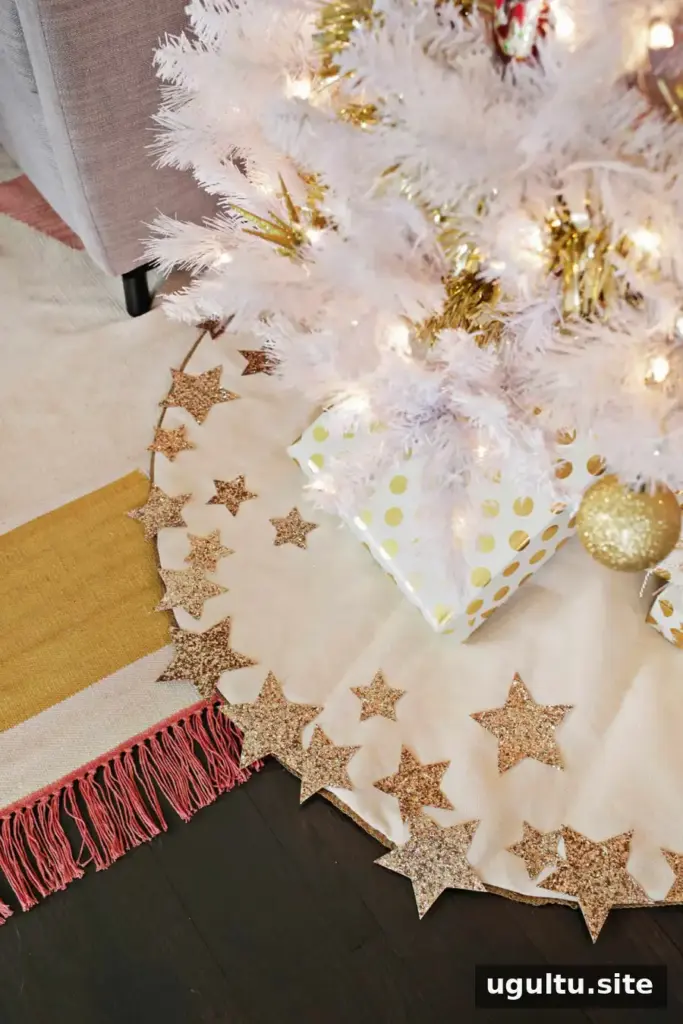
A Glitter Star Tree Skirt DIY is an easy way to add sparkle to a holiday display without sewing. Fabric-backed glitter sheets and fabric glue turn a plain tree skirt into a personalized decoration, with star sizes and placement arranged to suit your tree and the space around it.
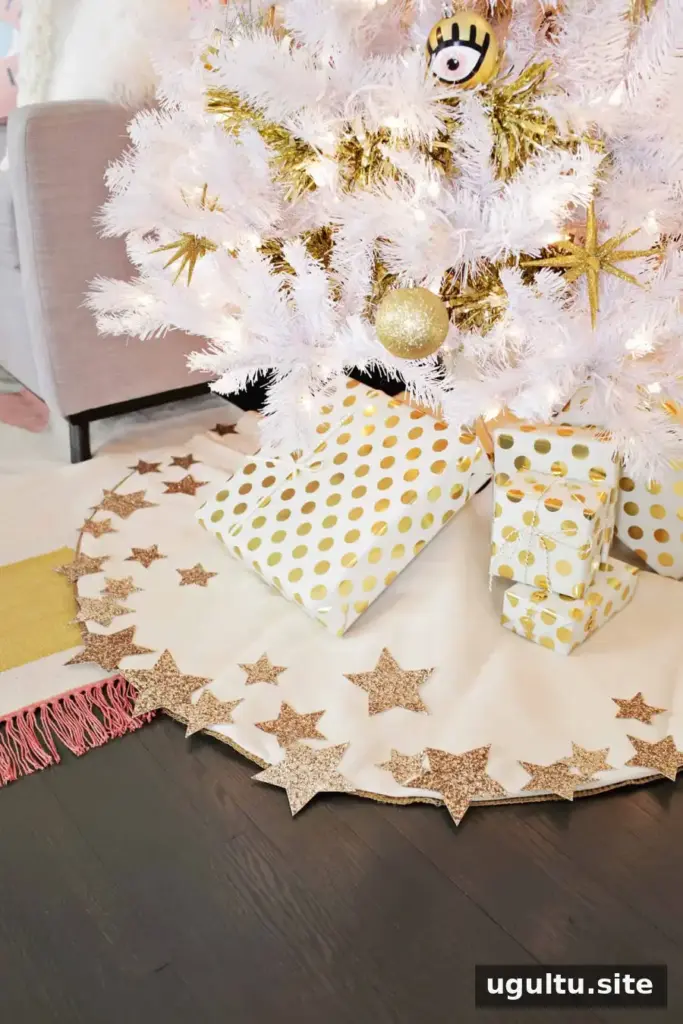
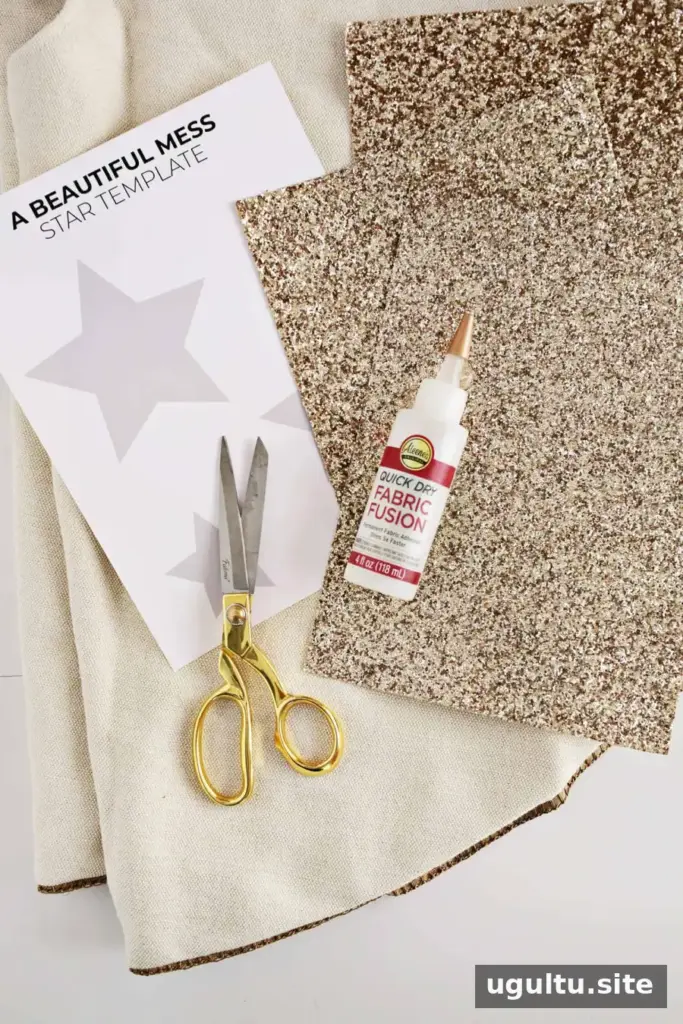
Supplies for a Glitter Star Tree Skirt DIY
Gather these materials before you begin. Having the stars cut and the layout planned in advance makes it easier to decorate the skirt evenly.
- A plain tree skirt
- Glitter fabric sheets
- Fabric scissors
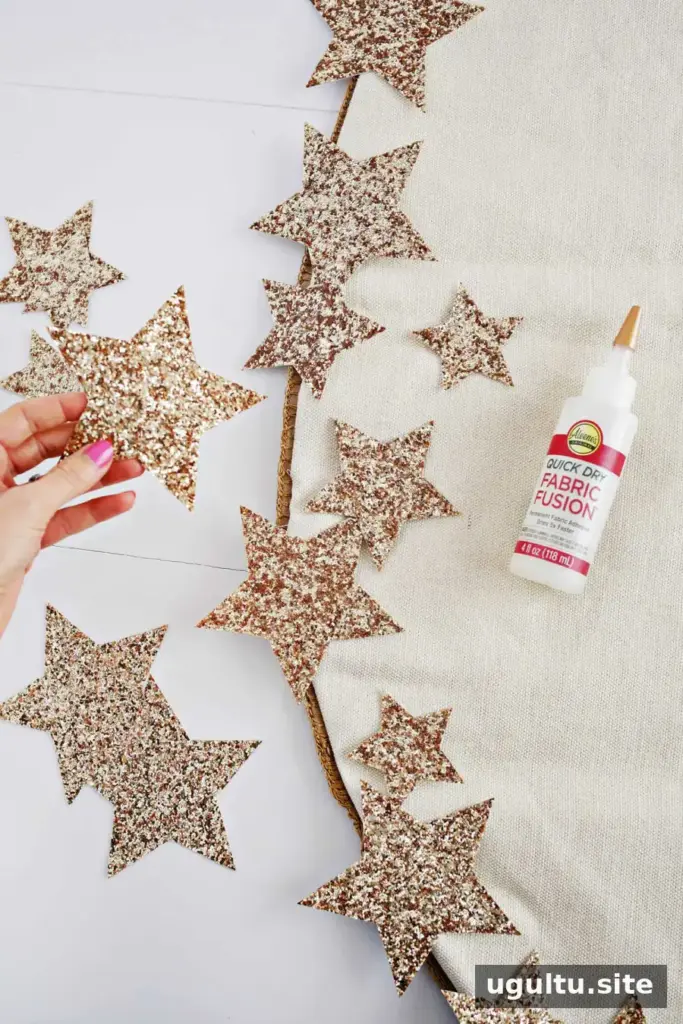
- Fabric glue
- A star template in several sizes
Prepare and Cut the Glitter Stars
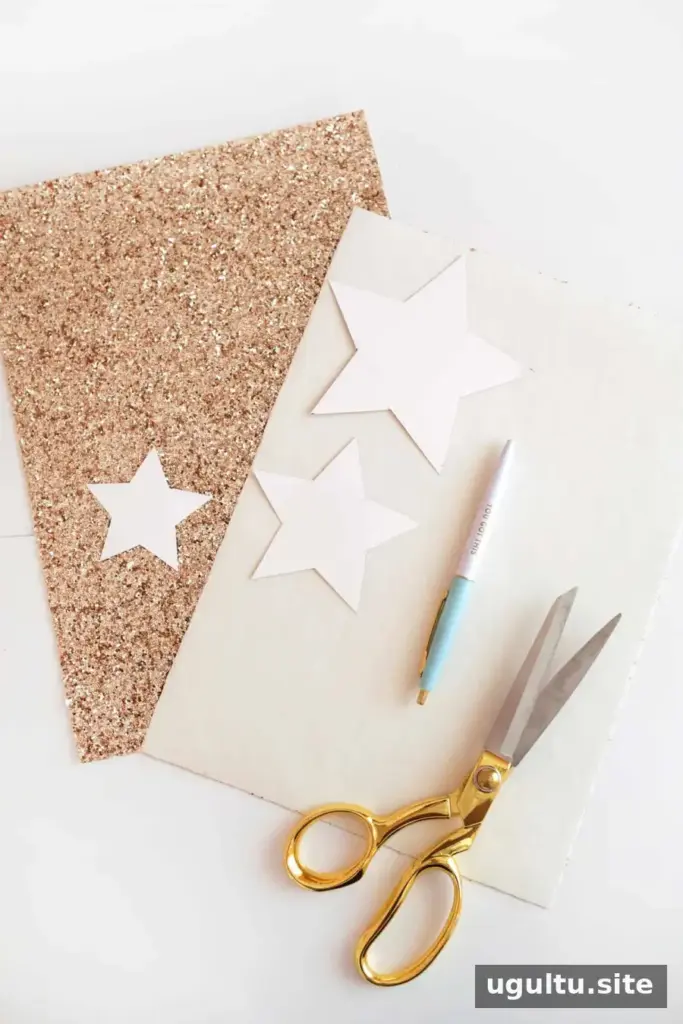
Print the star template and cut out each size. Turn a glitter fabric sheet over and trace the star shapes onto its backing. Arrange the outlines close together to make good use of each sheet, while leaving enough space to cut around every shape.
Cut out the stars with fabric scissors. Three sheets were used for a design covering half of the skirt; to decorate the full perimeter in a similar way, prepare twice as many stars. The amount needed may vary depending on the size of the skirt and how closely the shapes are placed.
Arrange Stars Across the Tree Skirt
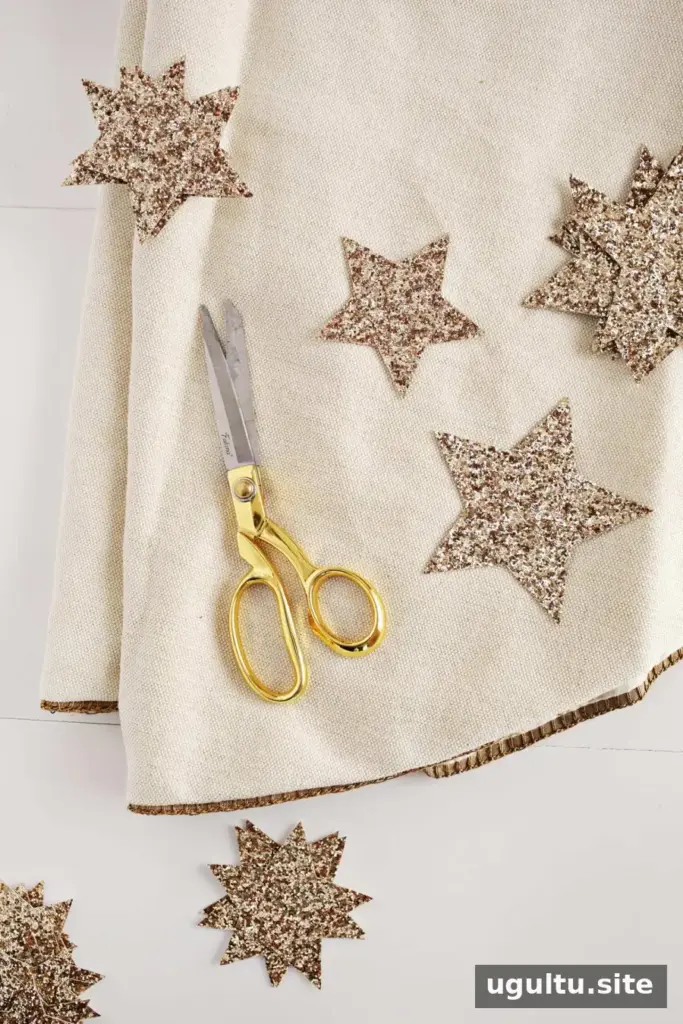
Spread the tree skirt on a flat surface and arrange the stars before applying glue. This gives you a chance to adjust the spacing and balance the design. If the tree sits in a corner or beside furniture, concentrate the decorations on the visible front half. For a tree that can be seen from all sides, plan the arrangement around the full edge.
For a graduated look, place more large stars near the middle of the area you want to emphasize, then use medium and small stars farther out. Mix in a few different sizes, overlap some shapes, and let a few extend over the skirt’s edge for a scattered effect. Take a photo of the layout if you want a reference while gluing.
Attach the Stars with Fabric Glue
Once you are happy with the arrangement, glue the stars down one at a time. Follow the fabric glue’s label for application and drying instructions, and keep the skirt flat while the glue sets. Check that each star is positioned where you want it before moving on to the next one.
After the glue has dried, place the finished skirt beneath the tree and arrange presents on top if desired. Keeping the decorated area facing the room helps make the star pattern easy to see.
A Simple Sparkling Holiday Finish
This no-sew project pairs gold glitter stars with a plain skirt for a bright, festive look. The glitter catches the light from the Christmas tree, while the mix of star sizes gives the decoration a relaxed, sprinkled appearance. Adjust the colors, coverage, and placement to coordinate with the rest of your holiday decor.
With a plain tree skirt, glitter fabric sheets, and a little careful planning, this Glitter Star Tree Skirt DIY creates a custom accent without stitching. — Laura