
 admin
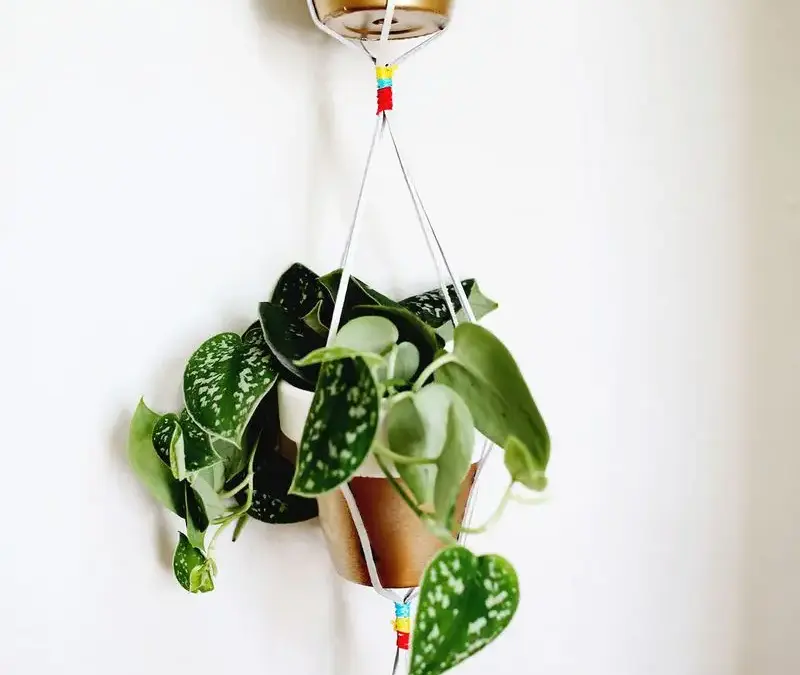
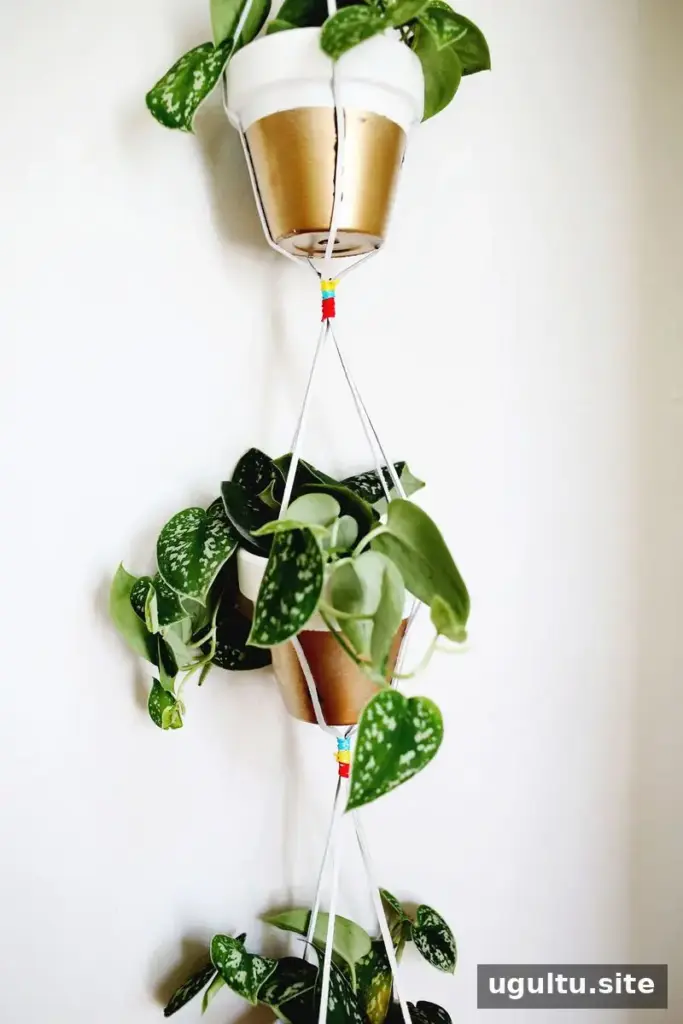
Gold dipped hanging planters bring a simple mix of color, greenery, and vertical display to a room or outdoor space. This DIY project uses three small terra cotta pots, white and gold spray paint, and knotted leather cording to create a tiered planter. The pots in this project are 4 inches wide at the top.
Materials and preparation for gold dipped hanging planters
Before starting, set out the three pots, spray paint, masking tape, two 6-foot pieces of leather cording, embroidery thread, plants, and super glue. Work with spray paint in a well-ventilated area and follow the product label. Cover the work surface, and allow each coat to dry completely before handling or adding the next color.
If the white spray paint looks uneven on the terra cotta, apply a coat of primer first. This is optional, but it may help create a more consistent base. Test the tape and paint on a small area if you are concerned about the pot’s finish.
How to make the hanging planter
1. Paint the terra cotta pots
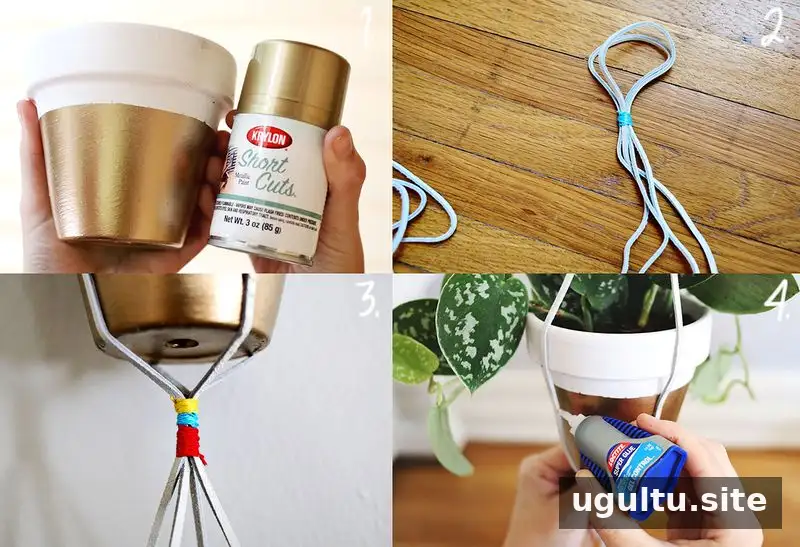
Spray all three pots white and leave them to dry fully. Use tape to mark the boundary between the white upper area and the gold lower area. Spray the exposed bottom portion gold, then let the paint dry before removing the tape. Keeping the tape line aligned around each pot helps the set look coordinated.
2. Tie the leather-cord hanger
Cut two pieces of leather cording, each 6 feet long. Fold both pieces in half and tie a section about 2 inches below the folded top; this forms the hanger loop. Measure 12 inches down from that knot and tie another section. Repeat twice more, creating three tied sections below the top knot. Check that the spaces between knots are similar so the pots can hang in a balanced arrangement.
3. Add embroidery-thread details
Wrap embroidery thread around the tied sections to give them a friendship-bracelet appearance. You can use the same thread colors on each section for a consistent look. Keep the wraps secure, but avoid pulling the cords out of alignment.
4. Place the pots and plants
Add a plant to each pot and position the pots in the cord sections, with a knotted base supporting each one. Use super glue to secure each cord to its pot, following the adhesive instructions and allowing it to set before hanging. Check that each pot is stable and that the cord supports it evenly.
Where to display the finished planter
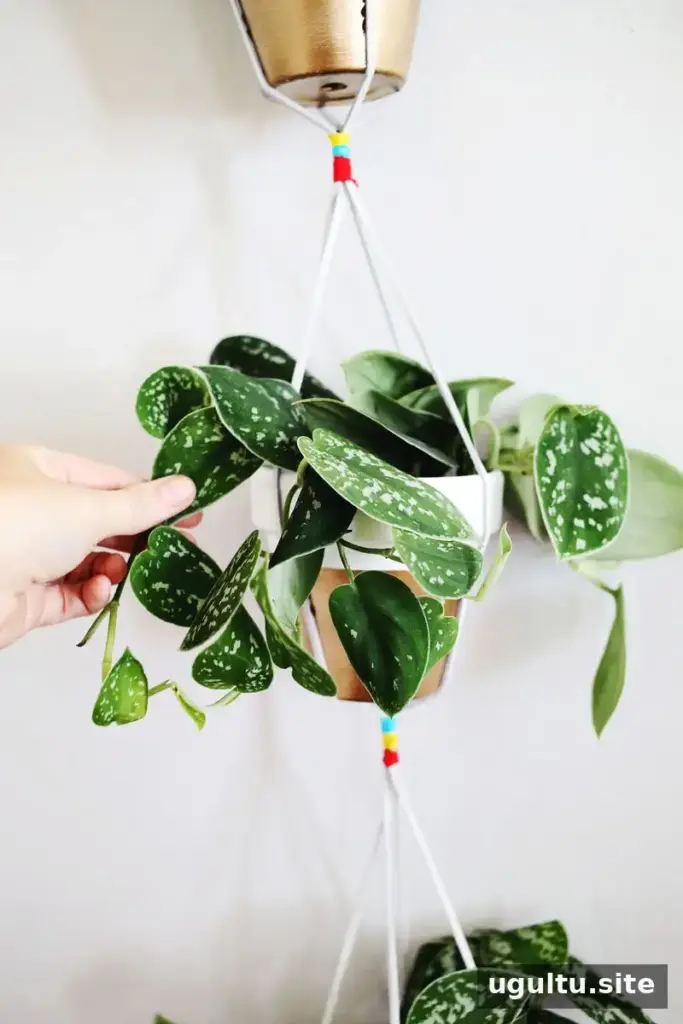
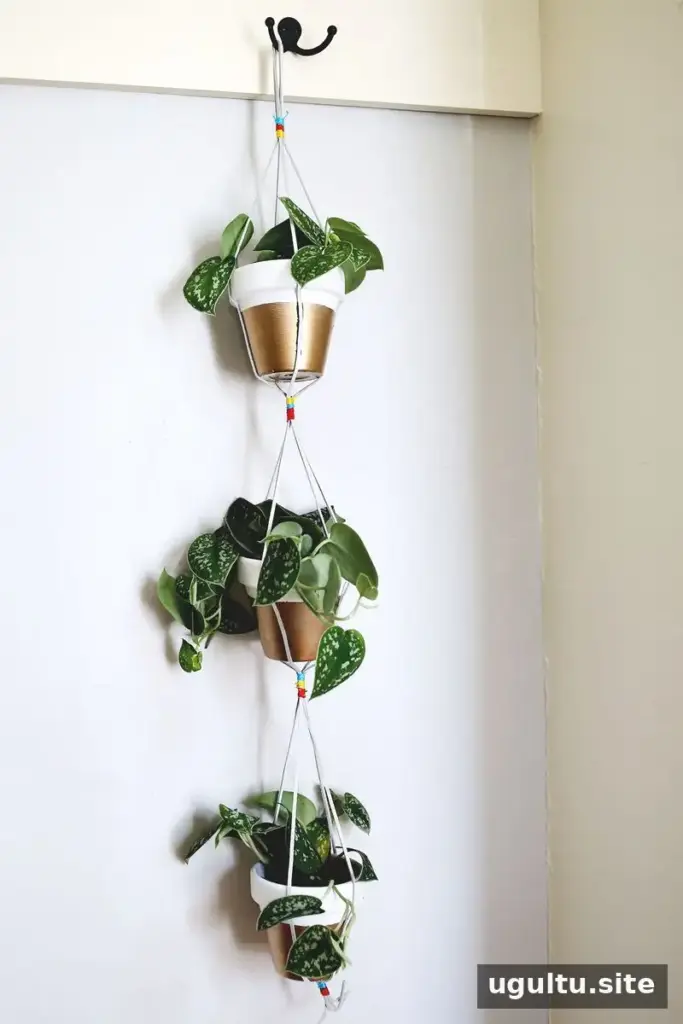
This planter can work outdoors, and it also makes a decorative indoor display. The original project was shown hanging in a dining room as well as outside. Choose a secure hanging point and make sure the finished planter does not obstruct a walkway or sit where it can be knocked easily. For outdoor use, check the cords and attachment points regularly.
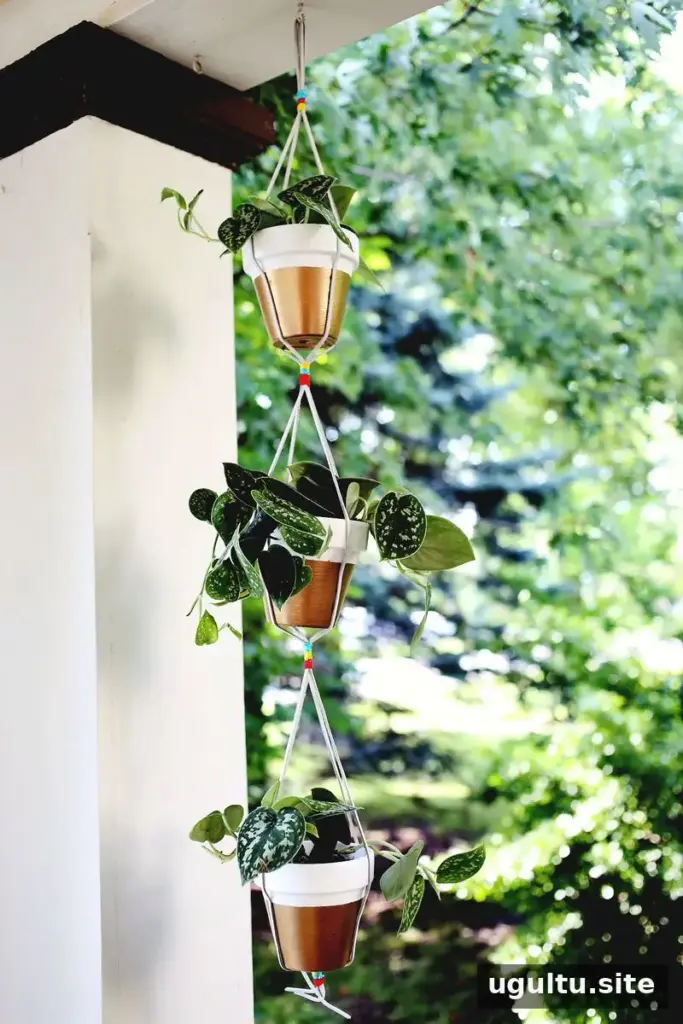
A set of gold dipped hanging planters is a straightforward way to display three small plants vertically. Allow paint and glue to dry as directed, and confirm that the pots are firmly supported before hanging. — Elsie


