
 admin
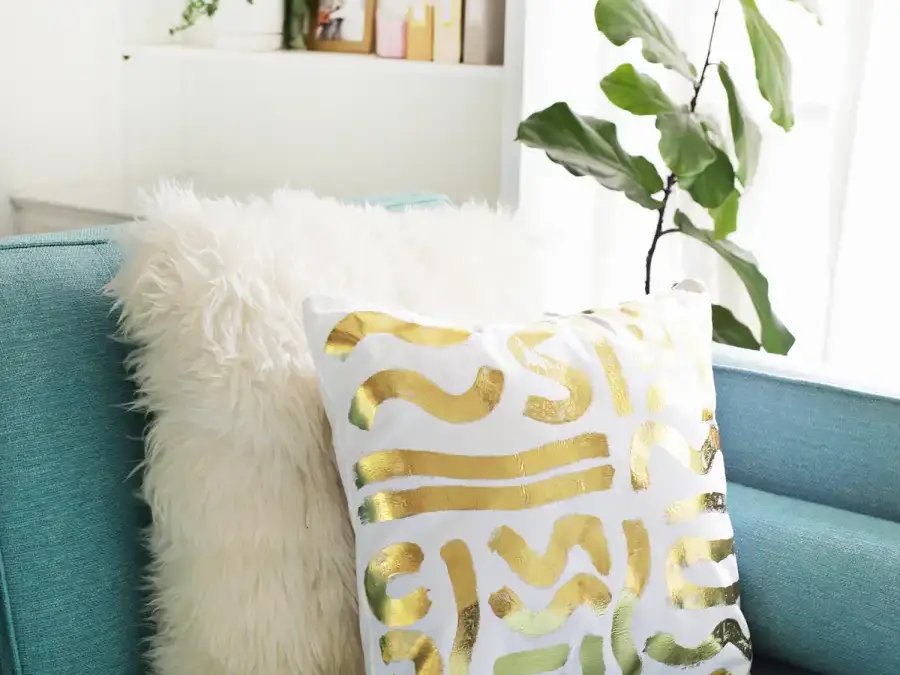
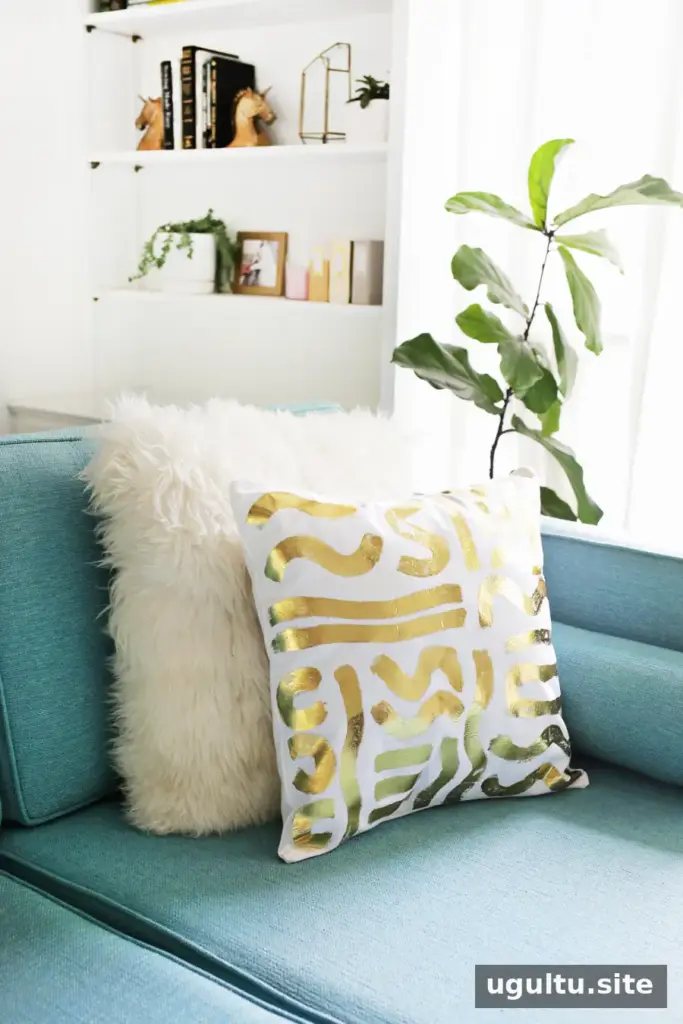
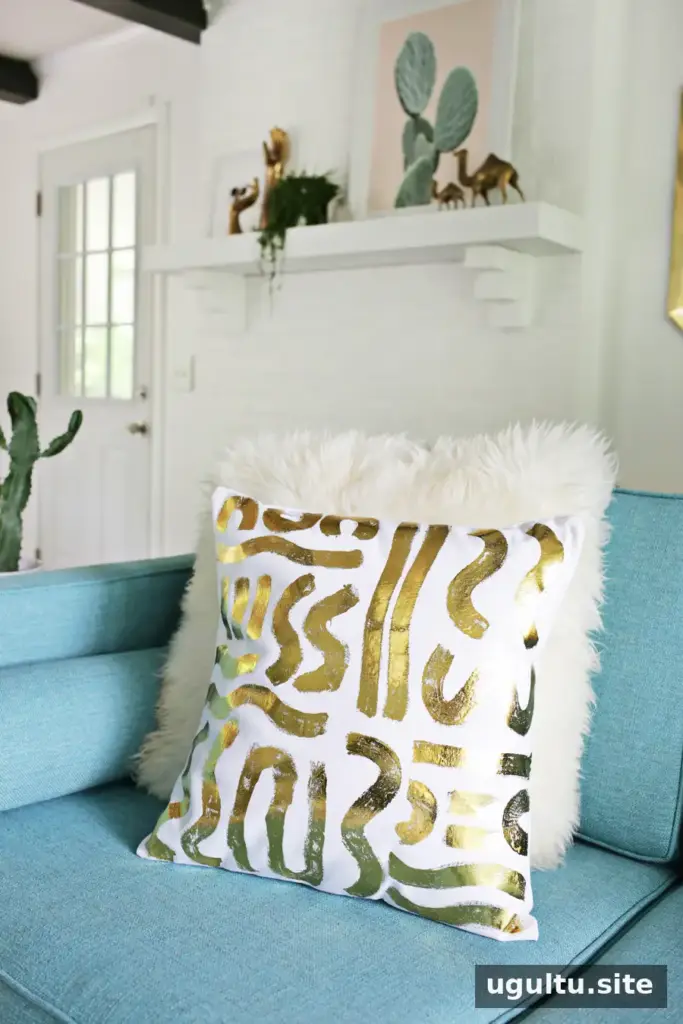
A Gold Foil Pillow DIY is a simple way to add a handmade metallic accent to a living room. This project uses gold foil and fabric adhesive to create a freeform pattern on plain white cotton, then turns the decorated fabric into a cushion cover. The design can be adjusted to suit your space, from loose brushstrokes to more solid lines. Before starting, check the instructions on your foil adhesive and test the materials on a fabric scrap.
Supplies for a Gold Foil Pillow DIY
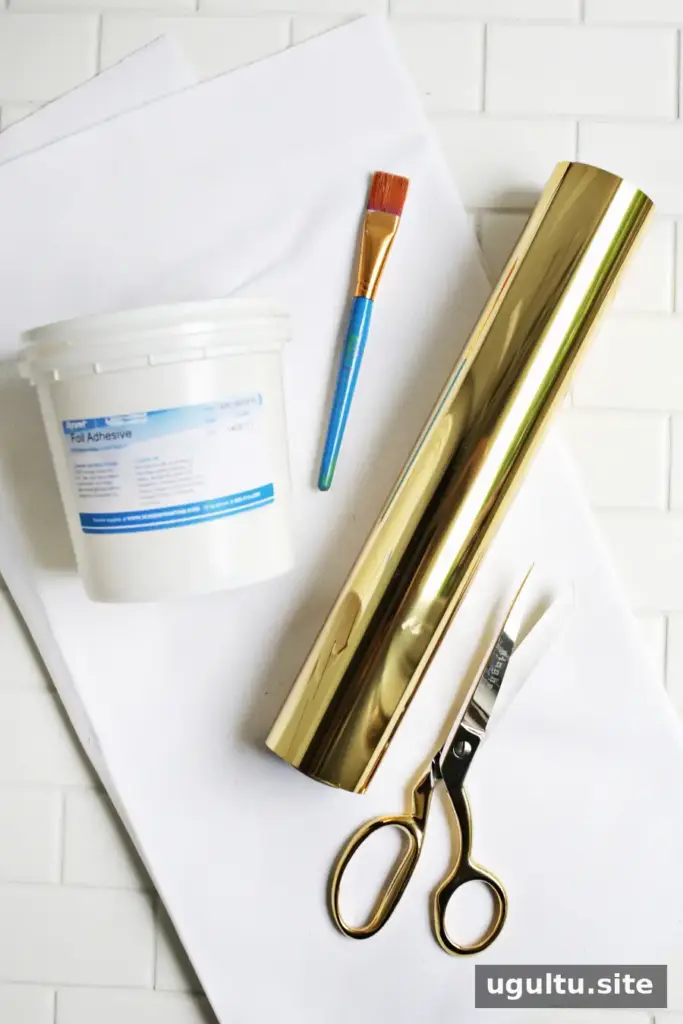
Gather the materials before applying adhesive, as it is best to work while each section is still suitable for foiling.
- Gold foil roll
- Foil adhesive
- Paintbrush
- Parchment paper
- Plain white cotton fabric
- Fabric scissors
- Iron
- Pillow insert
Use a clean, flat work surface and keep the iron away from the foil roll and other materials when it is hot. A small fabric test helps you check the appearance and how the adhesive responds to heat.
Prepare the fabric and paint the pattern
For a finished 19-inch pillow, cut a 20-inch square of fabric to allow for a half-inch seam allowance. Set the iron to medium-high heat with steam switched off, following the adhesive and foil instructions if they specify a different setting.
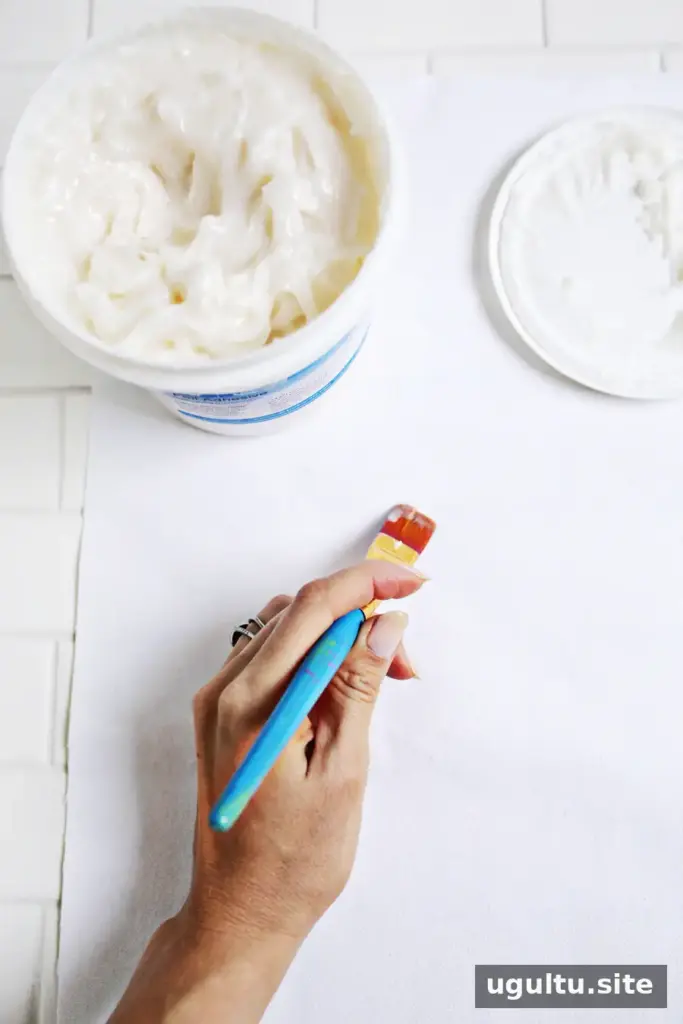
Work on roughly an 8-inch square section at a time. Use the paintbrush to apply random curves and strokes of foil adhesive. The adhesive has a thick, paste-like consistency, so brush it over the fabric more than once if needed to build an even layer. Aim for a concentrated, thin coating rather than thick clumps; smooth any excess with the brush.
Adhesive can become too dry for the next step, so avoid coating more fabric than you can foil promptly. If you are new to the technique, start with a smaller area or practice the pattern on a scrap first.
Apply the gold foil with an iron
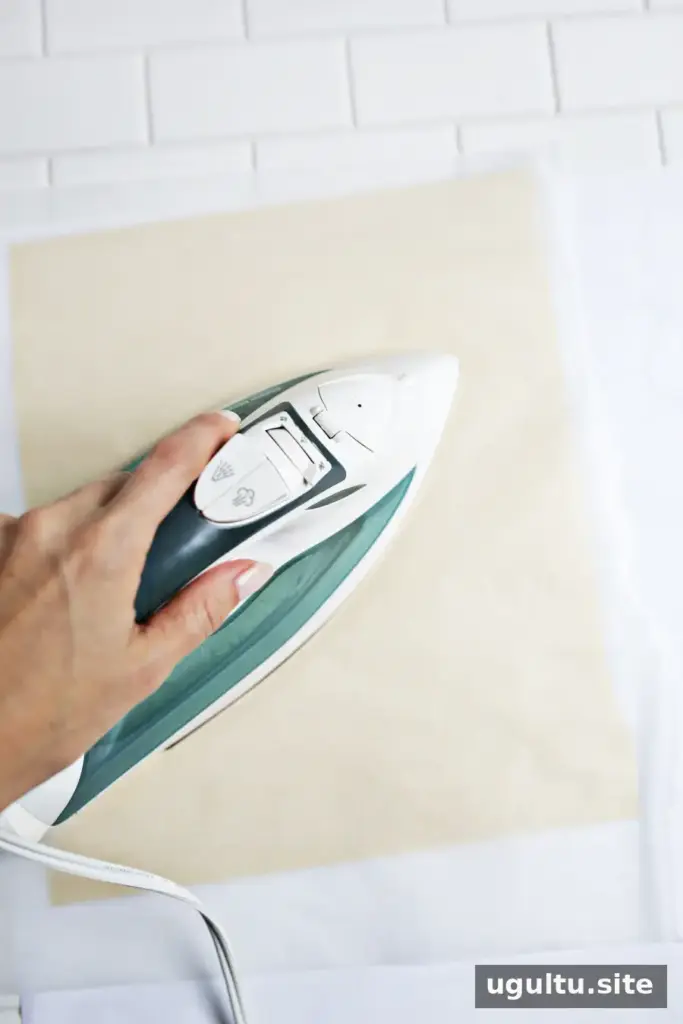
Cut a piece of foil slightly larger than the adhesive-covered area. Lay it gold side up over the adhesive, then cover it with parchment paper. Pass the iron over the entire section for about 20–25 seconds, moving across the area so the heat reaches it evenly.
Lift the parchment carefully to check the finish. If the foil appears to have lost its gold color, the iron may be too hot or may have stayed on the area too long. Adjust the heat or reduce the ironing time, and use a scrap piece to test before continuing.
Reveal the design and assemble the pillow
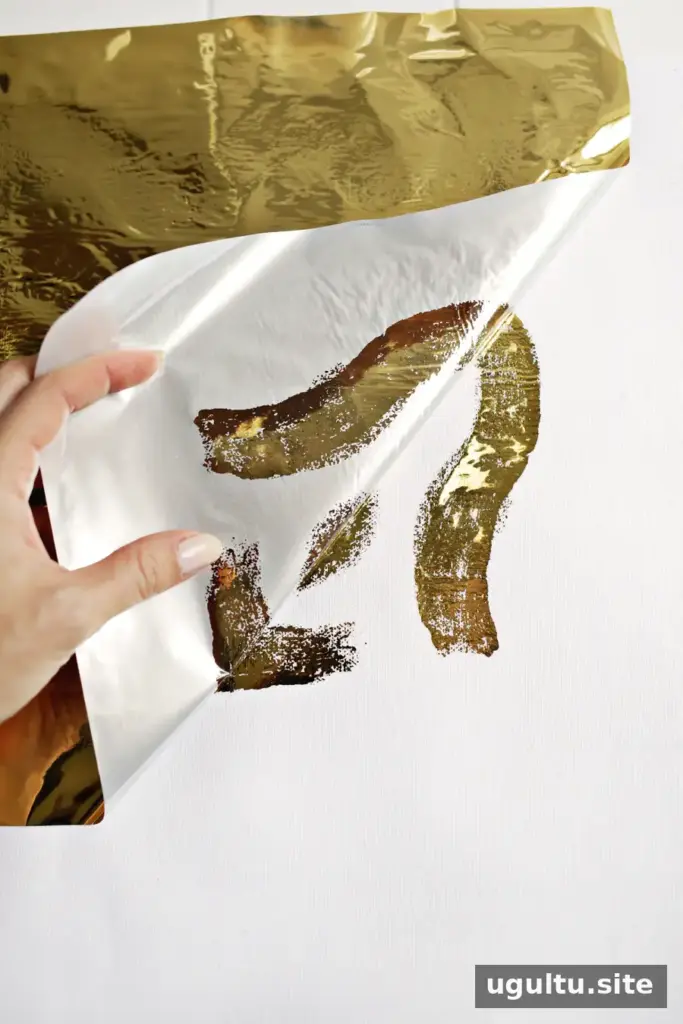
Let the fabric and foil cool before slowly peeling the foil backing away. Repeat the process section by section until the pattern is complete. For a lighter, brushier effect, apply less adhesive; for fuller lines, use more while keeping the coating smooth.
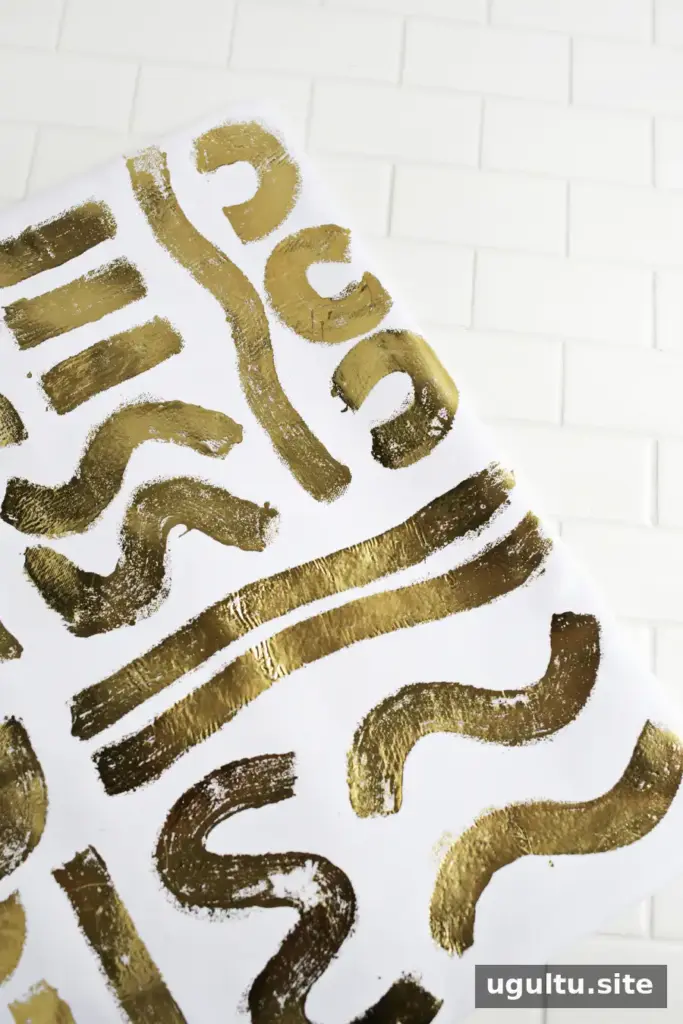
Once the decorated fabric is ready, sew it into an envelope-style pillow cover and fit it over the insert. A half-inch seam allowance works with the 20-inch fabric square used for a 19-inch pillow. Handle the finished cover gently, since decorative foil can be more delicate than ordinary fabric paint. Hand wash in cold water as needed to help preserve the design.
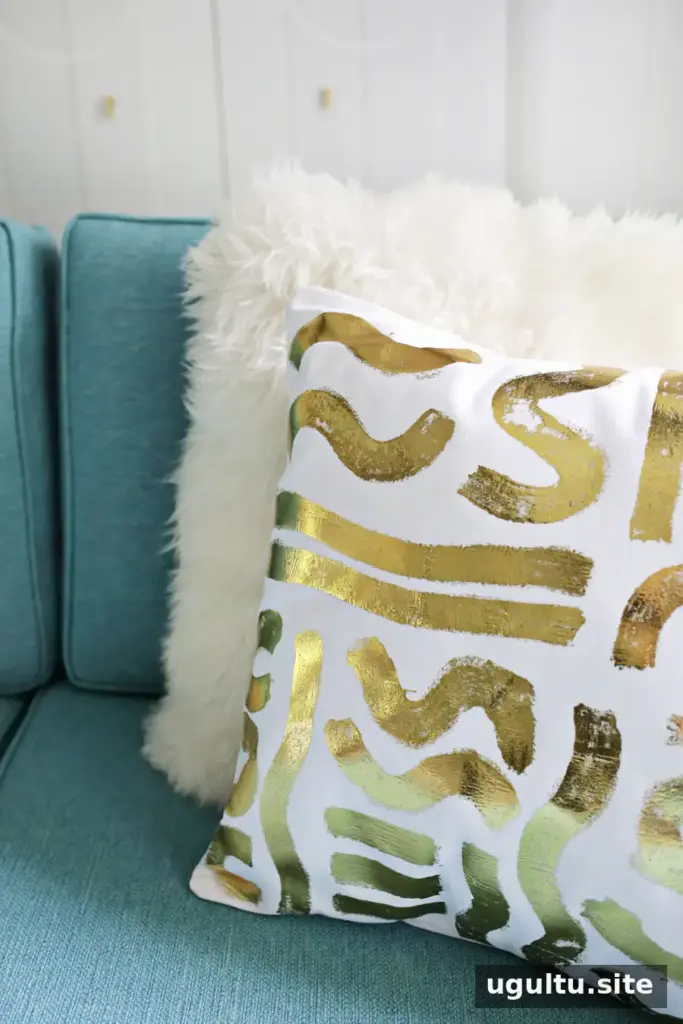
Care and styling tips

Gold foil can catch the light, making these pillows an eye-catching accent against a colorful sofa or a neutral interior. Place them where natural light can reflect off the metallic pattern, and avoid rough handling to reduce wear. With careful application and gentle care, this Gold Foil Pillow DIY can add a personalized detail to a room. Project by Laura.


