
 admin
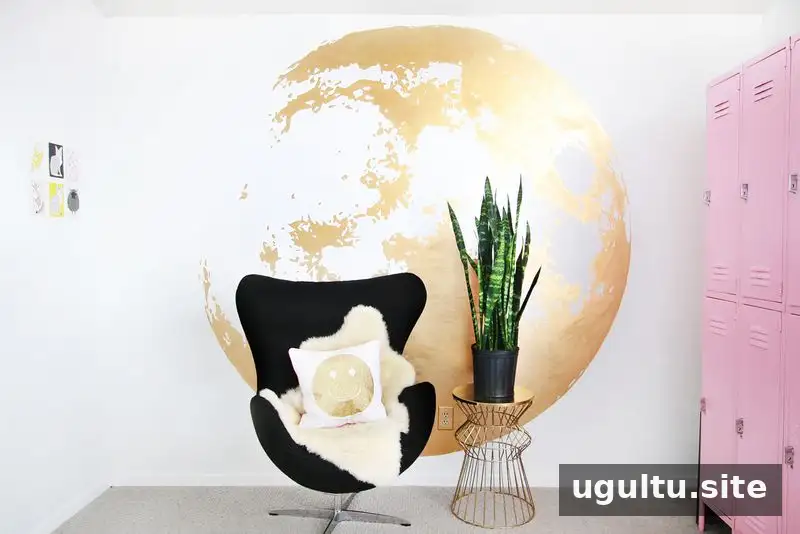
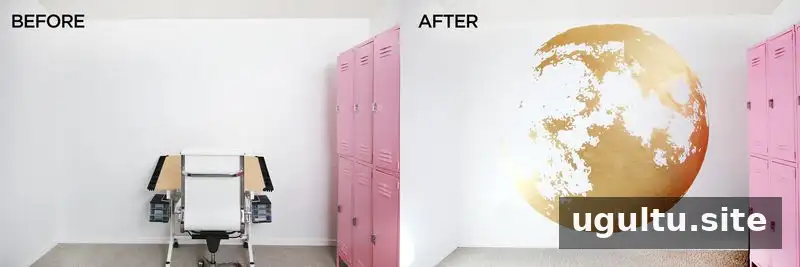
A Gold Moon Wall turns a simple room surface into a bold celestial feature. Instead of arranging several small moon decorations, this project uses one large moon image painted directly onto the wall. It can be a striking option for an art room or another space where a dramatic, personal detail is welcome.
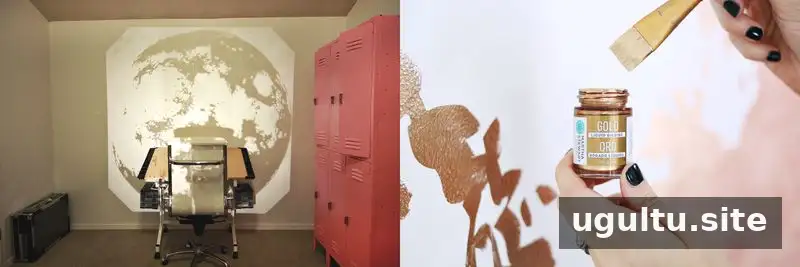
A projector makes it easier to position and scale the image before painting. In this project, a moon photograph was printed onto transparency film and projected onto the wall. The outline could then be adjusted to the desired size and location before any paint was applied.
How to Make a Gold Moon Wall
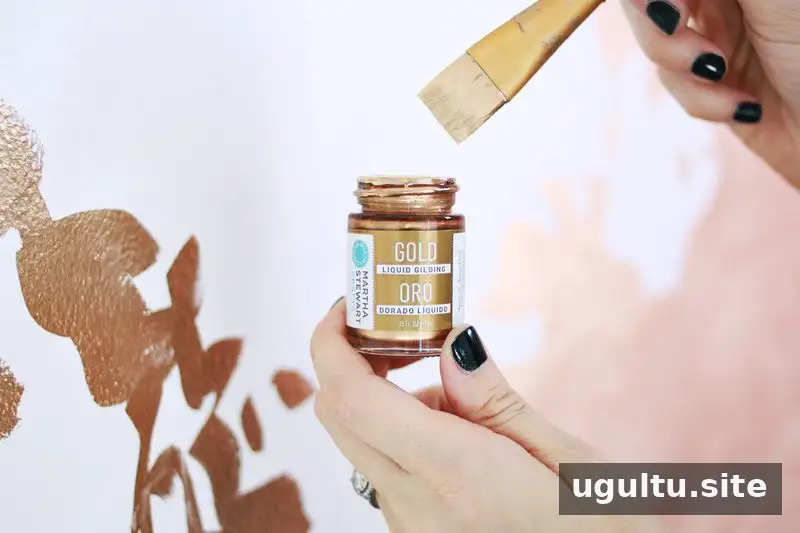
Once the projected image is positioned, trace its important shapes with gold craft paint. After outlining the design, fill in the solid areas. Working from the outline inward helps keep the edges clear and makes it easier to see which parts of the image still need paint.
Before starting, check that the wall is clean and dry, and confirm that the paint is suitable for the surface. It is also helpful to test the paint in a discreet spot first, especially if the wall has a particular finish or color. Keep the projector steady while tracing so the projected image does not shift and create uneven outlines.
Tips for Painting the Moon Design
The technique is straightforward, but covering a large image can take time. Plan for a patient, unhurried painting session rather than expecting the whole design to be finished quickly. Good lighting and a comfortable working position can make detailed outlining easier.
- Set the image size and placement before opening the paint.
- Outline the design first, then fill the solid sections.
- Keep the paint container and supplies organized to reduce interruptions.
- Allow the paint to dry according to its product instructions before touching or decorating the area.
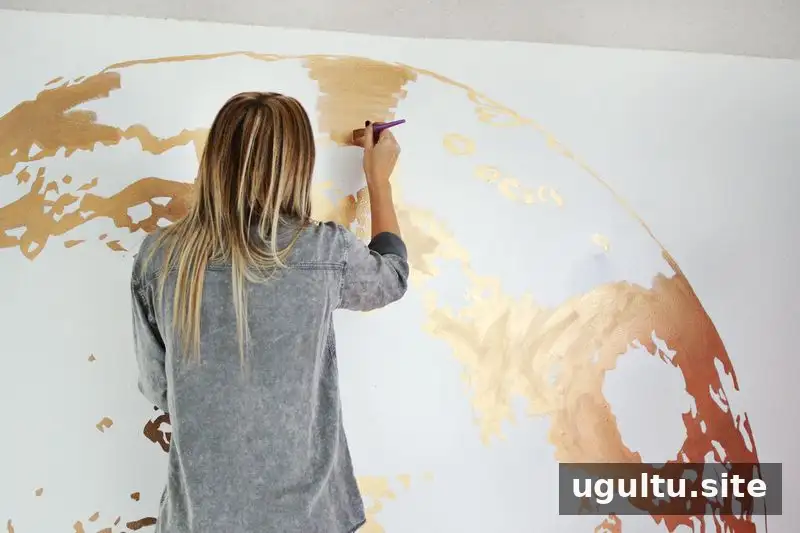
Use paint in a well-ventilated area, as its fumes may be strong before it dries. Follow the safety directions on the product label, and keep the room ventilated during application and drying. Mineral spirits may be needed to clean the brush, as noted for this project; check the paint and solvent labels to confirm they are compatible, and handle both according to their instructions.
Finishing Your Gold Moon Wall
When the paint is dry, inspect the design from a few steps back. This can help reveal small gaps or uneven areas that are less noticeable when working close to the wall. Touch up only where needed, and let any additional paint dry before using the room as usual.
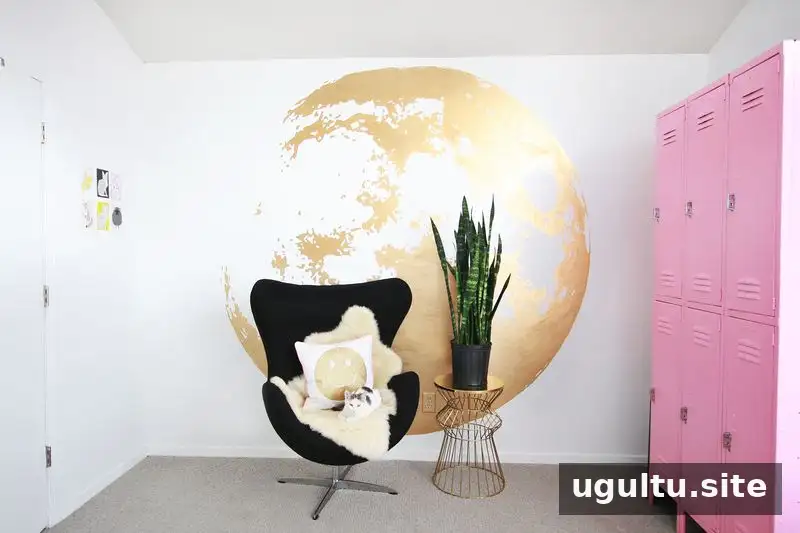
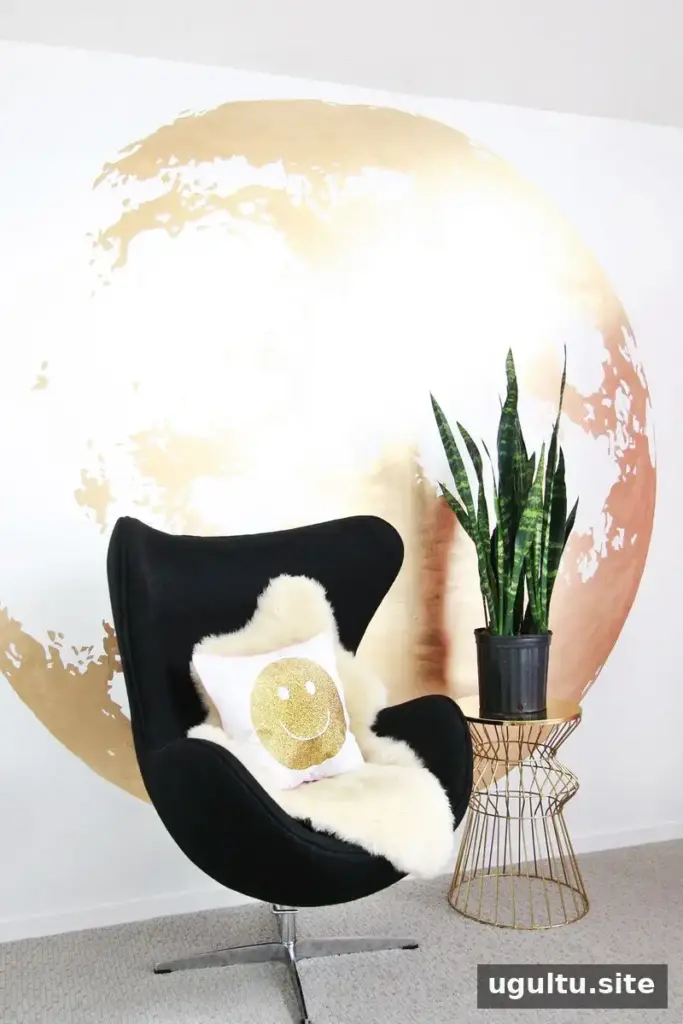
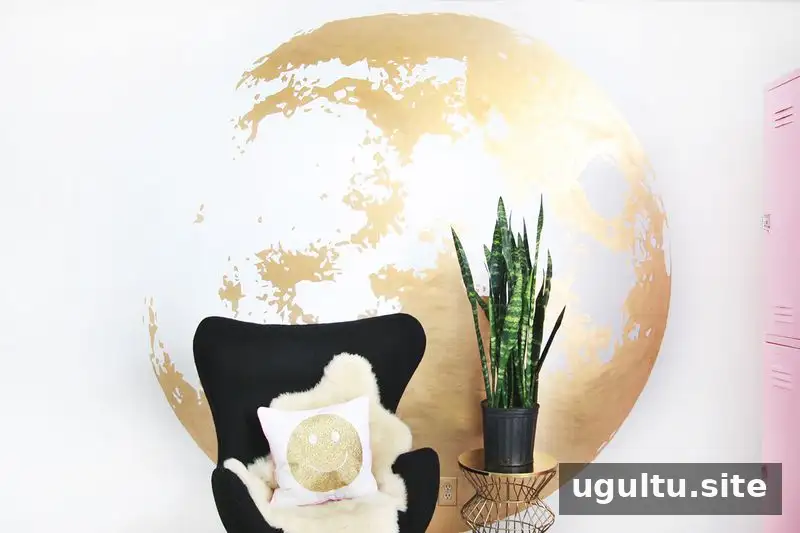
A Gold Moon Wall is a simple concept that relies on careful image placement, a steady outline, and enough time to fill the larger shapes. With a projector and gold craft paint, a moon photograph can become a distinctive wall feature while keeping the process manageable and easy to plan.


