
 admin
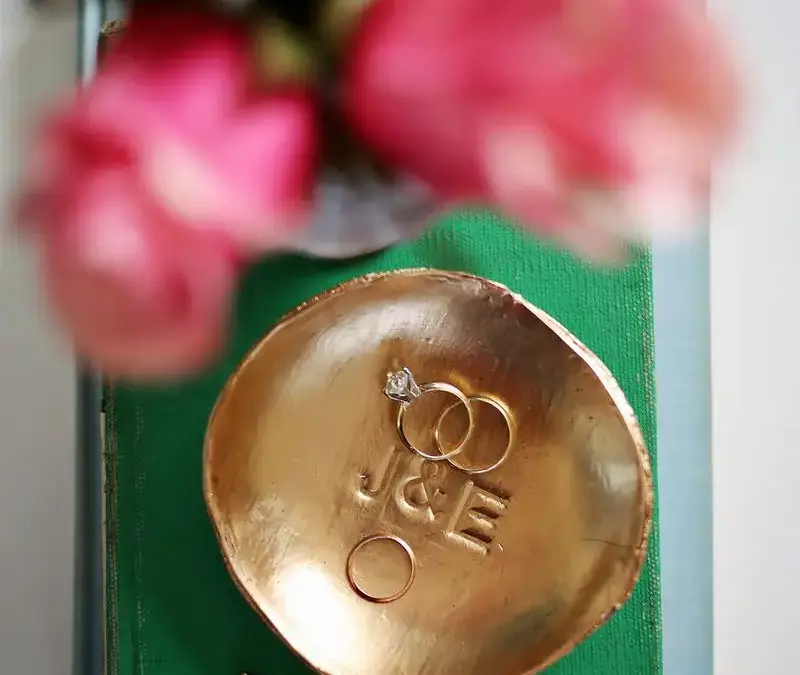
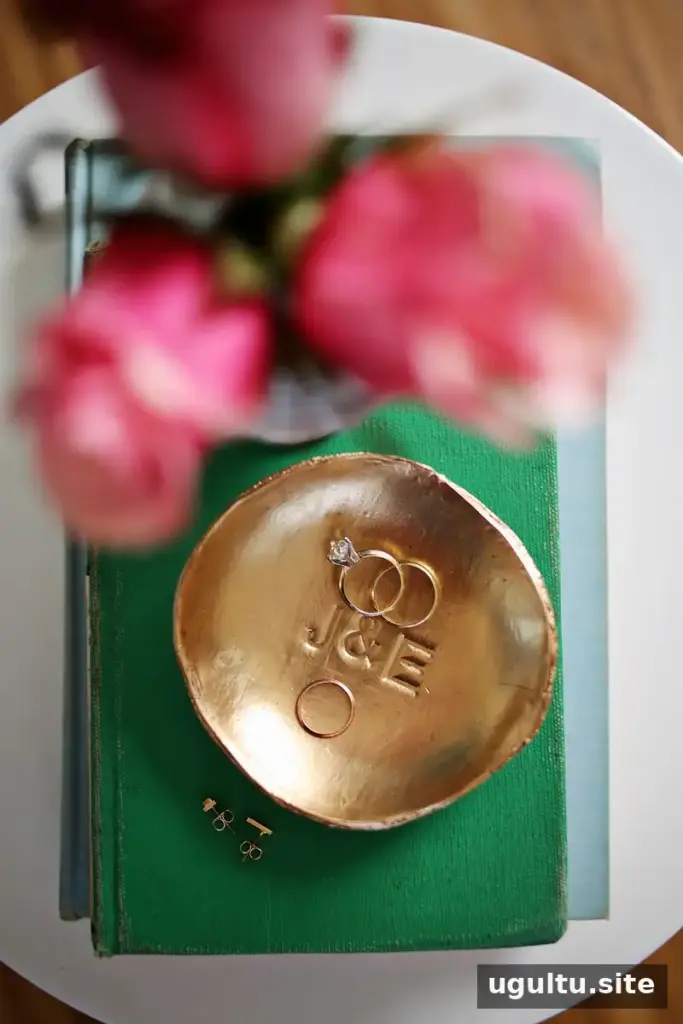
A gold stamped ring dish is a simple handmade project that combines personalized lettering with a polished metallic finish. Made from oven-hardening clay, it can hold rings and other small jewelry beside a bed or on a dresser. Choose initials for a personal touch, or stamp a short word if your letters are small enough.
Supplies for a Gold Stamped Ring Dish
Gather the materials before shaping the clay so you can work while it is pliable. Check the clay package for baking directions and use a bowl that is specifically safe for oven use.
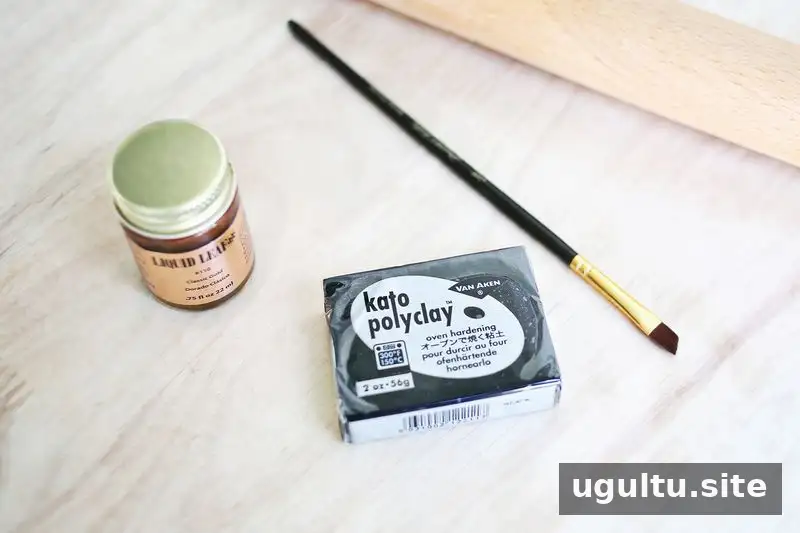
- Oven-hardening polymer clay in a color of your choice
- A rolling pin
- Scissors
- Letter stamps
- A paintbrush
- Liquid leaf paint in gold or bronze, if you want a metallic finish
- An oven and an oven-safe bowl
For an aged effect, black clay can be used beneath metallic paint, with some paint wiped away from the edges. If you prefer a solid-color dish, choose colored clay and skip the metallic paint.
How to Make the Stamped Clay Dish
1. Soften and flatten the clay
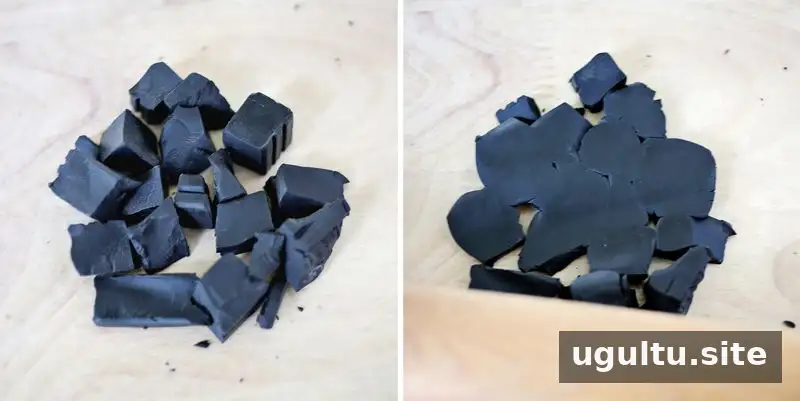
Oven-hardening clay can feel firm when you first begin working with it. Break it into small pieces to make it easier to handle, then press and roll the pieces together with a rolling pin until you have an even sheet. Aim for a consistent thickness so the dish bakes evenly.
2. Cut and stamp the shape
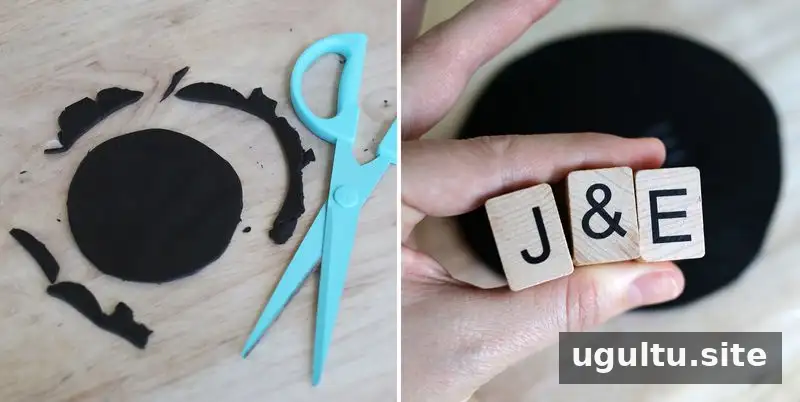
Use scissors to cut an imperfect circle from the flattened clay. The example dish is about 3 inches across. Press letter stamps into the center to add initials or a short word. Larger stamps leave less room, so initials are a practical choice; smaller stamps can fit more text.
3. Shape the dish
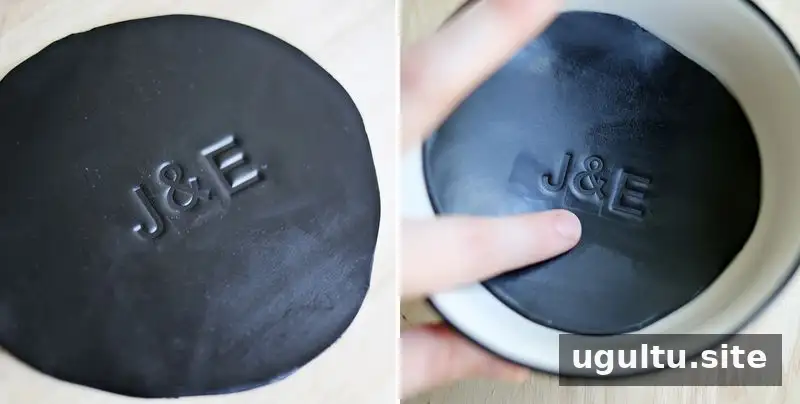
Gently press the stamped circle into an oven-safe bowl to create a shallow dish shape. Light pressure in the center helps the clay curve without flattening the lettering. Make sure the bowl can safely go into the oven before using it as a mold.
4. Bake and cool
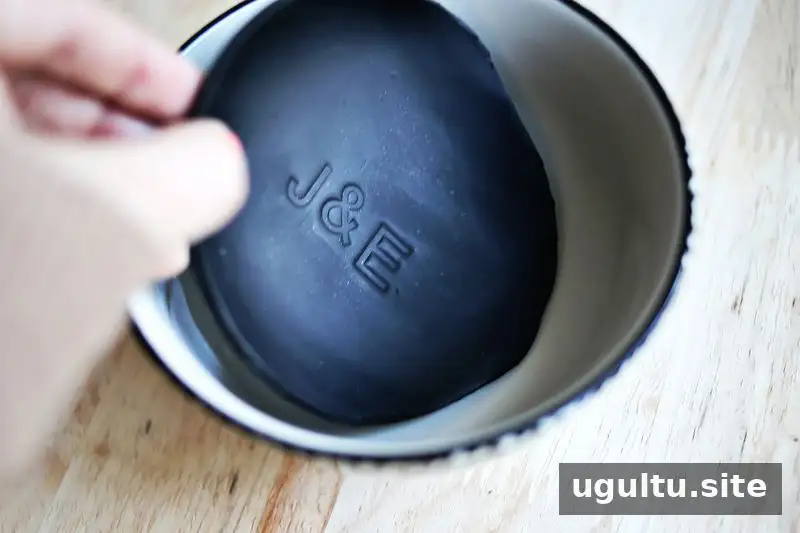
Bake the clay according to the instructions on its package, since baking requirements can vary. When baking is complete, let the dish cool completely inside the bowl. Once cool, it should lift out easily. Avoid handling it while warm, as the clay and bowl may still be hot.
5. Add the finish
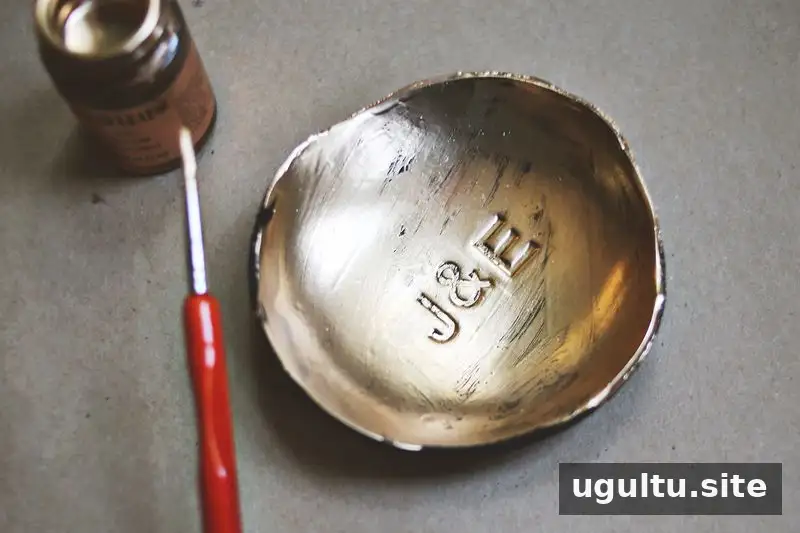
For a metallic look, brush two coats of liquid leaf paint over the dish, including its sides and edges. Follow the paint label for any drying or handling directions. For a colored version, use colored clay and apply glossy accents as a glaze after baking instead; metallic paint is not needed.
Using and Personalizing Your Ring Dish
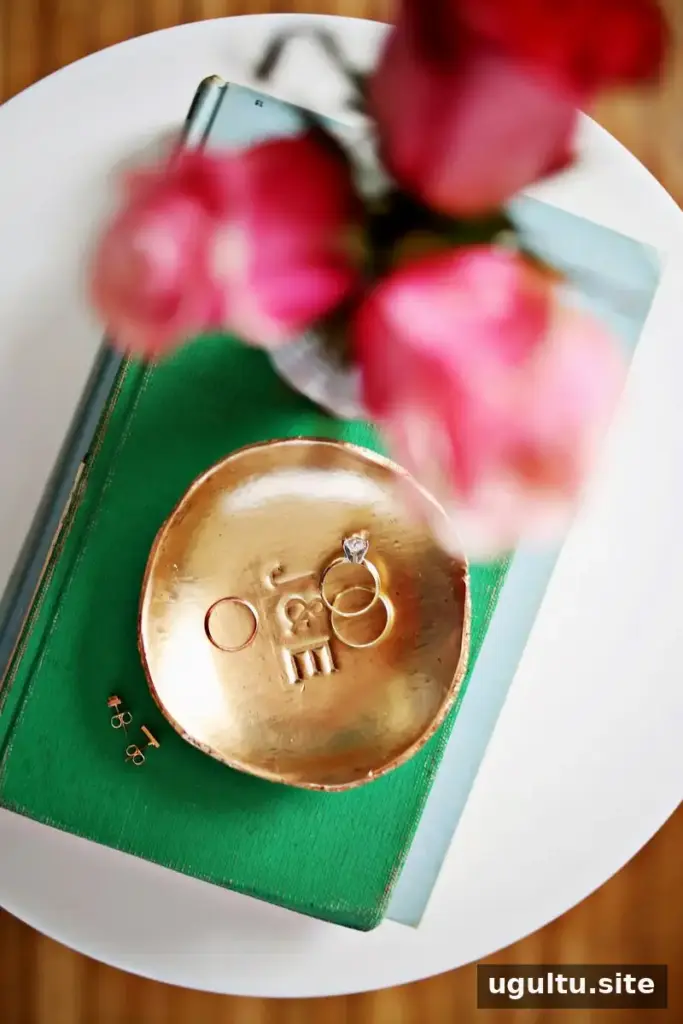
Place the finished dish on a bedside table, dresser, or another convenient spot to keep rings together when they are not being worn. This project is intended for jewelry and small items, not food. You can personalize the design by changing the clay color, stamped lettering, or metallic shade.
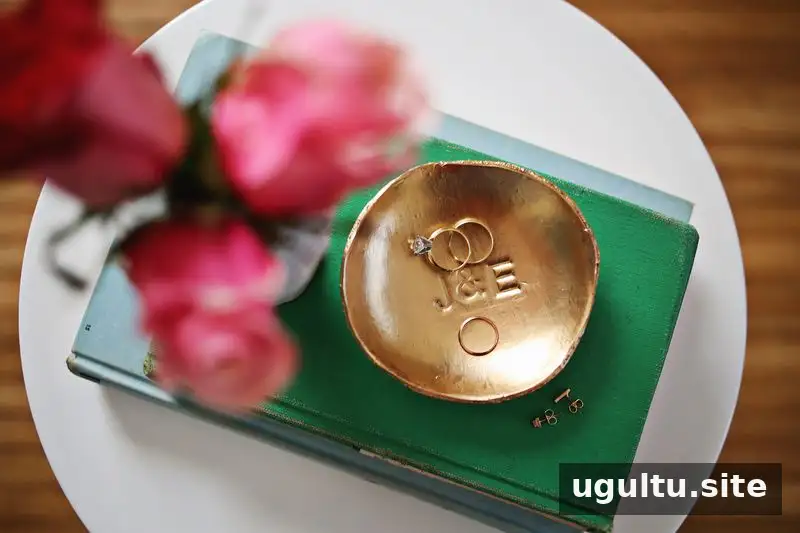
Project by Elsie.
Conclusion
A gold stamped ring dish is an approachable clay project that can be customized with initials, a short message, or a different color palette. Follow the clay’s package directions, use an oven-safe shaping bowl, and let the finished piece cool fully before removing it. The result is a useful, personalized place to keep rings and other small jewelry.


