admin
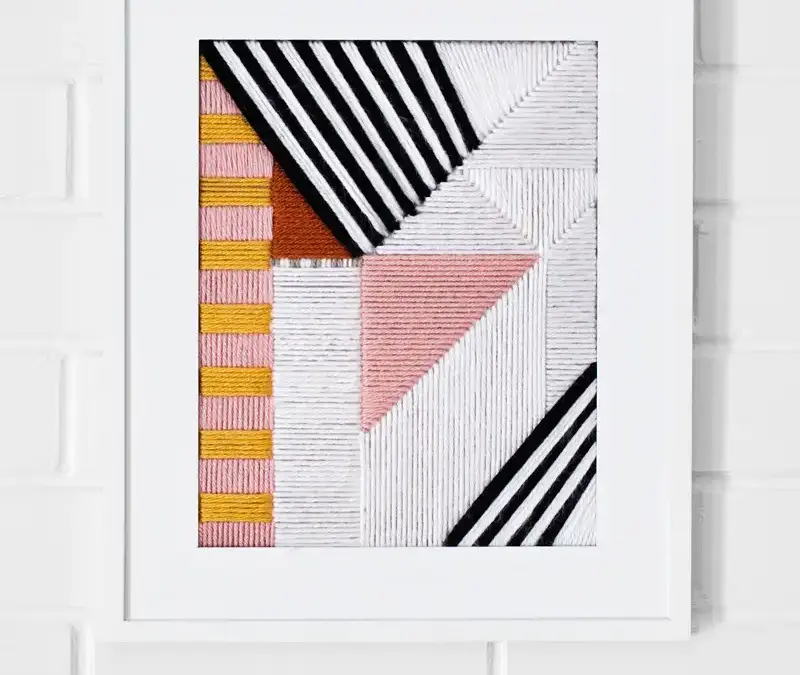
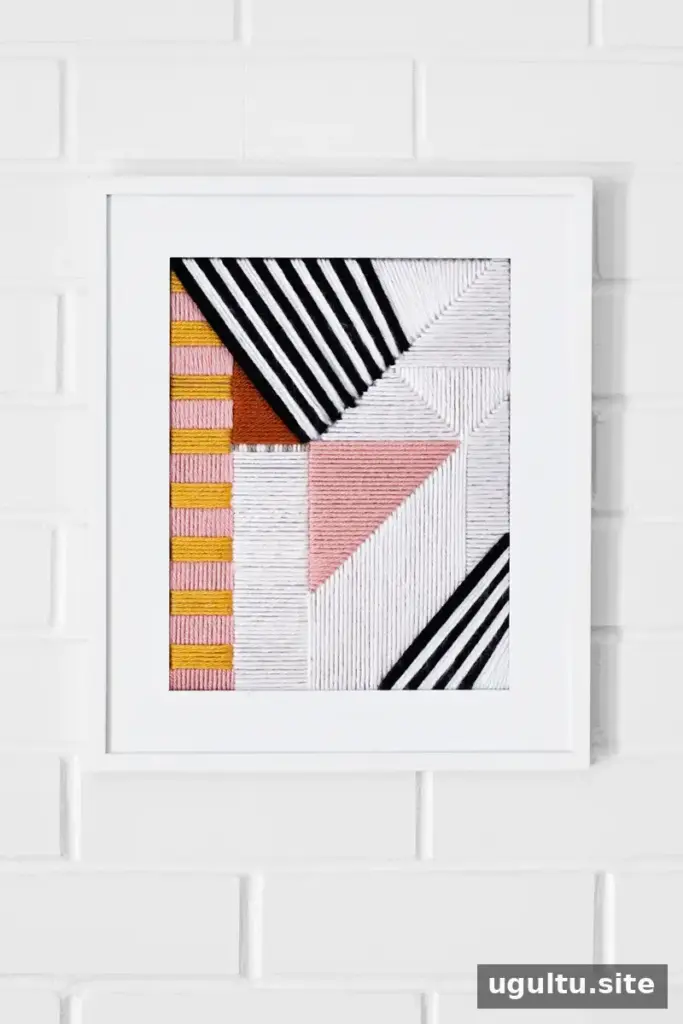
Plastic canvas embroidery is a beginner-friendly way to turn colorful yarn into dimensional wall art. Instead of stitching on fine fabric with a traditional embroidery hoop, this project uses plastic canvas as a sturdy base. Its open grid makes it easier to guide yarn through the material, while a simple frame gives the finished piece a clean, modern look.
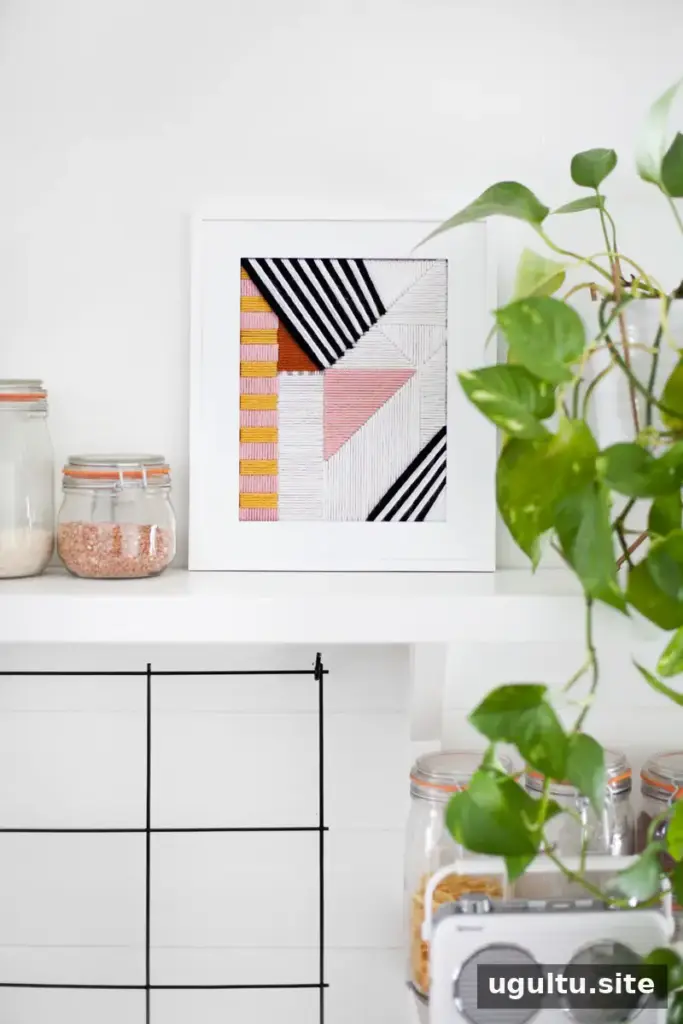
Choose a geometric pattern for a straightforward first project, or sketch a custom design before you begin. Planning the size and colors in advance can help you keep the finished artwork balanced and make framing easier.
Supplies for Plastic Canvas Embroidery
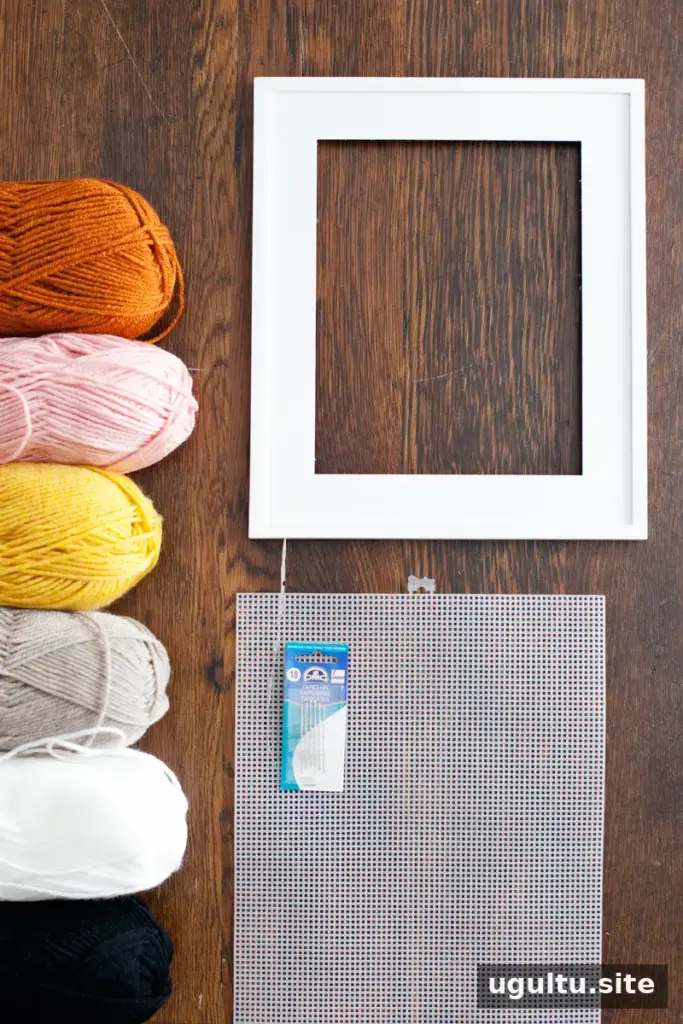
Gather these materials before starting:
- Plastic canvas with a fine mesh; the example uses 10 mesh.
- A #18 embroidery needle.
- Yarn in several colors.
- An empty frame sized for the finished design.
- Scissors.
Check that the yarn and needle can pass comfortably through the canvas openings before choosing a pattern. A finer mesh can help keep the plastic base less visible behind the stitches.
How to Make Yarn Embroidery Wall Art
1. Mark the area that will show in the frame
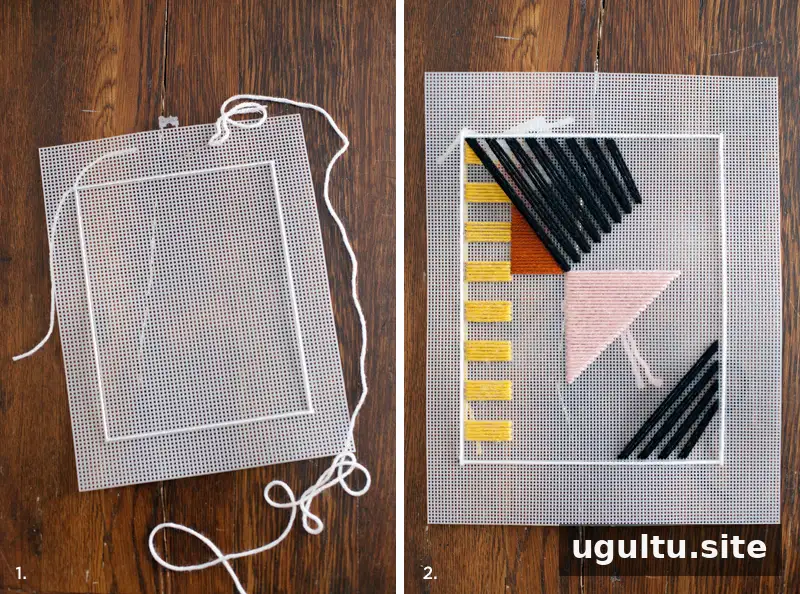
Use yarn to mark the working area according to the frame opening. Keep the design within the visible area, allowing enough room for the frame to hold the canvas without covering any stitches. Measure carefully: once the embroidery is complete, trimming an oversized design may not be possible.
2. Stitch the main design and background
Work the main shapes in your chosen yarn colors, securing each color at the back of the canvas. Shorter yarn spans are generally easier to control than long strands. If you want a filled-in background, add it after completing the main design, as shown in the example.
Tip: Avoid pulling the yarn too tightly. Excess tension can bend the plastic canvas, and a frame may not be able to flatten it later. Keep stitches even, but loose enough for the canvas to remain straight.
3. Trim and frame the finished piece
Trim away the excess canvas so it fits inside the frame, and remove the temporary yarn used to mark the working area. Check that the design sits straight and that no stitches are hidden by the frame before mounting it.
Common Plastic Canvas Embroidery Mistakes
A mesh with large openings, such as 7 count, may leave too much of the plastic canvas visible behind the yarn. The example was restarted using a finer 10 mesh. Testing a small section first can help you decide whether the mesh suits your yarn and design.
Long diagonal lines can also pull the canvas out of shape if they are stitched too tightly. If a line looks slightly loose at first, neighboring stitches may help it sit in place. Adjust the yarn gently with your fingers once the design is complete, rather than tightening it enough to warp the canvas.
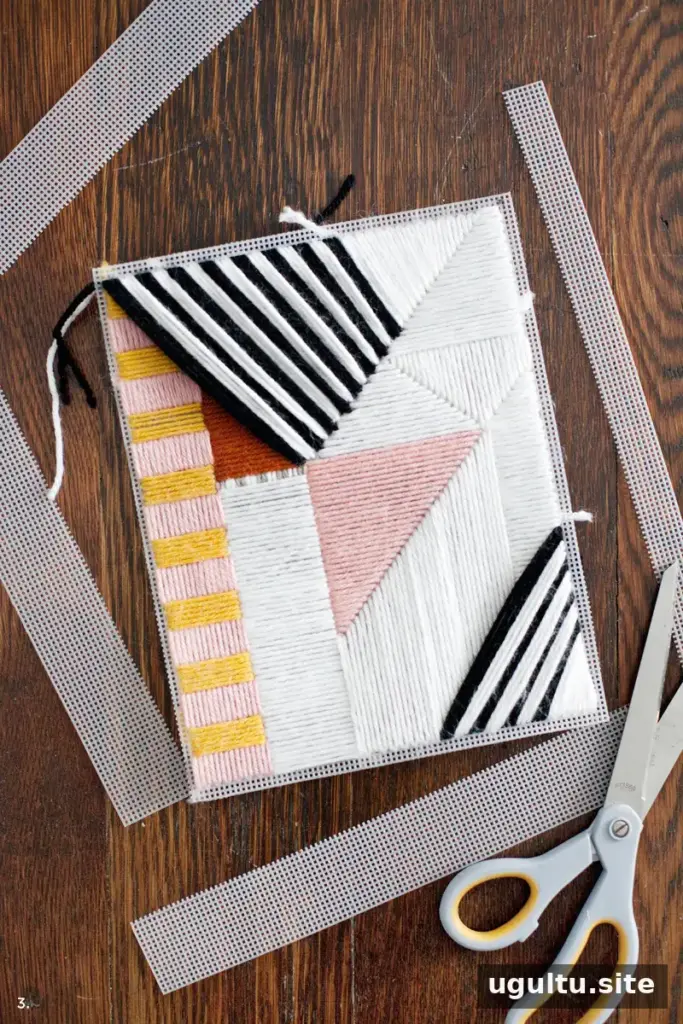
With a suitable mesh, measured layout, and even tension, plastic canvas embroidery can become a polished piece of textile wall art. Try changing the color palette or geometric pattern to create a design that suits your space. — Mandi