admin
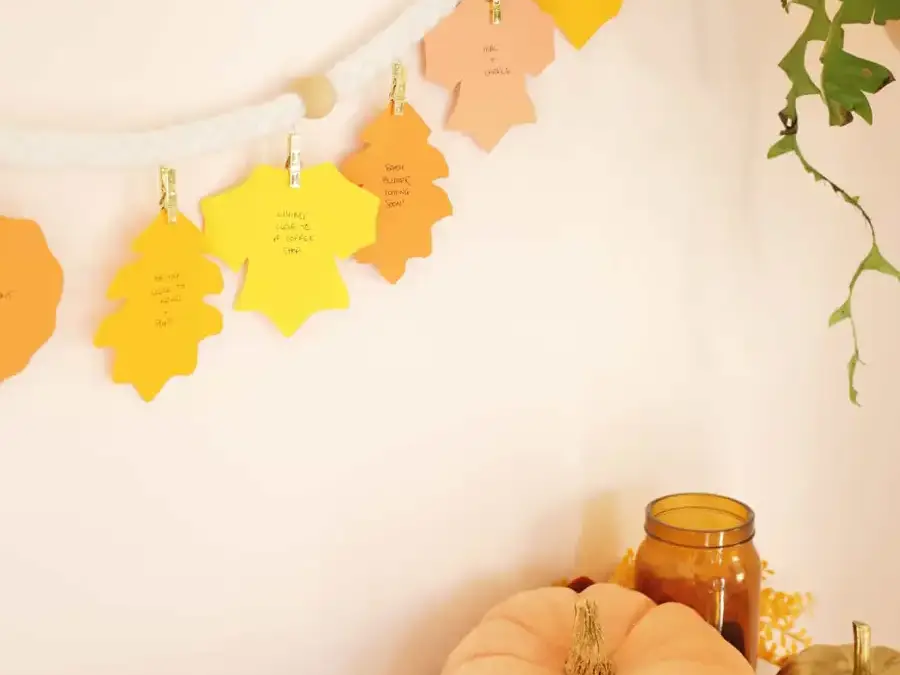
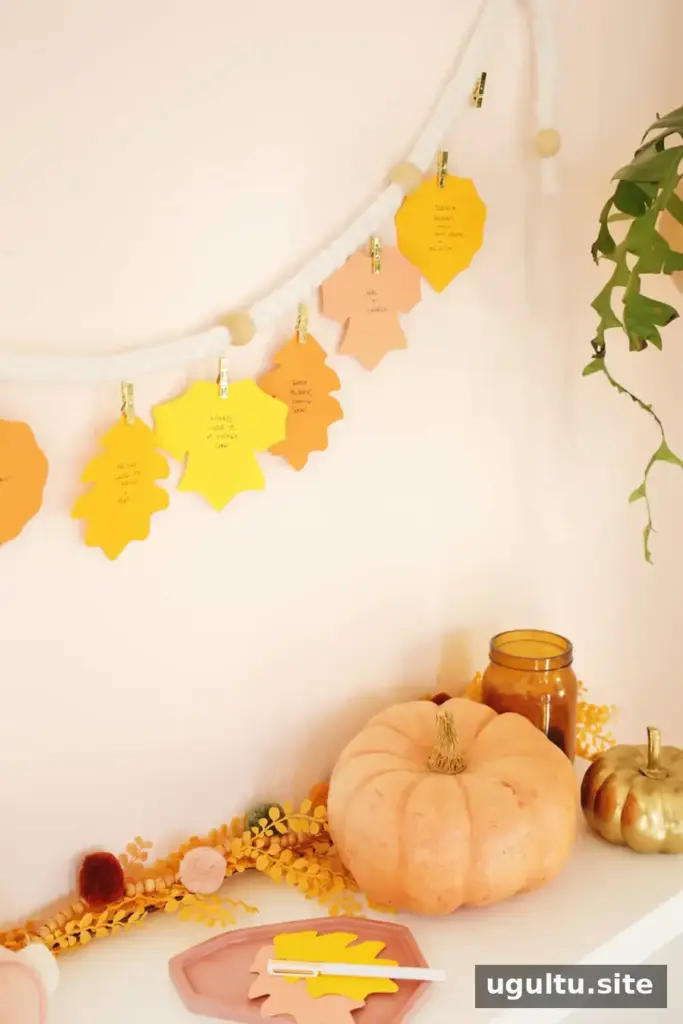
A gratitude leaf garland is a simple Thanksgiving craft that gives family and friends a place to record the things they appreciate. Add a few leaves at a time or make it together around the holiday table; either way, the finished display offers a cheerful reminder of everyday joys.
Writing down positive moments can be a practical way to pause and reflect. Keep the activity relaxed: grateful thoughts can be meaningful, funny, or as small as enjoying a favorite cup of coffee.
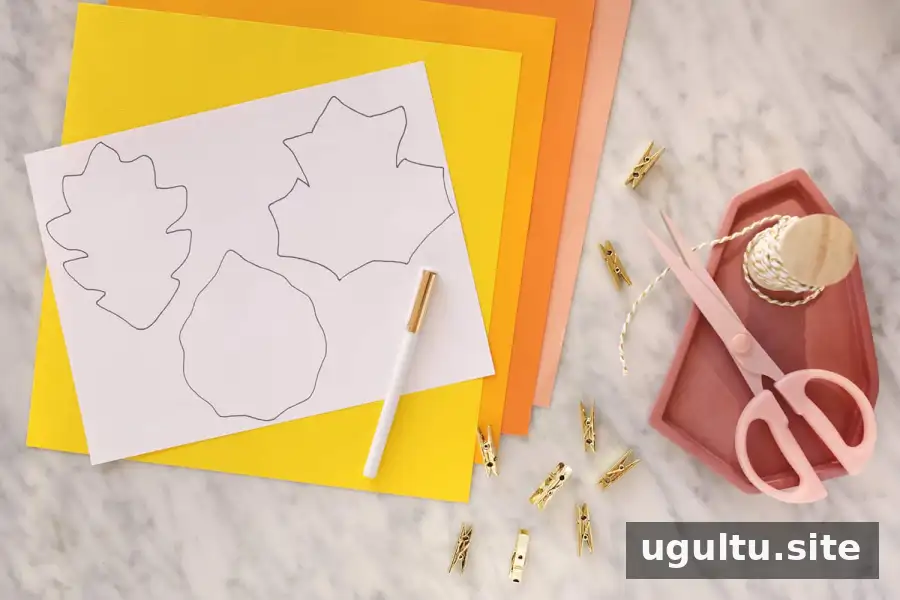
Supplies for a Gratitude Leaf Garland
- Leaf template
- Cardstock in different colors
- Scissors
- Small clothespins
- Jewelry bead punch
- Large gold jump rings
- Woven garland to hang the leaves from
A braided rope garland works well as a base. If you do not already have one, you can braid soft ropes together and add wooden beads. Choose a sturdy base that can support the paper leaves, and decide where you plan to hang it before attaching the clips.

How to Make the Leaf Garland
1. Prepare and cut out the leaves
Print the leaf template. Cut out the shapes and trace around them onto the cardstock, or hold the template behind lighter-colored paper and trace the outlines against a window during daylight. Cut out as many leaves as you need, using a mix of colors if you like.
2. Add rings to the clothespins
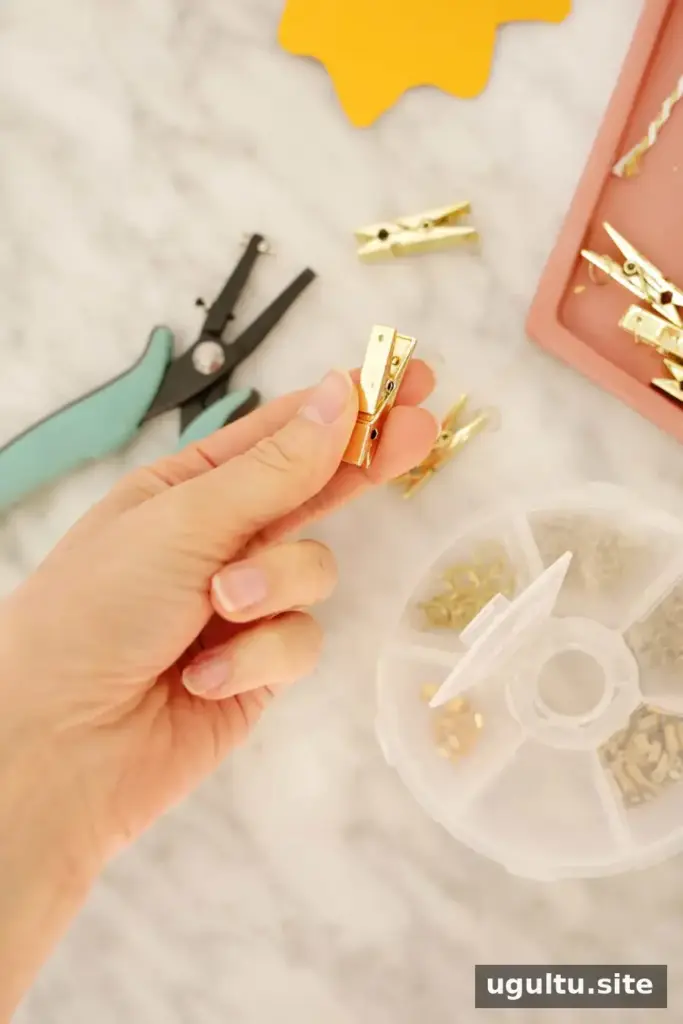
Use the jewelry bead punch to make a hole near the top of each small clothespin. Work carefully and repeat for every clip you plan to use. Open a large jump ring with your fingers and thread it through the hole. If a ring feels difficult to open, use suitable jewelry pliers rather than forcing it.
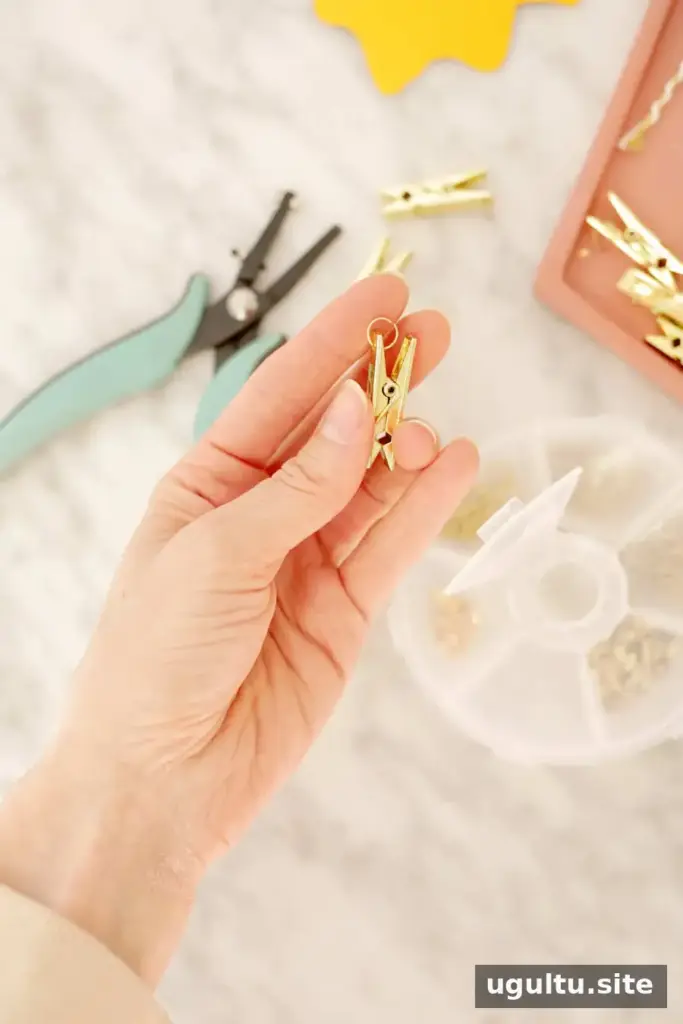
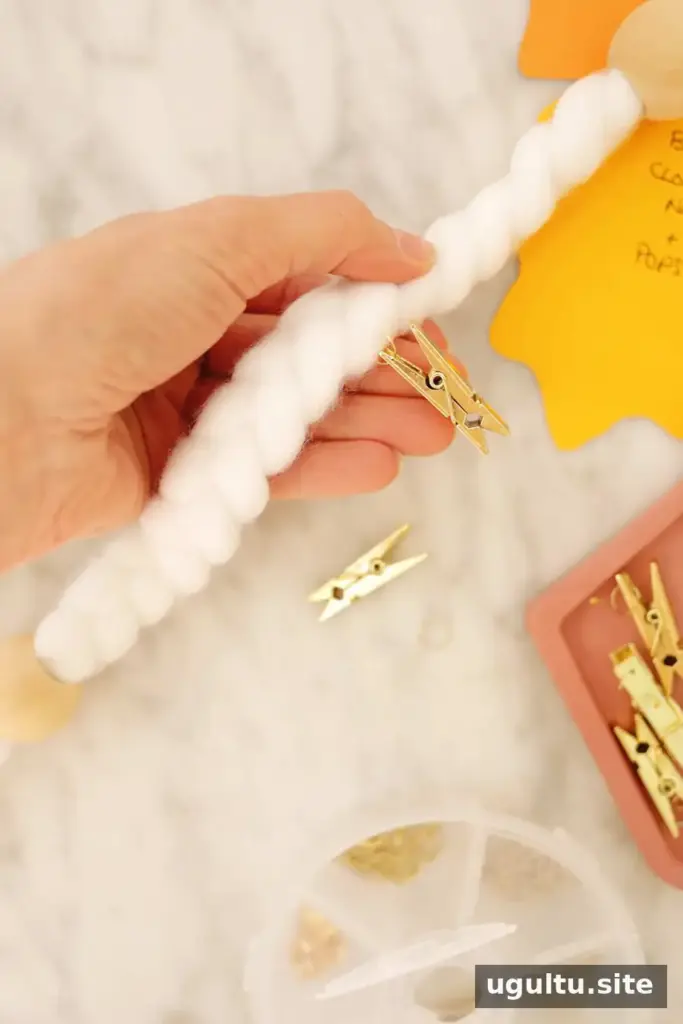
3. Attach the clips to the garland
Pass each jump ring around a section of the garland so the clothespin hangs down and can hold a leaf. Before attaching the rings, lay out the garland and arrange the clips along it. Spacing them first makes it easier to create a balanced display and leaves room to add more notes later.
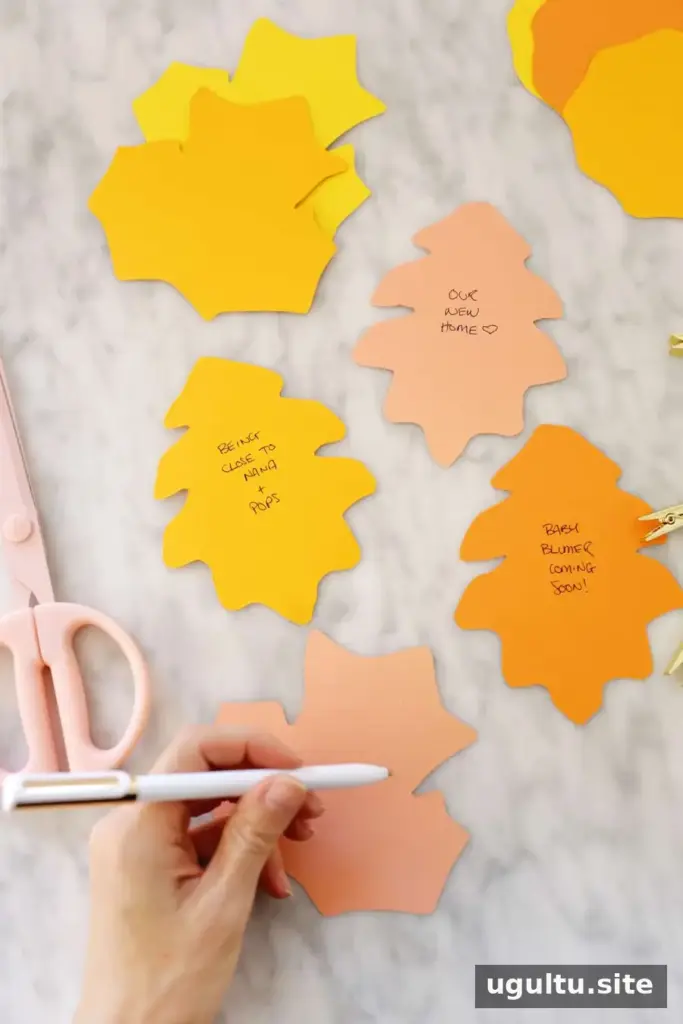
4. Write and display your gratitude notes
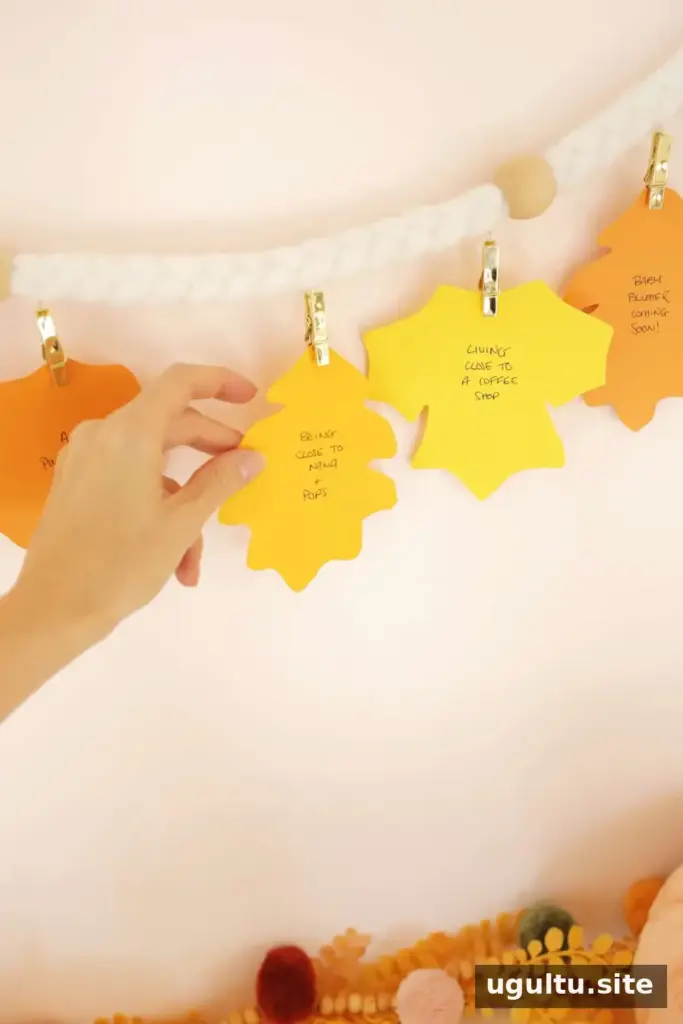
Use a pen to write one thing you appreciate on each paper leaf. Younger children can share their ideas for an adult to write down, while older kids can fill in their own leaves. Keep the notes brief so they fit comfortably on the paper.
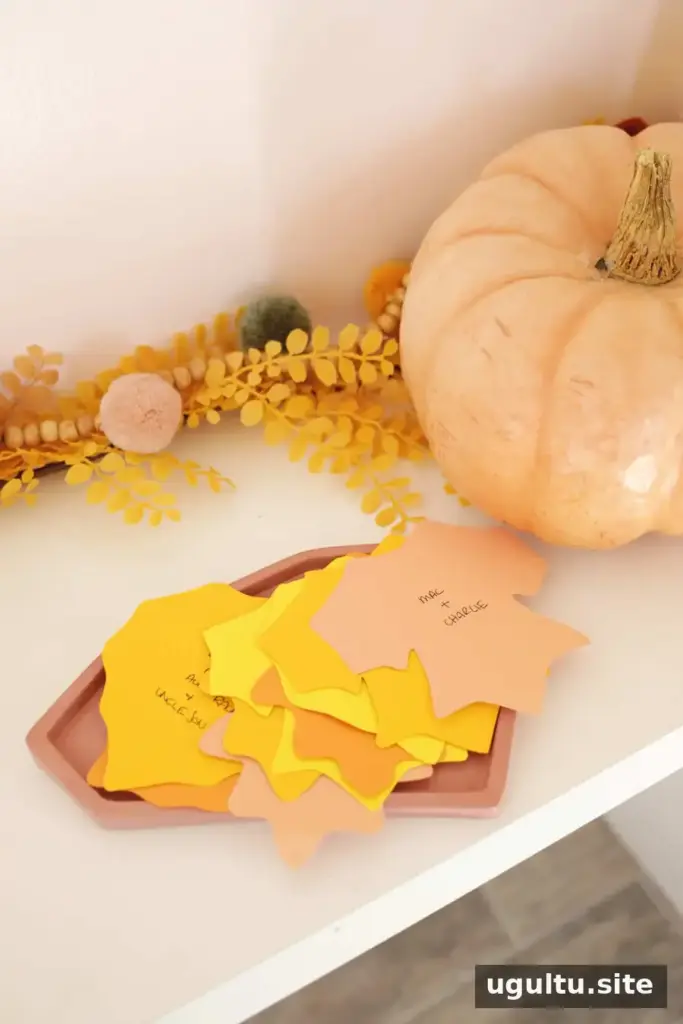
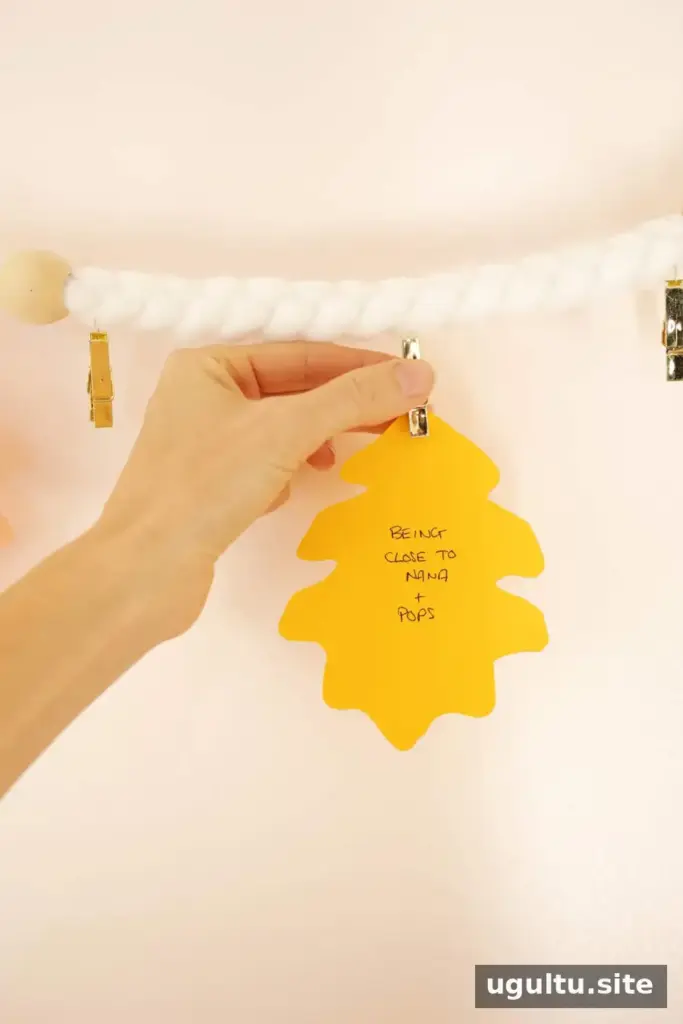
Clip the leaves onto the garland and hang it where everyone can see it. Leave a few clothespins empty and set out blank leaves so family members can add new thoughts over time. You could also make adding a leaf a daily activity for a few weeks.
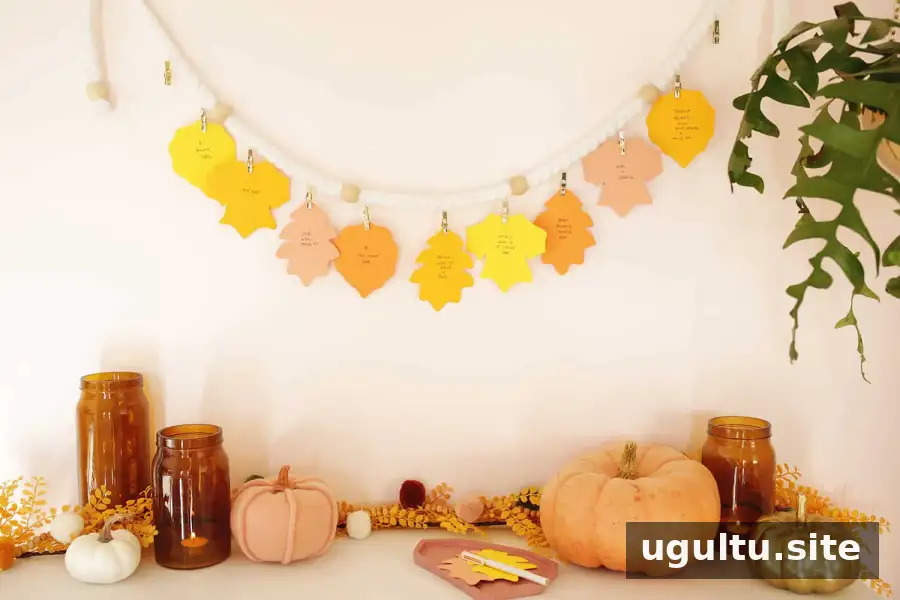
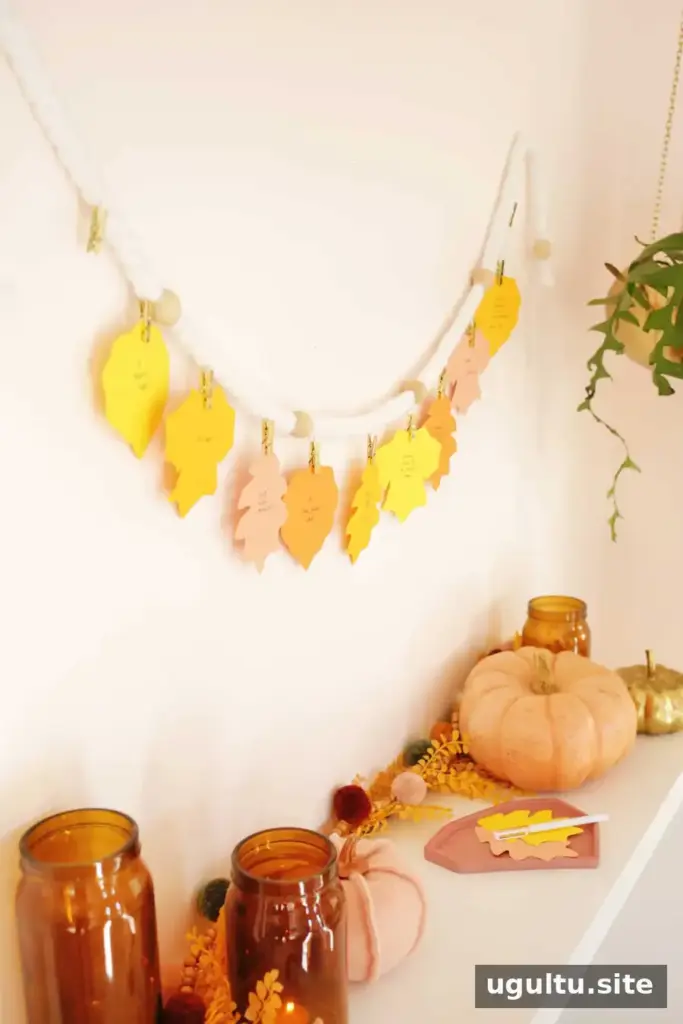
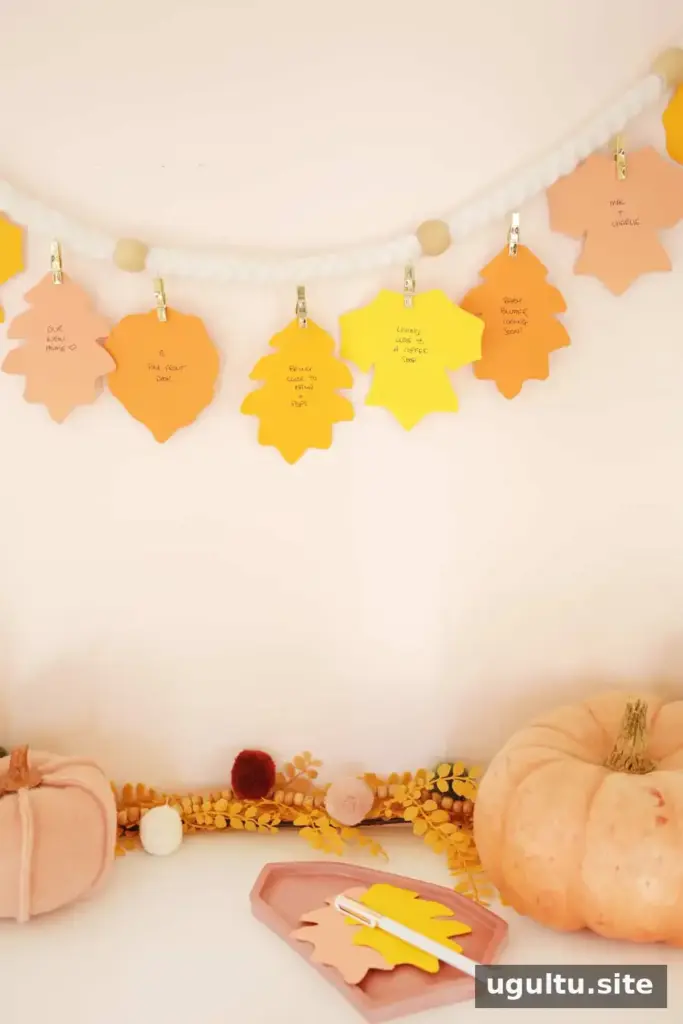
For a seasonal display, pair the garland with amber jars holding candles and pink pumpkins. Keep candles on a stable, heat-resistant surface and away from paper leaves, rope, and other flammable decorations. Battery-operated candles are another option when the garland is nearby.
The leaves can include big milestones as well as lighthearted details, such as a newly painted pink door or living near a good coffee shop. There is no single right kind of gratitude note; the variety can make the display feel personal to everyone taking part.
Make the Gratitude Leaf Garland a Shared Activity
This project works well as a Thanksgiving table activity: prepare the cut-out leaves and garland ahead of time, then invite guests to write a note and add it to the display. With younger children, supervise the use of scissors and keep small craft pieces, including jump rings and beads, out of reach when needed.
A gratitude leaf garland is easy to update, so it can stay up beyond Thanksgiving. Add a new leaf whenever someone thinks of something to appreciate, and let the collection grow at its own pace.
— Laura