admin
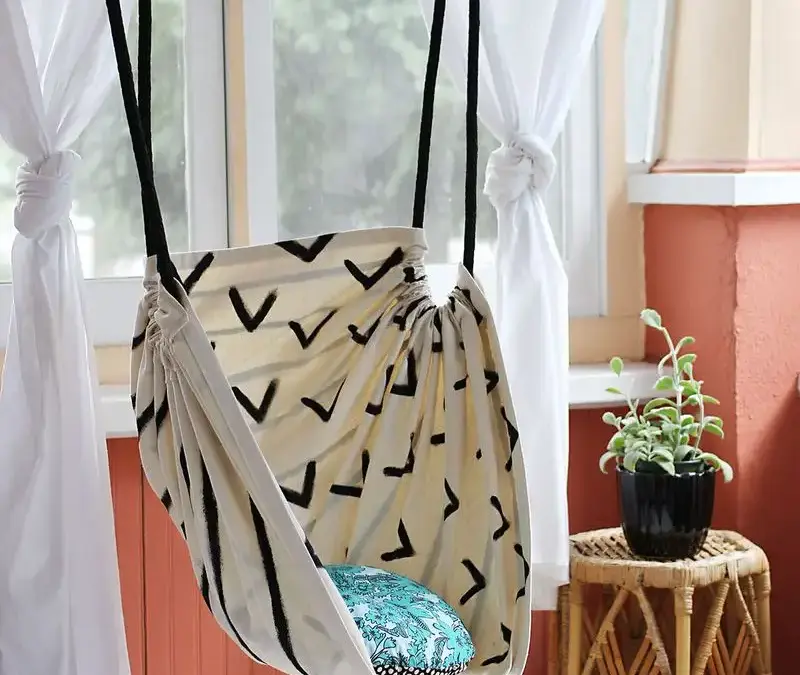
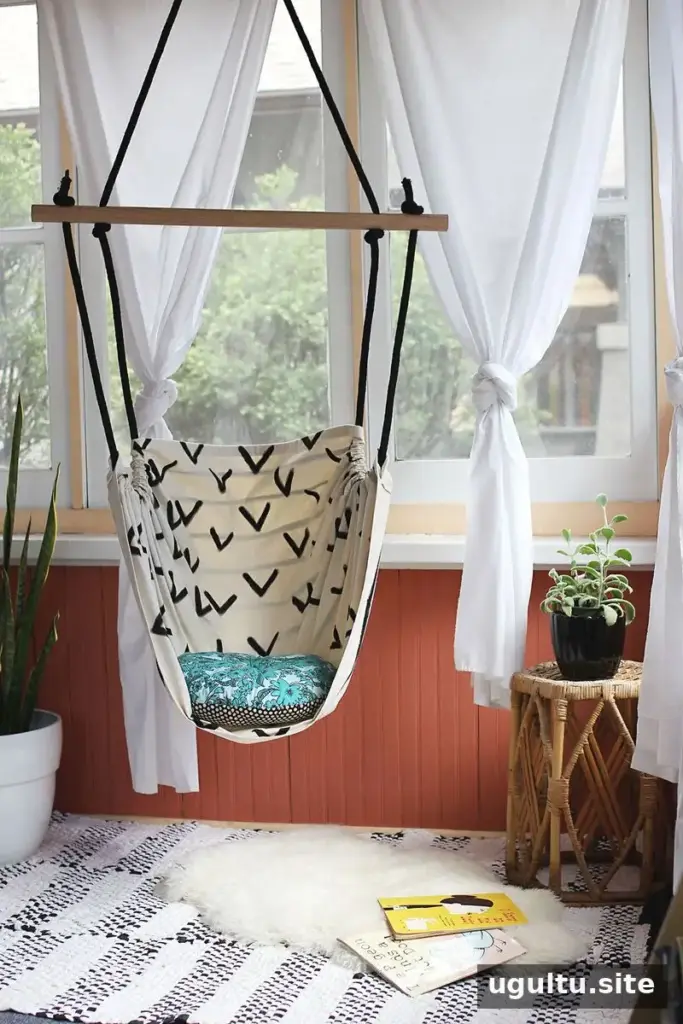
A DIY hammock chair can create a comfortable spot for reading, relaxing, or enjoying a quiet moment on a porch. This project uses canvas, braided polypropylene rope, and an oak dowel to make a hanging seat. The instructions below cover the materials, sewing steps, rope setup, and important safety checks before use.
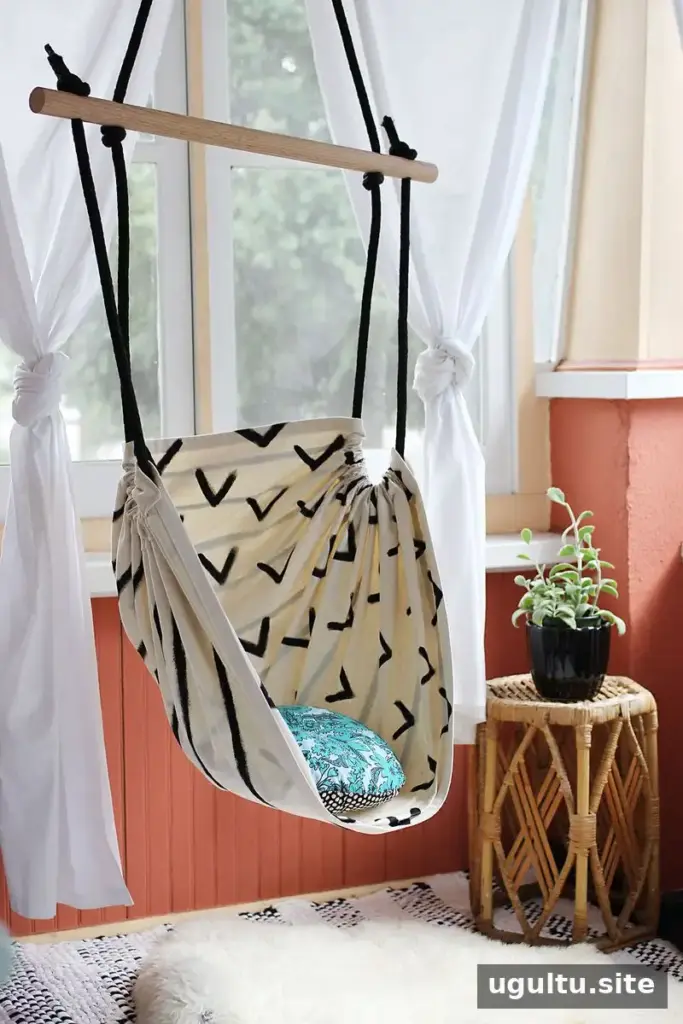
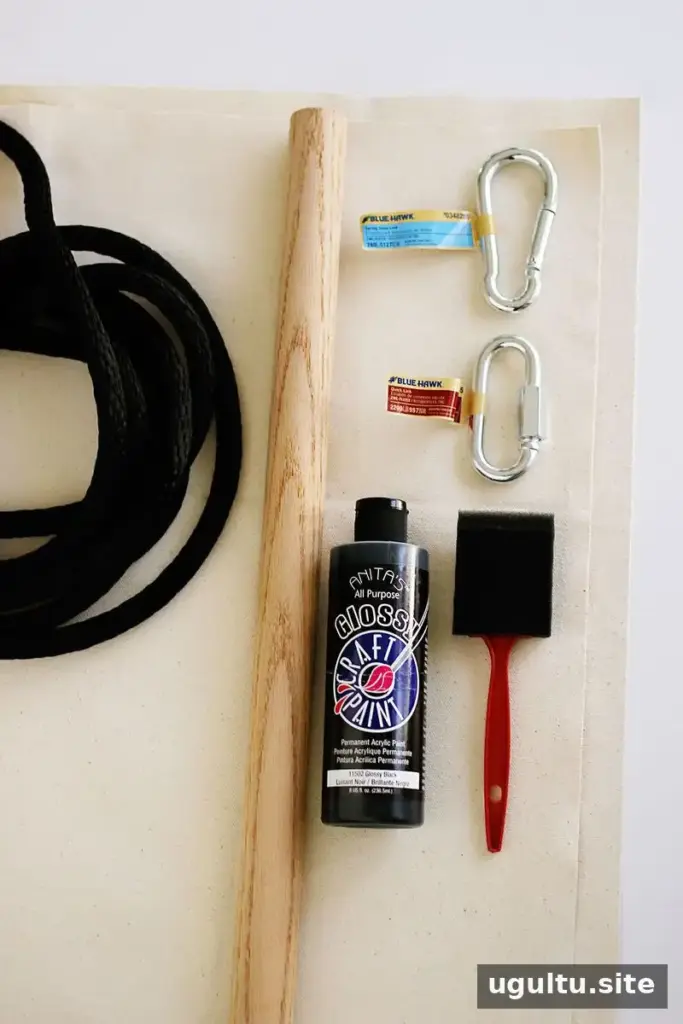
DIY Hammock Chair Materials and Tools
The original project cost was $35. Gather the following supplies before starting so you can measure, sew, and assemble the chair without interruptions.
- 1 1/4-inch by 3-foot oak dowel
- 3/8-inch by 16-foot braided polypropylene rope
- 2 yards of plain canvas
- 80 mm stainless steel spring snap link, rated to hold up to 220 pounds
- 3/16-inch stainless steel quick link, rated to hold up to 660 pounds
- Black fabric paint and a paintbrush
You will also need a drill with a 3/8-inch bit, a sewing machine, an iron and ironing board, shears, a ruler, and a lighter. Oak is a hardwood and is considered a safer choice than poplar for supporting weight. The hardware ratings are not a guarantee of the finished chair’s capacity: the rope, fabric, stitching, suspension point, and installation all affect safety.
How to Make a DIY Hammock Chair
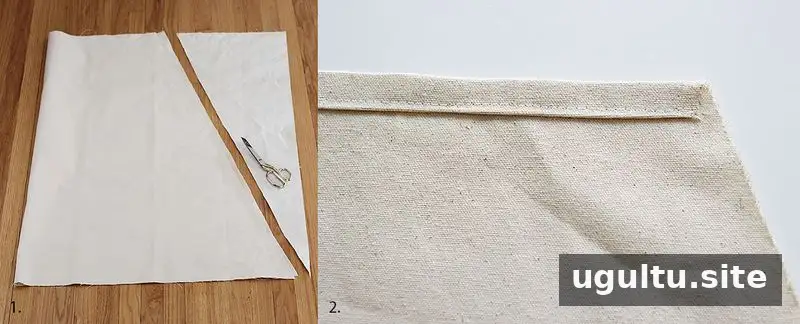
1. Cut the canvas seat shape
Fold the two yards of canvas in half and lay it flat with the folded edge on the left. Measure about 7 inches in from the top-right edge and mark the fabric. Draw a line from that mark to the bottom-right corner using a ruler or yardstick, then cut through both layers. Open the canvas. A cut of about 12 inches was found to be too deep for this design, so use the 7-inch measurement as a guide.
2. Hem the top and bottom edges
Fold the top edge over by 1/2 inch and press it flat. Fold it over another 1/2 inch, press again, pin, and stitch along the folded edge. Repeat these steps along the long bottom edge. Pressing each fold helps keep the hem even while sewing.
3. Fold and sew the rope pockets
Turn the canvas 90 degrees to the left so the longest edge is on the right. These side edges will become pockets for the rope. Fold each corner inward about 1 1/2 inches and press. Fold the unfinished top edge inward by 1/2 inch and press, then fold it again by 1 1/2 inches.
Sew two lines along the bottom of each folded section to form a reinforced pocket. Use backstitches at the start and end of each seam, then repeat on the other side. Strong, even stitching is important because the pockets help carry the seat’s load.
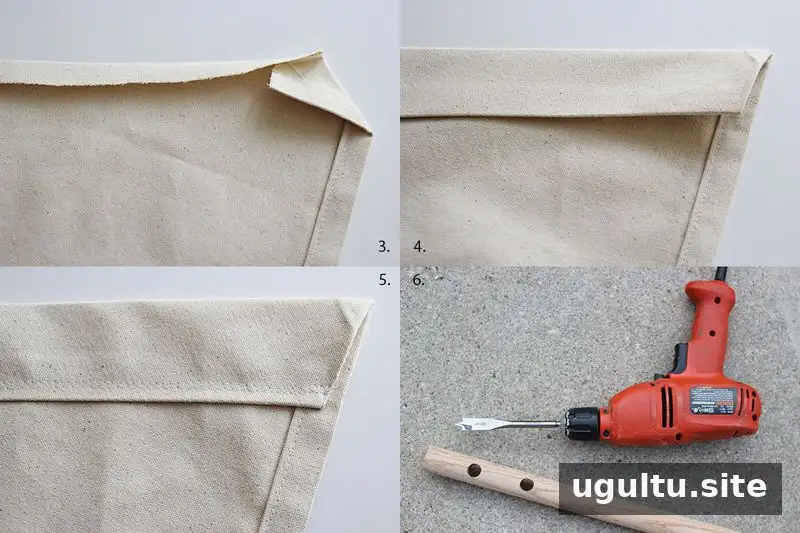
4. Drill the dowel
Mark points 2 inches and 4 inches in from both ends of the oak dowel. Drill through the dowel at the marks with a 3/8-inch bit. Sand any rough edges, and stain the wood if desired. Check that the holes are smooth so they do not snag or damage the rope.
5. Add an optional painted design
Place the canvas on a large piece of cardboard and paint a design on one side. Let the paint dry before decorating the other side, if you wish. This step is optional. If choosing printed fabric instead, use upholstery-weight or outdoor fabric so the material is suitable for a hanging seat.
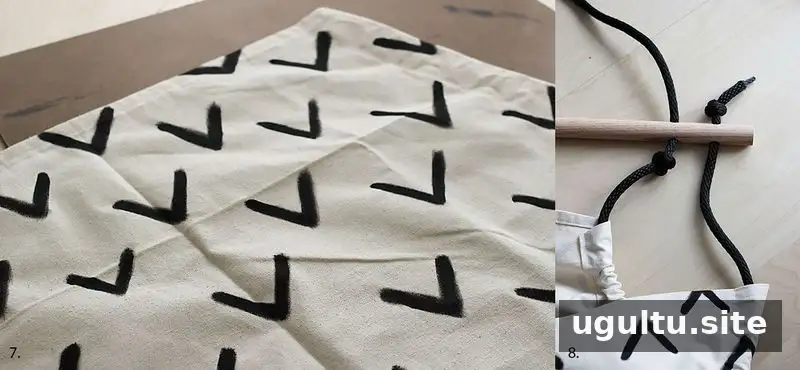
6. Thread and knot the rope
Tie a knot at one end of the 16-foot rope, leaving a tail of about 3 inches. Carefully melt the cut end with a lighter to help prevent fraying. Thread the rope down through an outer hole in the oak dowel, then through the canvas pocket from the widest corner of one side of the seat toward the narrower top corner.
About 3 feet from the first knot, tie another knot and thread the rope up through the dowel. Continue by threading it down through the hole 4 inches from the opposite end. Measure about 3 feet from the loose end and tie a loose knot. Pass the rope down through the other canvas pocket and back up through the last hole. Tie a final knot, leaving a tail of about 3 inches. Before tightening the knots, adjust them so both sides of the seat hang evenly.
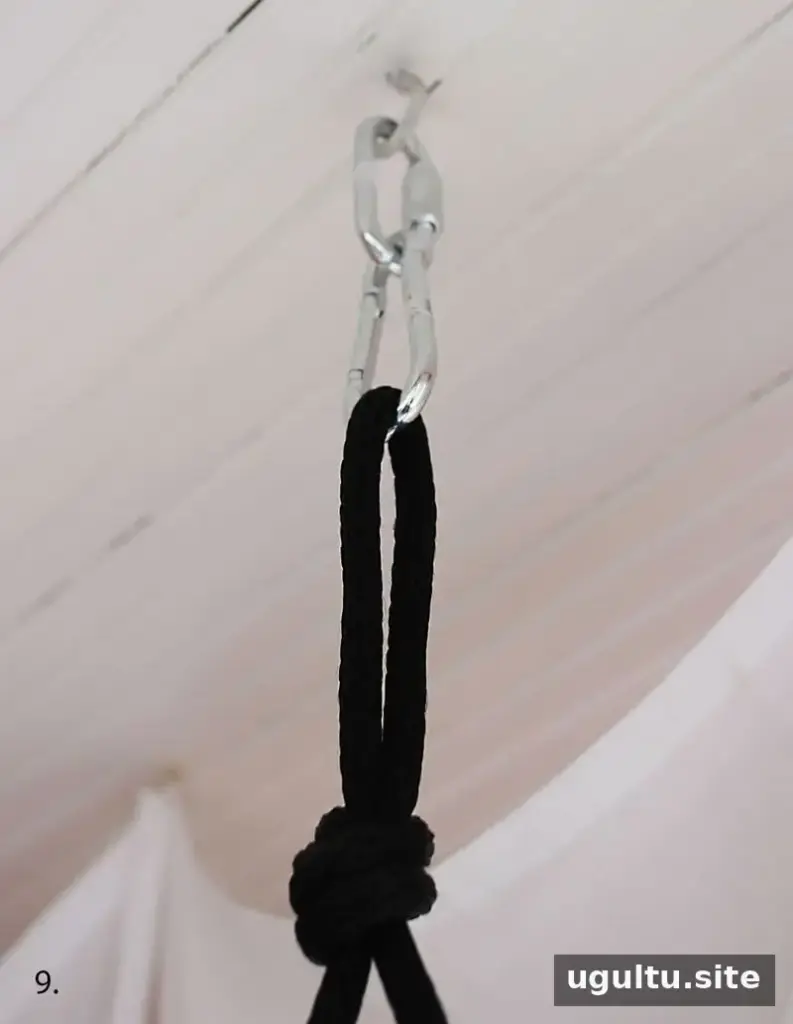
7. Attach the hanging hardware
Find the center of the rope above the dowel and tie a knot, leaving about 8 to 10 inches of rope above it. Attach the spring snap link, followed by the quick link. Hang the chair only from a hook securely installed in a ceiling beam or from a suitable large tree branch. Do not rely on drywall, an unsupported ceiling surface, or an uncertain branch.
Adjust the knots until the seat hangs level. Before sitting in the chair, check the seams, rope, links, mounting point, and all knots. Test the setup cautiously while keeping clear of the area beneath it, and do not use the chair if anything shifts, stretches, or shows signs of damage.
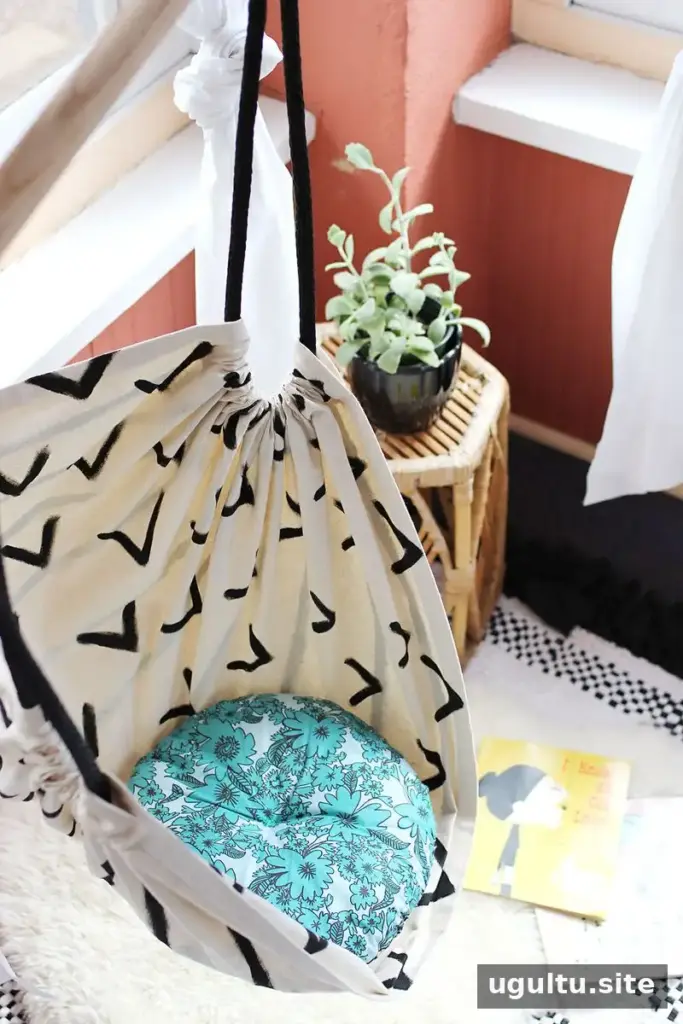
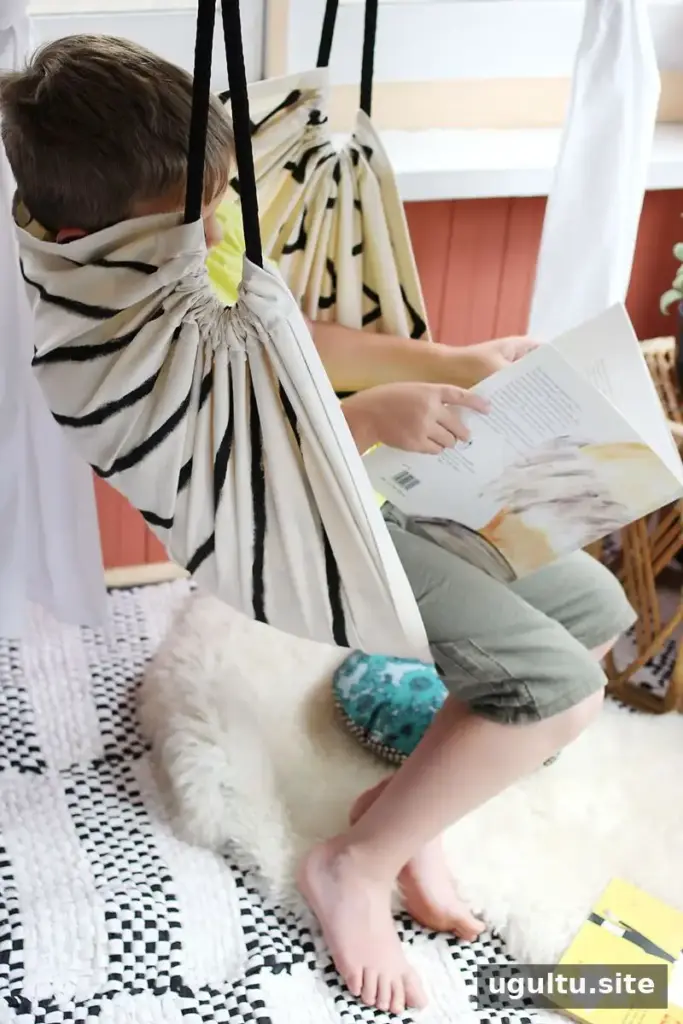
Comfort and Hanging Height
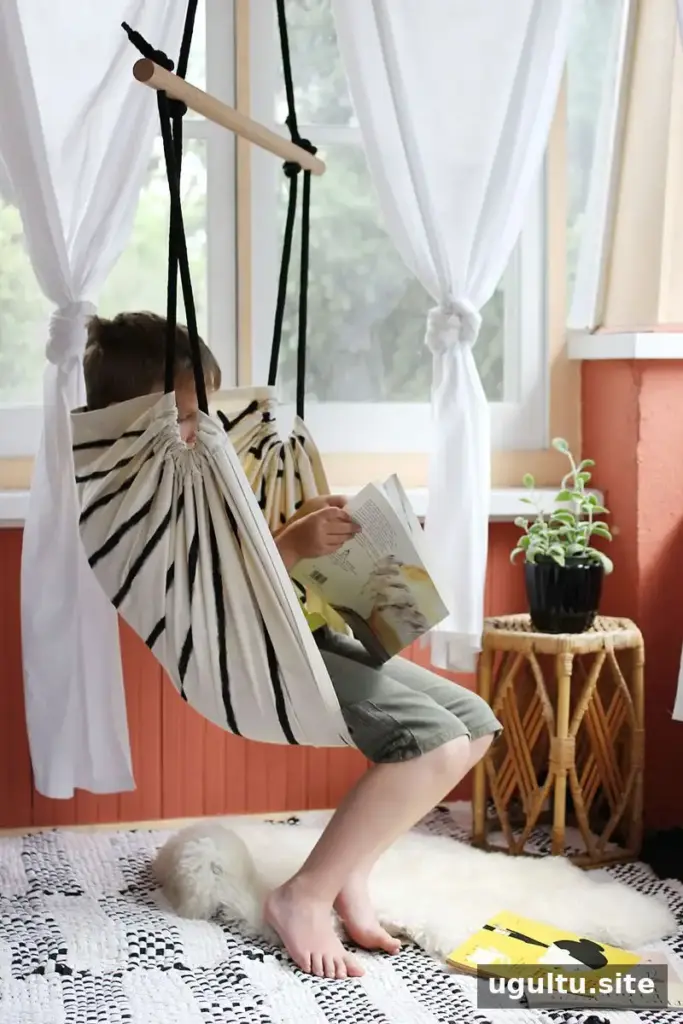
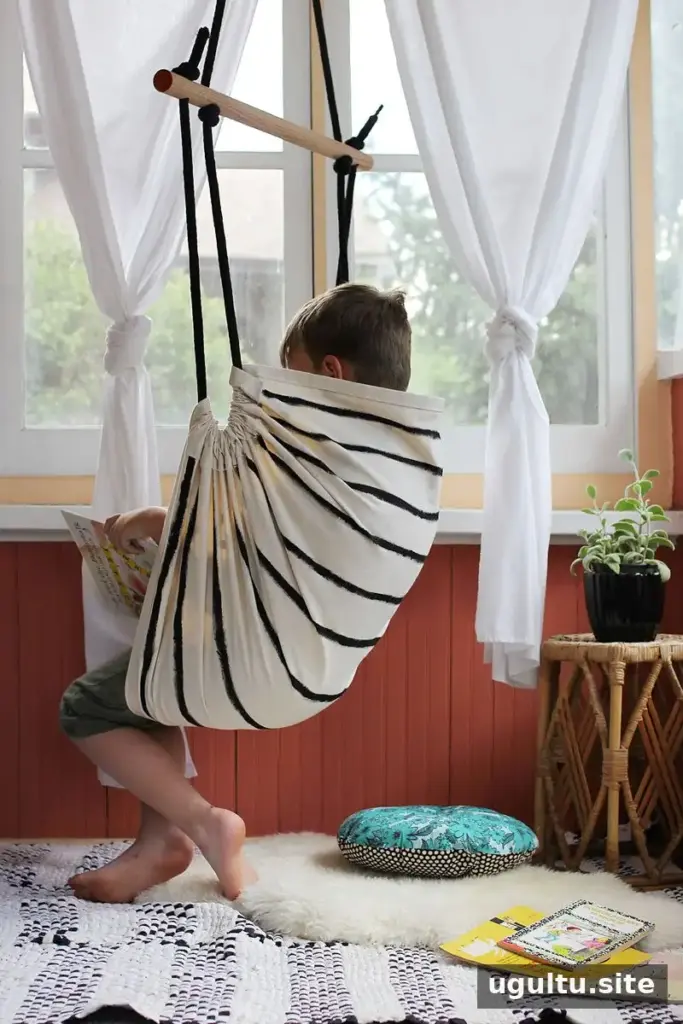
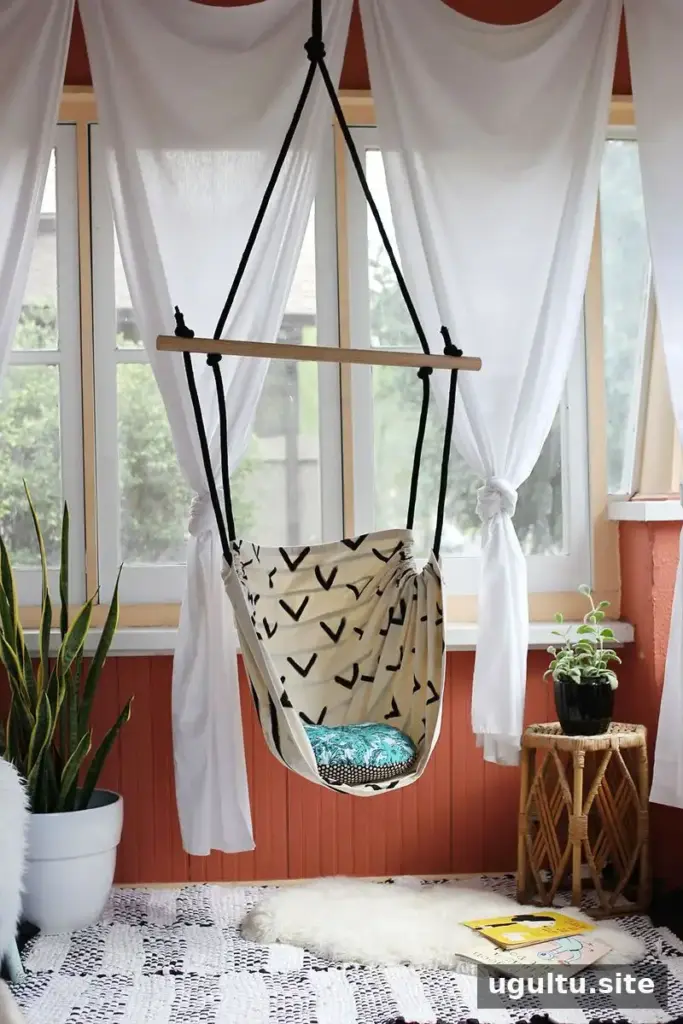
A soft, round pillow can be placed in the bottom of the seat for extra cushioning, particularly for smaller sitters. The hanging height can be adjusted to suit the available space. If the ceiling is higher than the porch ceiling used for this project, add another loop of knotted rope or use rope about 2 to 4 feet longer, depending on the ceiling height.
A rug or plants in woven planters can make the surrounding area feel more inviting. Keep the floor beneath the chair clear, and make sure there is enough space for the seat to move without striking nearby furniture or walls.
This DIY hammock chair project is credited to Rachel. Use it as a guide, and choose materials and a mounting point appropriate for the intended users and setting.