
 admin
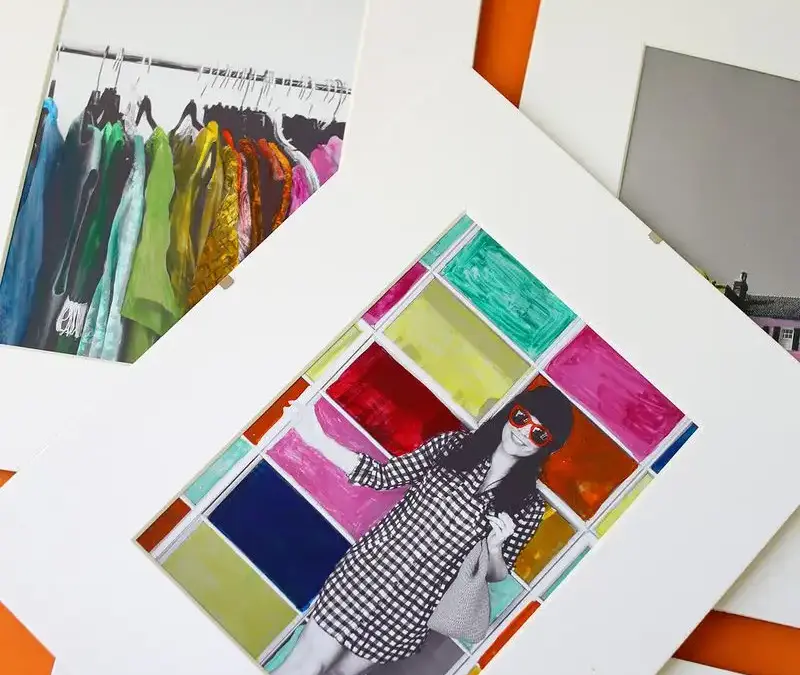
Hand-colored photographs combine the detail of a black-and-white print with the expressive look of watercolor. This approachable art project works well with favorite images, and a few test prints make it easy to explore color before settling on a finished design.
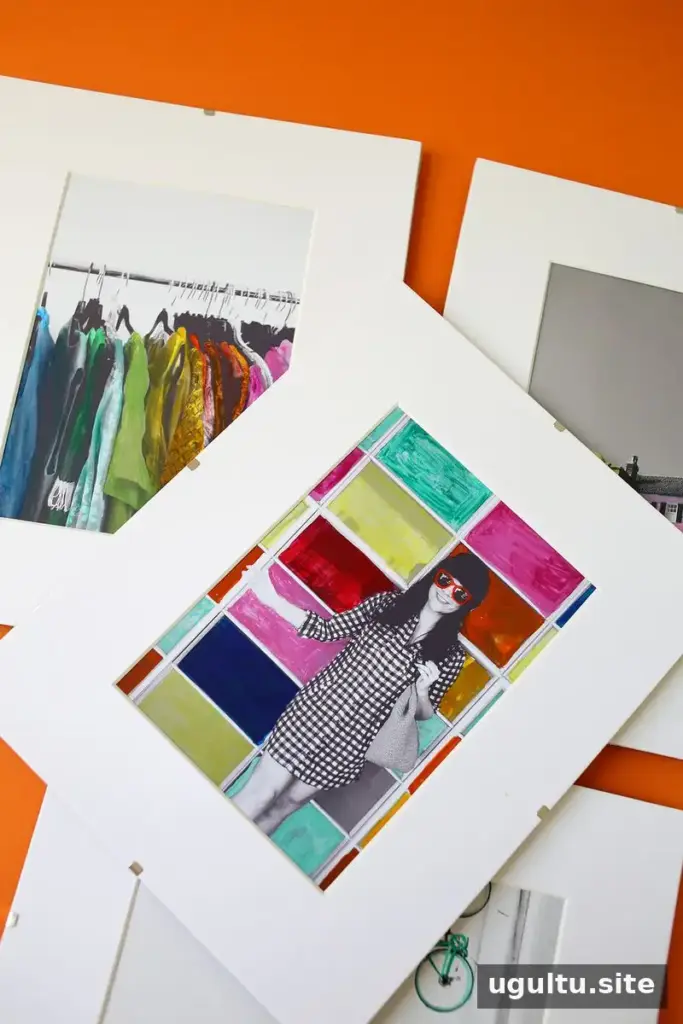
How to Make Hand-Colored Photographs
Begin with black-and-white photographs and print them on photo paper. One example setup uses 13 × 19-inch paper with four images arranged at 5 × 7 inches each. Preparing several prints at once gives you room to practice and compare different color choices.
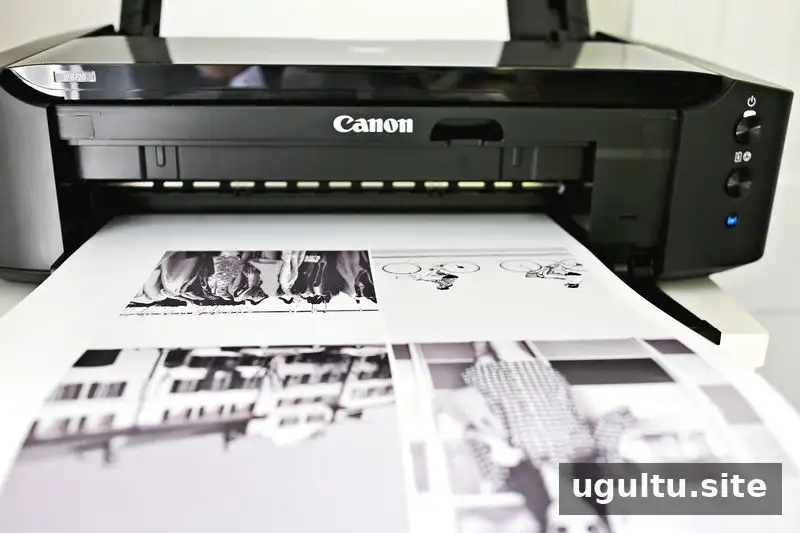
Choose photographs with clear shapes and a range of dark and light tones. The contrast helps the image remain defined after color is added. Images with broad areas of white or very pale tones may show brush marks more clearly, so they can be harder to color evenly.
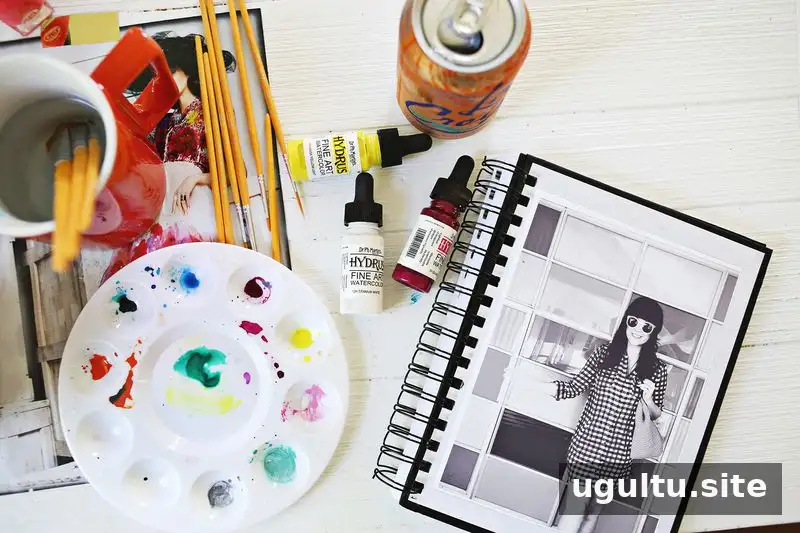
Supplies
- Printed black-and-white photographs
- Watercolor paints
- Paintbrushes in suitable sizes for both details and larger areas
- Water for diluting paint and rinsing brushes
Use a spare print to check how the paint behaves on your chosen paper before working on the image you plan to display. Paper finishes can respond differently to moisture, so use a light touch and avoid soaking the surface.
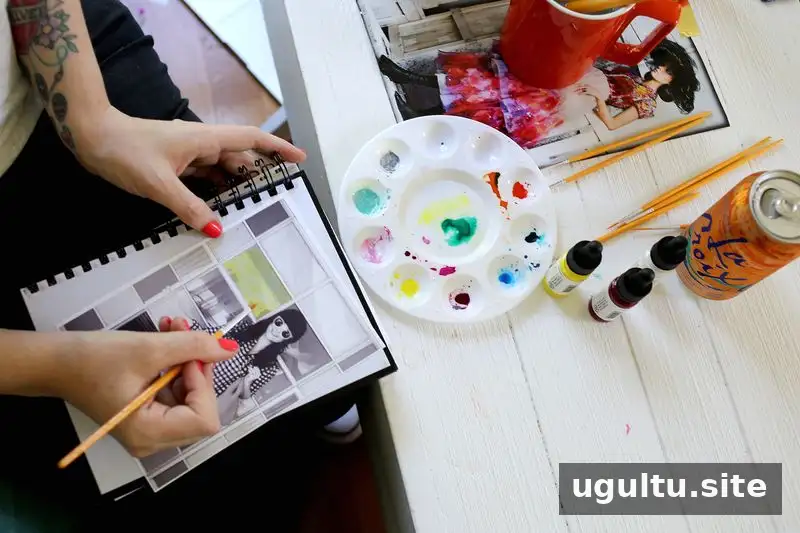
Apply Color Gradually
Start with a thin, diluted layer of paint. Build color slowly, allowing each application to show through rather than covering the photograph all at once. It is easier to add intensity in another light layer than to remove excess paint after it has been applied.
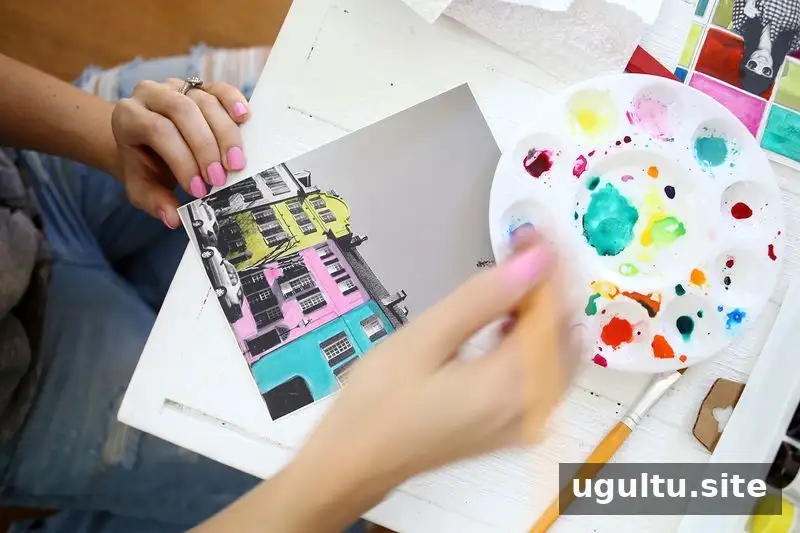
For a more natural-looking result, keep the photograph’s original shadows and contrast visible. You do not need to color every part of the image: leaving some areas untouched can create balance and draw attention to the details you do color.
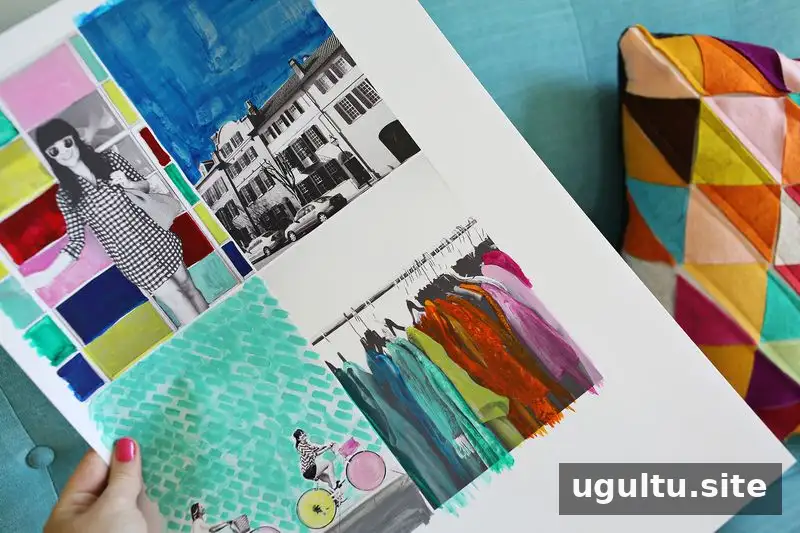
Experiment Before Choosing a Final Look
Print extra copies so you can test different colors and approaches. Try coloring only selected objects, changing the color of a single detail, or using a stronger palette for a playful, graphic effect. A test print is also useful for deciding how much water to use and how the paper handles brushstrokes.
Some areas may be more challenging than others. A large, open section such as a sky can be difficult to cover evenly; leaving it unpainted and focusing on nearby buildings or other defined shapes is one simple alternative. The best approach depends on the image and the look you want.
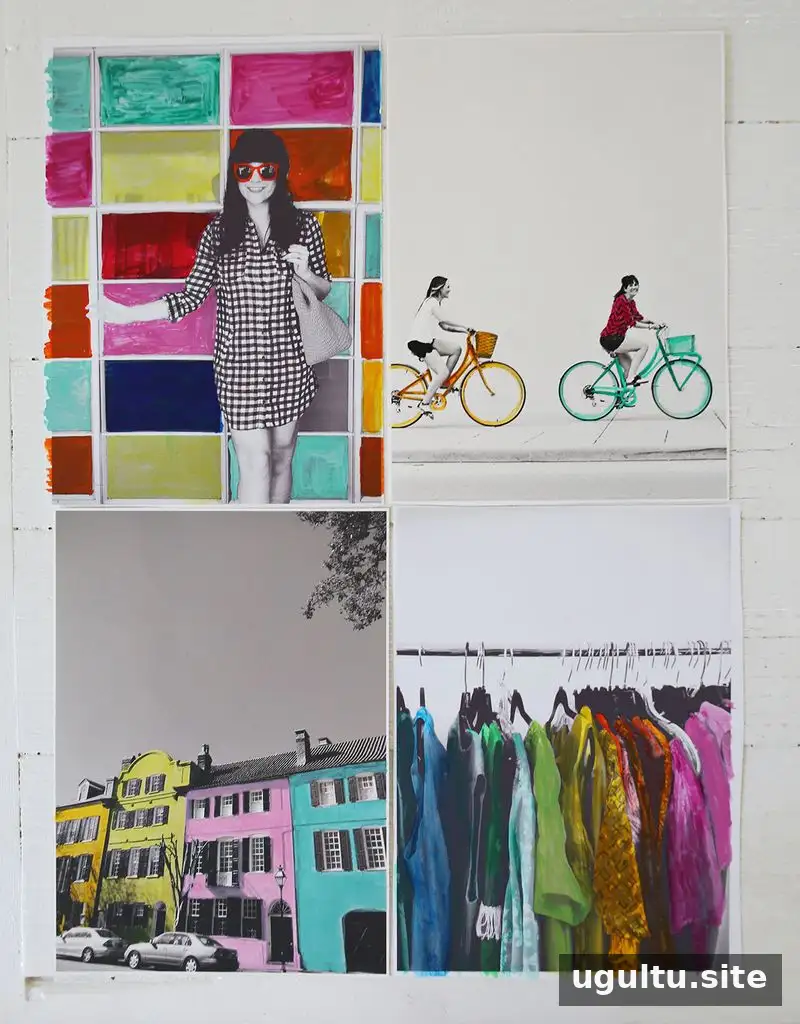
Experimenting with color and placement is a central part of the process. Compare your practice prints before committing to a final version, and remember that an unexpected result can still make an interesting artwork.
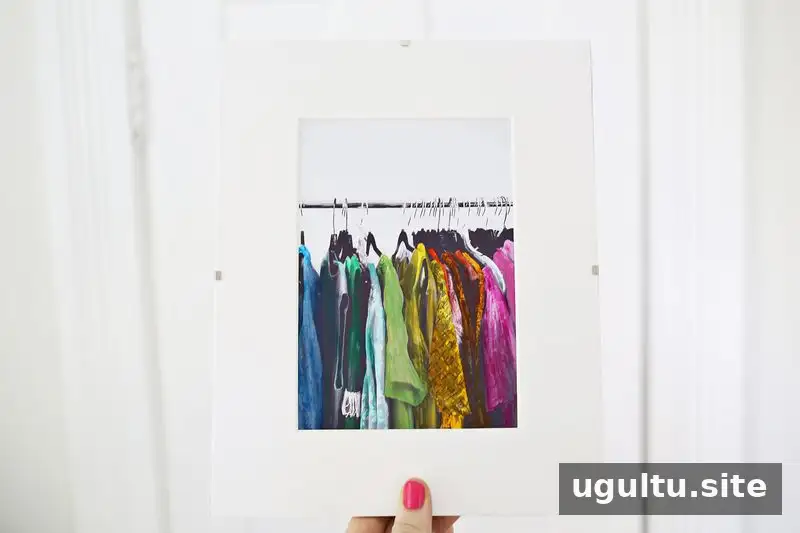
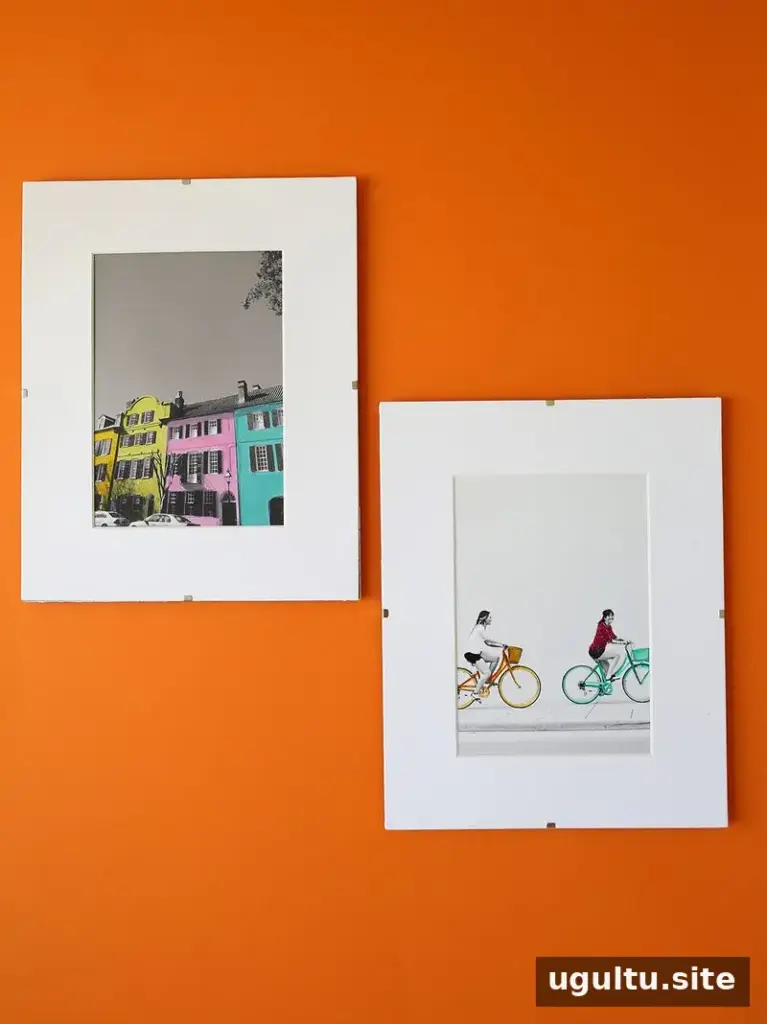
Display Your Finished Photographs
Once the paint is fully dry, consider framing the prints with simple frames and white mats. Displaying four photographs together in a grid can give the set a cohesive look, especially when the images share a similar color palette or subject.
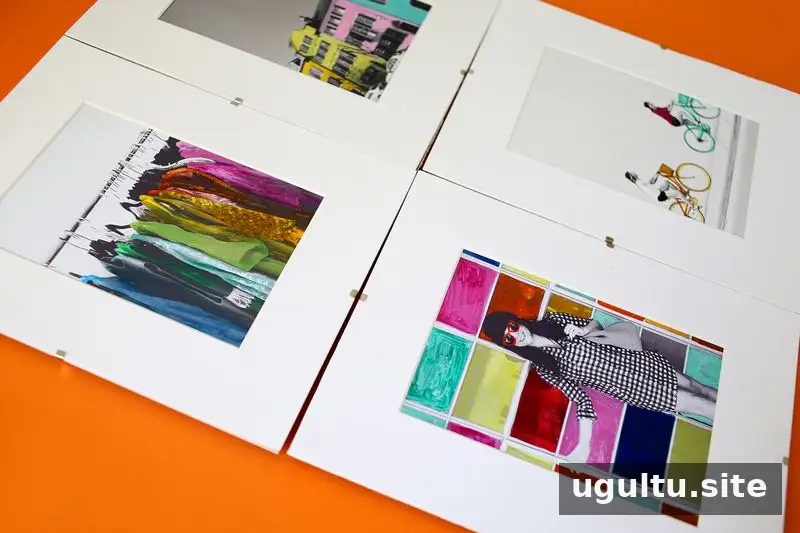
Final Tips for Hand-Colored Photographs
Hand-colored photographs are a flexible project for anyone who wants to add color to printed images. Choose high-contrast photographs, begin with diluted paint, and practice on extra prints. These small steps help protect the final image while leaving plenty of room to experiment with a style that suits you.
— Elsie


