admin
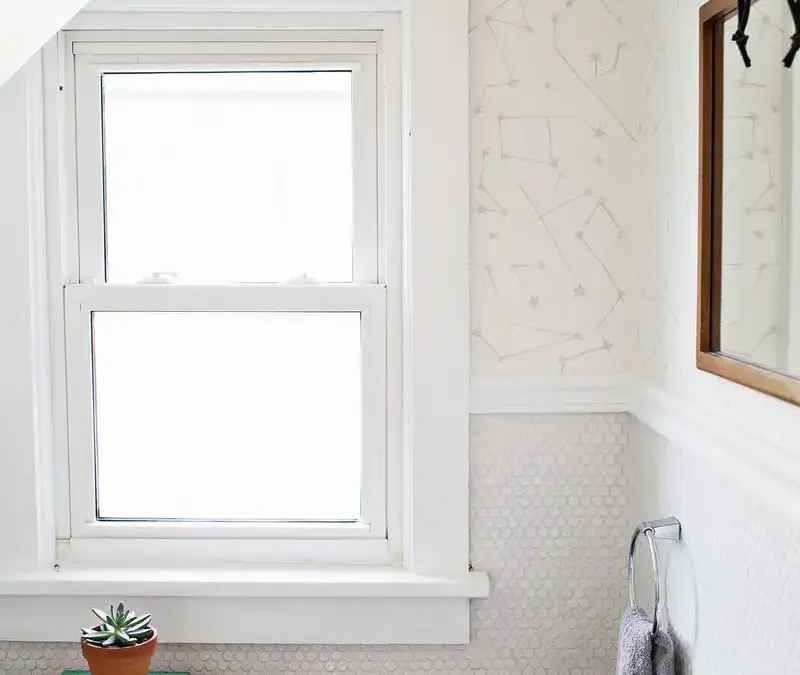
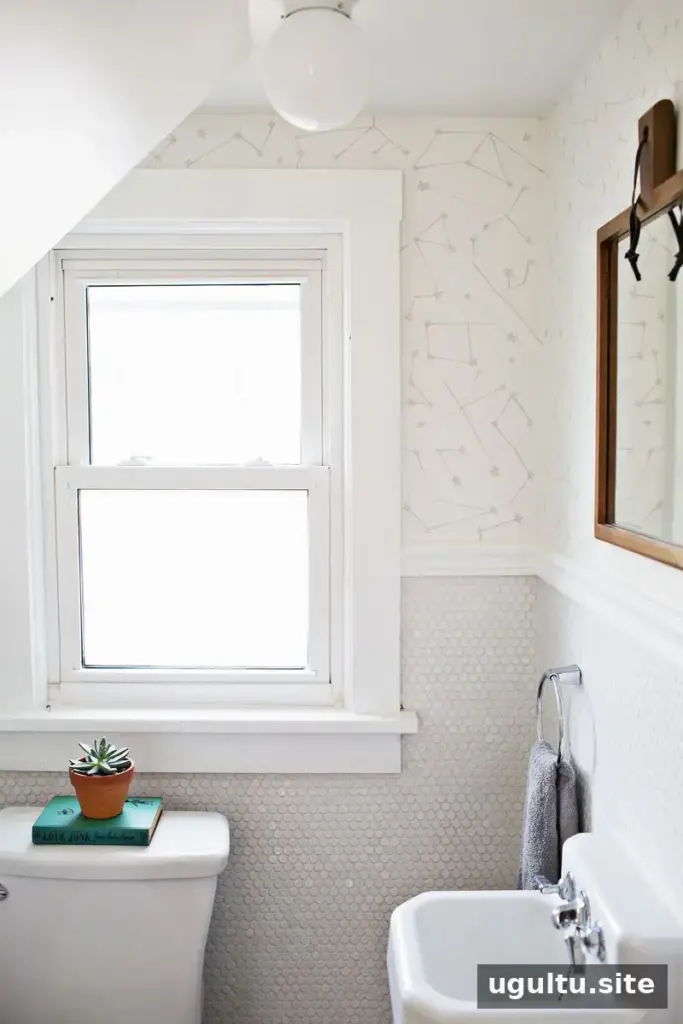
A hand-printed galaxy wall can add character and visual texture to a small room without making it feel crowded. Constellation patterns work especially well in a bathroom or other compact space: their fine lines and scattered stars create a playful detail while leaving the walls visually light. With a few homemade stamps, paint, and a constellation reference, this project can be adapted to suit your room and preferred level of contrast.
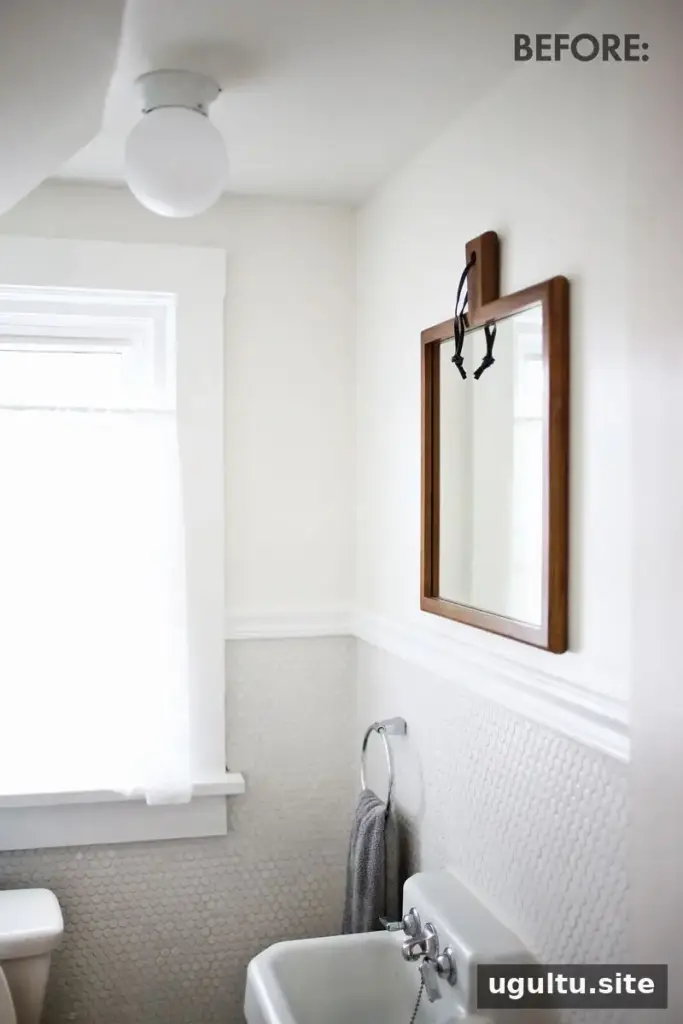
Plan a Hand-Printed Galaxy Wall
Before painting, decide how dense or subtle you want the pattern to appear. A lighter paint shade against the wall color creates a quiet, understated effect, while a stronger contrast makes the stars and connecting lines more prominent. The original design used the shade Silver Spoon for a noticeable but gentle pattern.
Print or keep a constellation chart nearby as a placement guide. You can follow recognizable constellations, invent your own arrangements, or combine both approaches. For a balanced result, plan the spacing across the wall before starting, and check that the pattern works around fixtures and corners.
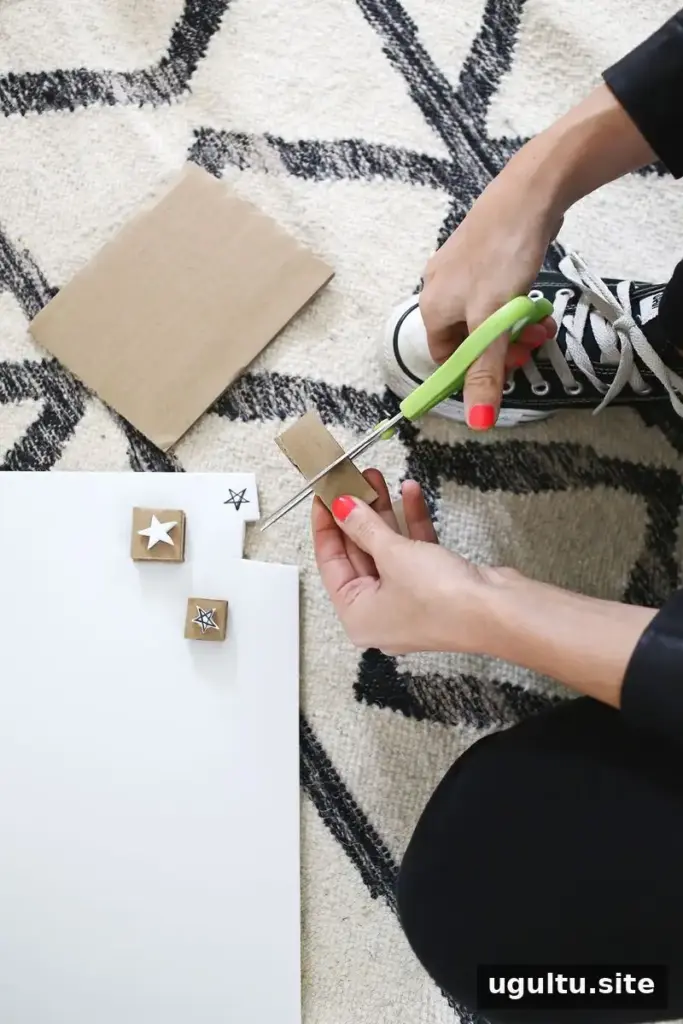
Make Reusable Star Stamps
Cut small star shapes from craft foam and attach them to cardboard scraps with all-purpose glue. Let the glue dry fully before using the stamps. Two layers of cardboard make a sturdier backing, which can help the stamp keep its shape as you work.
For cleaner impressions, prepare several copies of each small stamp. Tiny shapes can become less defined after repeated use, so switching to a fresh stamp from time to time helps maintain crisp edges. Make stamps in more than one size if you want the finished design to have varied stars.
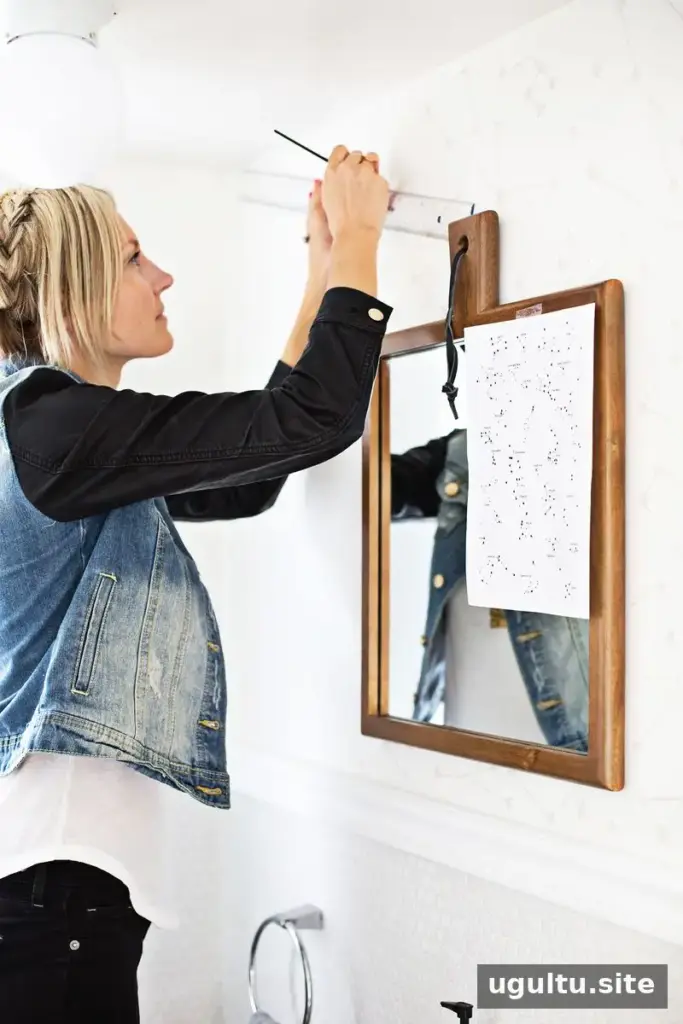
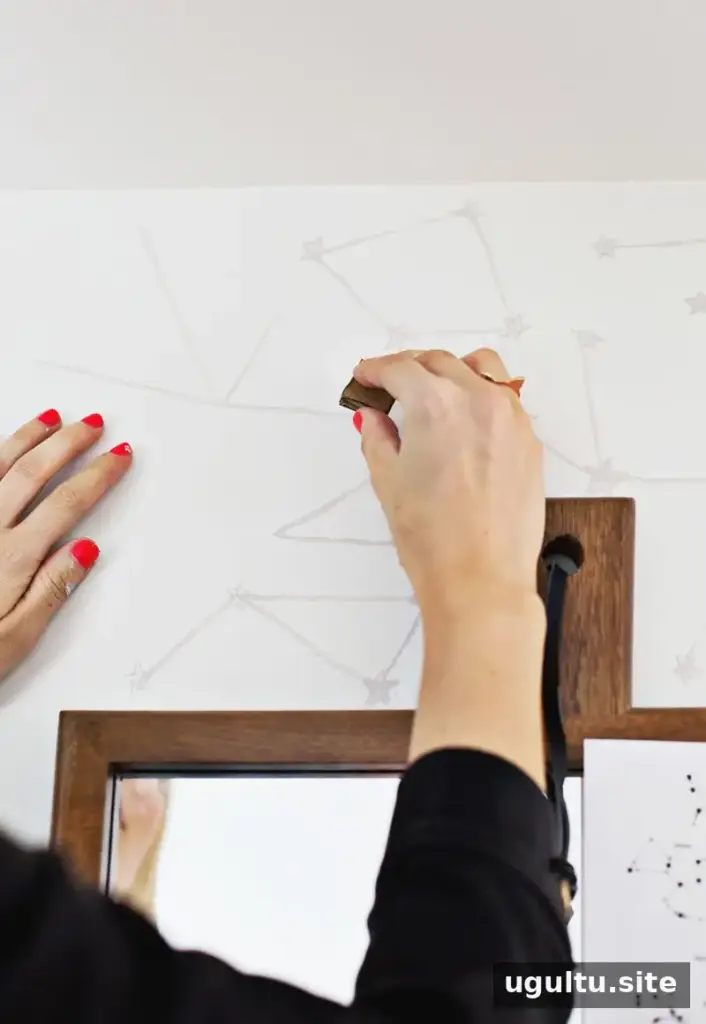
Paint the Constellations in Sections
Work on one section of the wall at a time. First, paint the connecting lines for the constellations, using your chart to guide the placement. Freehand lines can give the pattern an informal handmade look. If you prefer more control, use a clear ruler as a guide and wipe away any paint on it after each line so it does not transfer elsewhere.
Once the lines are in place, stamp the stars. Apply a small amount of paint directly to the stamp, position it at the end of a line or wherever a star belongs, and press evenly across the stamp. Avoid rocking it, since that can blur the shape. Test the stamp on scrap material first to check how much paint produces a clear print.
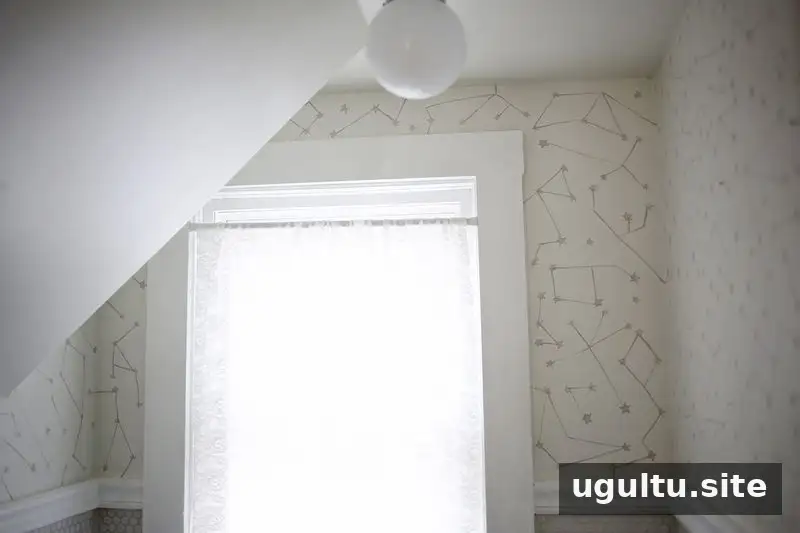
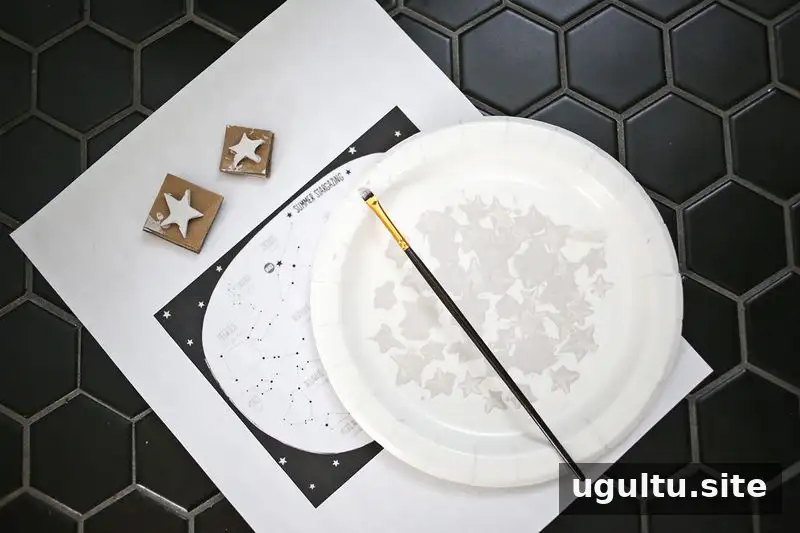
Painting the lines before stamping the stars makes it easier to judge the overall spacing and keep the design balanced. Alternate the larger and smaller stamps to add variation without making the pattern feel crowded. If the wall is newly painted, make sure its surface is dry and ready for another coat before beginning; follow the paint label for preparation and drying guidance.
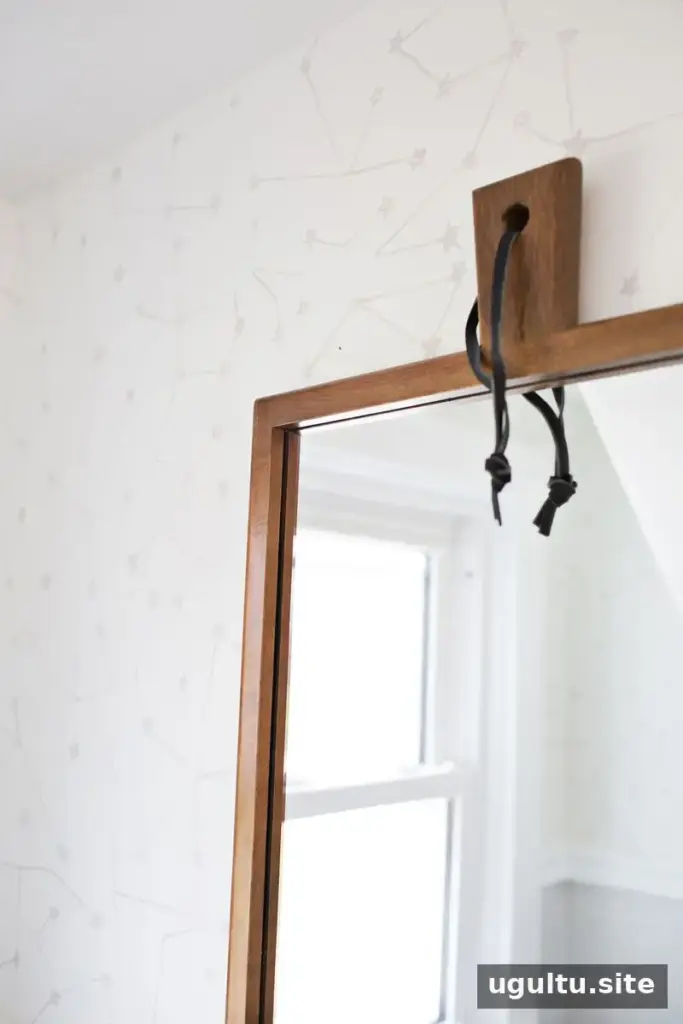
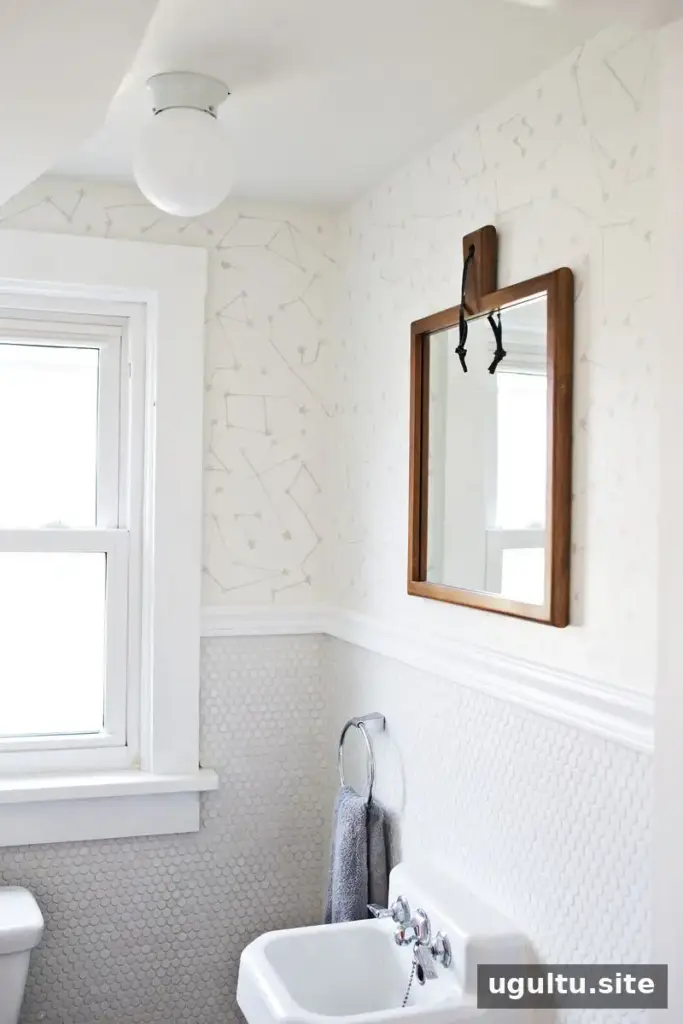
Finishing the Galaxy Wall
Step back occasionally to review the pattern from the doorway and from different parts of the room. This helps reveal areas that need more space or a few additional stars. Keep the design restrained if the room is small, and allow the paint to dry before touching or cleaning the finished wall.
A hand-printed galaxy wall brings a handmade, whimsical finish to a bathroom while keeping the overall look light. A mix of real and invented constellations makes the pattern personal, and the simple stamps can be reused for other craft projects. — Laura