
 admin
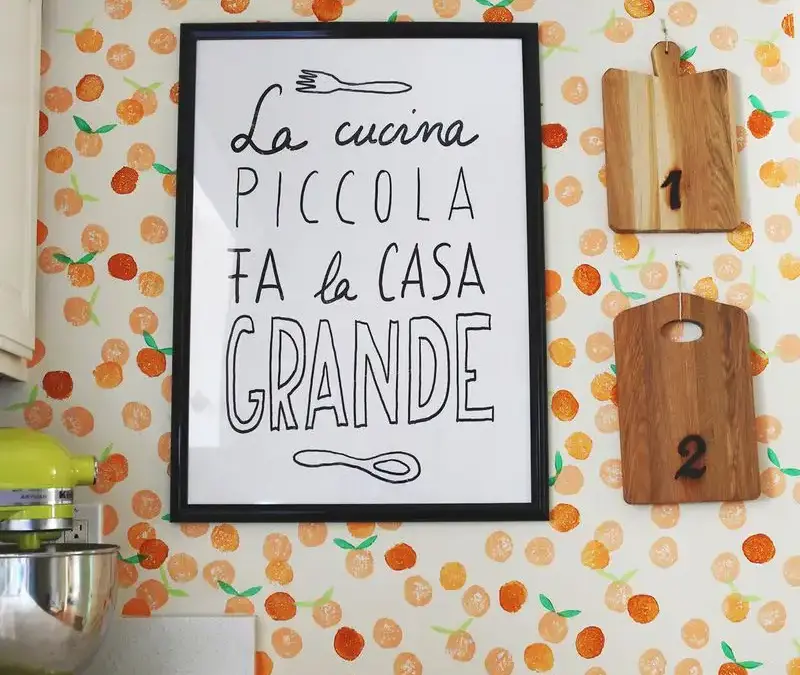
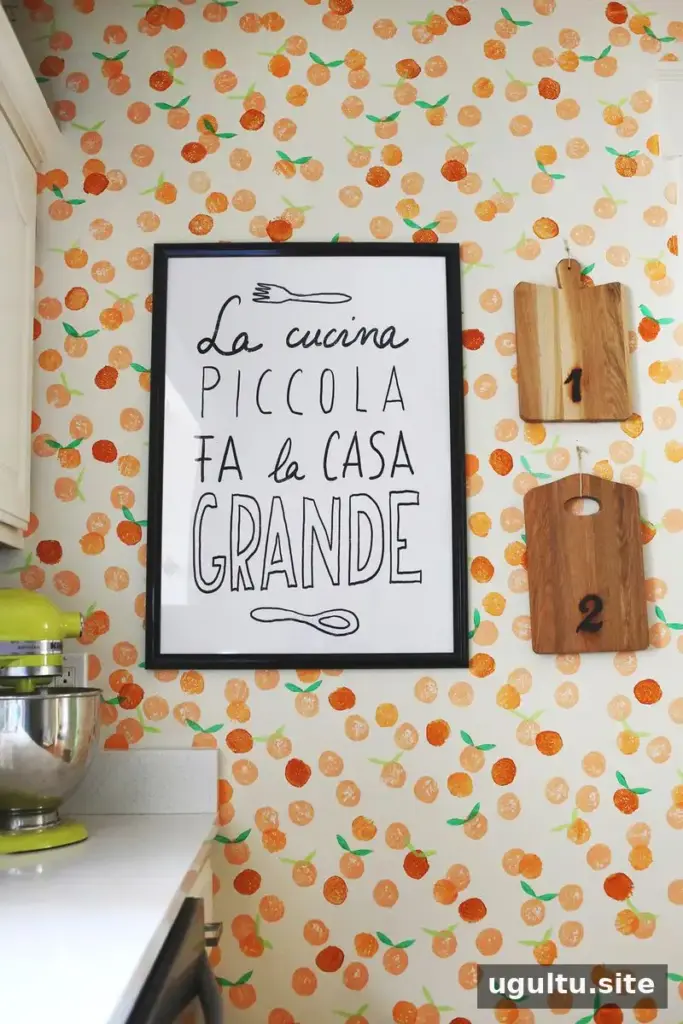
A hand stamped clementine wall can bring color and a wallpaper-like pattern to a room without requiring wallpaper installation. This project uses simple shapes cut from craft foam and three shades of orange paint, with green leaves added in a separate layer. It is a flexible way to create a lively accent wall, especially in a space with otherwise neutral decor.
The design was inspired by a print by artist Jorey Hurley and artwork by Anek, including the overlapping colors in a plum print. The finished pattern has an intentionally informal look: each clementine receives one stamp impression, without filling in gaps or correcting every edge.
Materials for a hand stamped clementine wall
The project took two afternoons of intermittent painting, with drying time between colors. Gather the materials before starting so the stamps and paint are ready when you begin.
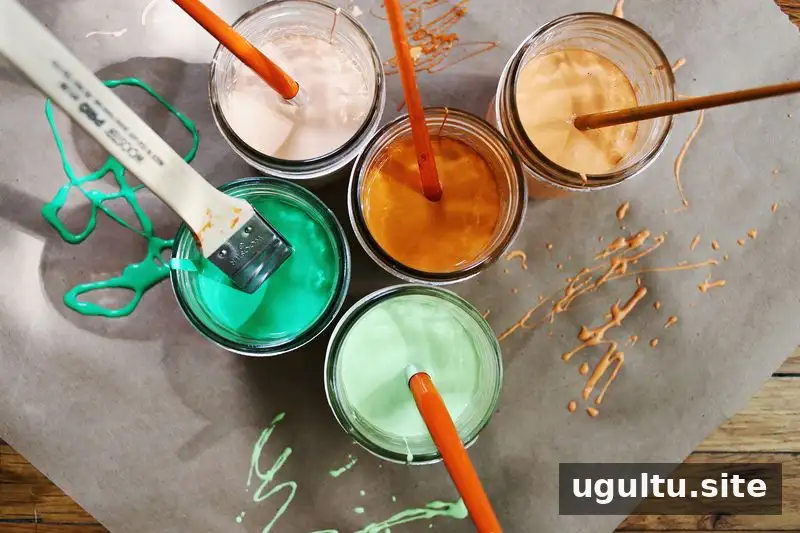
- Interior paint in Orange Grove, Indian Paint Brush, Pumpkin Patch, Tart Apple, and Herbal Tea
- Three orange paint shades for the clementines and two green shades for the leaves
- 1-inch paintbrush
- Step ladder
- Craft foam, cardboard, and glue
Before painting, check that the wall is clean and dry, and protect the floor and nearby surfaces. Test each stamp on a piece of scrap cardboard or paper first; this helps you see how much paint to apply and how the shapes look together.
Make the clementine and leaf stamps
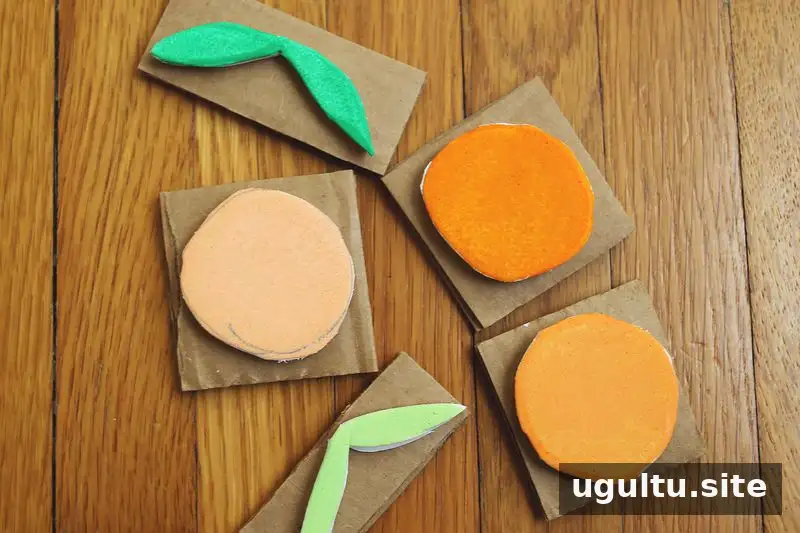
Cut imperfect circles about 2 inches across from the craft foam to make the clementines. Cut leaf shapes as well, making a separate stamp for each color. Glue each foam shape onto a cardboard square to create a firm handle for pressing it against the wall.
Keep the shapes slightly irregular for a relaxed, hand-printed appearance. Prepare one stamp for each paint color so you can work through the shades without repeatedly cleaning and repainting a single stamp.
Stamp the orange layers
Start with the lightest orange. Use the small brush to apply a very thin, even coat of paint to the stamp. Press it firmly onto the wall, then press around the edges with your fingers to help the foam make contact.
Cover roughly one-third of the planned clementine impressions with the lightest shade. Arrange the marks in a scattered but balanced pattern across the wall. Leaving space between some shapes and allowing others to overlap creates variation without making the design feel crowded.
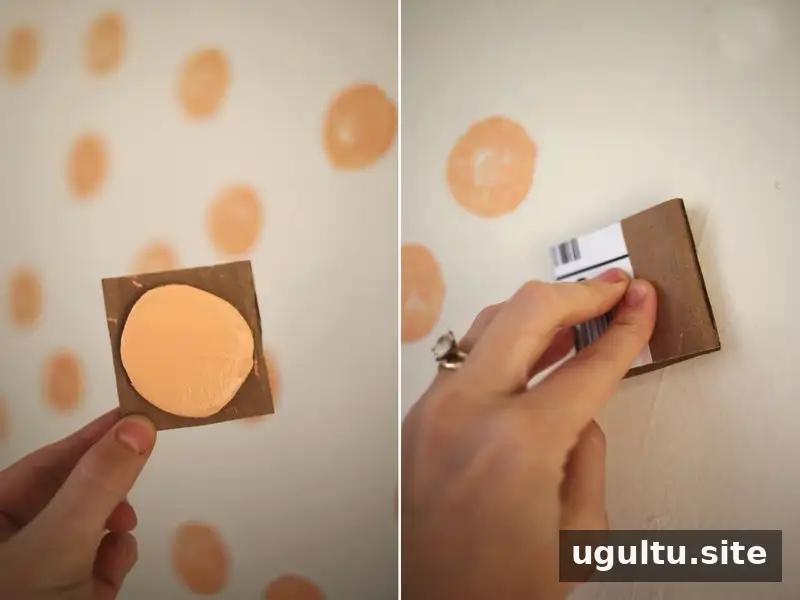
When the first shade is complete, move to the next orange and repeat the process. Mix overlapping fruit shapes, small clusters, and individual impressions. Step back regularly to view the pattern from a distance and check whether the colors are distributed evenly.
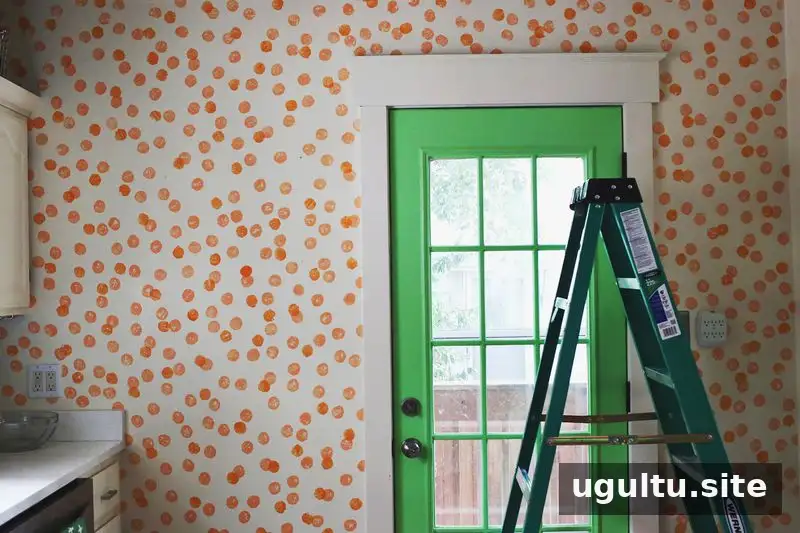
Add the darkest orange as the final clementine layer. If you are unsure how many impressions to make, begin with fewer. It is easier to add stamps later than to correct a wall that feels too dense.
Add leaves and finish the edges
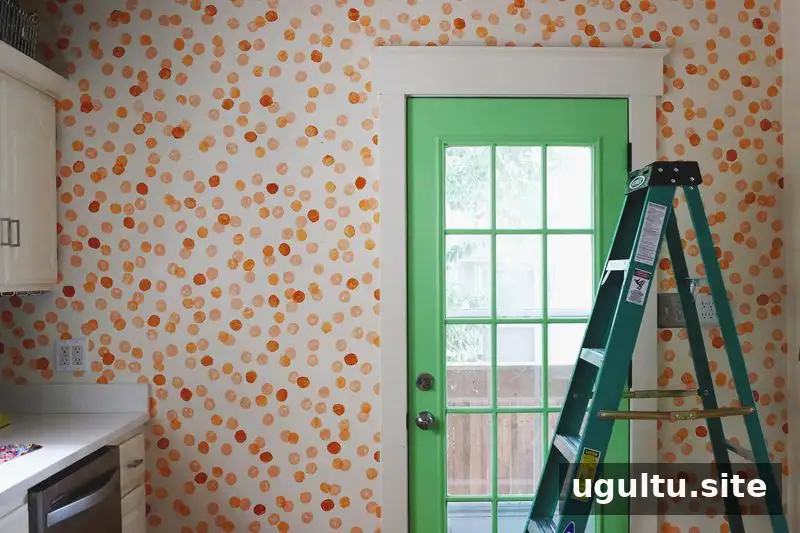
Stamp the green leaves one color at a time, allowing each paint color to dry completely before moving on to the next. Taking time between layers helps prevent smudges and keeps the colors distinct.
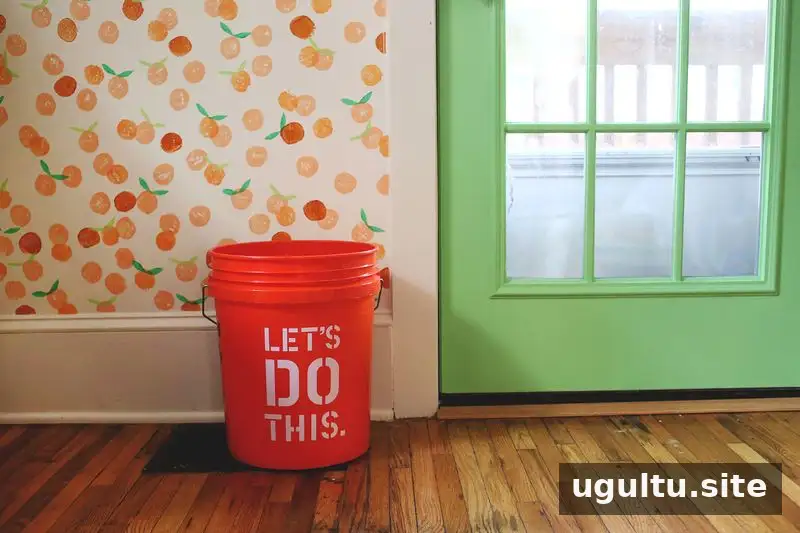
For a large wall, step back after each color to assess the overall balance. If a mistake happens, wipe the wet paint with a damp paper towel and try again. The pattern may look unfinished during the early stages; the layered colors help it come together as the design progresses.
Use half-circle stamps along the edges of the wall. These partial shapes help the pattern appear more like wallpaper and create a neater transition at the boundaries.
Enjoy the finished accent wall
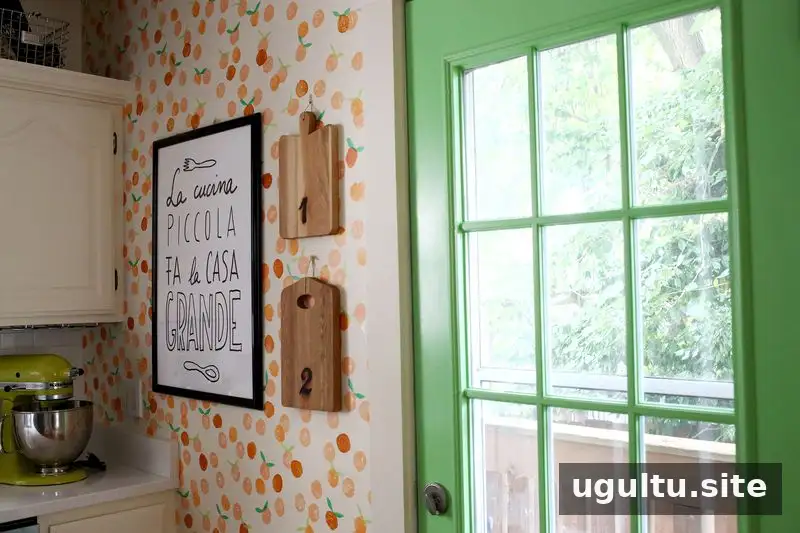
From across the room, the repeated shapes create the impression of patterned wallpaper. Up close, the uneven outlines and overlapping colors give the wall a more handmade, illustrative quality.
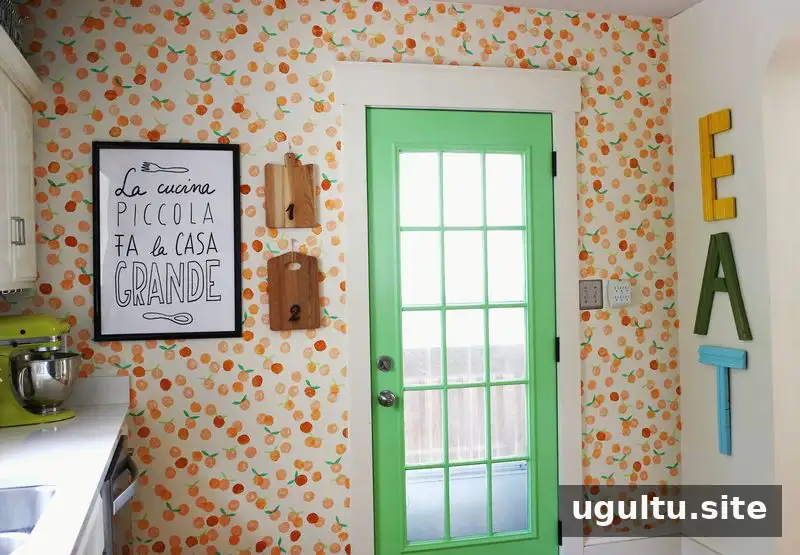
A colorful accent wall can make a kitchen or another neutral room feel more inviting. For a similar result, keep the stamp spacing varied, use the paint colors in separate layers, and pause often to check the pattern from a distance.
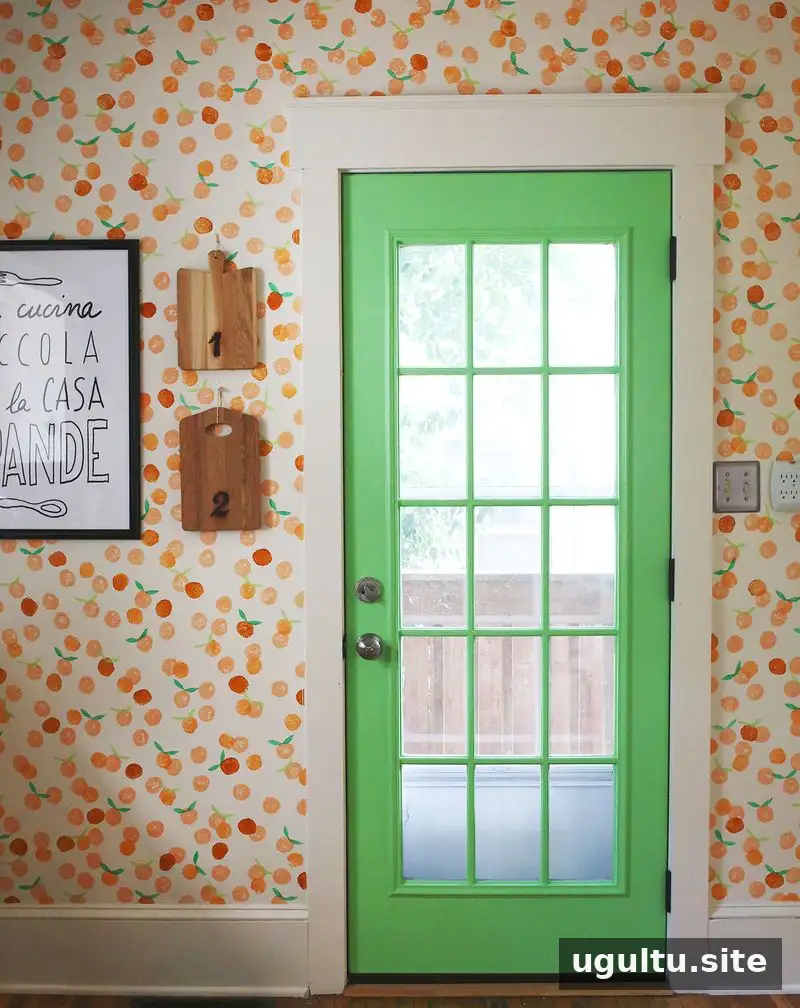
A hand stamped clementine wall is a customizable way to add color and character with basic materials. Start with a light touch, build the design gradually, and add extra impressions only where the wall needs more visual balance.


