
 admin
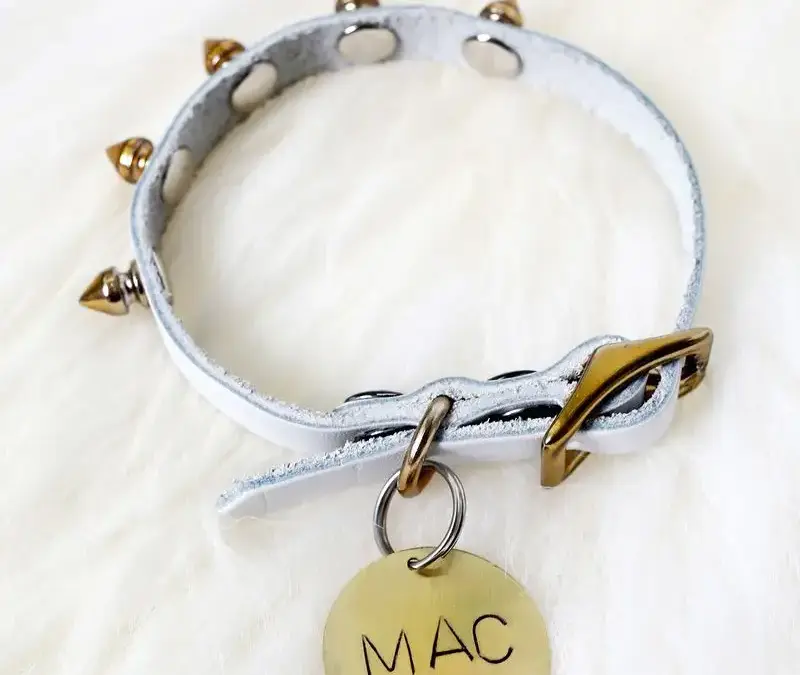
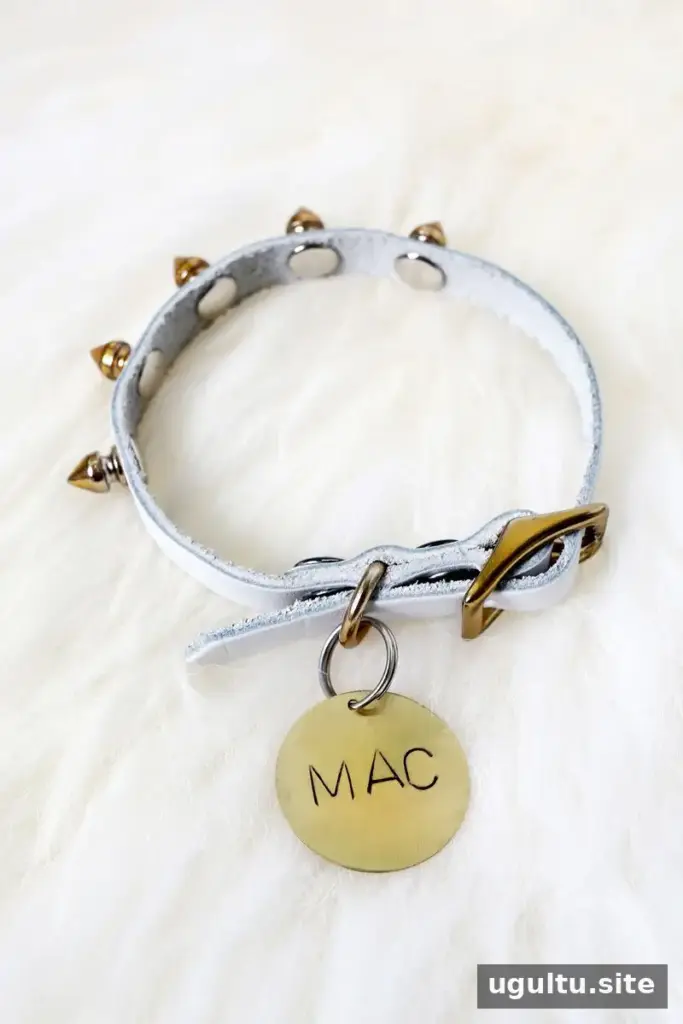
A hand-stamped pet tag is a simple way to add a pet’s name to a collar and make identification easier if they wander away. With a metal stamping blank, letter punches, and a hammer, you can create a personalized tag at home. Choose a blank that suits the collar and the amount of information you want to stamp; a name and a phone number may require more space than a name alone.
Why make a hand-stamped pet tag?
A visible ID tag can help someone who finds a lost pet identify whom to contact. A personalized tag can also give a plain collar a more individual look. Before starting, consider the tag’s weight and size so it is comfortable for your pet and does not interfere with the collar.
For useful identification, you could stamp a pet’s name on one side and a contact number on a second tag. Check that the number is current and legible, and remember that a collar tag is only one part of a pet’s identification.
Materials for a stamped pet ID tag
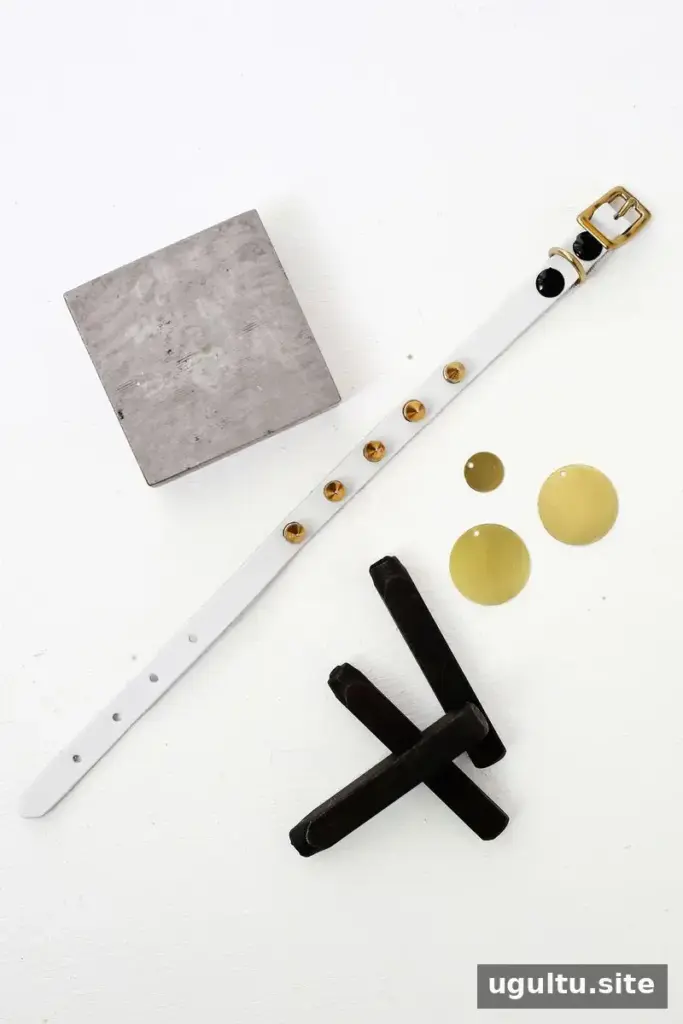
Gather the following tools and supplies before you begin:
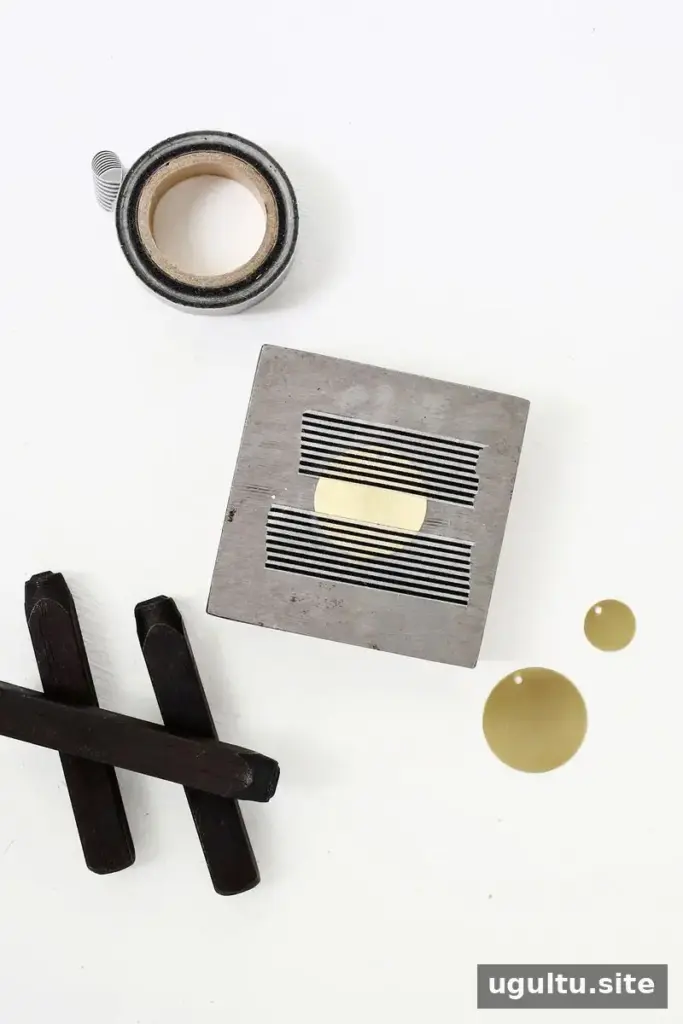
- Jeweler’s bench block
- Round stamping blanks
- Letter stamp punch set; the example uses letters that are 6 mm tall
- Hammer
- Washi tape or painter’s tape
- Jump ring or small split key ring
- A collar that fits your pet
- Black marker and rubbing alcohol (optional, to make the stamped letters stand out)
How to make a hand-stamped pet tag
1. Secure the blank
Place the round blank on the jeweler’s block. Use tape to hold its top and bottom edges in place, leaving a gap slightly taller than the letter stamp. The tape can also serve as a guide to help keep the letters in a straight line. Make sure the blank cannot shift before you strike it.
2. Stamp the name
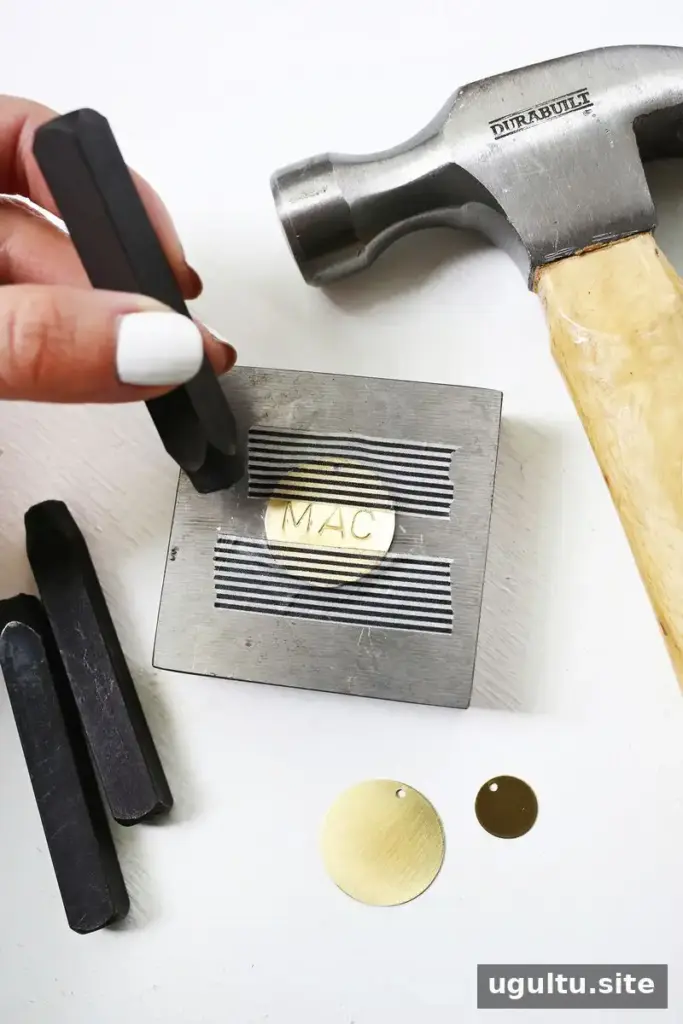
Arrange the letters in order before stamping. Begin with the middle letter, then work outward, adding the next letters on each side until the name is complete. Use two or three firm hammer strikes for each letter, keeping the punch upright and steady. The exact number of letters that fit depends on the blank size and the stamp size.
Practice on spare blanks first if you have them. A short test can help you get used to the force and positioning needed, and gives you a chance to check how the chosen name fits before working on the final tag.
3. Improve the lettering’s contrast
To make the stamped grooves easier to see, color them with a permanent marker. Wipe across the surface with a paper towel or cotton ball lightly moistened with rubbing alcohol to remove excess ink from the flat metal. Use the alcohol carefully and let the tag dry before attaching it to the collar.
4. Attach the tag and check the fit
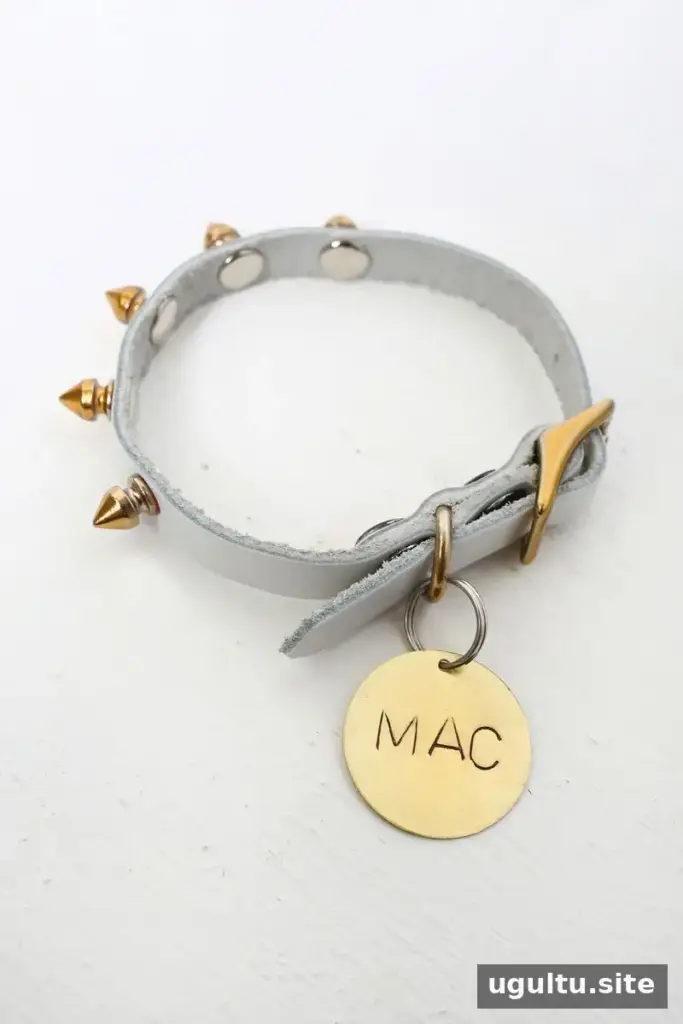
Use a jump ring or small split key ring to attach the finished tag to the collar. Check that the ring is closed securely and that the tag hangs without catching on other collar hardware. Fit the collar according to its manufacturer’s instructions and inspect the attachment periodically for wear or looseness.
Choosing a tag and collar for your pet
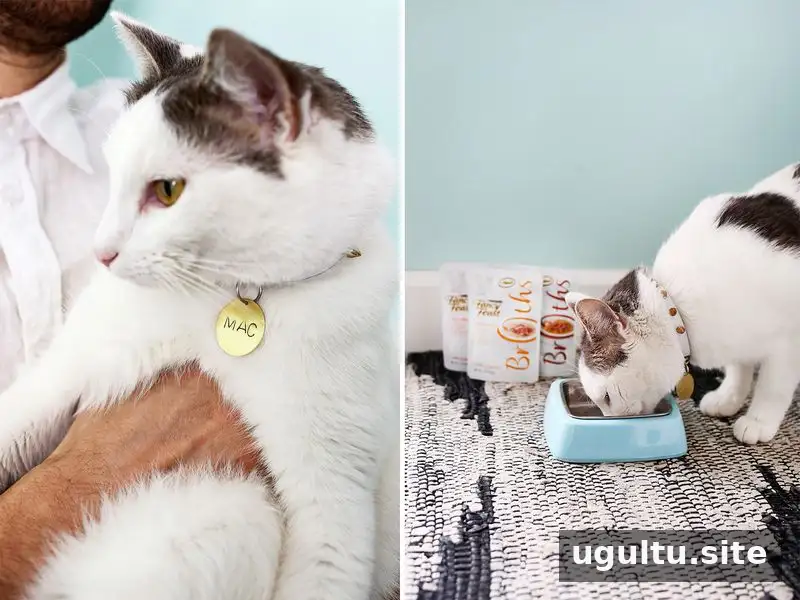
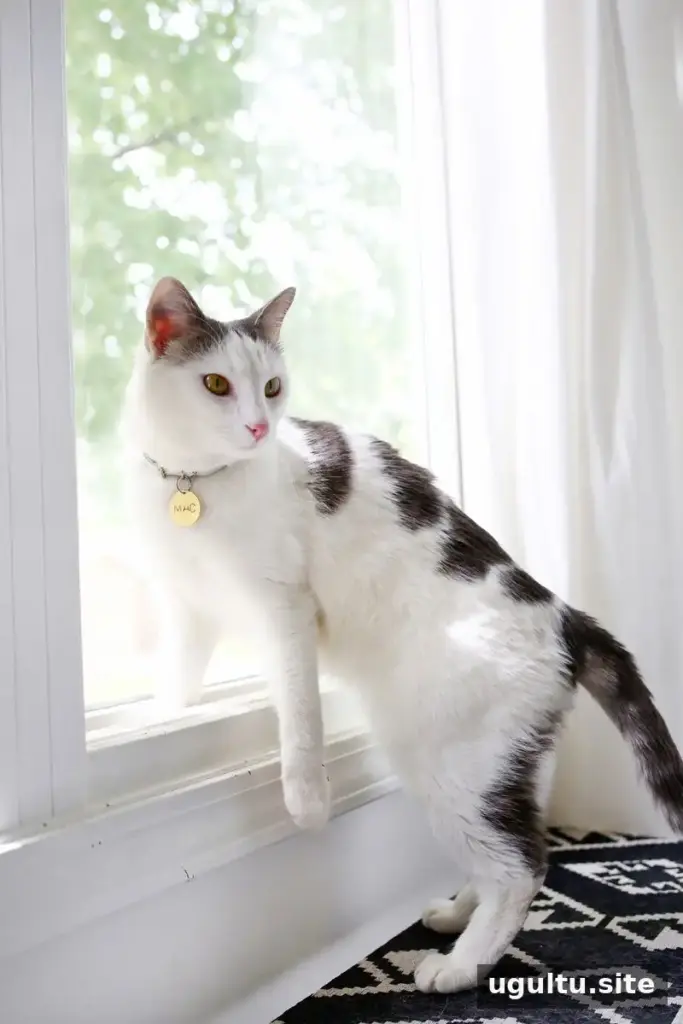
If a full name will not fit, a smaller blank with an initial is another option. A separate tag can carry a phone number, provided the lettering remains clear and readable. For cats, consider a properly fitted breakaway collar, which is designed to release if it becomes caught; choose equipment that suits your pet and follow its fitting instructions. Dogs can wear personalized tags too, as long as the tag and collar are an appropriate size.
A hand-stamped pet tag is a practical DIY project that combines personalization with visible contact information. Take time to practice the lettering, confirm the tag is firmly attached, and check the collar regularly so the finished hand-stamped pet tag remains comfortable and useful.
By Laura


