admin
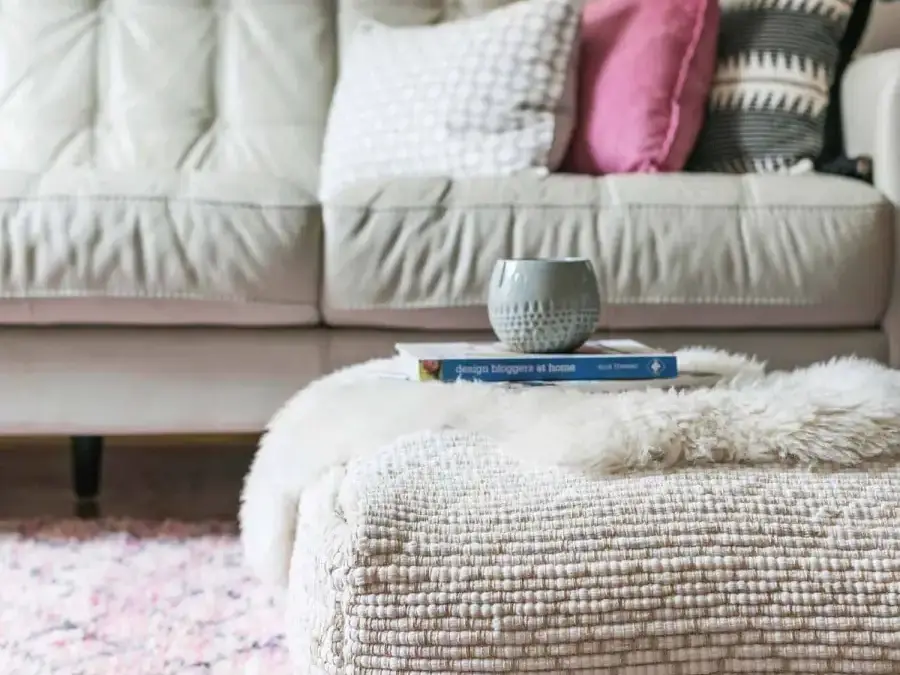
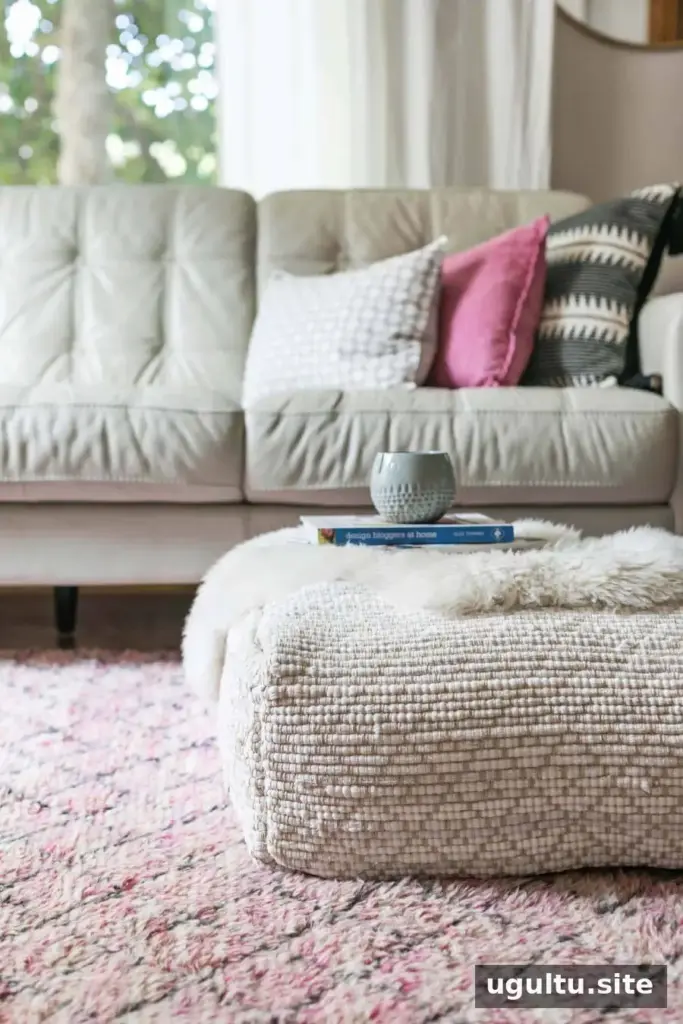
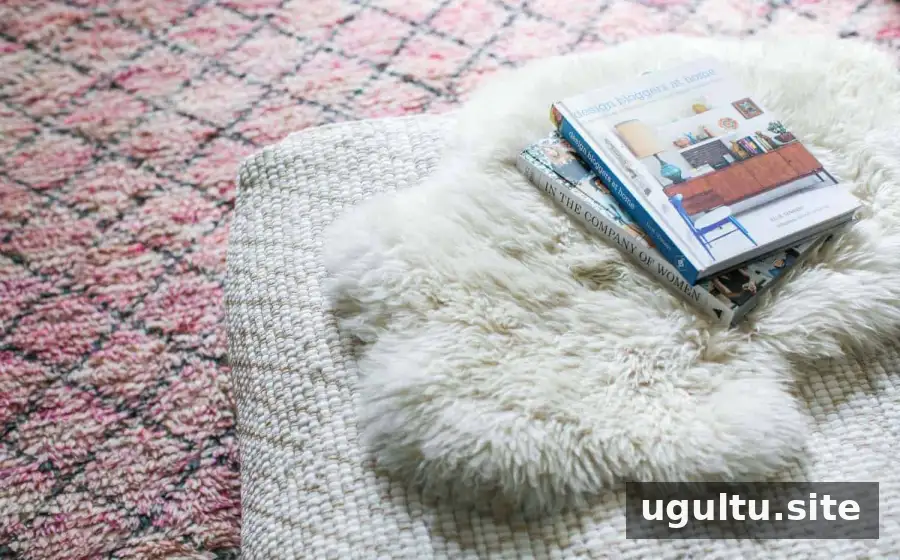
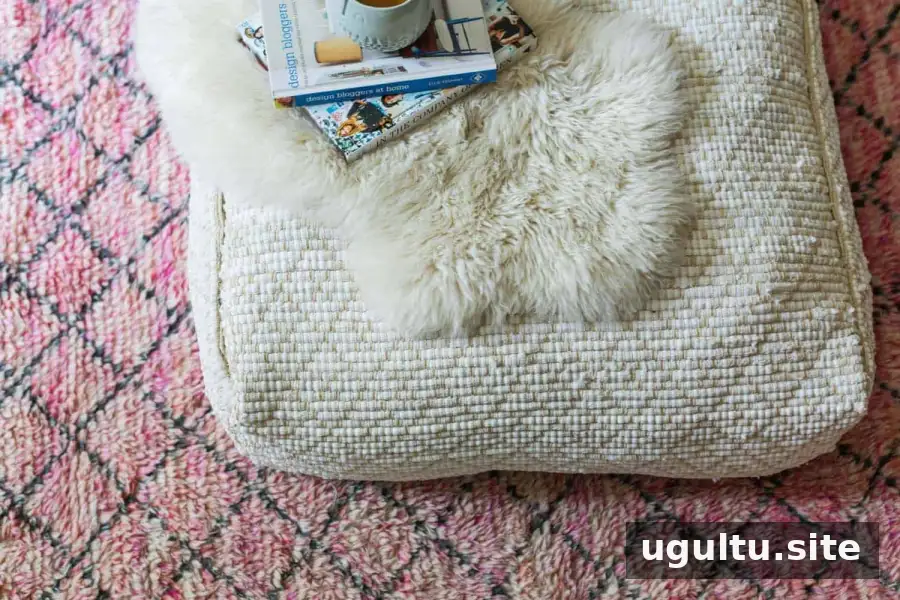
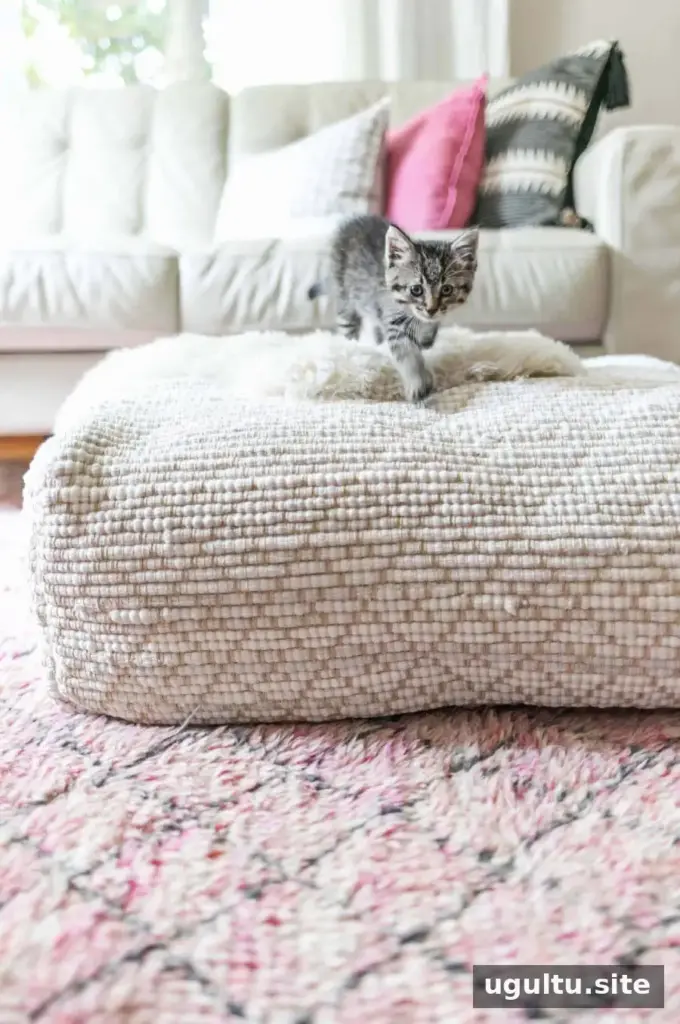
A DIY pouf made from two woven rag rugs can add a comfortable, useful seat or footrest to a living space. Because the rugs already provide the outer fabric, the project focuses on measuring, hand-stitching the seams, and adding a firm filling. Choose rugs with a little flexibility so their edges can fold around the shape, and select a color or pattern that suits the room.
Flatwoven rugs are a practical choice: look for a tight weave that feels sturdy but is still pliable enough to stitch. Matching rugs create a coordinated finish, while two rugs in similar colors can give the pouf a more varied look.
Supplies for a DIY Pouf
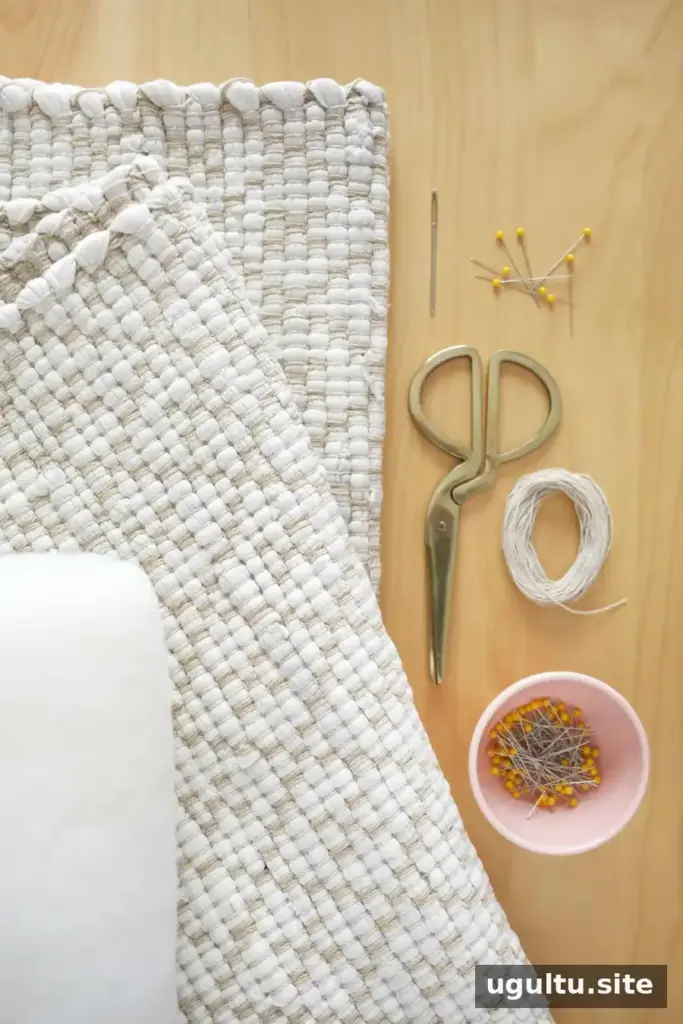
- Two matching rag rugs measuring either 2′3″ x 6′ or 3′ x 6′
- A 3-inch tapestry needle
- At least 20 yards of cotton cord
- Straight pins
- A yardstick
- Poly-Fil stuffing, old towels, or other suitable soft filling
Set out the filling before sewing so it is ready when the pouf is turned right side out. If using old towels, fold them neatly to help create an even, rectangular shape.
Measure and Position the Rugs
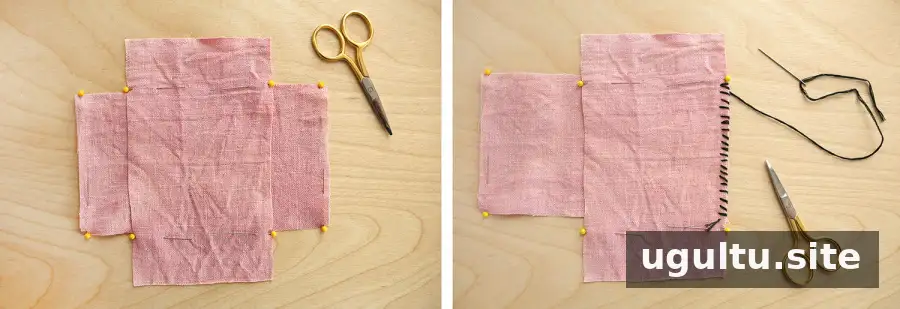
Lay the rugs with the sides you want visible facing each other. Align the overlapping sections and measure them so the edges meet evenly. Use straight pins to mark reference points on the top rug where the overlap ends, then mark the corresponding corners on the bottom rug. These markers help keep the pieces aligned as you form the pouf.
Slide the top rug toward the right end of the bottom rug until the reference points meet. Begin stitching at the bottom reference point and work toward the top. Check the pinned marks as you go; even spacing makes it easier to join the edges without bunching.
Hand-Stitch the Pouf Seams
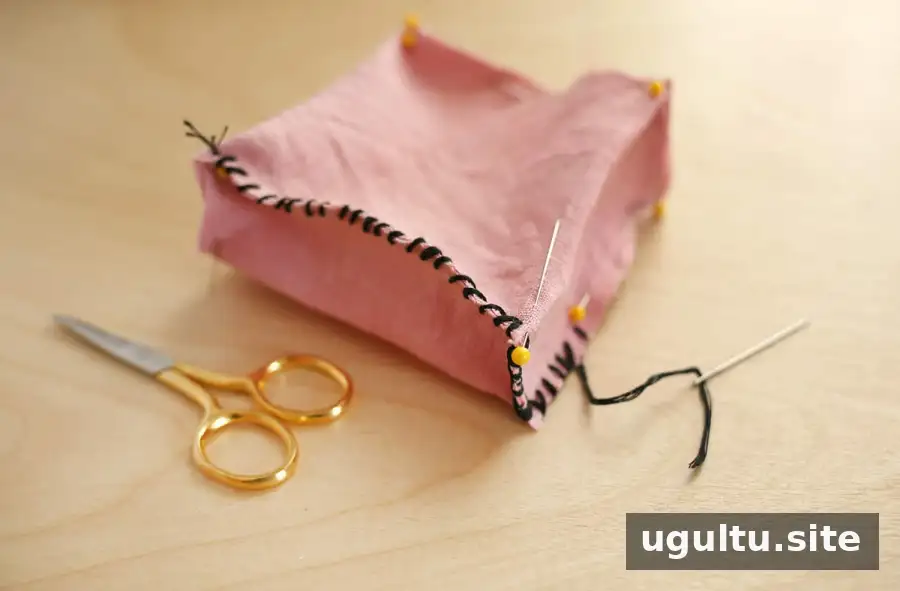
When you reach the top reference point, bend the rugs into a three-dimensional shape. Continue joining the short edge of the top rug to the bottom rug, then match the next edges as you work around the form. Keep checking that the corners and marked points line up.
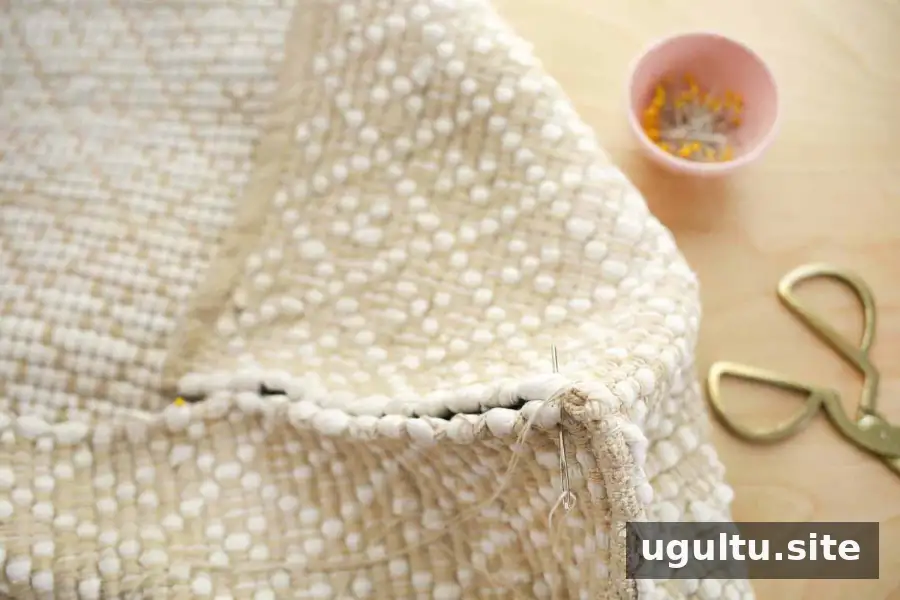
Thread the tapestry needle with about 10 feet of cotton cord, doubled for added strength. At the first reference point, pass the needle through both rugs and secure the cord with a double knot.
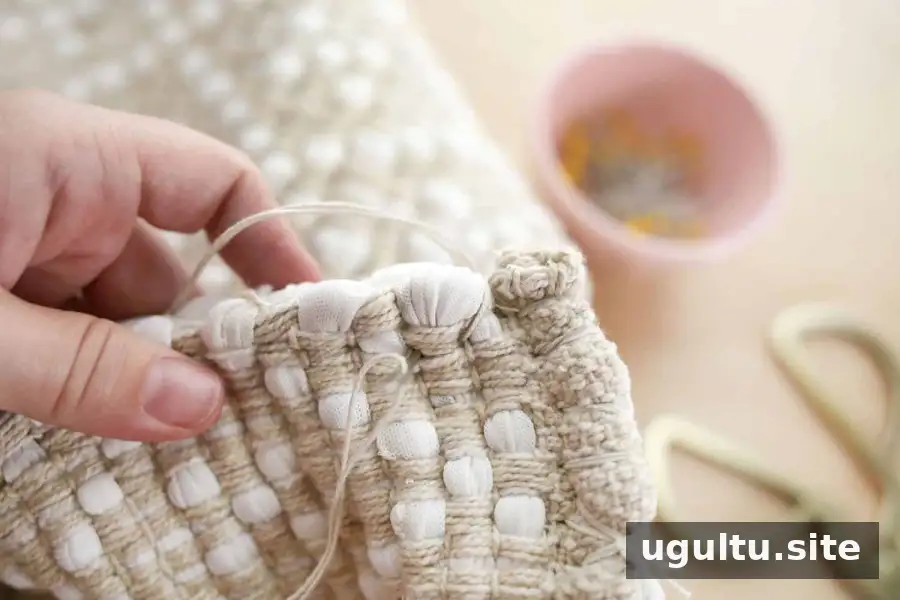
As you sew, pass the needle under the thicker weft rows—the horizontal woven sections—and through the first two or three warp rows. Continue stitching between the weft rows while catching the warp yarns. Keep the stitches close to the edges and fairly tight to limit how much usable surface is taken up by the seam.
Continue around the pouf. When the cord is nearly used up, tie it off with an extra double knot and start a new length of about 10 feet. Leave one section open for turning and filling.
Fill and Finish the DIY Pouf
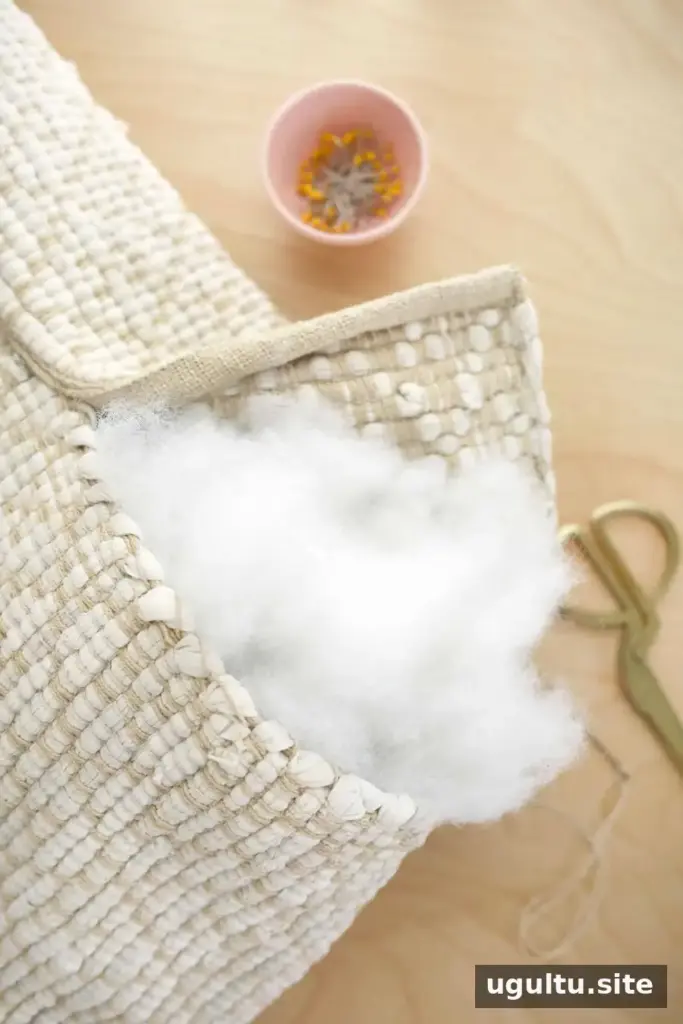
Turn the pouf right side out, gently pushing the corners into shape and folding the seams back. Add Poly-Fil, old towels, or another chosen filling until the pouf holds a sturdy rectangular form. Add the filling gradually and adjust it as needed to avoid lumpy corners.
Fold the edges of the remaining opening inward so they match the finished seams, then stitch the gap closed using the same approach through the warp and weft. Check that the final stitches are secure before using the pouf.
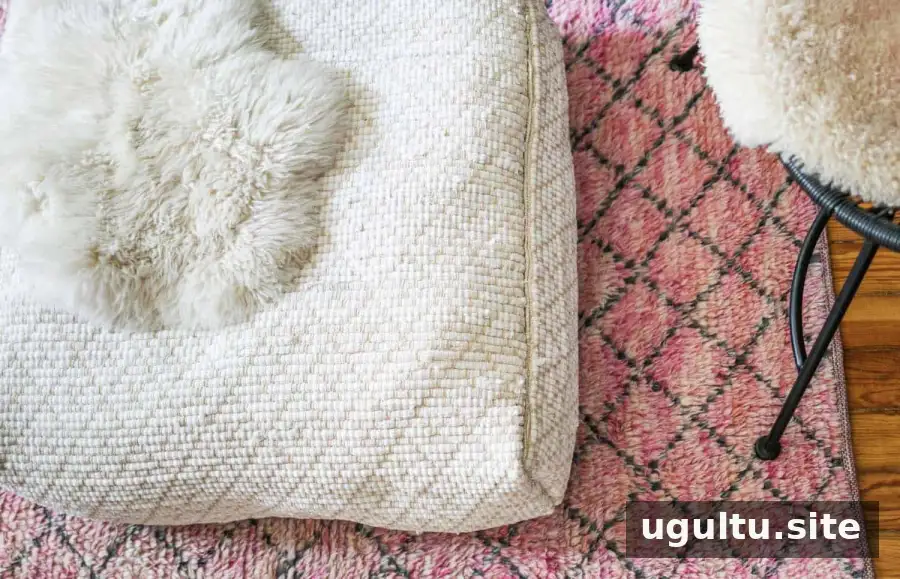
Fluff and reshape the pouf, then use it as a footrest or a cozy place to lounge.
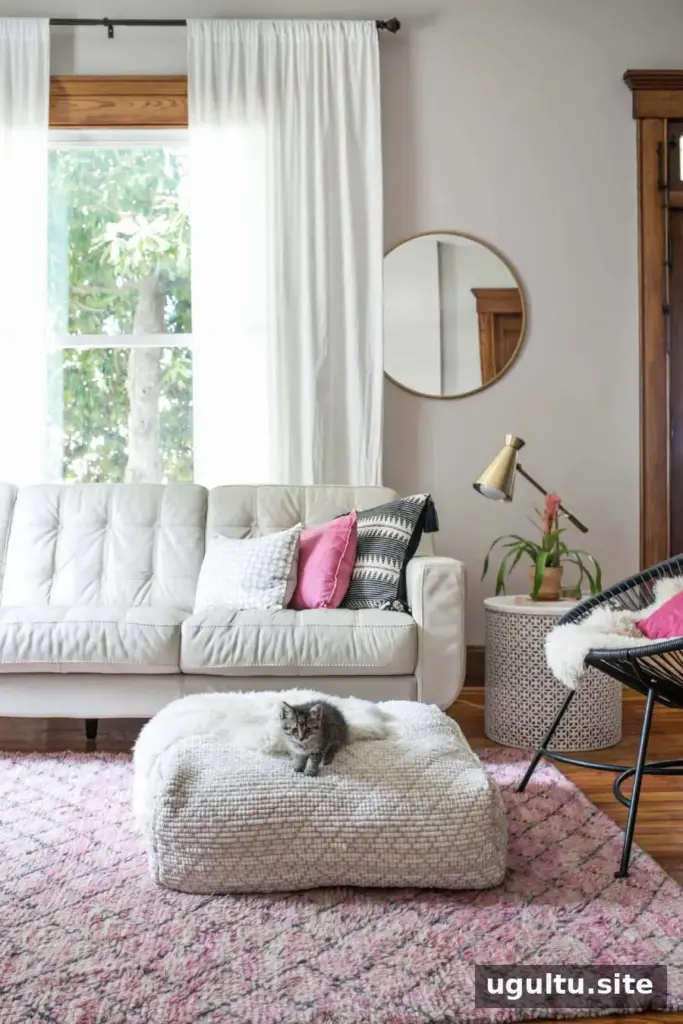
The finished pouf cost about $35 to make. A few coffee-table books or a throw can help it fit into a sitting area, but the rug pattern can also make a statement on its own. Whether you choose a subtle palette or a bolder combination, a carefully measured and tightly stitched DIY pouf turns two woven rugs into a practical home accent. — Rachel