
 admin
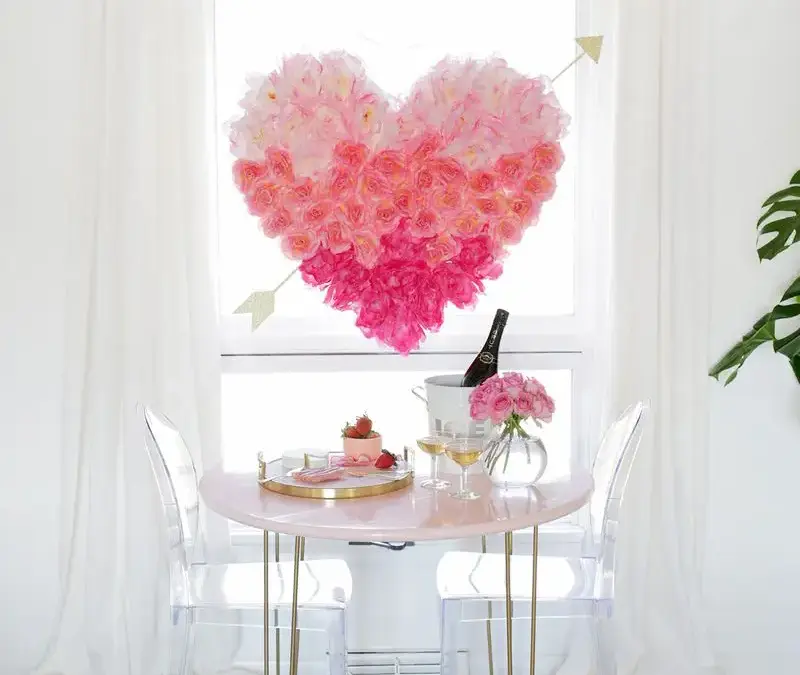
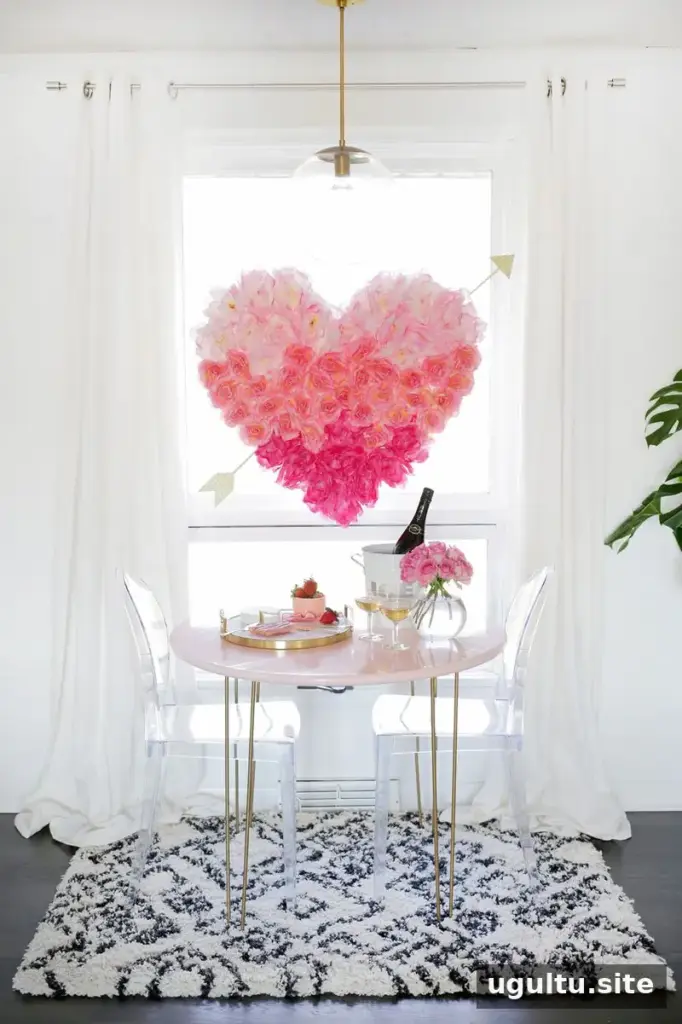
A hanging flower heart DIY project can add a bright, romantic focal point to a Valentine’s Day dinner, party, or photo area. Made with faux flowers attached to a lightweight foam shape, this decoration can be displayed for the season and stored for another year. Choose flower colors that suit your space, and plan where the finished heart will hang before you begin.
Supplies for a Hanging Flower Heart DIY
Gather the materials before cutting the foam so you can work through the project without interruptions. About 12 bunches of faux flowers were used for this design; larger blooms cover the surface more quickly.
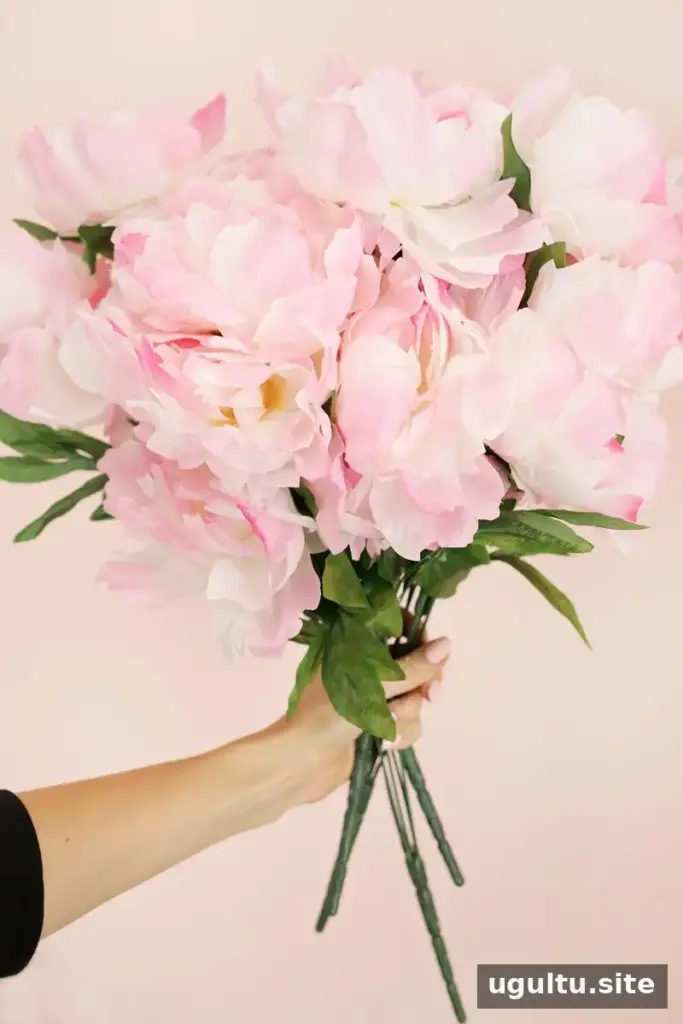
- Faux flowers, about 12 bunches; larger flowers help fill the shape faster
- Hot glue gun
- Sheets of styrofoam
- A serrated bread knife, electric turkey carver, or jigsaw for cutting the foam
- Cup hooks
- Clear fishing line
- Balsa wood
- Glitter paper
Set up a protected work surface and keep the cutting tool and hot glue gun away from children. Check that your chosen hanging method is appropriate for the ceiling surface and the weight of the finished decoration.
Cut and Assemble the Heart
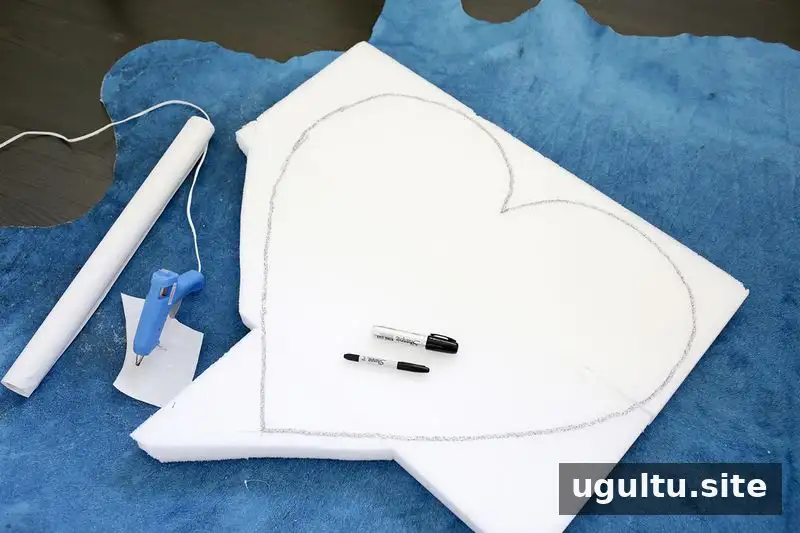
Trace a heart shape onto the styrofoam. If drawing a large heart freehand feels difficult, sketch it on craft paper first, then use the paper outline as a template. Arrange the foam sheets to make sure the full shape will fit before cutting.
For a larger design, the heart may extend beyond one sheet. In this example, a corner was cut from one piece and attached at the bottom to form the heart’s point. Use hot glue to join foam sections into one shape. If you plan to cut with a bread knife, consider cutting the pieces separately before gluing them together, since that method can be rougher on the material.
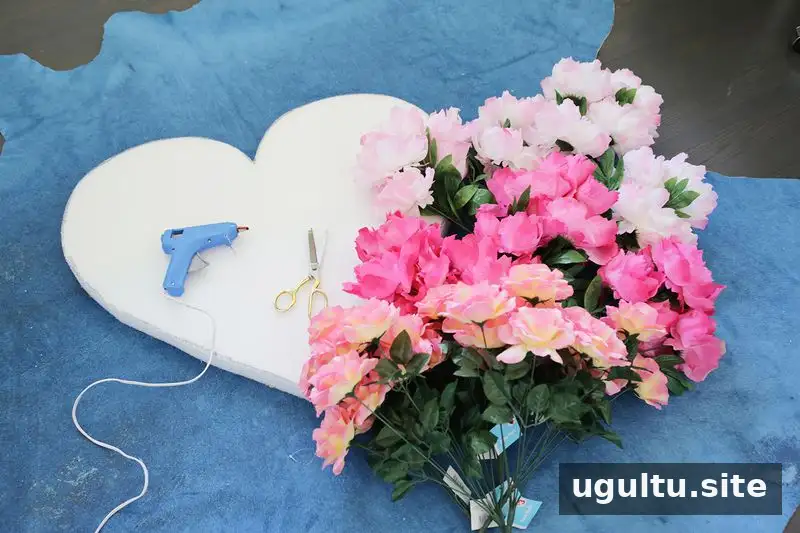
Cut out the traced shape with a serrated bread knife, electric turkey carver, or jigsaw. Work carefully and follow the tool’s safety instructions. Make slow, controlled cuts around the curves to help preserve the heart outline.
Add Faux Flowers in Color Sections
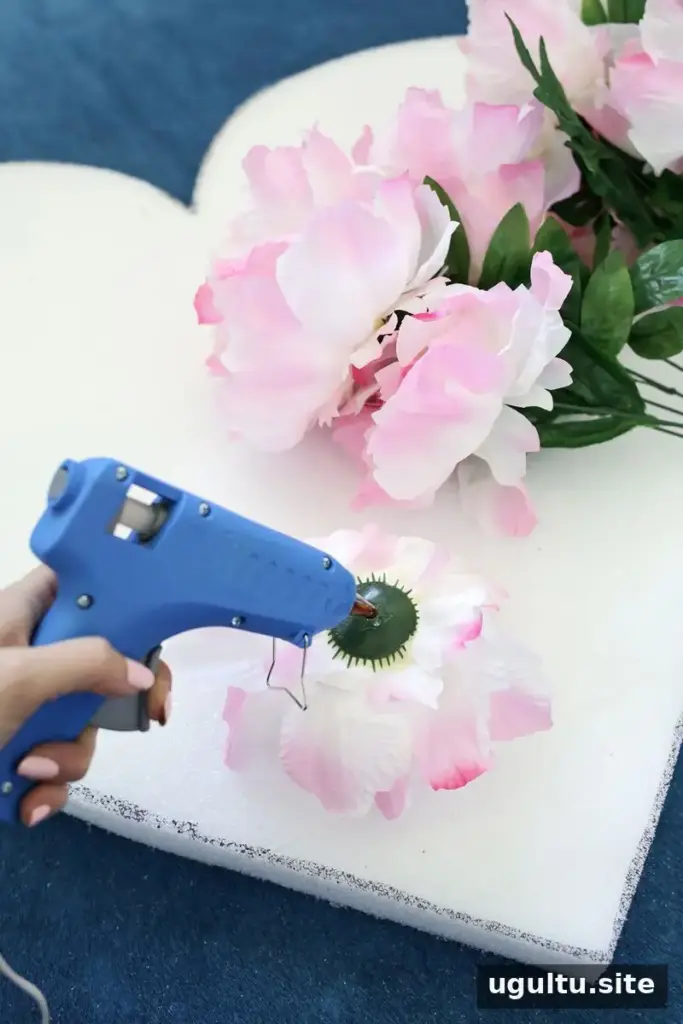
Remove the flowers from their stems by pulling or cutting them where they connect. Check how each faux flower is assembled before trimming; cutting in the wrong spot may cause its parts to come apart. Attach the blooms directly to the foam with hot glue.
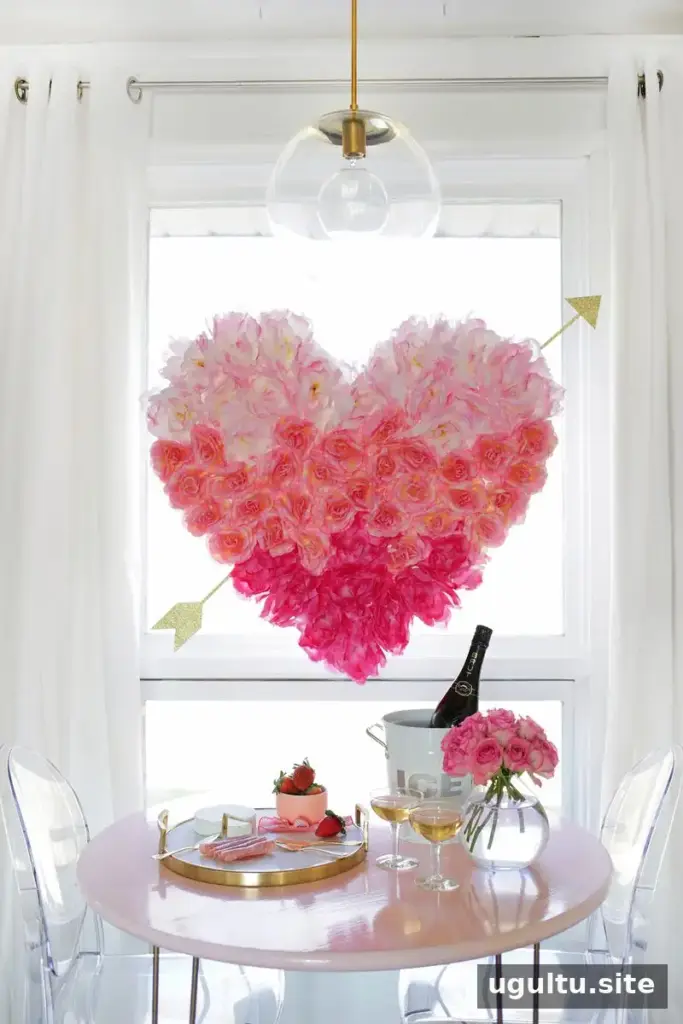
For a gradient, divide the heart into three sections. Place the lightest flowers across the top third and the darkest flowers across the bottom third, then fill the middle with the remaining shade. This order helps create a clear transition between colors. Work in small areas so you can adjust spacing as you go and avoid leaving visible gaps.
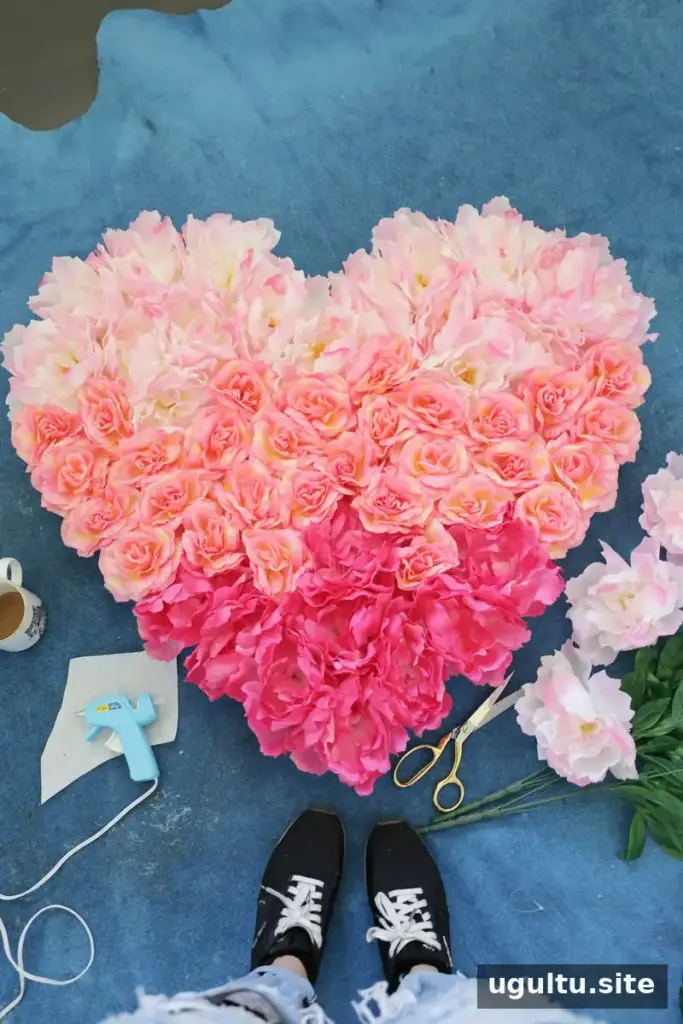
Covering the sides is optional. If you want a fuller, finished edge, choose smaller flowers in matching colors; larger blooms may extend too far beyond the sides and make the heart’s outline less distinct.
Make the Arrow and Hang the Decoration

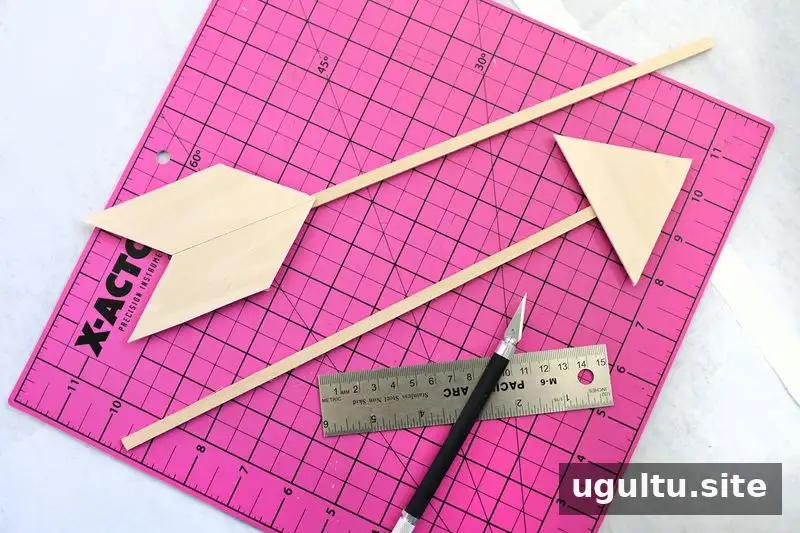
Create an arrow and its tail from balsa wood. Cut glitter paper to match the wooden pieces, then hot-glue the paper onto the wood. Keep the arrow light enough to place into the flower-covered heart without pressing hard on the foam or blooms.
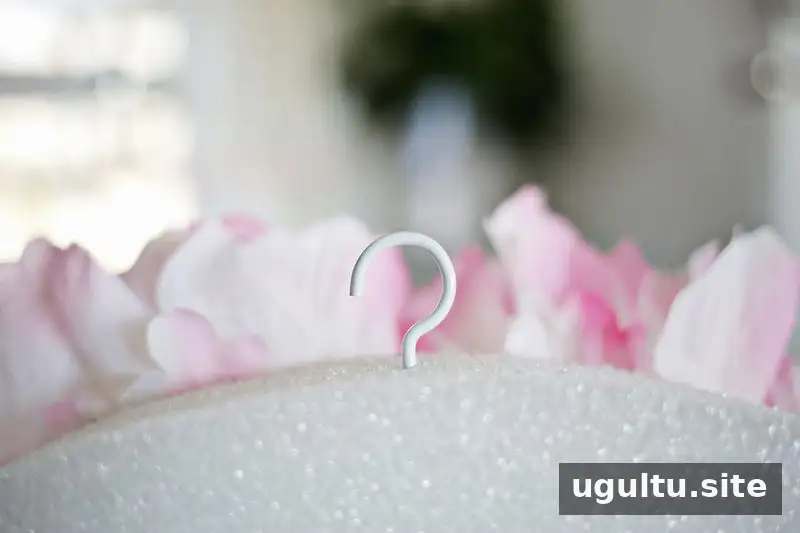
To hang the heart, glue a cup hook into the top of each rounded section. Place two ceiling hooks at roughly the same distance apart as the cup hooks, then tie clear fishing line between the paired hooks for a less visible hanging effect. Before lifting the decoration, check that both lines are secure and that the heart hangs evenly.
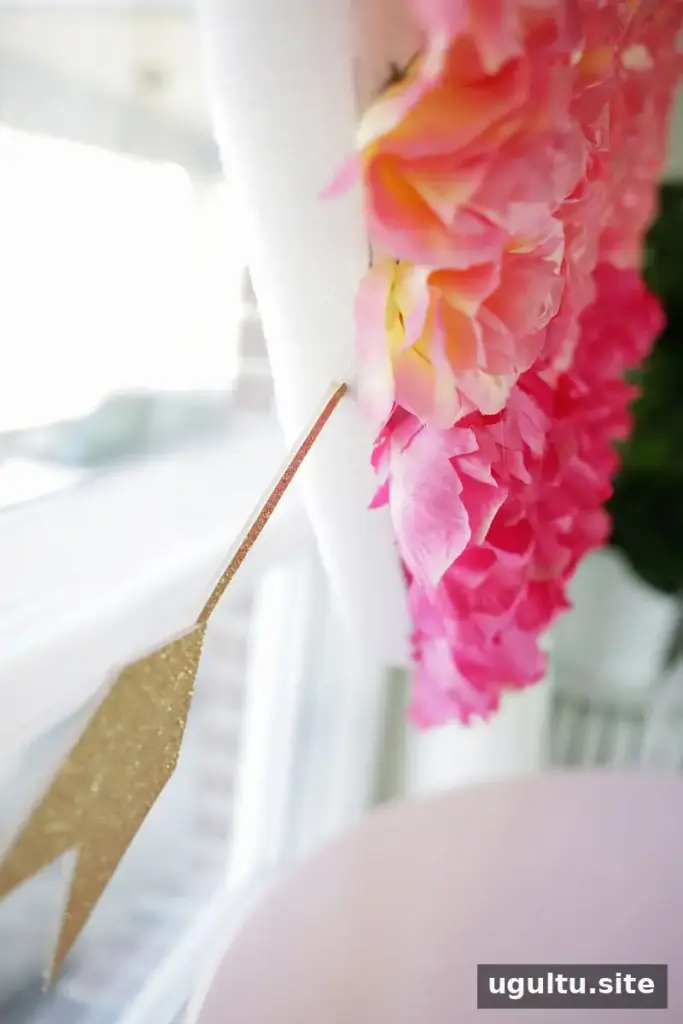
Once the heart is hanging, insert one half of the arrow into each opposite end of the heart. Adjust the pieces gently until the arrow looks balanced.
Display and Store Your Flower Heart
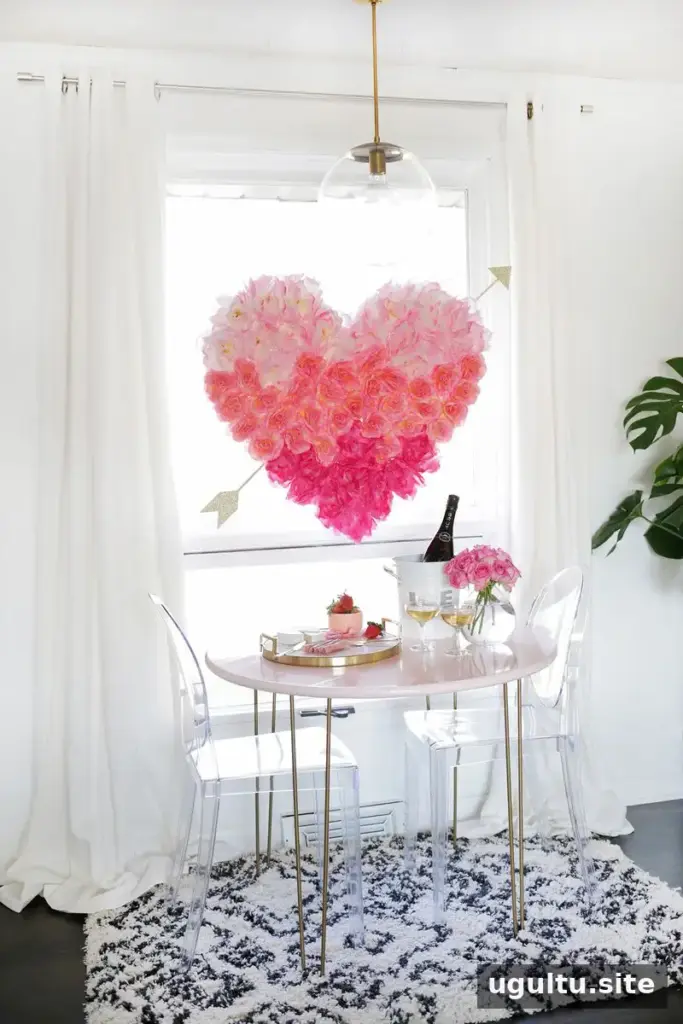
Faux flowers make this a reusable seasonal decoration. Display the finished heart above a dining nook or use it as a photo booth backdrop for a Valentine’s Day gathering. When taking it down, remove it carefully and store it in a protected place so the flowers and glitter details stay in good condition.
This hanging flower heart DIY is easy to customize with different flower shades while keeping the same basic construction. Project by Laura Gummerman.


