
 admin
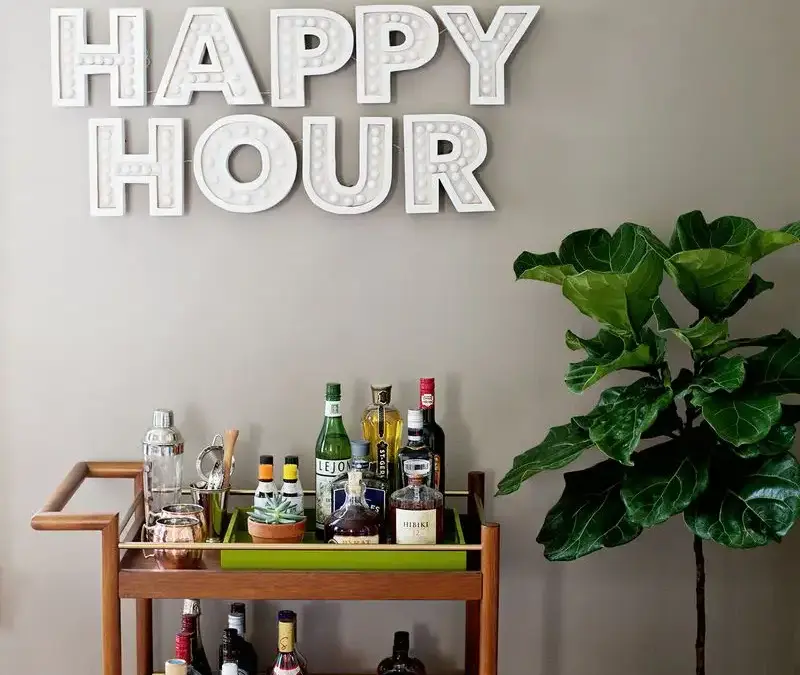
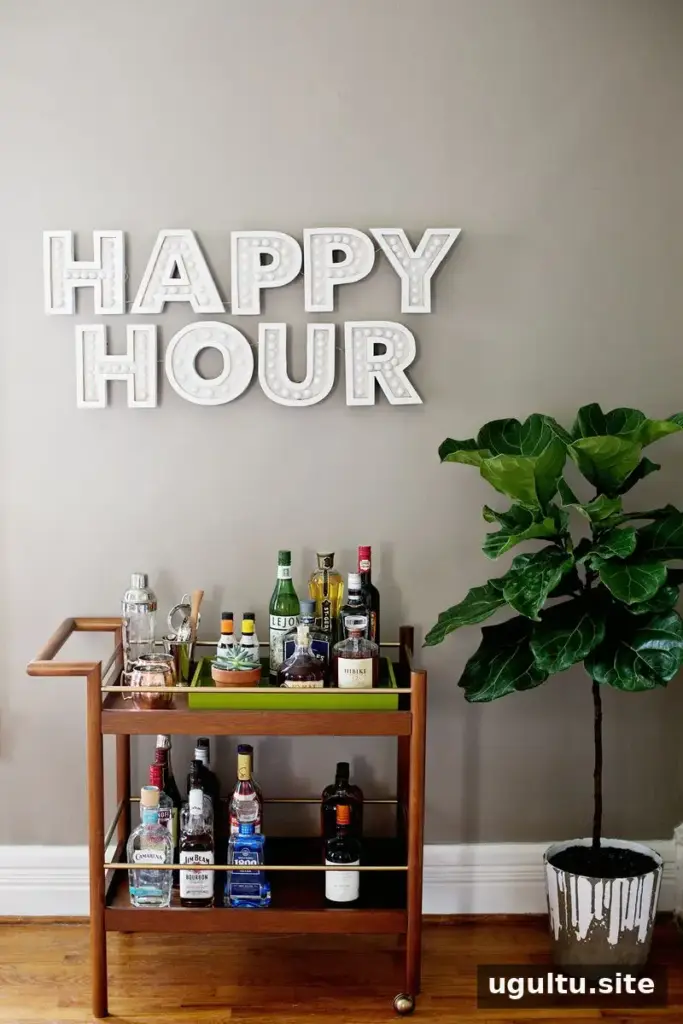
A happy hour marquee can add a warm, festive touch to a home bar, dining area, or any space that could use a custom illuminated sign. You can make the design say “Happy Hour” or choose another short word or phrase. Because cutting and assembling individual letters takes time, a concise message is usually easier to build and hang.

Materials and tools for a happy hour marquee
Gather the following supplies before you begin. Check that the LED light strand, bulb bases, and battery packs suit the layout you have planned.
- 3/4-inch pine
- LED lights
- Wood glue
- Dowel rod
- Picture wire
- Paint, including gold paint for the inner walls if desired
- Transparent paper, such as waxed paper
- Printed letters in a consistent size
You will also need a jigsaw, a drill with a 3/8-inch drill bit, sandpaper, a pencil, a ruler, and a hot glue gun. Wear suitable eye protection when cutting or drilling, and follow the tool and paint manufacturers’ safety instructions.
How to make a happy hour marquee
1. Choose and prepare the letters
Select a short phrase and print its letters. One option is to size each letter to fit an 8.5-by-11-inch page. Keep the letters the same size for a uniform look, or vary their sizes if that suits your design. Cutting the wood into panels roughly the size of the letters can make each piece easier to handle.
2. Cut the letter shapes from wood
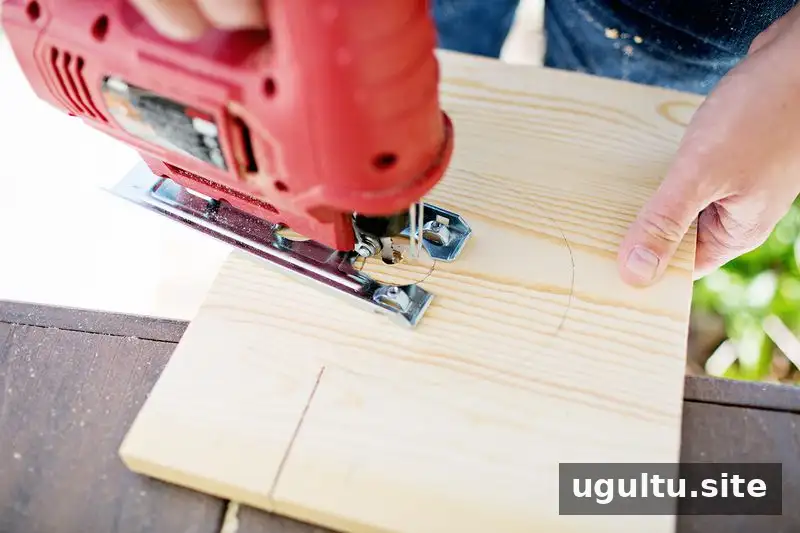
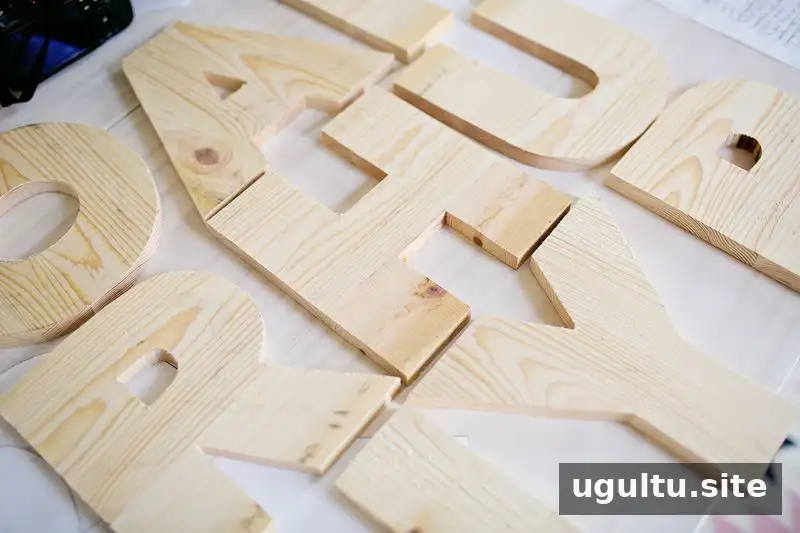
Trace the printed letters onto the pine. Cut slowly and carefully with a jigsaw. For interior sections that the blade cannot reach from an edge, drill a starter hole so you can guide the blade through the opening.
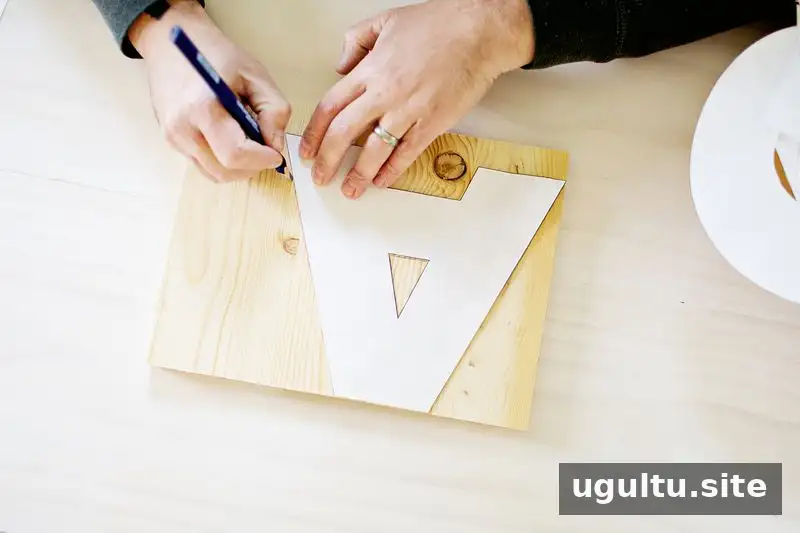
Drill starter holes in enclosed areas that cannot be reached directly from the edge.
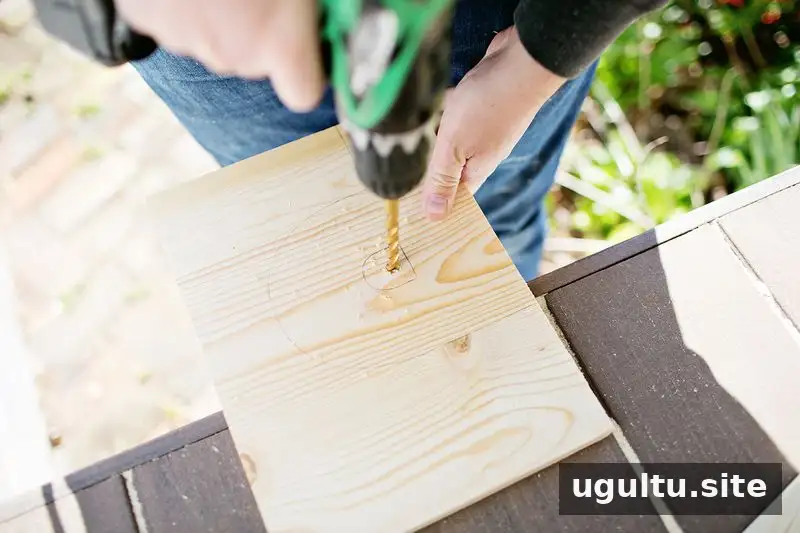
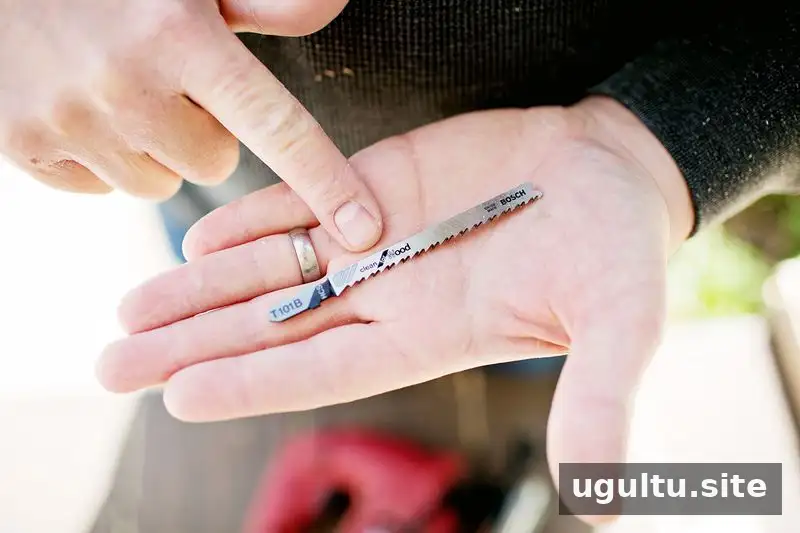
A jigsaw blade intended for clean wood cuts can help produce neater edges and reduce the amount of sanding needed.
3. Mark and cut the raised letter sections
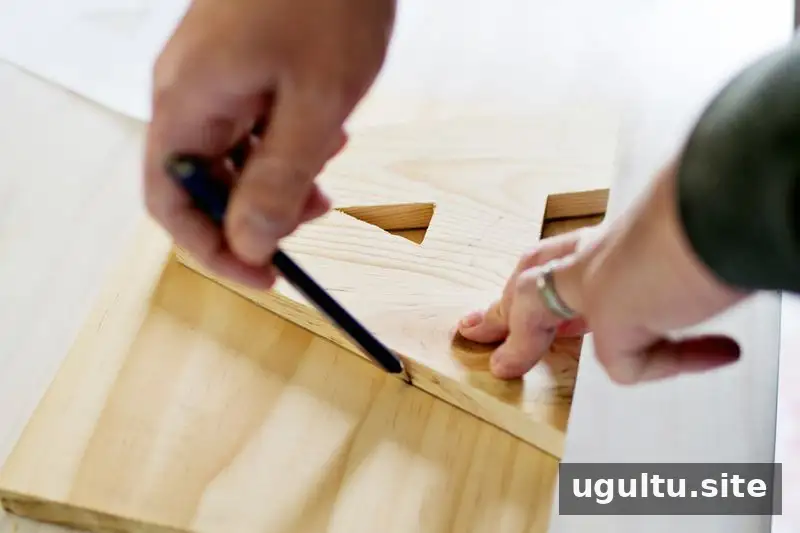
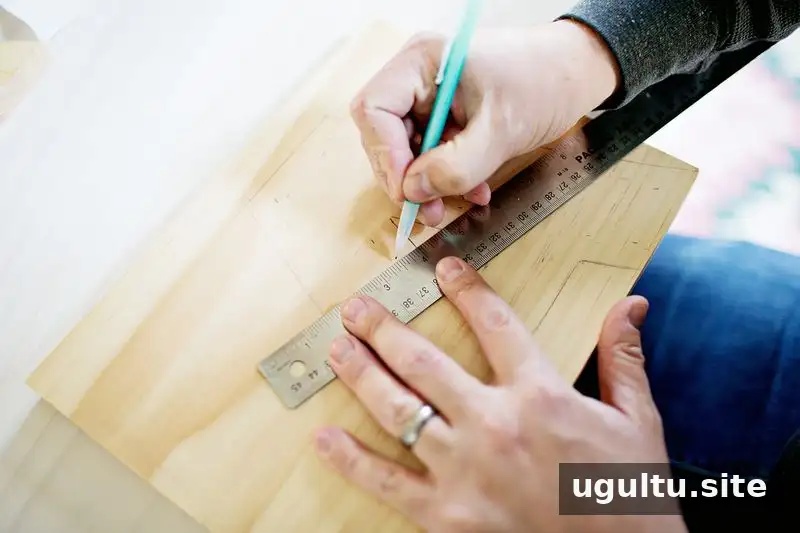
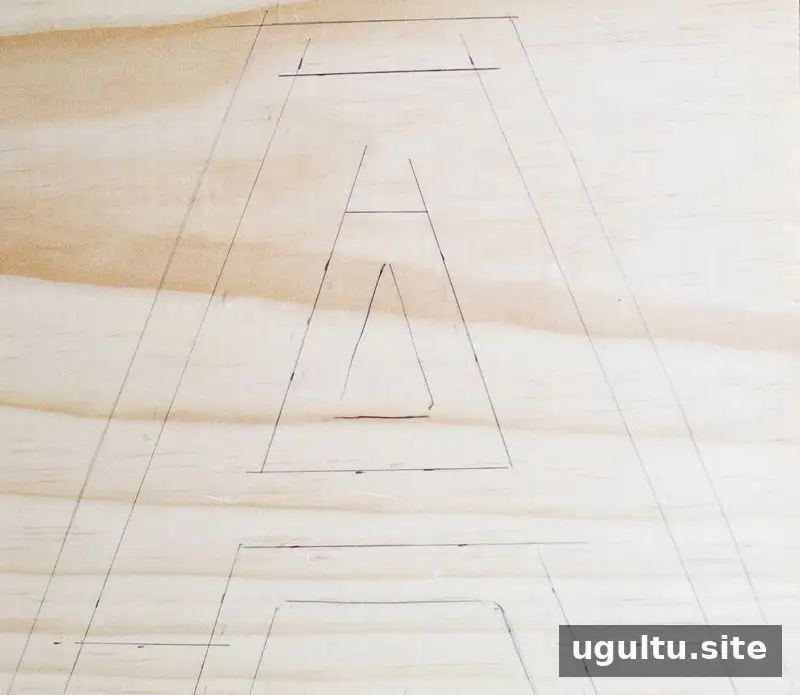
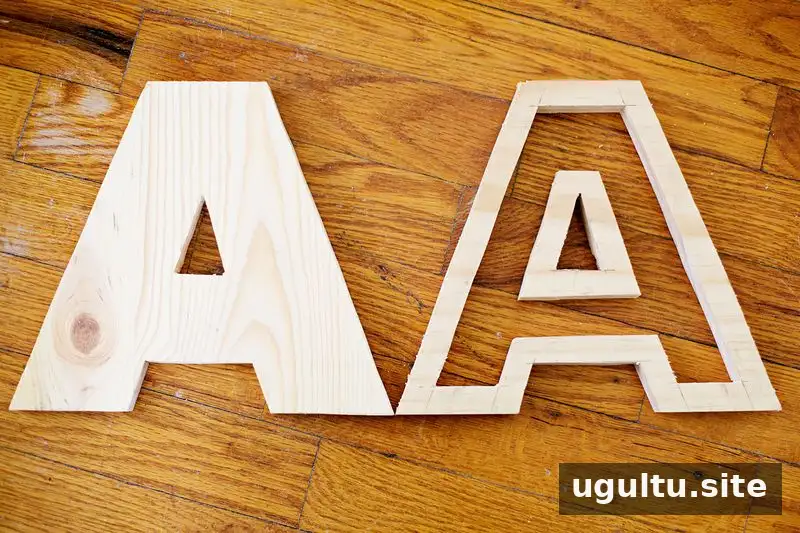
Trace the cut-out letters again to create the raised sections. Use a ruler to mark a line 5/8 inch inward from each side, then connect the marks. Make the measurements as precise as possible, since uneven lines can affect the finished cuts.
For a narrow typeface, a smaller inset of about 1/2 inch may leave more room for bulbs. The right spacing depends on the letter shape and the size of the lights, so test the layout before cutting.
4. Glue, clamp, and sand
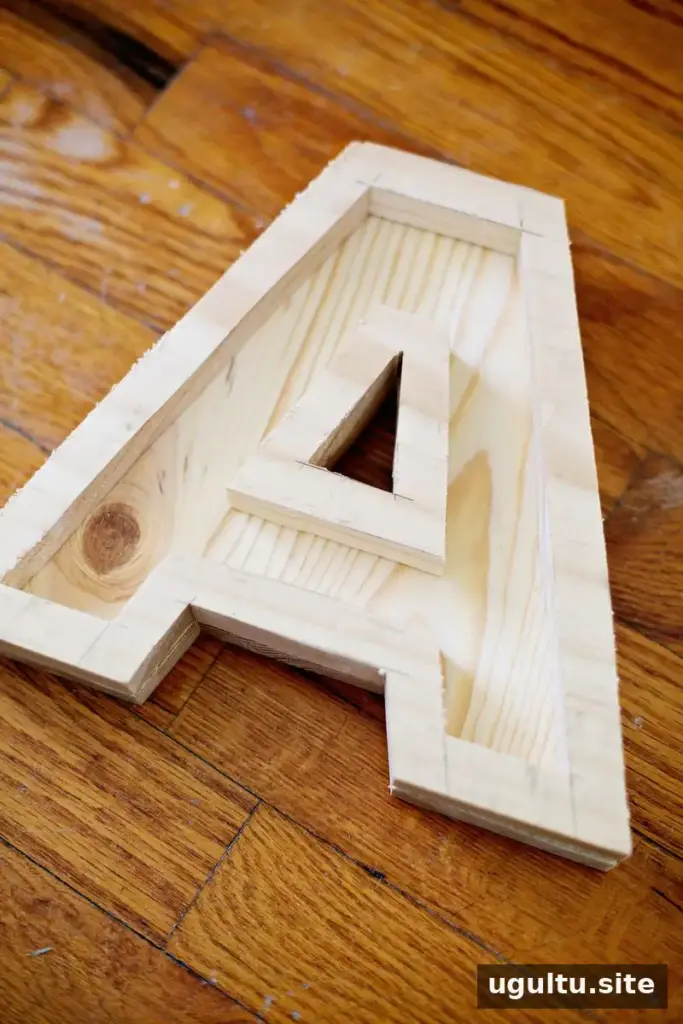
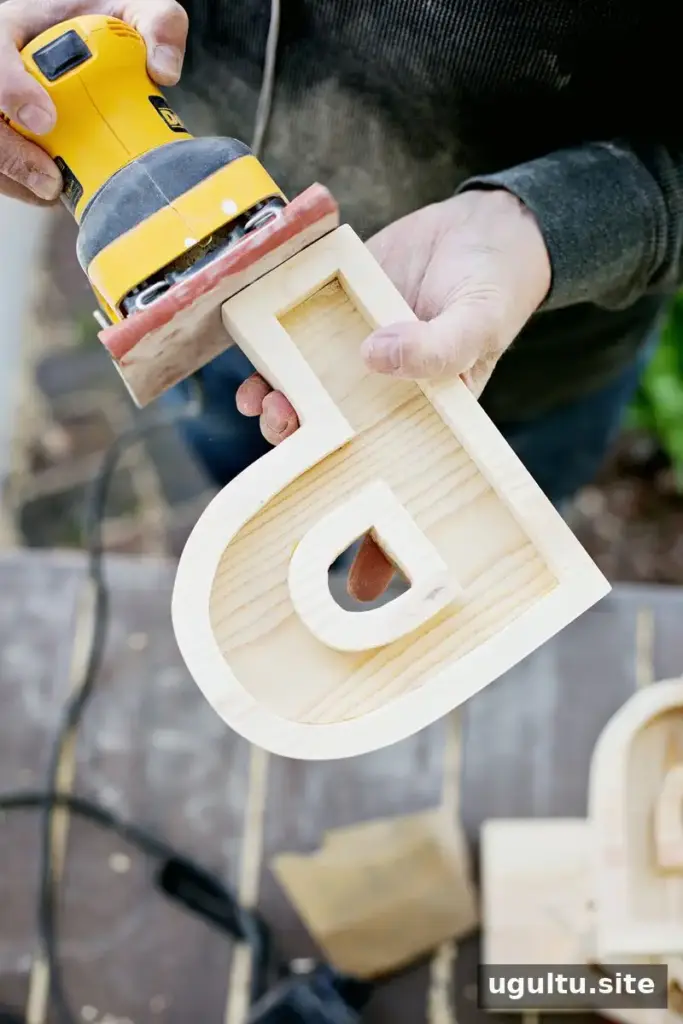
Glue the raised sections to their corresponding letter bases. Use clamps to hold the pieces firmly together while the glue dries. A tight fit can help prevent gaps; fill any small imperfections with putty if needed. Once dry, sand the letters smooth, starting with 80-grit sandpaper and finishing with a finer grit such as 220 or 320.
5. Paint the letters
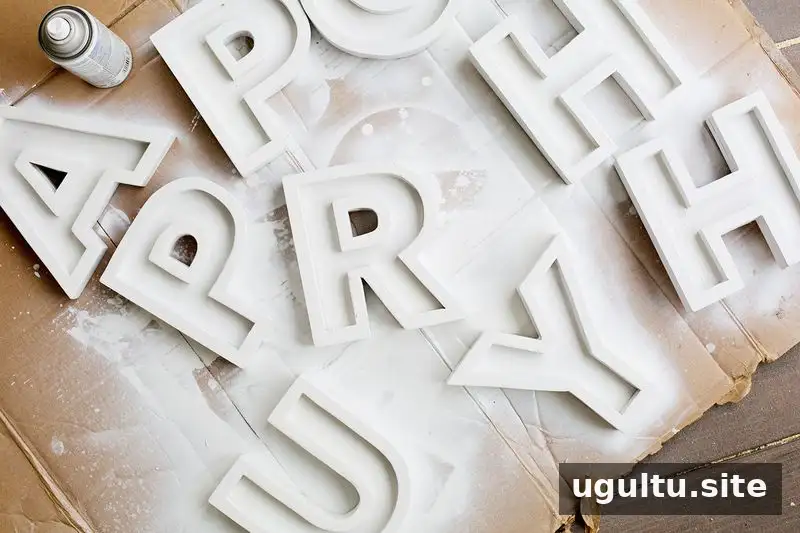
Apply spray paint in your chosen color and let it dry according to the product directions. For contrast, paint the inside walls of the letters gold after the outer finish has dried.
6. Fit and secure the lights
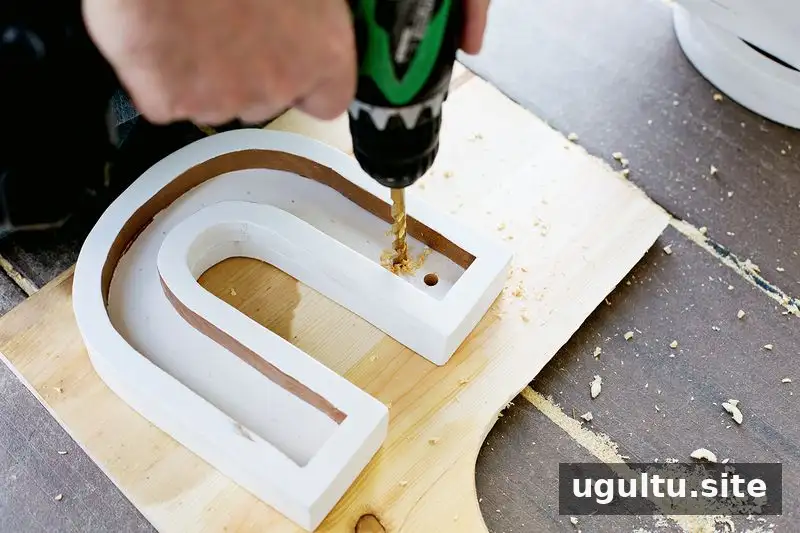
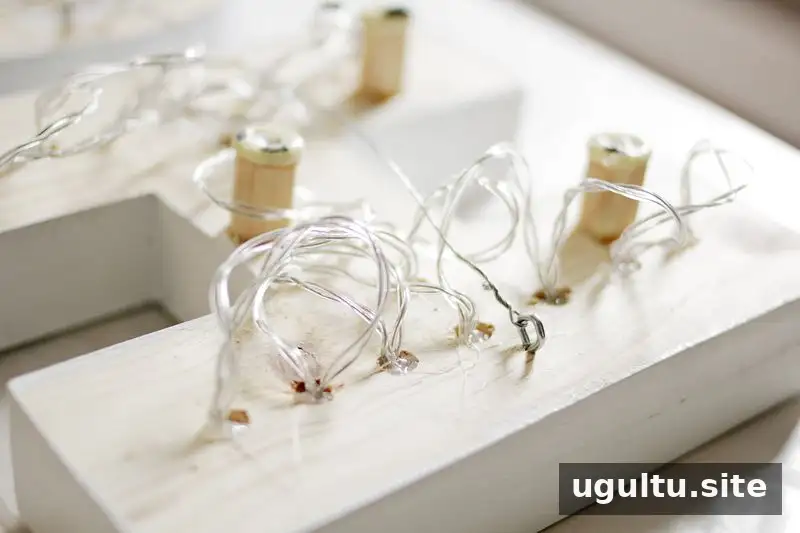
Lightly mark the center points for the bulbs on each letter. Space them by eye or measure the gaps for a more even layout. Drill holes sized to fit the bulb bases. Before drilling every hole, check the size against a bulb so the fit is appropriate.
Glue three 1-inch dowels to the back of each letter, keeping the bulb holes clear and leaving space for wires and battery packs. The dowels hold the letters away from the wall and provide room for the electrical components.
Remove the bulb covers and fit the bulbs through the holes from the front. Check that the arrangement leaves enough space between letters. Once positioned, glue the bulbs and battery packs in place.
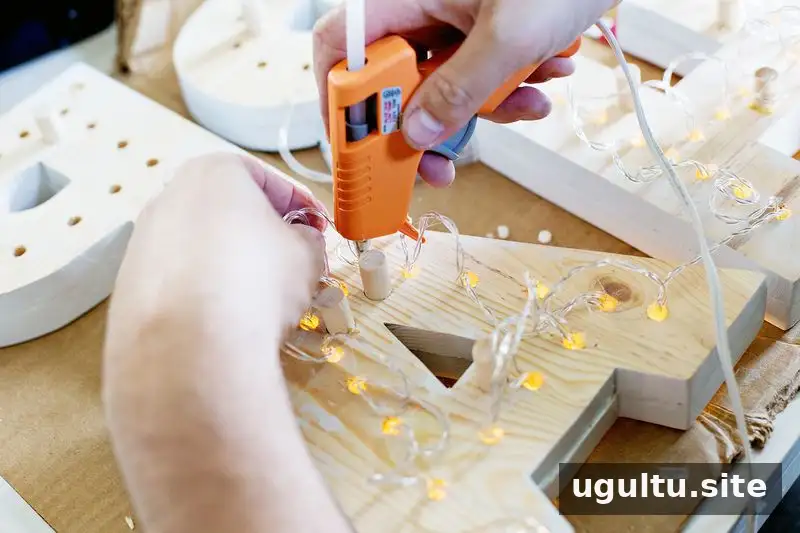
Test the lights before applying glue. If the strand includes extra bulbs, secure the unused section at the back only if it does not obstruct the wires or battery pack. Do not cut a light strand unless its instructions confirm that it will still operate safely afterward.
7. Add hanging wire
Attach picture wire to each letter. Make sure each attachment is secure and suited to the weight of the finished letter before hanging it.
8. Arrange and hang the marquee
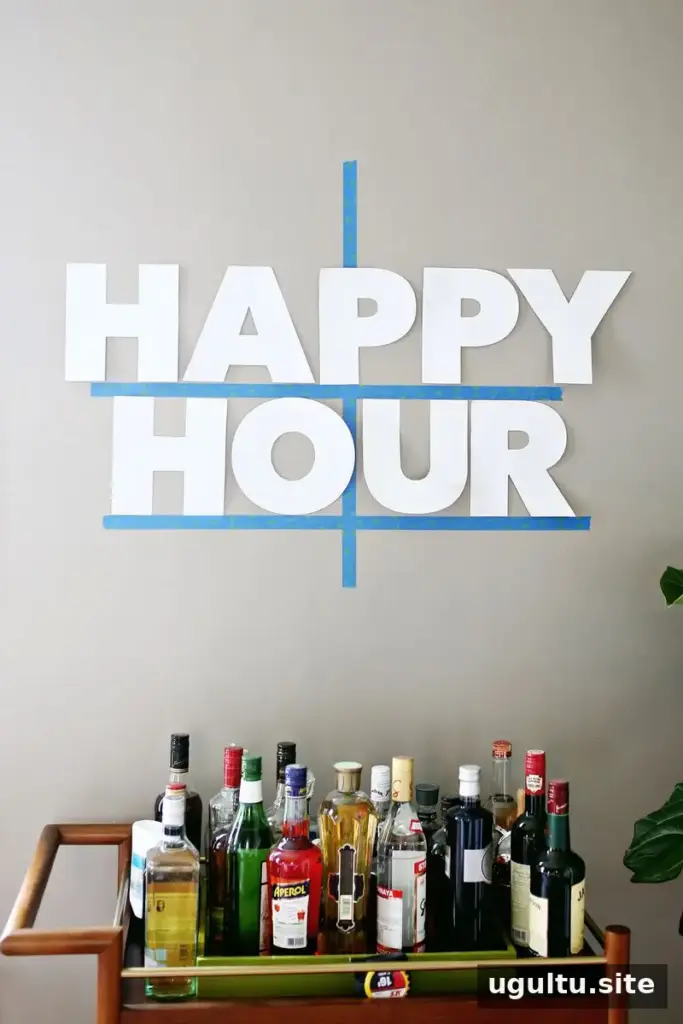
Choose a location and plan the layout before putting nails into the wall. Painter’s tape can mark the bottom edge and center line; use a level to keep the guides straight. Position the letters temporarily to check spacing and alignment.
Use the paper letter templates or trace reversed letters onto transparent paper to mark the hanging positions. Measure the distance between each letter’s picture wire and its top edge, then transfer that measurement to the wall so the letters hang evenly.
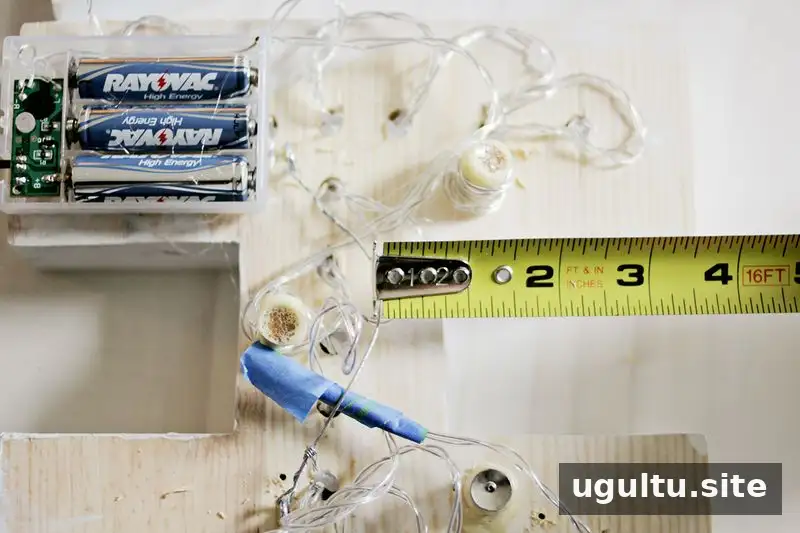
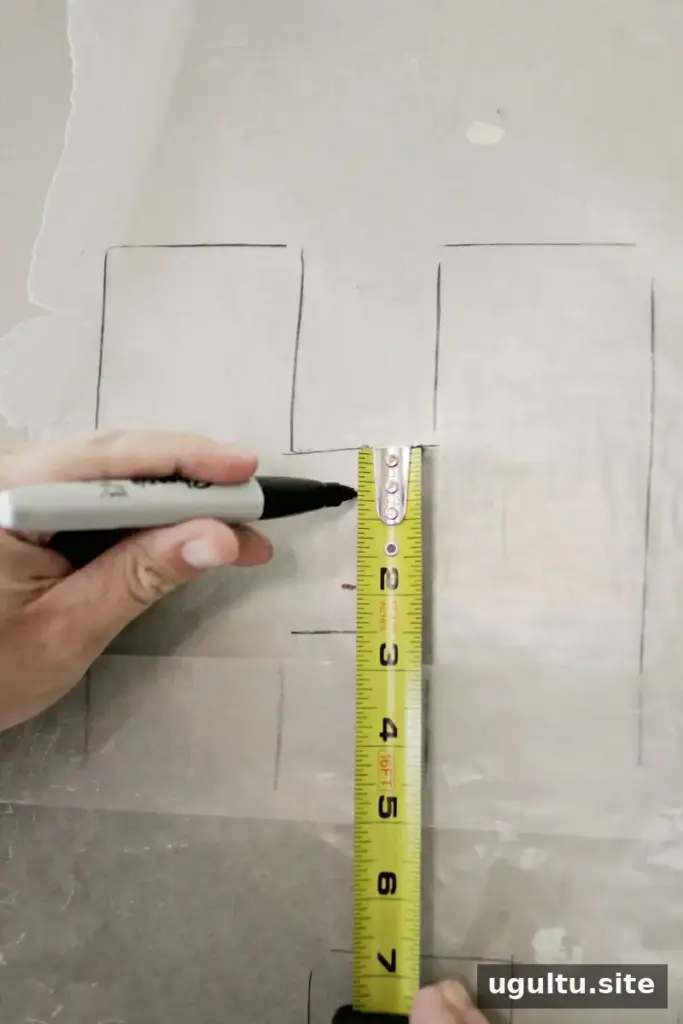
Hammer nails into the marked points and hang the letters. An extra person can help support the letters while you position them.
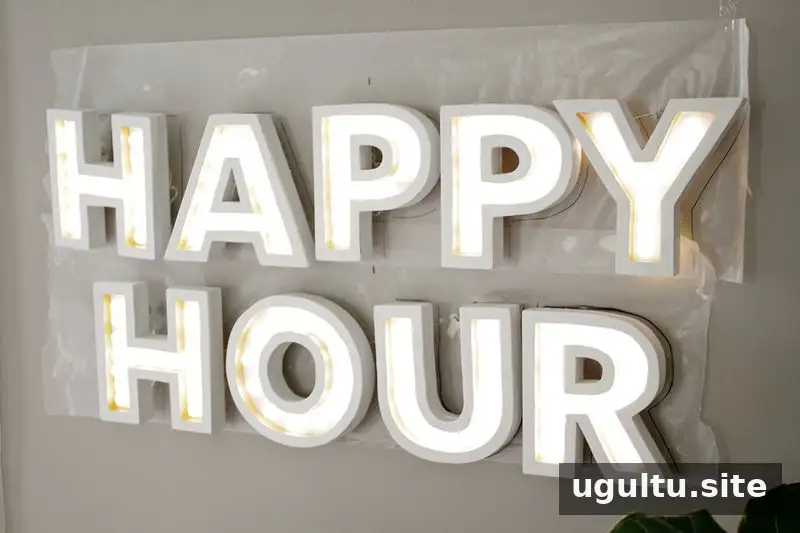
Remove the paper guides, switch on the lights, and check that every letter is secure and evenly spaced. The finished sign can brighten a home bar or another favorite gathering spot.
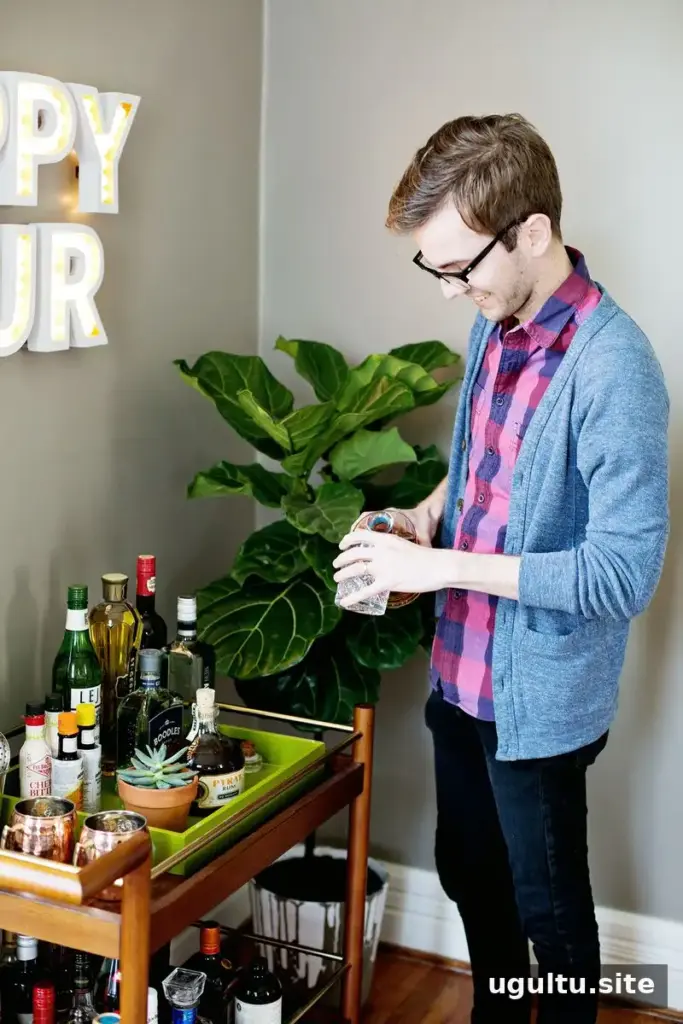
Happy building! — Josh


