admin
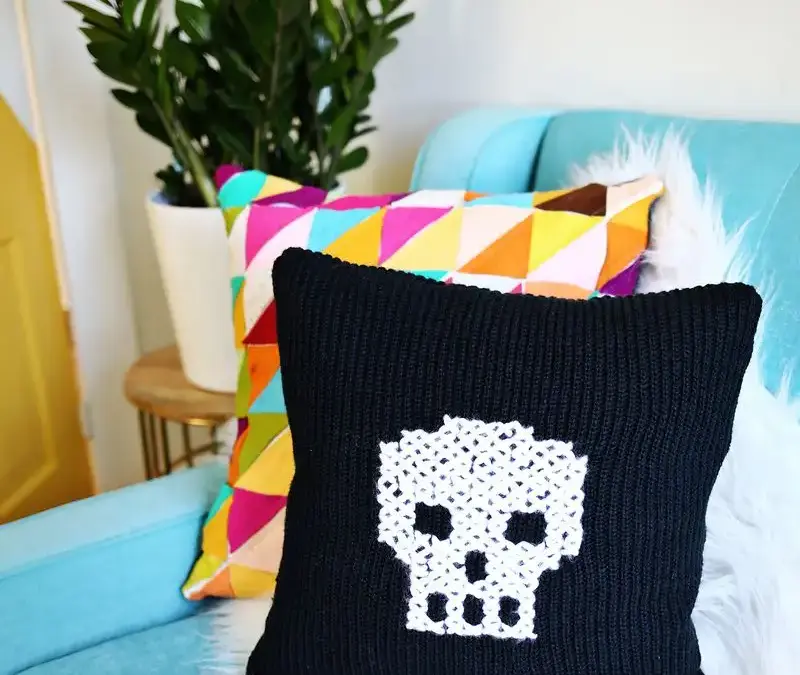
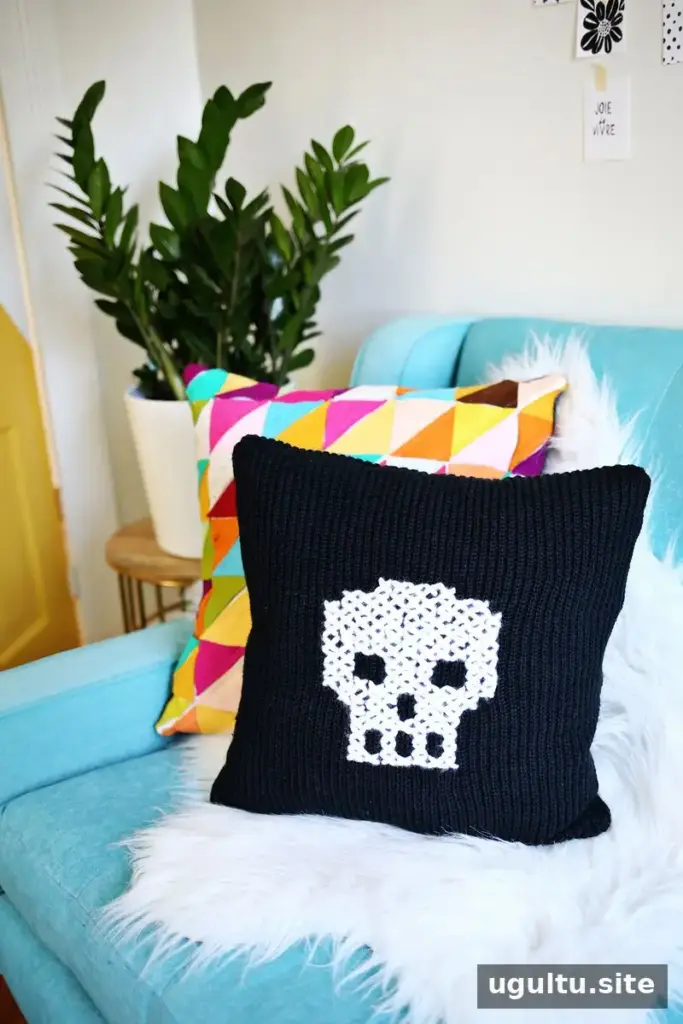
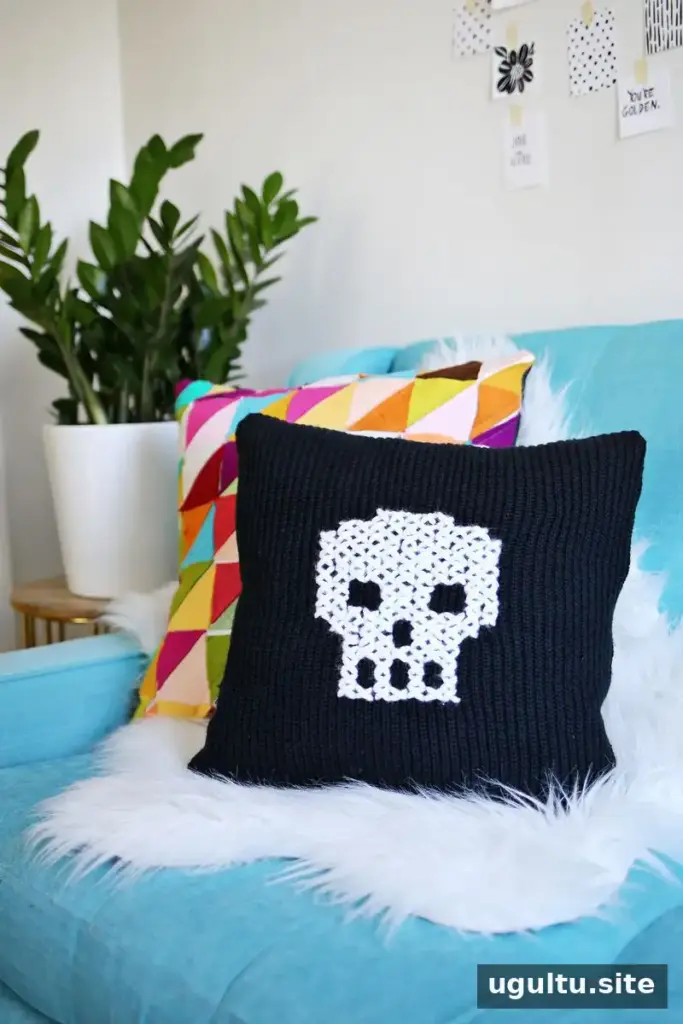
An old knit sweater can become a distinctive sweater pillow with a simple cross-stitched skull design. This project combines sweater upcycling, basic stitching, and straightforward sewing, making it a useful way to give a worn or unwanted garment a new purpose. The finished pillow can suit Halloween décor or stay on display throughout the year. Choose a sweater with a knit that makes it easy to see and count the stitches, and use a skull pattern as a guide.
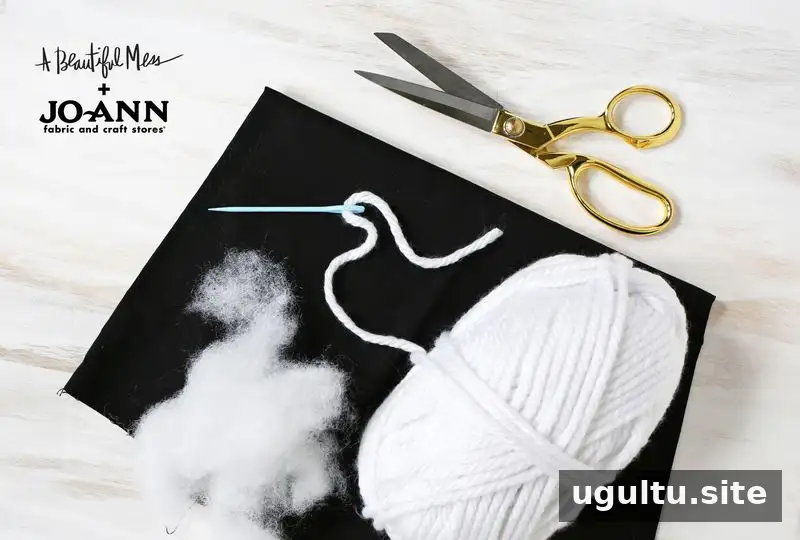
Supplies for a sweater pillow
Gather these materials before starting:
- Skull cross-stitch template
- Thick white yarn
- Plastic yarn needle
- Black knit sweater
- Fabric scissors
- Plain black cotton fabric
- Pillow stuffing
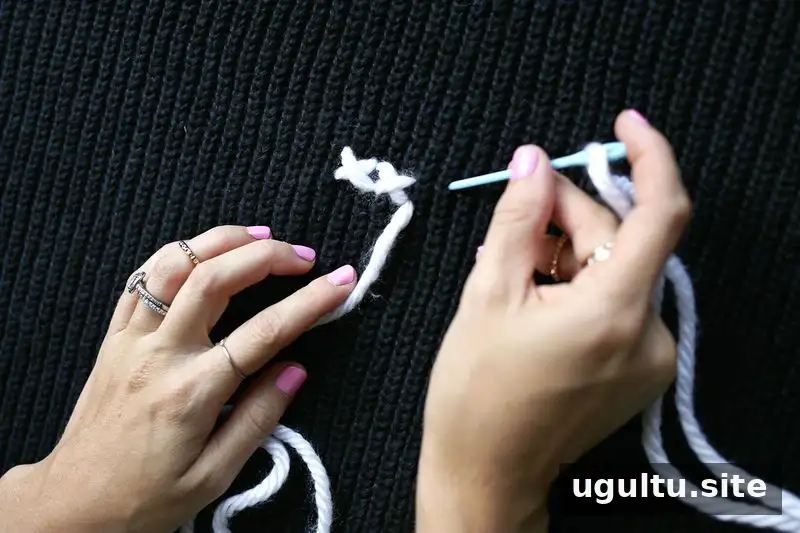
Stitch the skull design onto the sweater
Print the skull template. Its numbers indicate how many X-shaped stitches to make across each row, while spaces shown in parentheses indicate skipped stitches. Place foam core board or cardboard inside the sweater so the knit lies flat and is supported as you work.
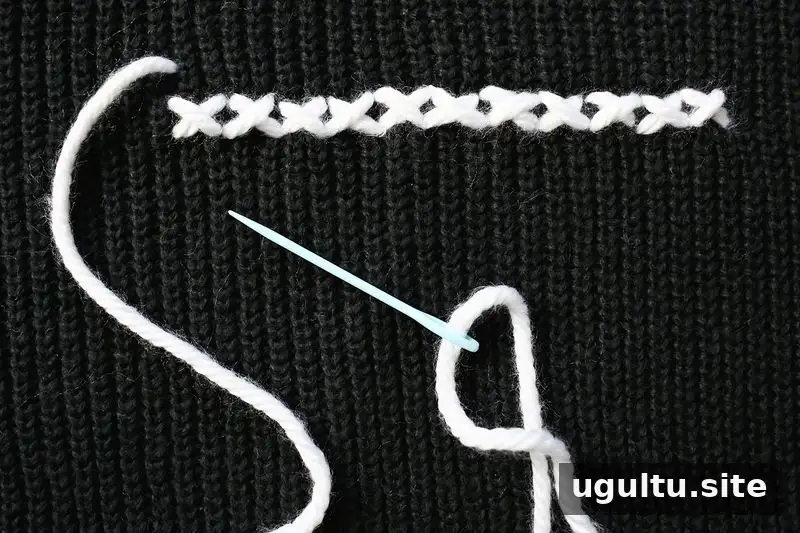
Decide how large to make each X by checking the sweater’s knit. If the fabric has clear vertical columns, use them as a guide so the stitches remain consistent. For example, the design can be worked with each X spanning two columns. Start with a long row near the middle of the skull; this gives you a reference point for keeping the other rows balanced.
Thread the yarn through the plastic needle and knot its end. Bring the needle up from the underside so the knot stays hidden at the back. Stitch the number of Xs shown for the row, then follow the template for the next row, adjusting the starting position where the pattern calls for it. Keep the yarn tension even without pulling so tightly that the sweater puckers.
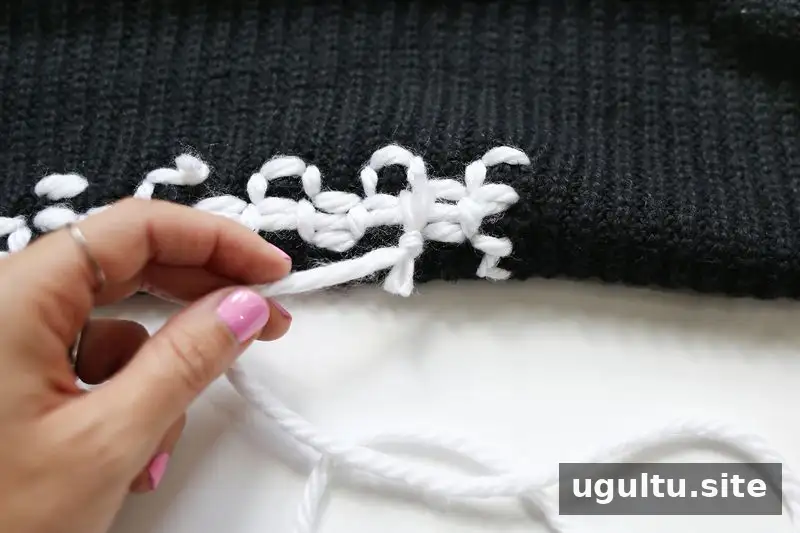
When the yarn runs out, secure it with a knot on the underside, close to the sweater, then thread a new piece and continue. The reverse side does not need to look perfectly neat, but secure knots and trimmed ends help keep the stitches in place.
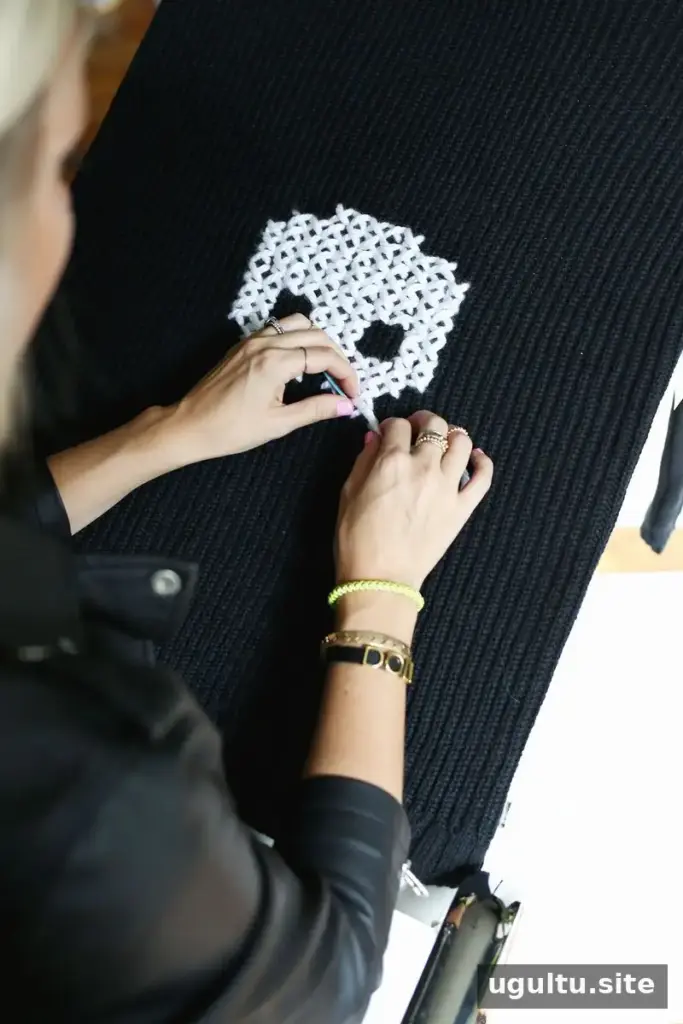
Make and sew the pillow cover
Once the skull is complete, knot the yarn on the underside and trim the excess. Cut two squares of black cotton fabric to the intended finished pillow size, adding 1 inch to both the length and width for a 1/2-inch seam allowance. For an 18-inch square pillow, cut two 19-inch squares.
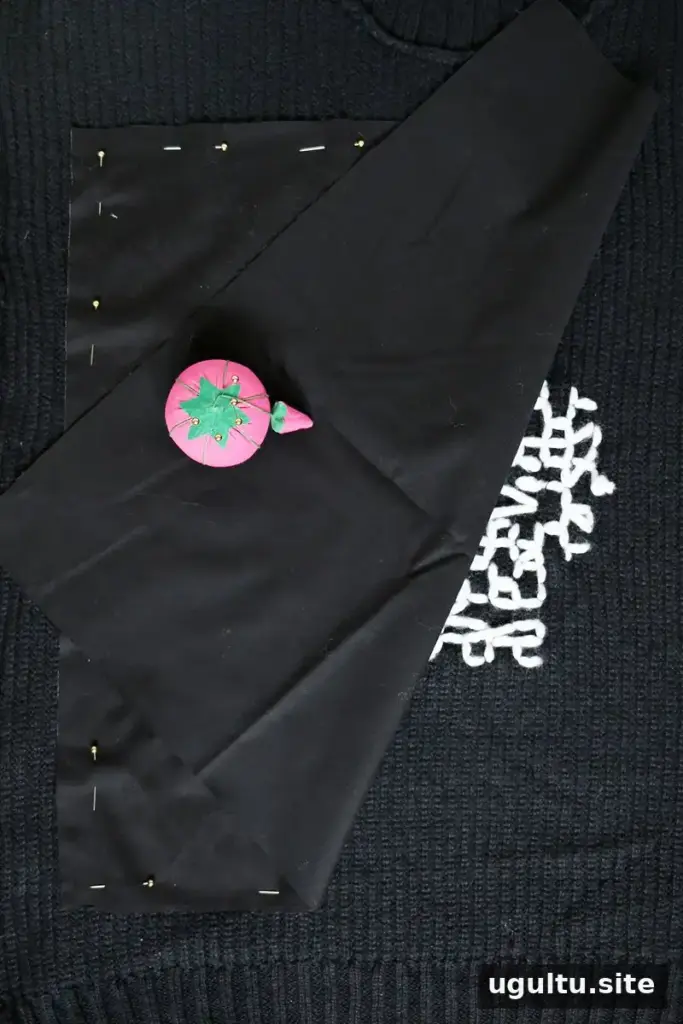
Turn the sweater inside out. Center one cotton square over the back of the stitched design and pin it around the edges; it will reinforce the knit. Pin the second cotton square to the back half of the sweater in the same way. Cut along the sweater’s side seams to separate its front and back. Using a sewing machine, stitch 1/4 inch in from the outside edge of each cotton square, then trim away the excess sweater fabric.
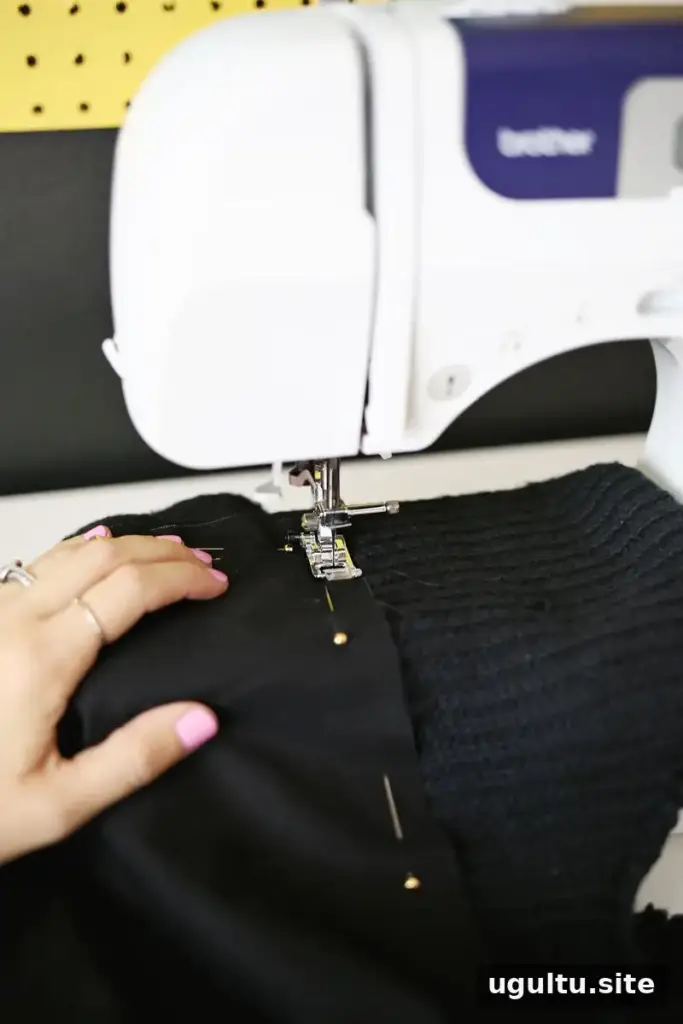
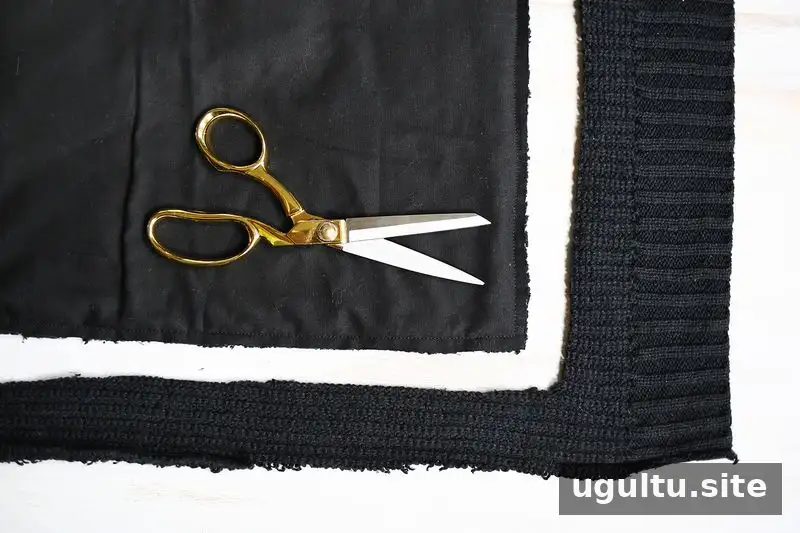
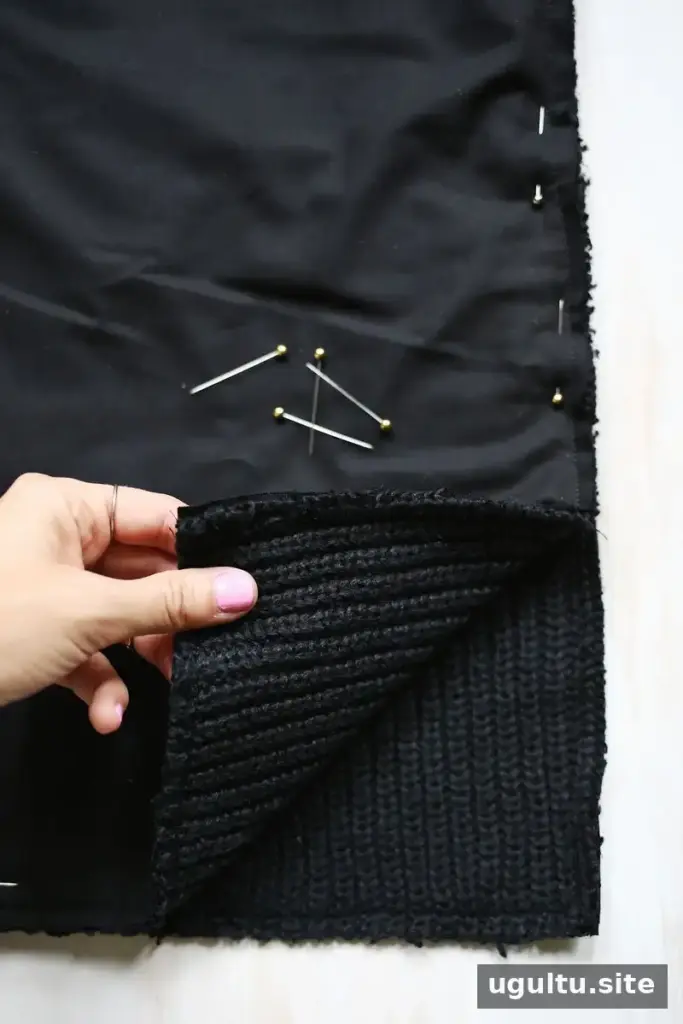
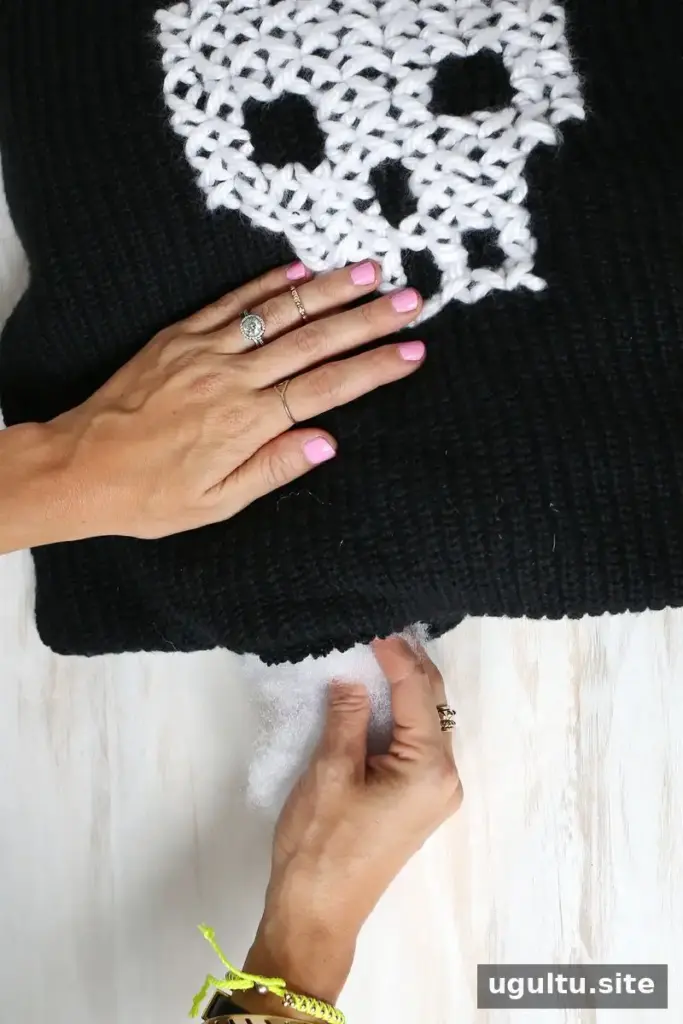
Place the two pillow halves together with their right sides facing inward. Pin around the edges and sew with a 1/2-inch seam allowance, leaving a 5–6-inch opening for turning and stuffing. Turn the cover right side out and fill it with pillow stuffing until it reaches the firmness you prefer. Close the opening with a blind stitch.
Finishing tips
Before sewing the two halves together, check that the skull is centered and that the cotton backing covers the stitched area. When stuffing, add small amounts at a time and distribute them toward the corners to help the pillow keep its shape. A careful hand-sewn closure gives the finished edge a tidy appearance.
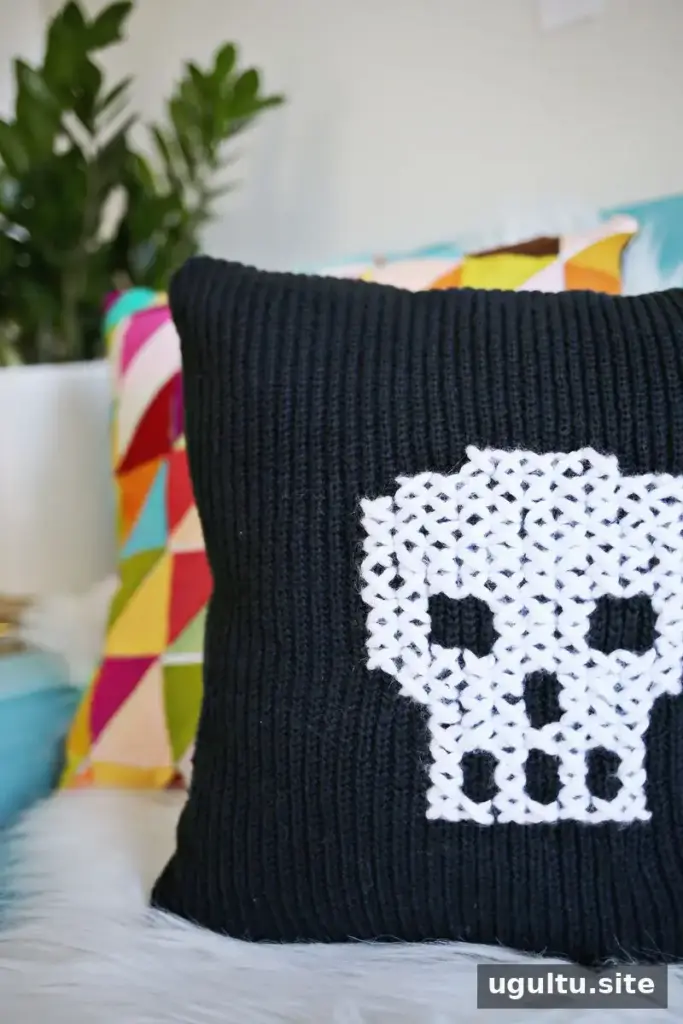
This sweater pillow turns a knit garment into a decorative piece with a handmade cross-stitched detail. The same method can be adapted to other knit sweaters, provided the fabric is stable enough to support the stitches and backing. Project by Laura.