
 admin
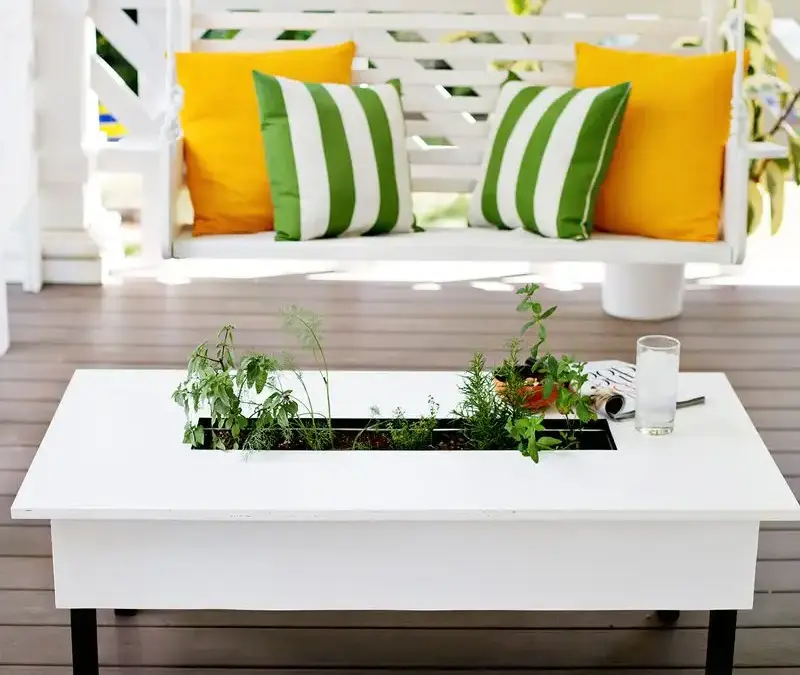
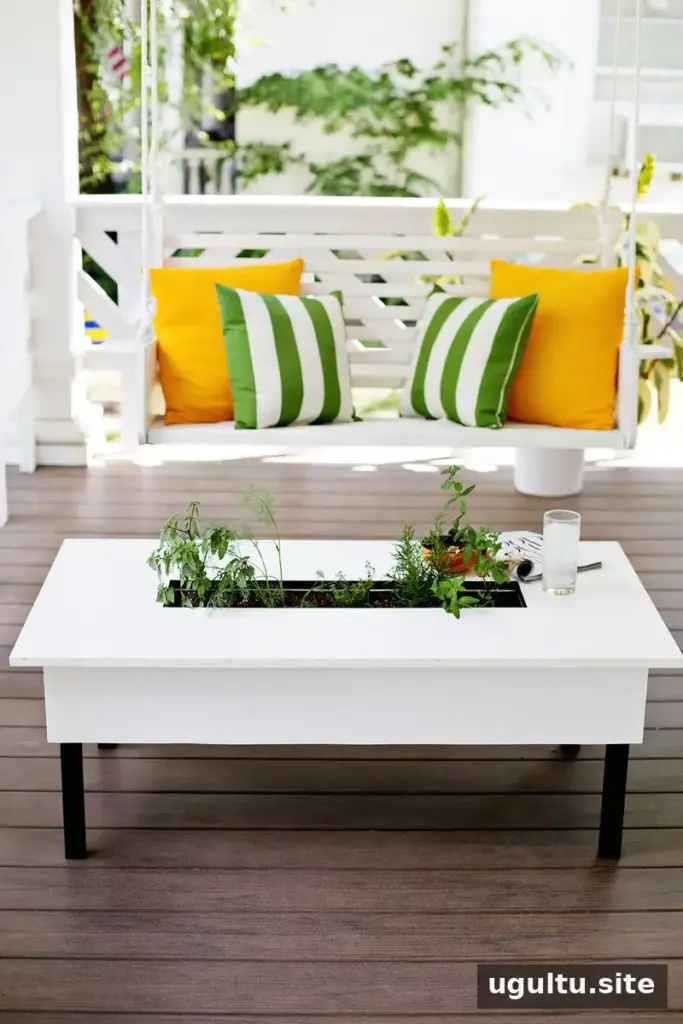
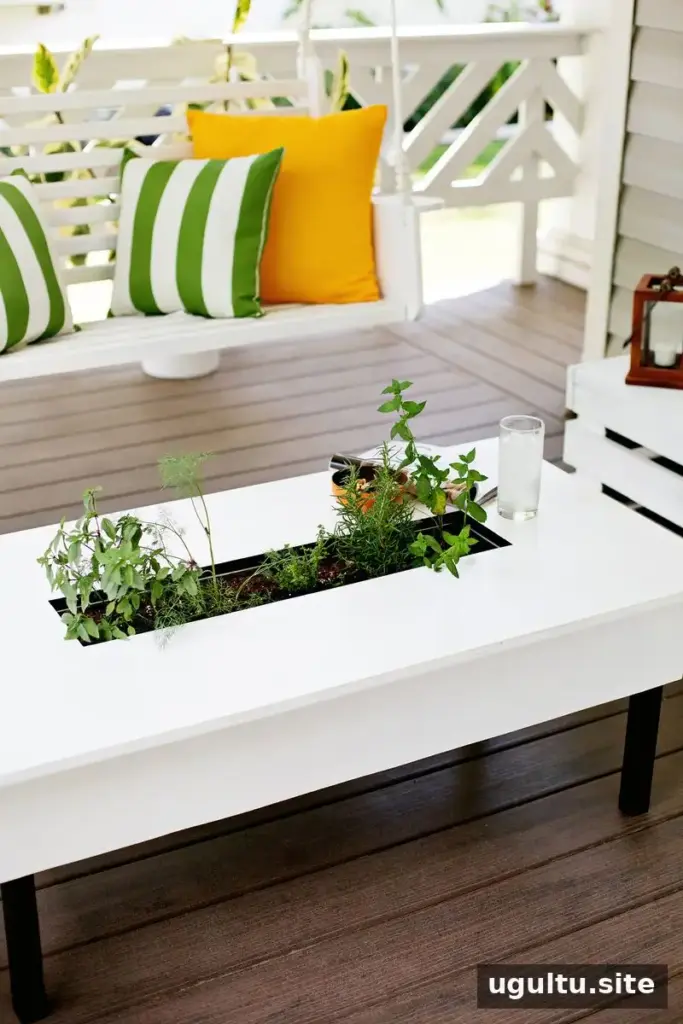
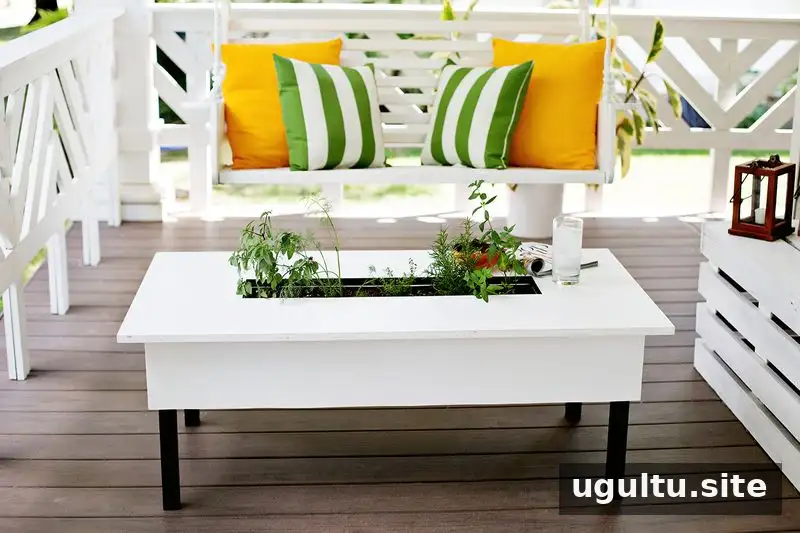
A herb garden coffee table brings fresh greenery within easy reach while adding a practical feature to a porch or patio. Imagine enjoying a summer drink outdoors and picking a sprig of mint from the table’s built-in planter. This DIY project uses a wooden tabletop and a sheet-metal planter insert, and its original estimated cost was around $75. The steps below cover the materials, assembly, and a few useful considerations before you begin.
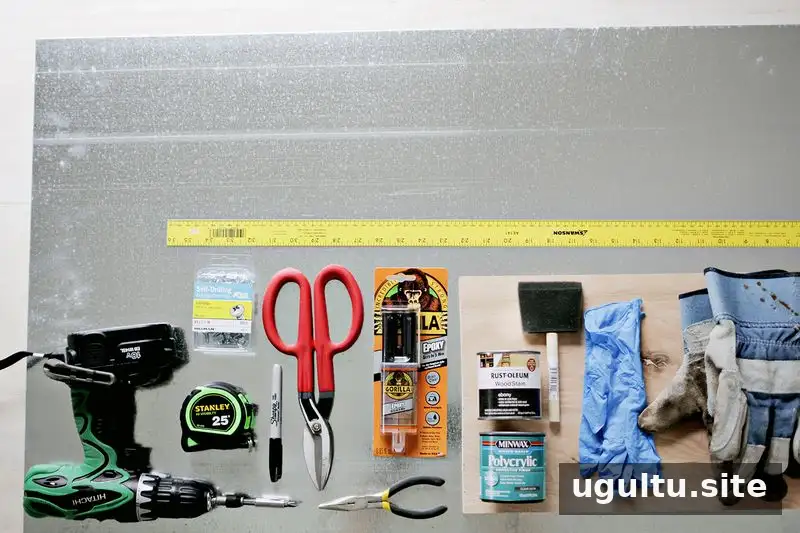
Herb Garden Coffee Table Supplies and Tools
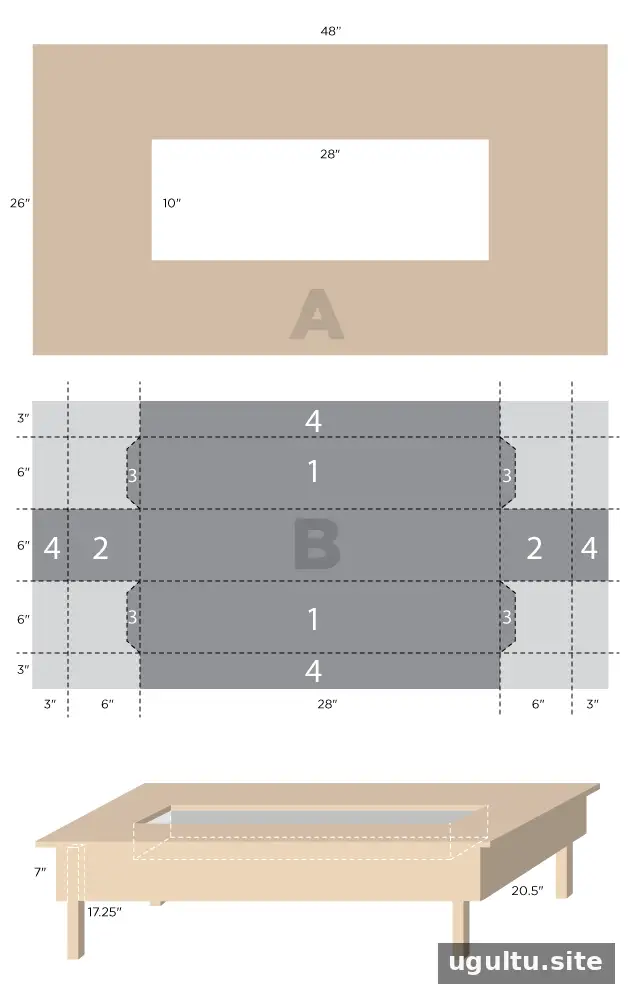
Gather the following materials before starting. The project uses a cutout in the tabletop to hold the planter box, so check the layout and measurements in the diagrams before cutting.
- Hardwood plywood (one 4′ x 4′ sheet is enough)
- One 2×4
- Sheet metal (24″ x 48″ sheet; the original project used approximately 18-gauge metal)
- ½-inch self-drilling sheet-metal screws
- Planter stones, potting soil, and herbs
Tools: tin snips, a Skil saw, a jigsaw with a metal-cutting blade, a ruler, a marker, a drill, leather gloves, and a trowel. Wear gloves when handling sheet metal, and keep the sharp cut edges pointed away from your hands.
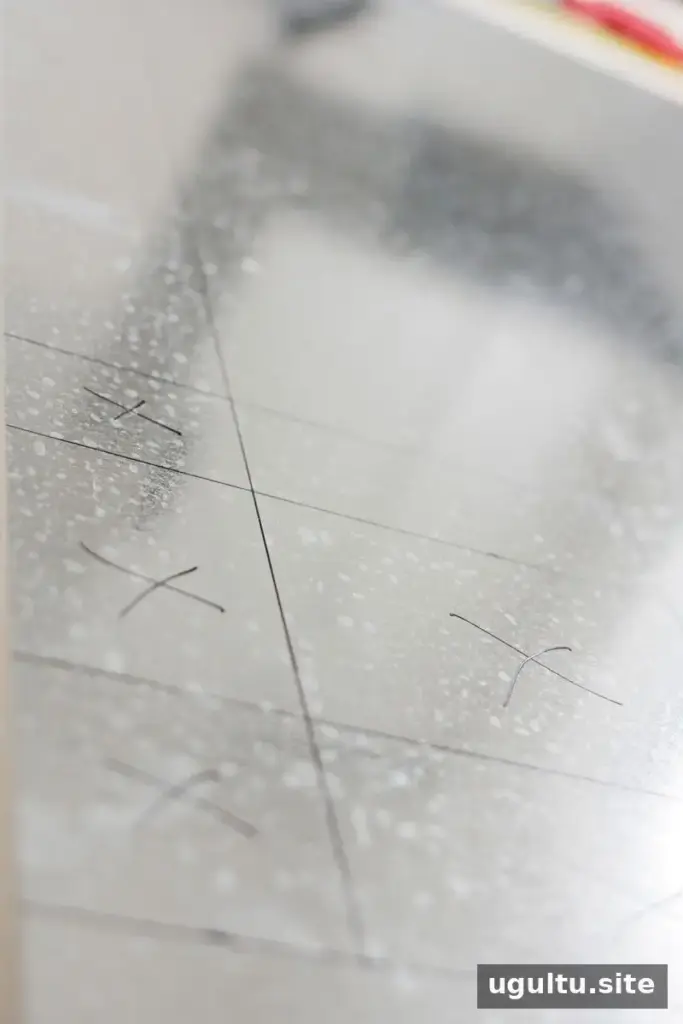
Step 1: Cut the Sheet-Metal Planter
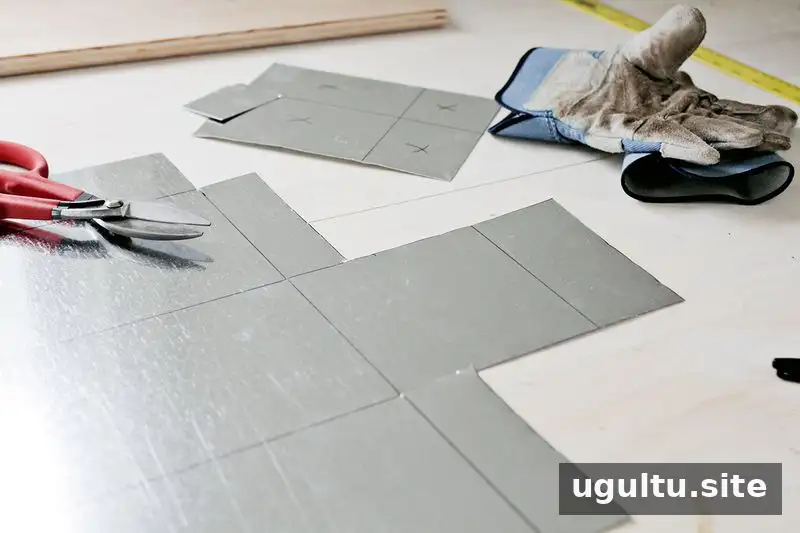
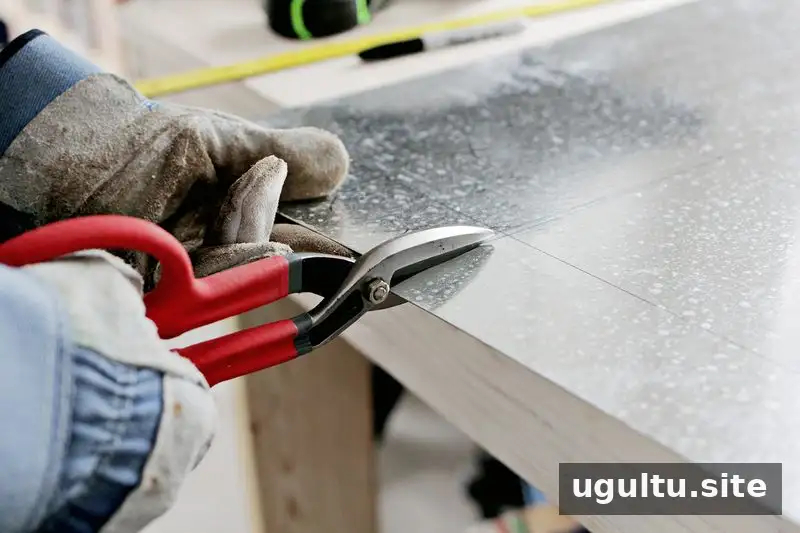
Use the diagram to measure and mark the planter pattern on the sheet metal. Cut the shape with tin snips suitable for the metal’s thickness, or use a jigsaw fitted with a metal blade. If using a jigsaw, work slowly and let the blade cut without forcing it. Take care around every edge: freshly cut sheet metal can be very sharp.
Once the pattern is cut, prepare to fold the metal into a box. Reviewing the diagram’s fold sequence before bending can help you keep the sides aligned and avoid unnecessary corrections.
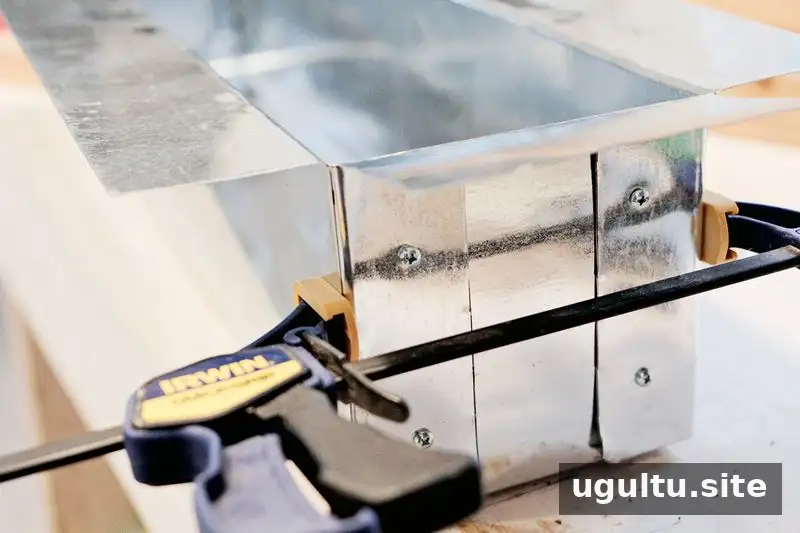
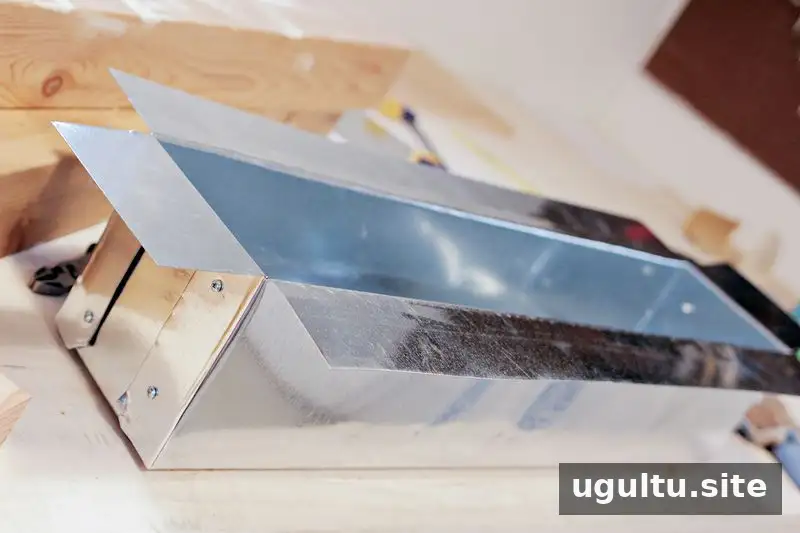
Step 2: Fold and Fasten the Planter
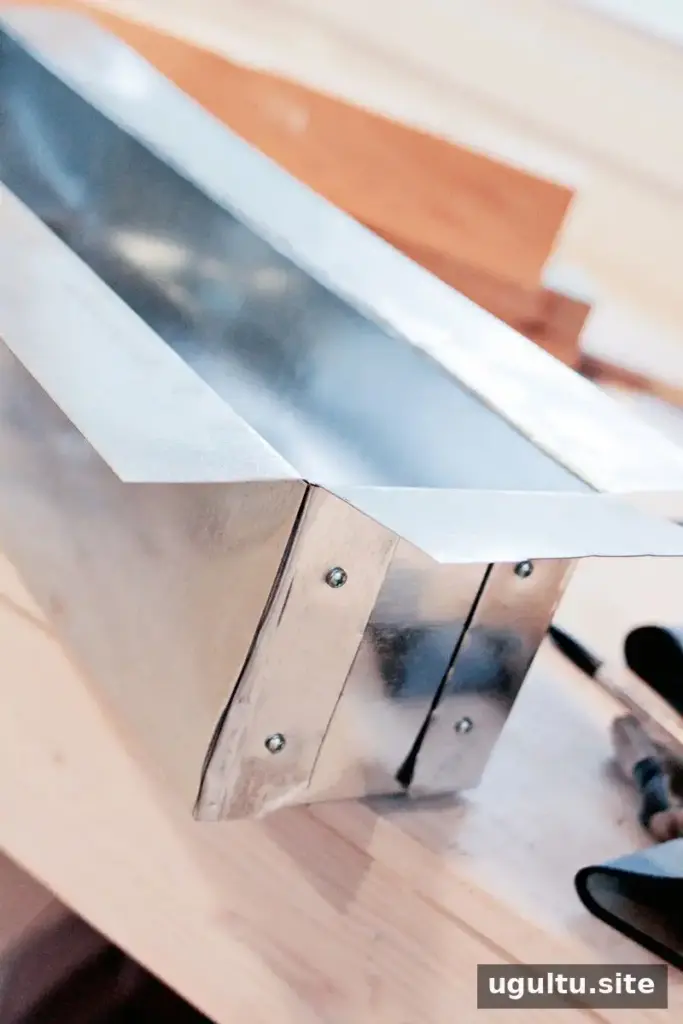
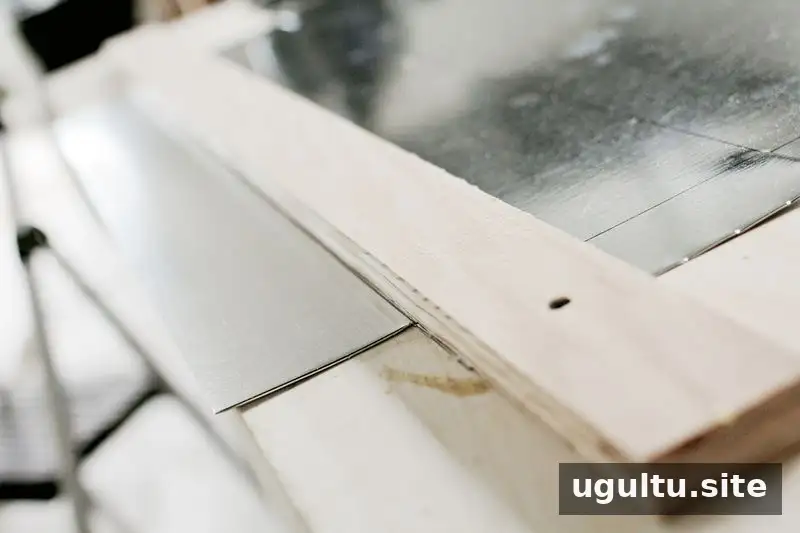
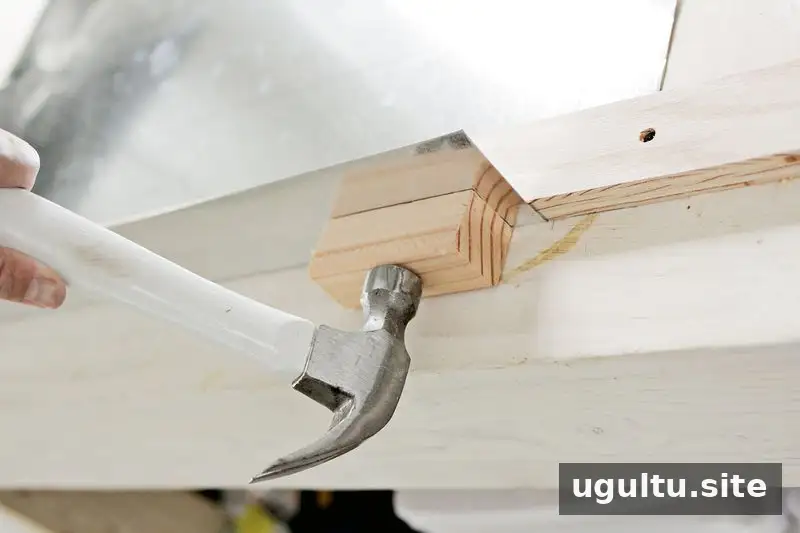
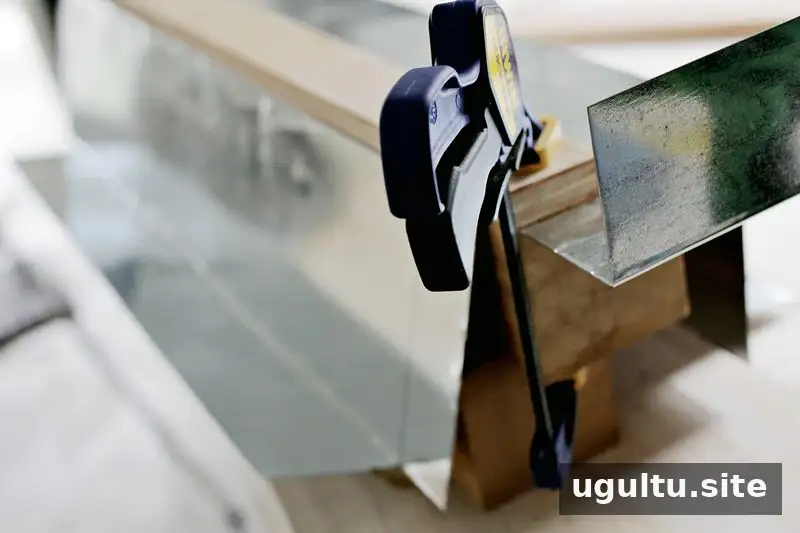
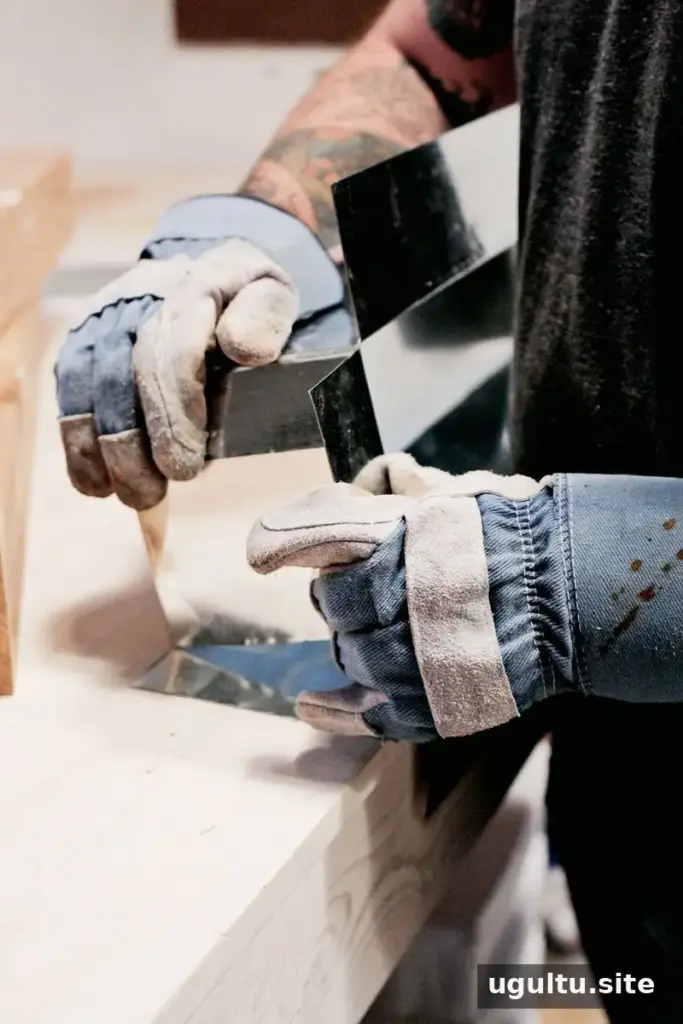
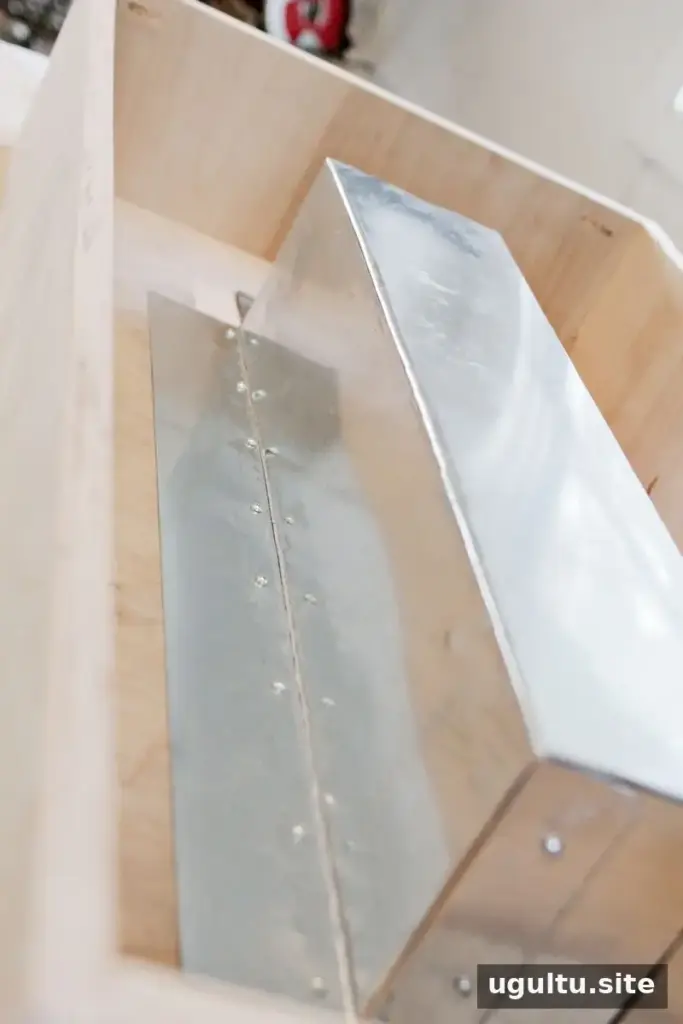
A metal brake is designed to make straight folds, but a sturdy, hard edge can also help guide the bends. In this build, a piece of scrap hardwood plywood was screwed down over the line to be folded. Wearing gloves, bend the metal gradually against the edge, following the sequence shown in the diagram. Work from the inner folds outward and support the box on scrap wood when needed.
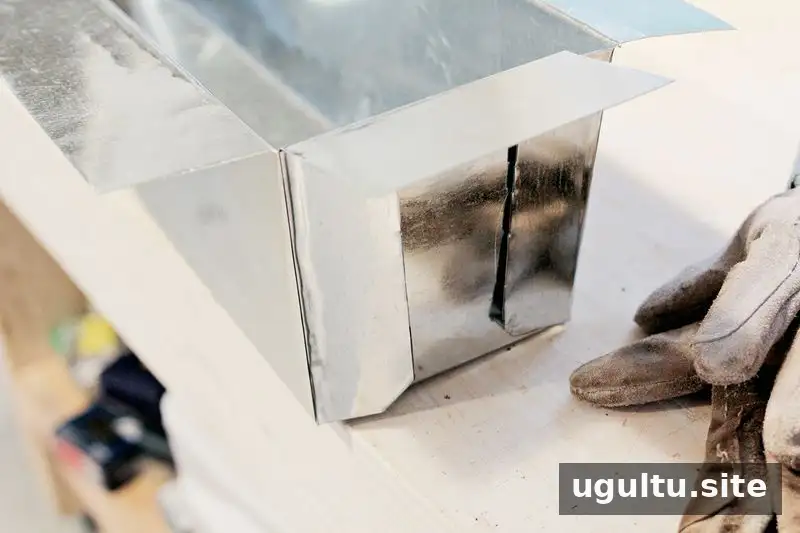
A hammer can be used gently to sharpen the folds after bending. Fasten the sides with the self-drilling sheet-metal screws. The planter will be largely hidden once installed and filled, so focus on secure joints and a stable shape rather than a flawless finish. Check that screw points will not create a hazard or interfere with the tabletop.
Step 3: Assemble and Finish the Tabletop
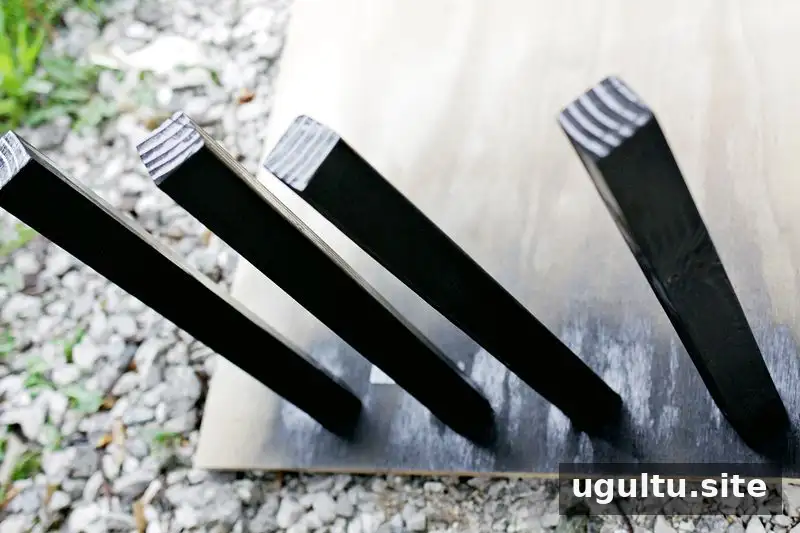
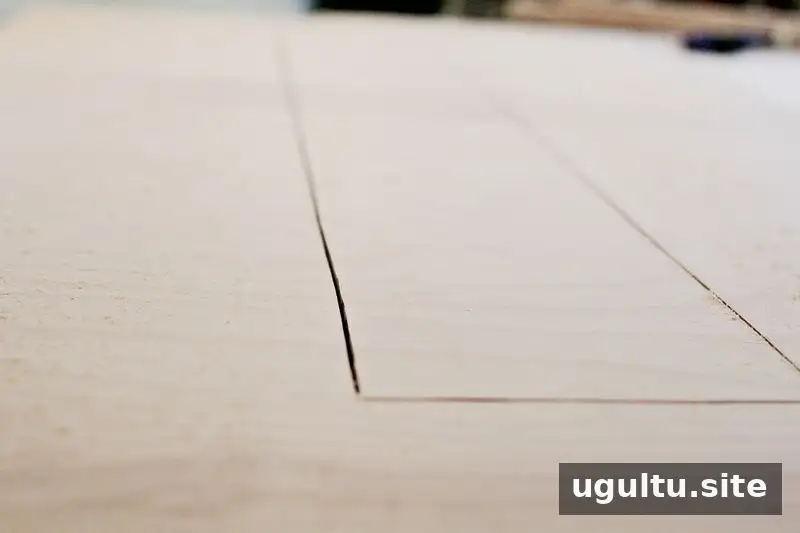
Build the tabletop according to the measurements in the diagram. The legs are made by ripping the 2×4 in half and sanding the resulting pieces. Paint the legs before attaching them if that makes finishing easier; the original builder temporarily fastened them to scrap plywood to move them outdoors for spray painting.
Center the metal planter under the tabletop opening and secure it around the edge with metal screws. The original build relied on the seams for excess water to escape rather than drilling holes in the planter bottom. For outdoor use, consider how water will drain and protect the surface beneath the table; avoid letting standing water collect around the wood. Paint the inner lip around the garden opening, then finish the rest of the table with semi-gloss white paint and three coats of polyurethane, as in the original project. Follow the product labels and allow finishes to dry fully before planting.
Step 4: Plant the Herbs
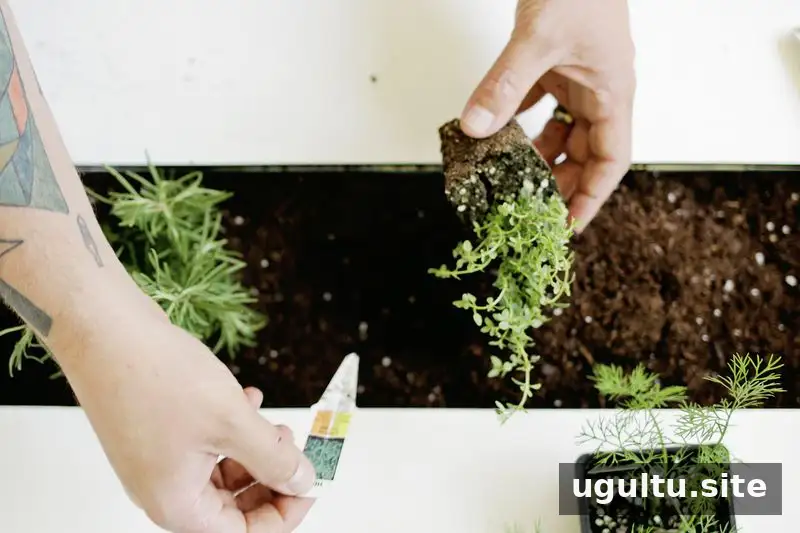
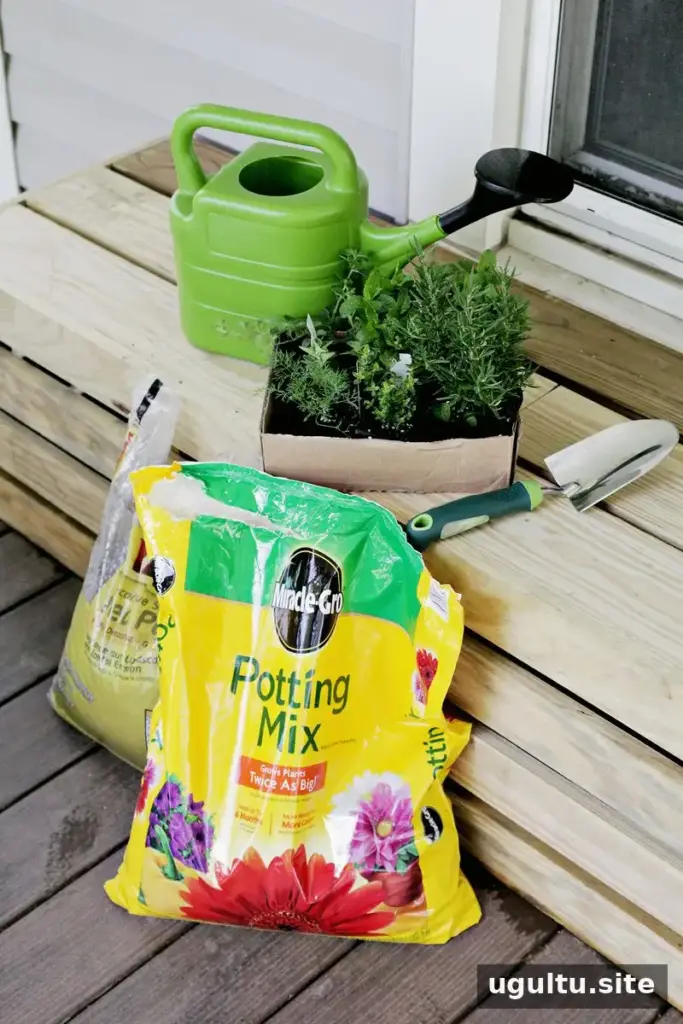
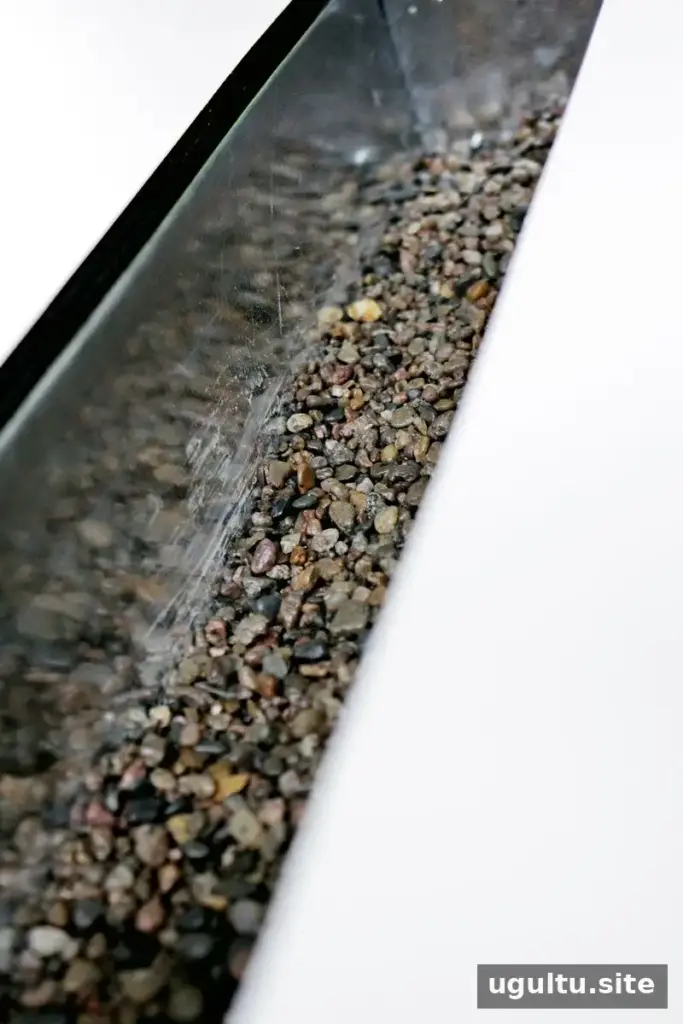
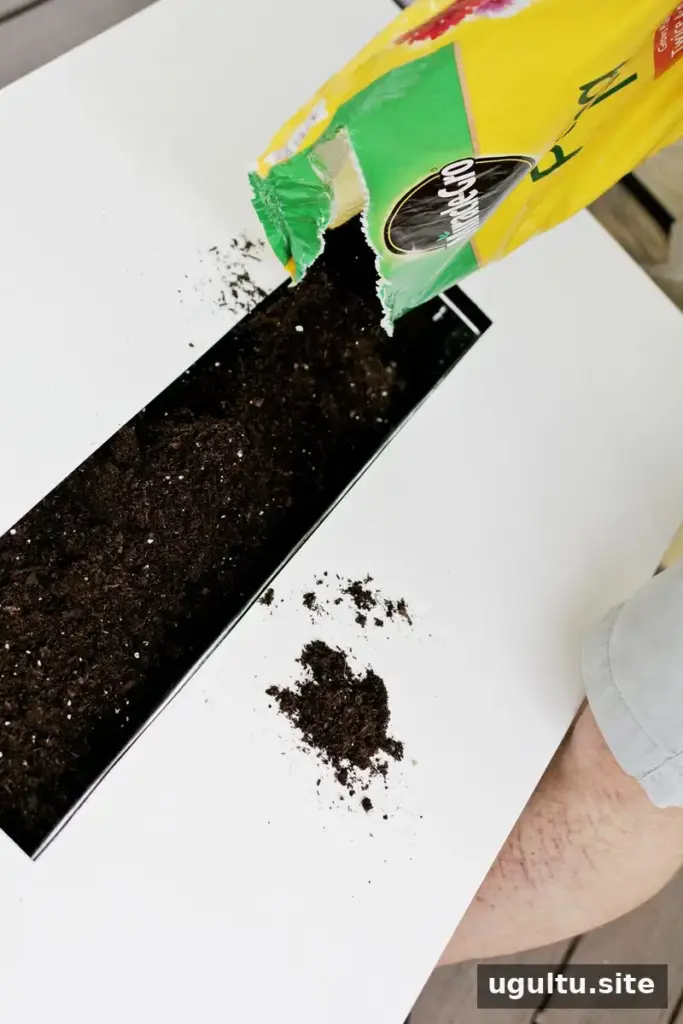
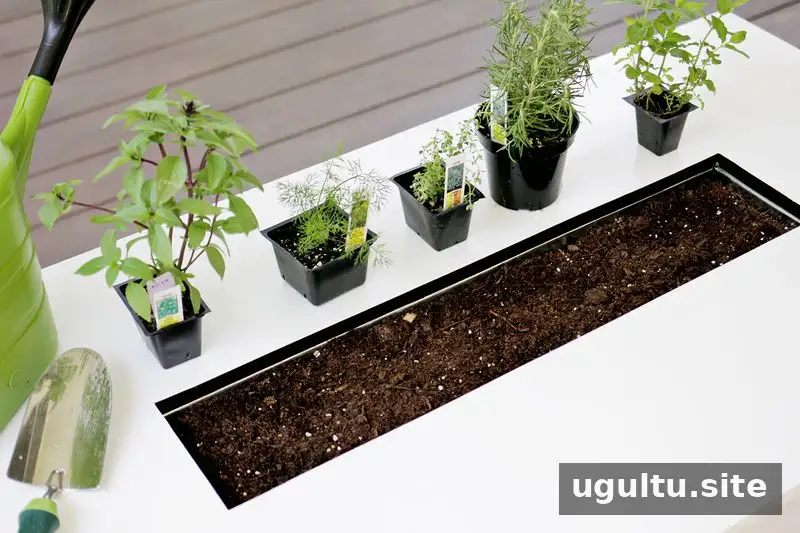
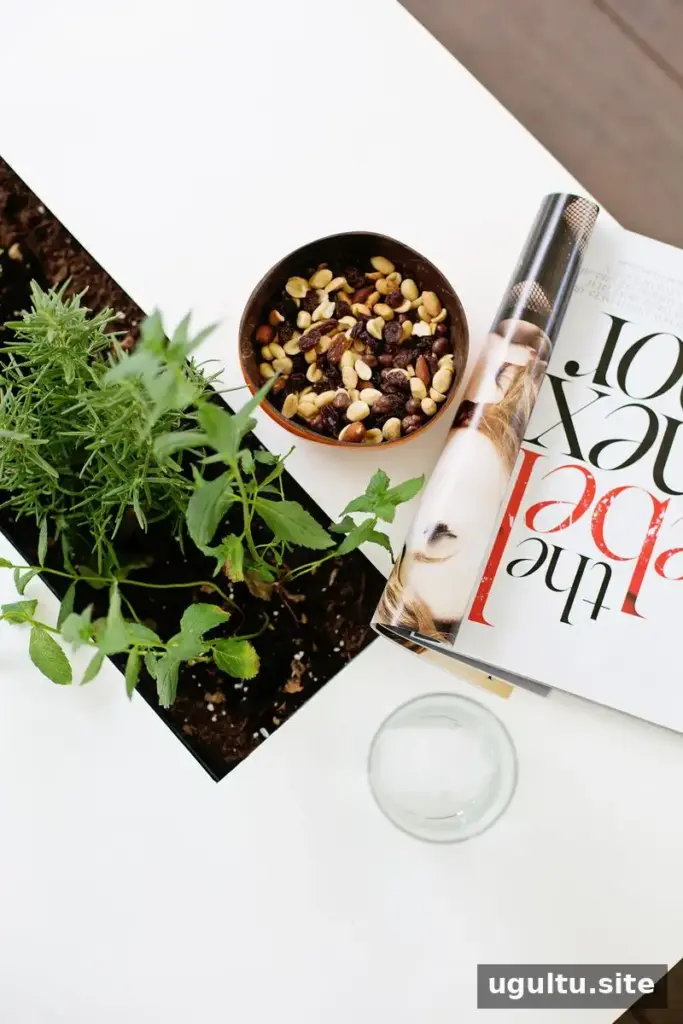
Choose herbs based on how you plan to use the table. The original planting included chocolate mint, peppermint, basil, dill, and rosemary—useful options for drinks and summer meals. Add planter stones and potting soil, leaving two or three inches of space below the rim, then plant the herbs.
Check the care requirements for each herb, since watering and sunlight needs can vary. Avoid overwatering, especially if the planter has limited drainage, and trim plants regularly to encourage fresh growth. Keeping the soil below the rim also helps reduce spills when watering.
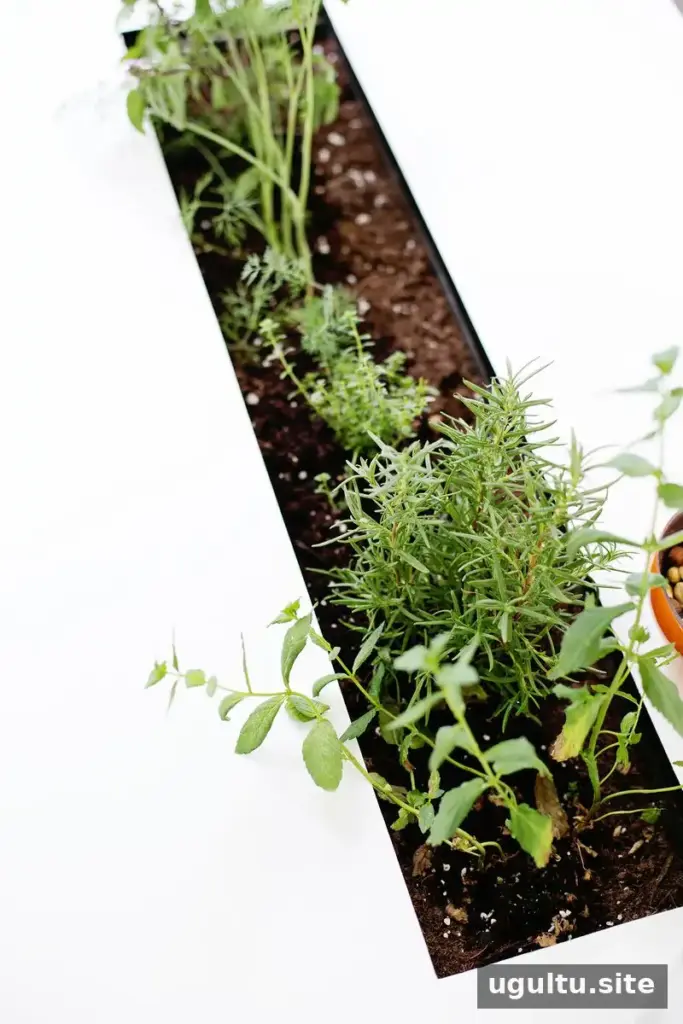
The combination of wood, metal, soil, and living plants makes this table both a functional outdoor surface and a small herb garden. With the materials listed and the measurements shown in the project diagrams, you can create a useful centerpiece for a porch or patio while keeping fresh herbs close at hand.
Happy building! —Josh
Conclusion
A herb garden coffee table is a practical DIY project for anyone who wants fresh herbs within reach outdoors. Follow the diagrams for the cuts and dimensions, handle sheet metal carefully, and plan for water drainage before planting. With those details considered, the finished table can add greenery and convenience to a porch or patio.


