
 admin
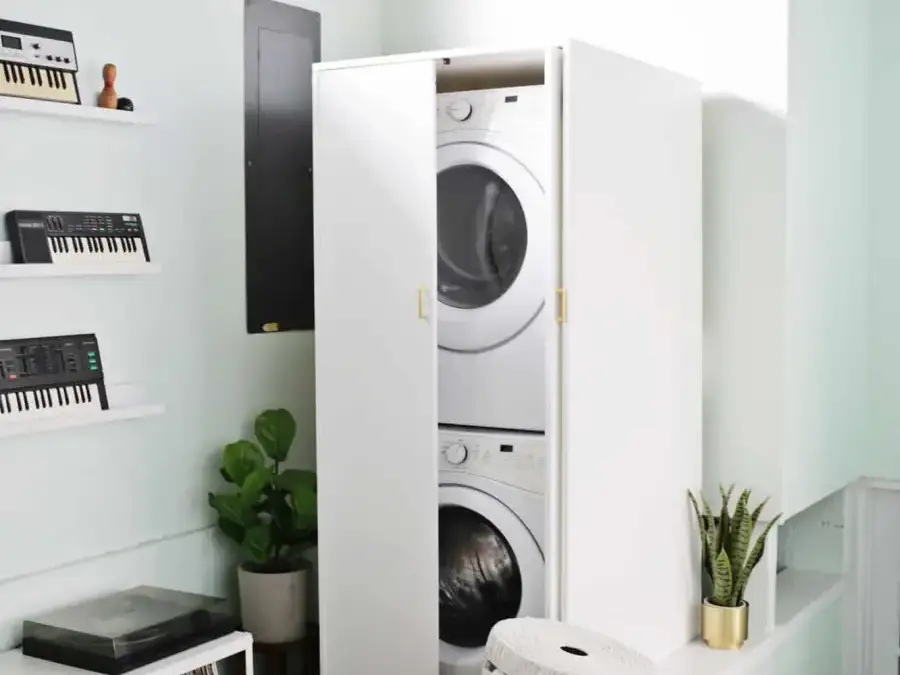
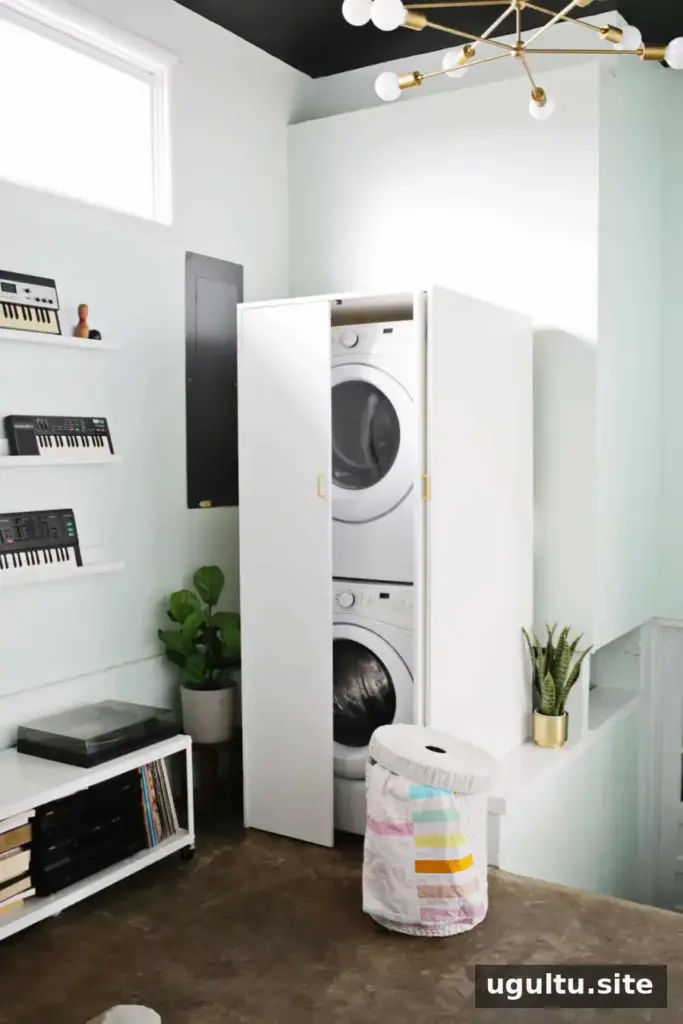
A hidden washer and dryer cabinet can make a laundry area look tidier without taking up much extra room. Sliding doors are especially useful in a narrow space because they move into the cabinet sides instead of swinging outward. This guide explains how to plan and build a cabinet around a stacked washer and dryer, plus a simpler hinge-based option for a tighter budget.
Plan and measure the hidden washer and dryer cabinet
Measure the height, width, and depth of the stacked appliances before cutting any wood. Account for the sliding-door hardware as well as the doors themselves. In this project, each 3/4-inch-thick door and its hardware required 1 3/4 inches of space on its side. That meant adding 3 1/2 inches to the appliance width to calculate the cabinet’s minimum interior width.
Decide how much clearance you want around the appliances, and include it in your measurements. A nearby air-conditioning unit limited the available space in this example, so the fit needed to stay close. Make the cabinet deep enough to cover the sides of the machines and allow the 3/4-inch doors to sit inside the frame without touching the appliance fronts. For height, leave a couple of inches above the dryer unless you are matching nearby furniture or trim.
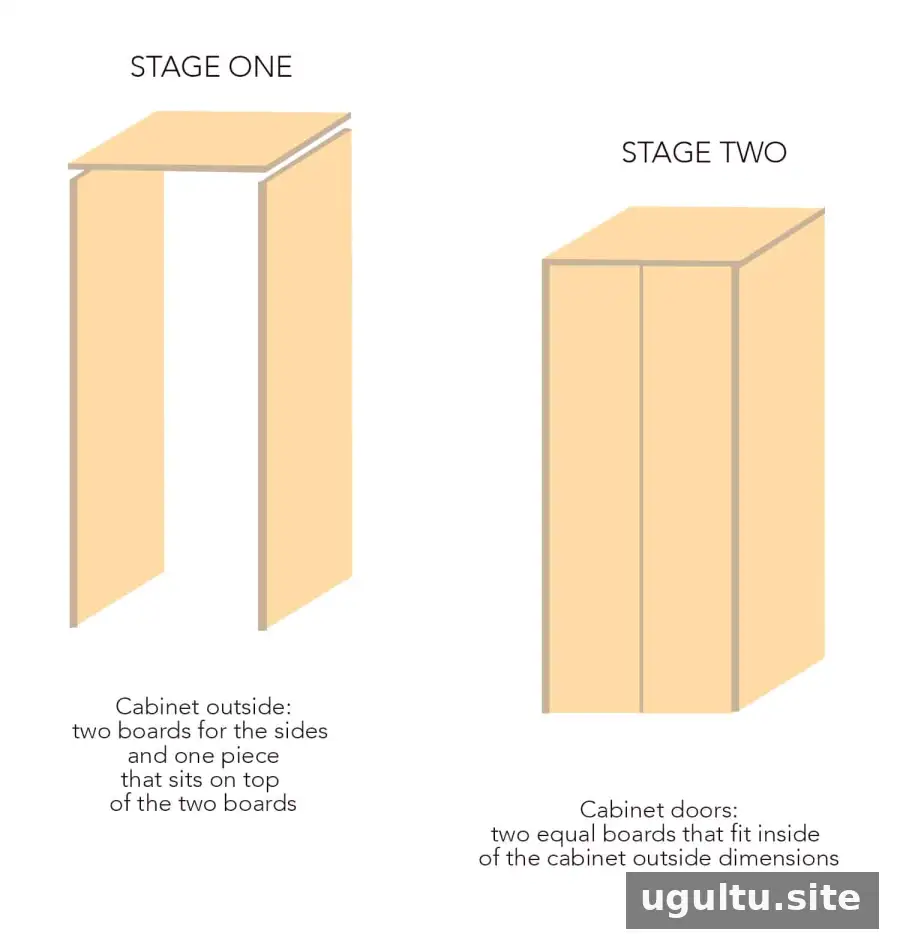
Use 3/4-inch plywood to make a three-sided box with the planned dimensions. Set it around the washer and dryer to check the fit, but do not fasten the cabinet in place yet. If you plan to paint the interior, paint the side panels before assembly; access will be easier at this stage.
Install the sliding-door hardware
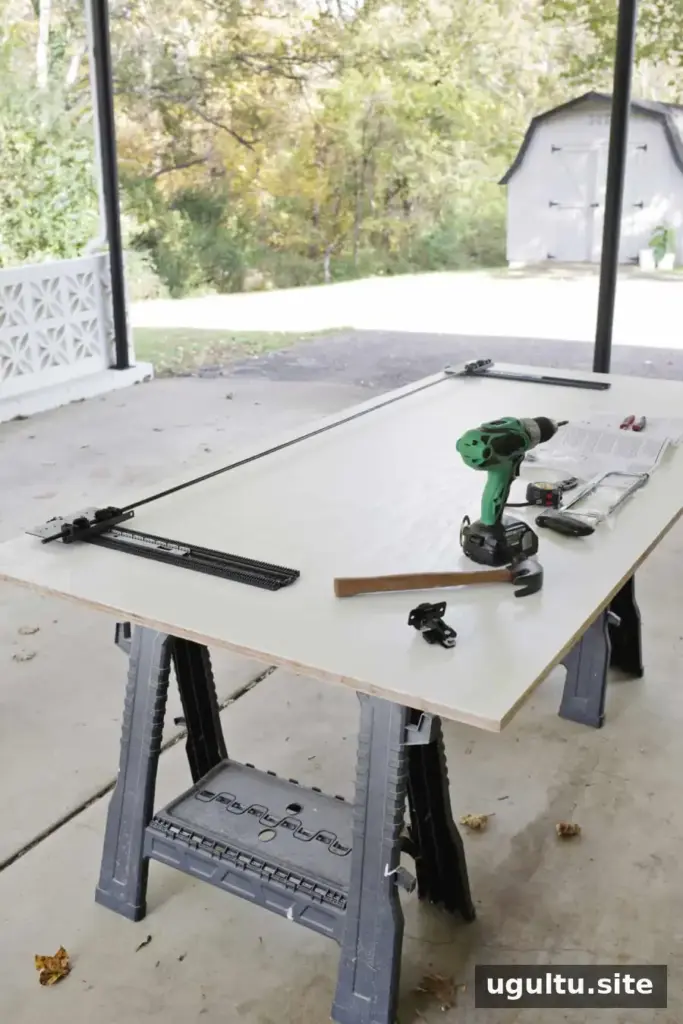
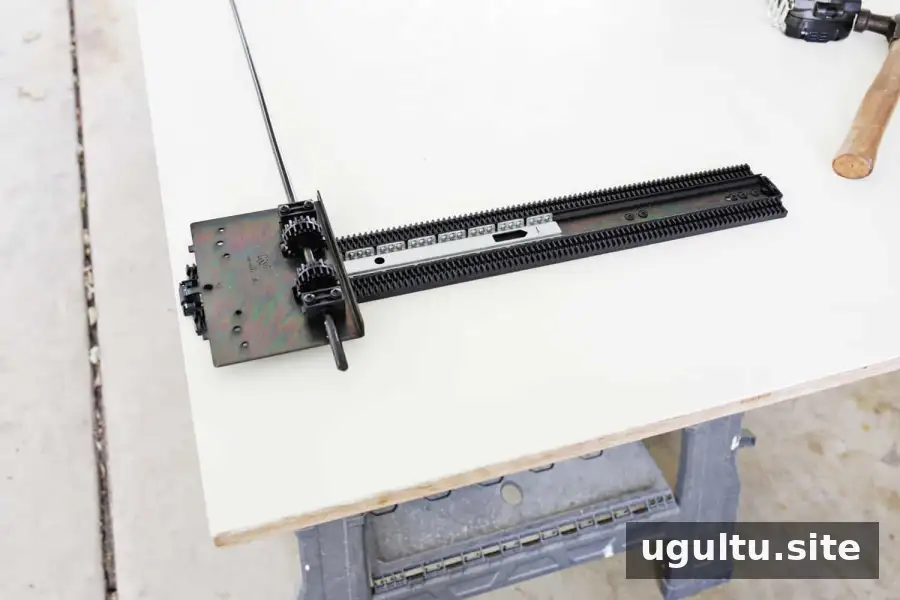
The sliding setup uses a pair of slide systems mounted inside the cabinet sides, along with rods that connect the upper and lower slides so they move together. The rods can be shortened with a hacksaw if necessary. In this build, the hardware was positioned 1 1/4 inches from the front edge of each side panel, with the upper and lower components 60 inches apart. The rods were cut to match that distance, and the same arrangement was repeated on the other side.
Before attaching the cabinet sides to the top, check that the hardware is aligned and moves smoothly. Following the hardware’s own installation instructions is important, since mounting positions can vary between systems.
Cut and attach the cabinet doors
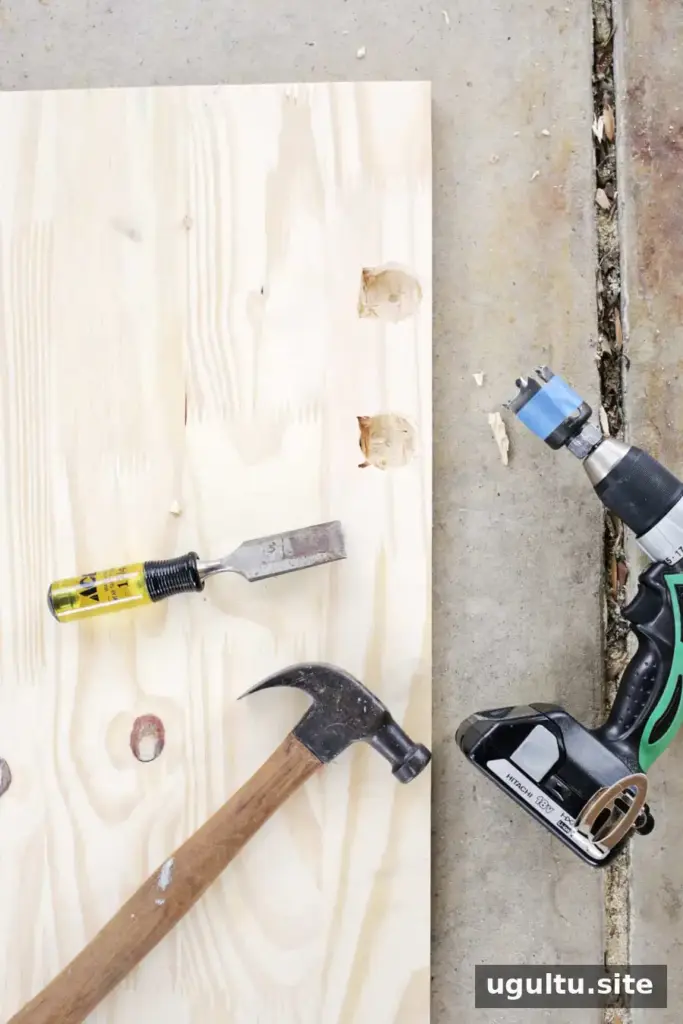
These doors fit inside the cabinet frame rather than covering its outer edges. Measure the opening from side to side and top to bottom. Divide the width by two for the pair of doors, then subtract 1/8 inch from each door’s width to provide a little clearance. Subtract 1/2 inch from the door height. Position the doors flush with the top and slightly above the floor so their lower edges do not scrape.
Cut the doors from boards sized for the project. A table saw can be useful for large panels, while a circular saw or jigsaw may also be used if appropriate for the material and cut. Follow tool safety guidance, secure the workpiece, and wear suitable protective equipment.
Full-overlay hinge kits can connect the doors to the sliders. Mark the hinge locations by lining each door up with its corresponding cabinet side. For this project, a 1 1/2-inch hole-saw bit was used to make 1/2-inch-deep recesses, with the remaining wood removed using a chisel and flathead screwdriver. Check the hinge dimensions and instructions before drilling so the recess is the correct size and depth.
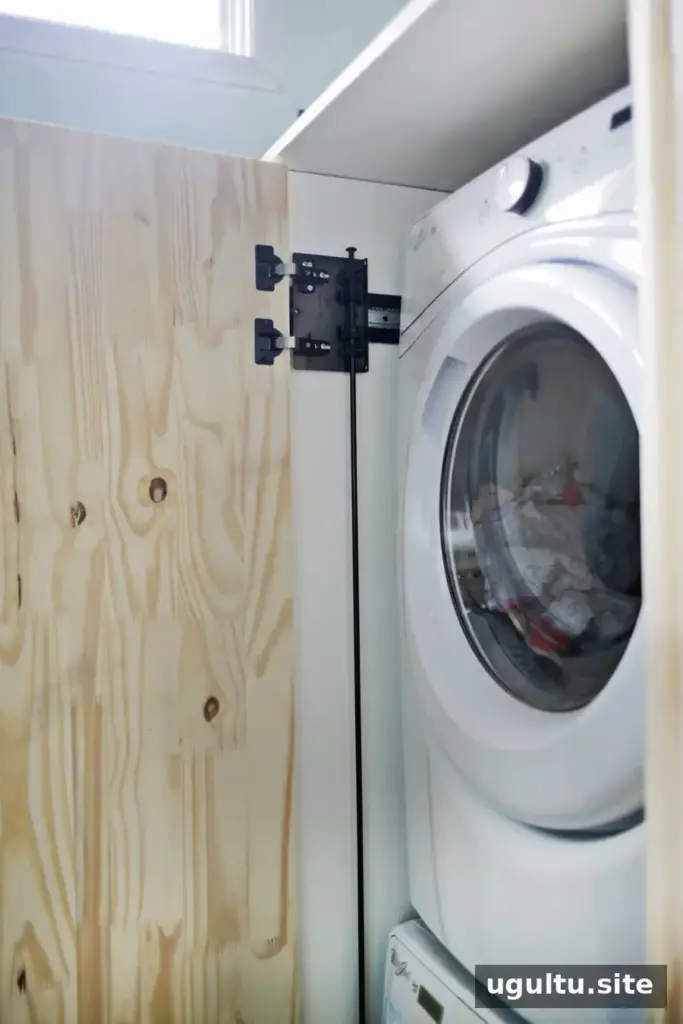
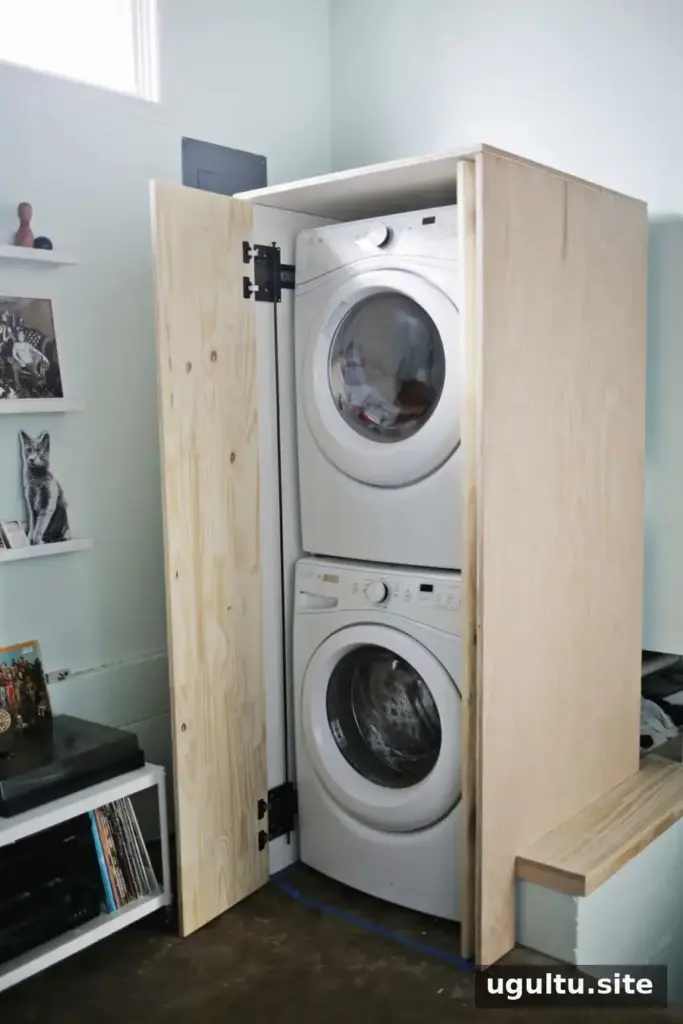
Fit the hinges and connect them to the slide systems. Test each door before final assembly. Many hinges allow adjustments that can raise or lower a door or move it forward and back. Make those adjustments gradually if a door does not sit evenly.
Place the three-sided cabinet around the machines again and confirm that both doors open and close freely. Once the fit is right, fasten the top to the sides.
Add support while keeping the back accessible
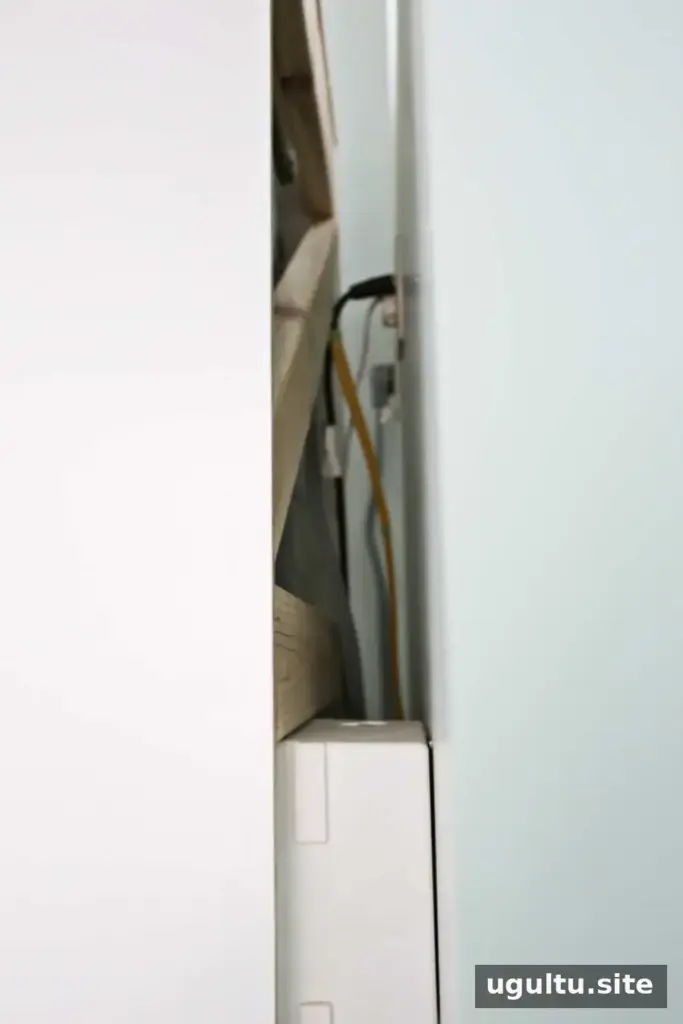
Back braces help reduce movement and make the cabinet more stable. Because appliance hoses and wires need room at the rear, this design uses cross braces and a horizontal piece rather than a solid back panel. The braces were screwed in without glue so they could be removed if the machines need maintenance.
Braces can be cut to fit inside the cabinet, making it possible to fasten them from the sides without pulling the washer and dryer forward to reach behind the unit. Keep access to hoses, wiring, and service areas in mind when planning the cabinet structure.
Finish the cabinet and choose a door option
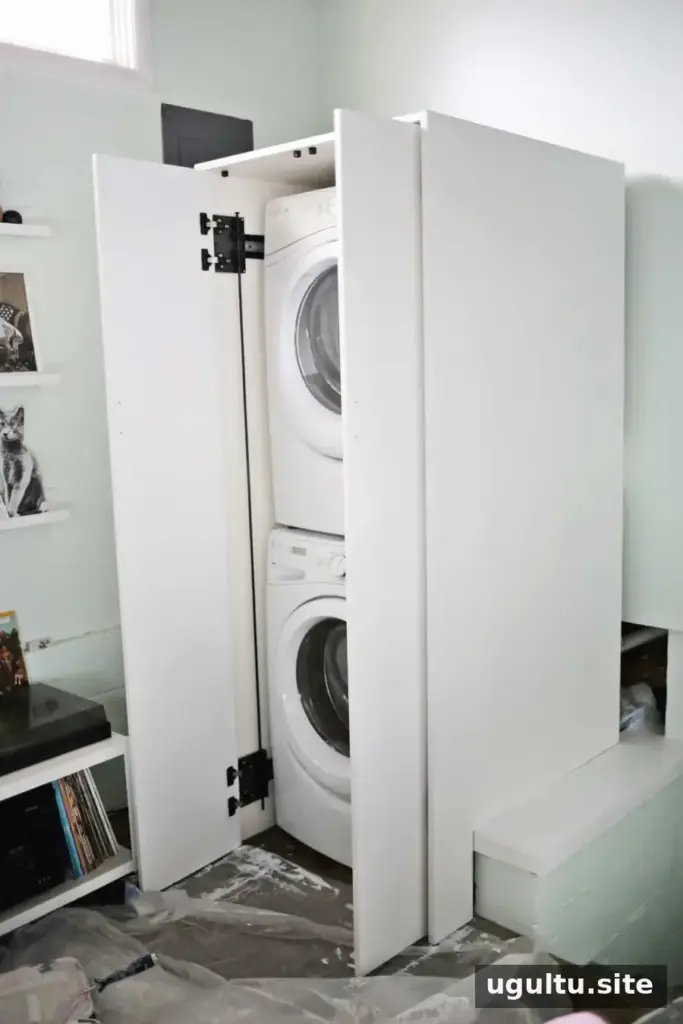
After fitting the braces, paint the cabinet and add handles. Small stoppers at the upper front help keep the doors in position as they roll closed. Door hardware can prevent the panels from sitting completely inside the cabinet; choose a more recessed arrangement if a fully tucked-away finish is important.
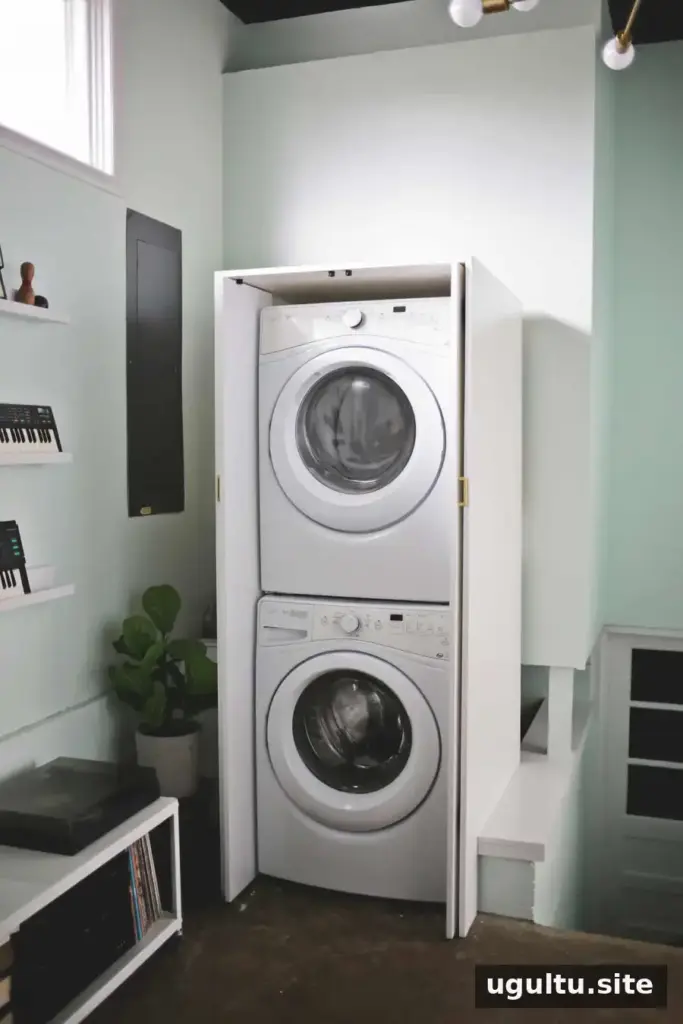
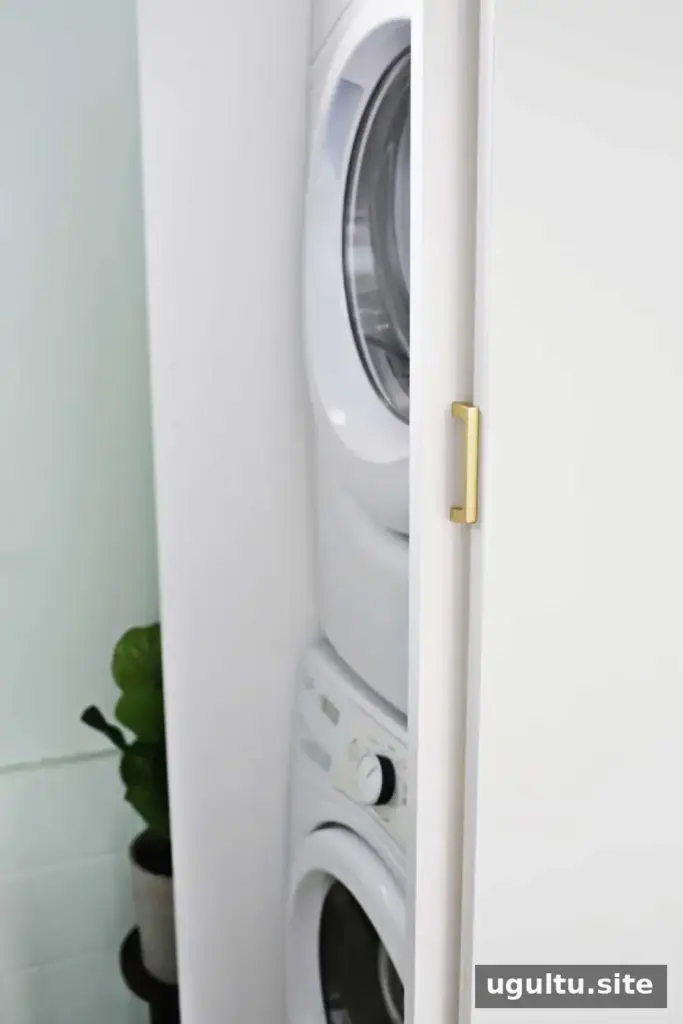
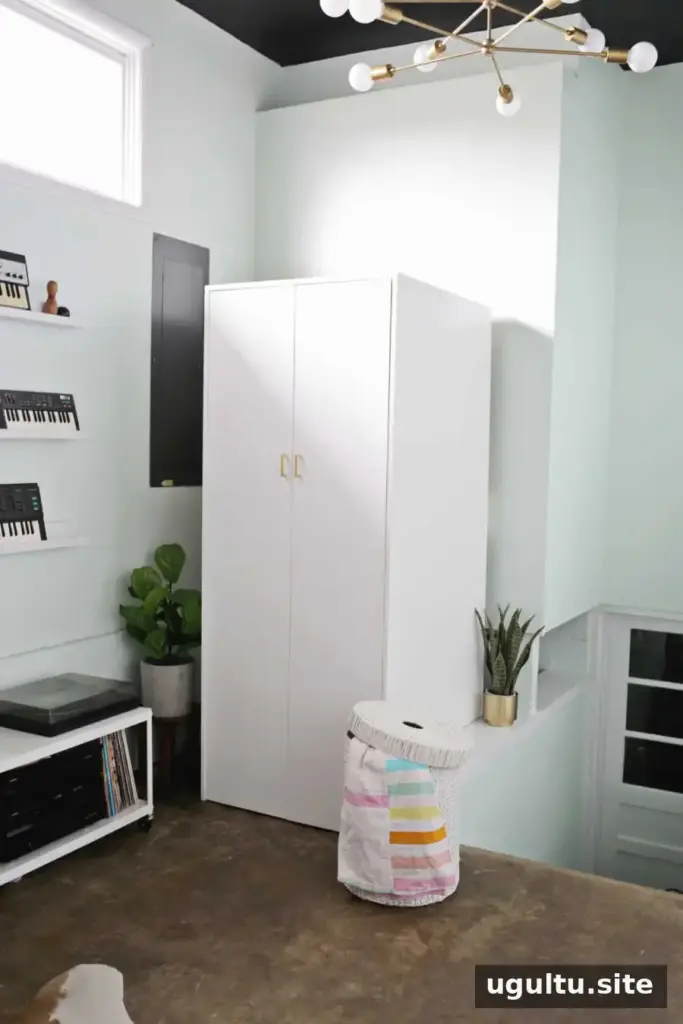
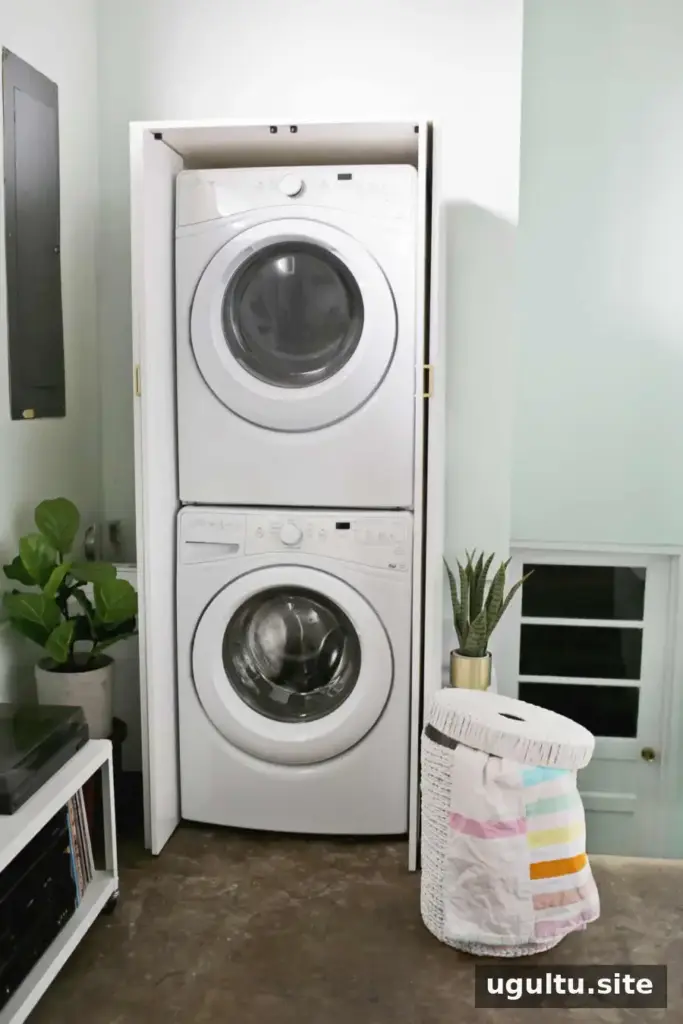
A cutout was made at the bottom of one side panel so the cabinet could sit over a ledge and align with the room’s trim. Most spaces will not need this adjustment, and full side panels may be more suitable. Measure any nearby ledges or trim before cutting so the cabinet fits its location.
The sliding-door function is convenient but adds hardware and cost. If there is enough clearance for doors to swing open, three or four small hinges per door can be a lower-cost alternative. The cabinet can still conceal the appliances when closed, though the doors will not slide out of the way.
For front-loading washers, leave the appliance door open whenever practical after use to help the interior dry and reduce the conditions that can encourage mold growth. Make sure the cabinet doors do not block access or interfere with ventilation and maintenance.
Conclusion: Is a hidden washer and dryer cabinet right for your space?
A hidden washer and dryer cabinet can make a compact laundry corner feel more organized, especially when sliding doors are useful in a tight room. Careful measuring, enough appliance clearance, accessible rear bracing, and properly adjusted hinges are key to a functional result. If outward-swinging doors have enough room, standard hinges offer a simpler budget alternative.
— Laura


