
 admin
DIY His and Her Pillowcases are a simple way to add a coordinated, personalized detail to a bedroom. This project uses pillowcases, red and white cotton fabric, adhesive letters, and basic sewing supplies to create a split-heart design. Kinsey shares the tutorial, with steps that can be adapted to the size of your pillowcases.
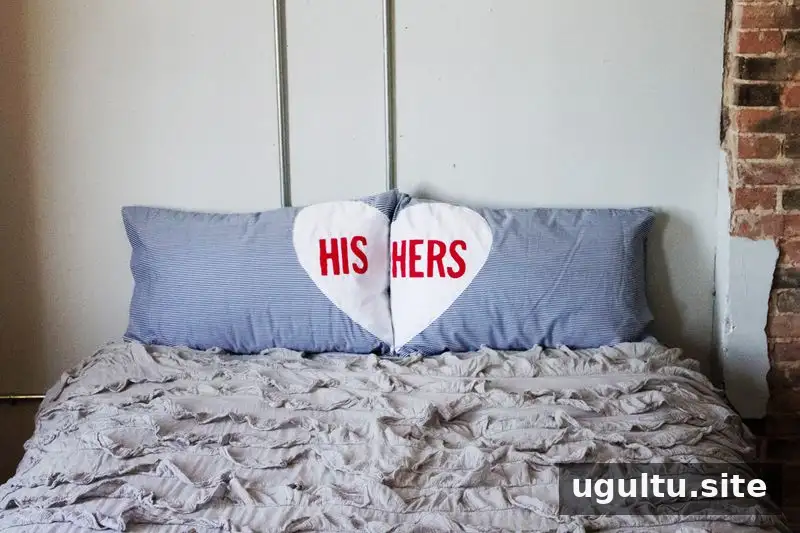
Before you begin, lay out the pillowcases and fabric so you can check the heart’s size and placement. A little planning helps keep the design centered and ensures there is enough room to sew around the lettering.
Supplies for DIY His and Her Pillowcases
- Pillowcases
- Red and white cotton fabric
- Adhesive letters, or contact paper to make your own
- Scissors, sewing pins, and a sewing machine
Choose fabric that is easy to handle and prepare a clean work surface. Keep the scissors and pins nearby, and take care to pin the layers securely before sewing.
How to Make DIY His and Her Pillowcases
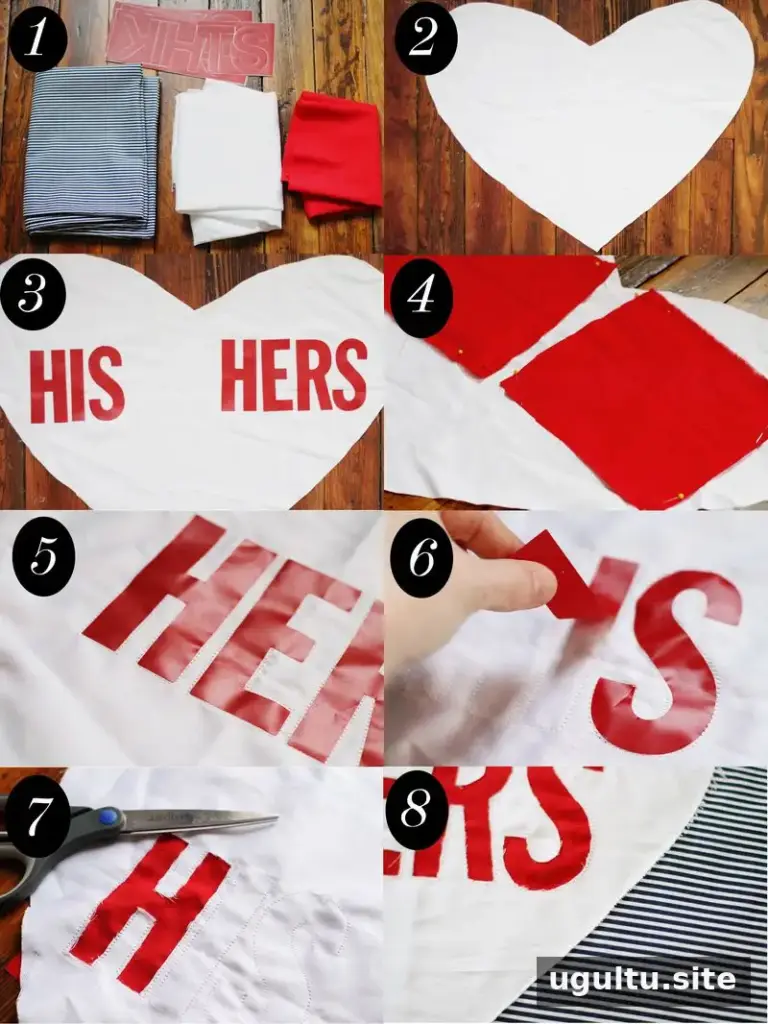
- Cut out the heart. Cut a large heart from the white fabric, making sure it will fit on the pillowcase. The example design is wider than a standard heart shape because a pillow inside the case can make the fabric bulge and the heart appear narrower. Check the shape against the pillowcase before moving on.
- Arrange the lettering. Apply the adhesive letters to the white heart to create the words or design you want. Craft stores may carry adhesive letters, or you can cut letters from contact paper. Leave enough space around each letter to sew comfortably.
- Pin the red fabric behind the design. Turn the heart over so its back faces up. Pin large squares of red fabric to the back, positioning them so red fabric sits behind every adhesive letter.
- Sew around the letters. Slowly stitch around the edges of each letter, joining the red and white layers. Sew carefully around curves and corners, keeping the fabric flat to help the outlines stay neat.
- Remove the letter material. Once the lettering is stitched, peel away the adhesive letters or contact paper. Work gently so you do not pull on the seams.
- Cut out the letters. Carefully cut through only the top layer of fabric around each letter. Avoid cutting the red fabric underneath or clipping the stitching.
- Finish and attach the heart. Cut the heart down the middle to create two halves. Sew one half to each pillowcase with a simple topstitch close to the fabric edge. This helps limit fraying. Keep the pillowcase opening clear while positioning and sewing the pieces.
Finishing Tips
Test the heart placement on each pillowcase before sewing it down, especially if the cases are different sizes. Take your time when cutting out the letters: cutting only the upper fabric layer is essential to reveal the contrasting red beneath without damaging the backing.
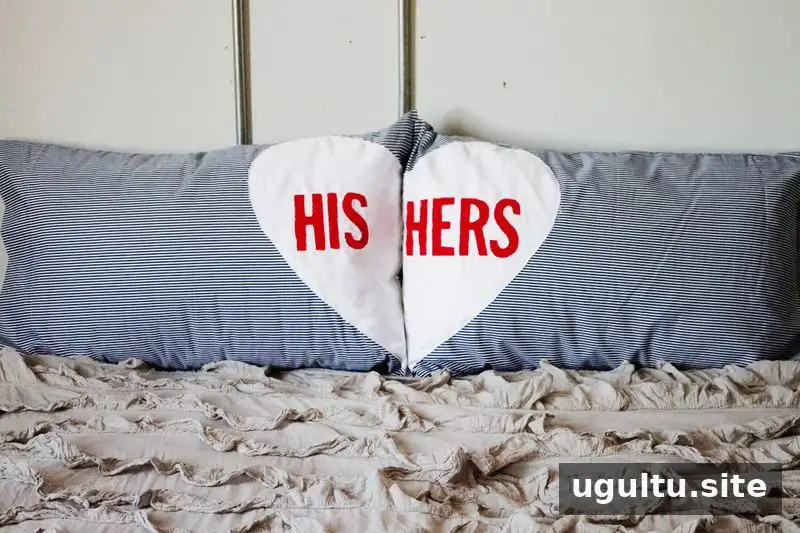
This fabric-heart project gives each pillowcase a matching look while keeping the two halves distinct. With careful placement and slow stitching, DIY His and Her Pillowcases can be made using straightforward materials and basic sewing skills.


