
 admin
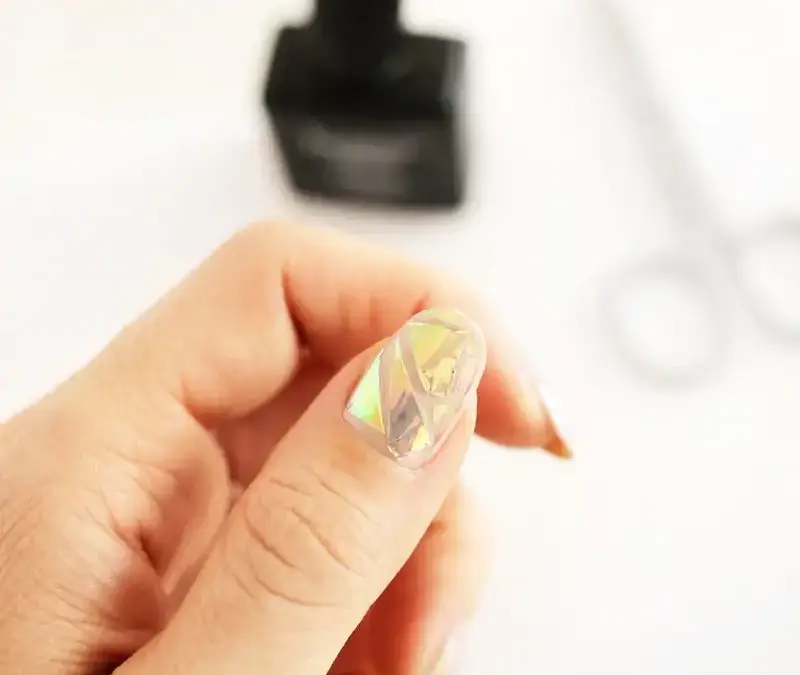
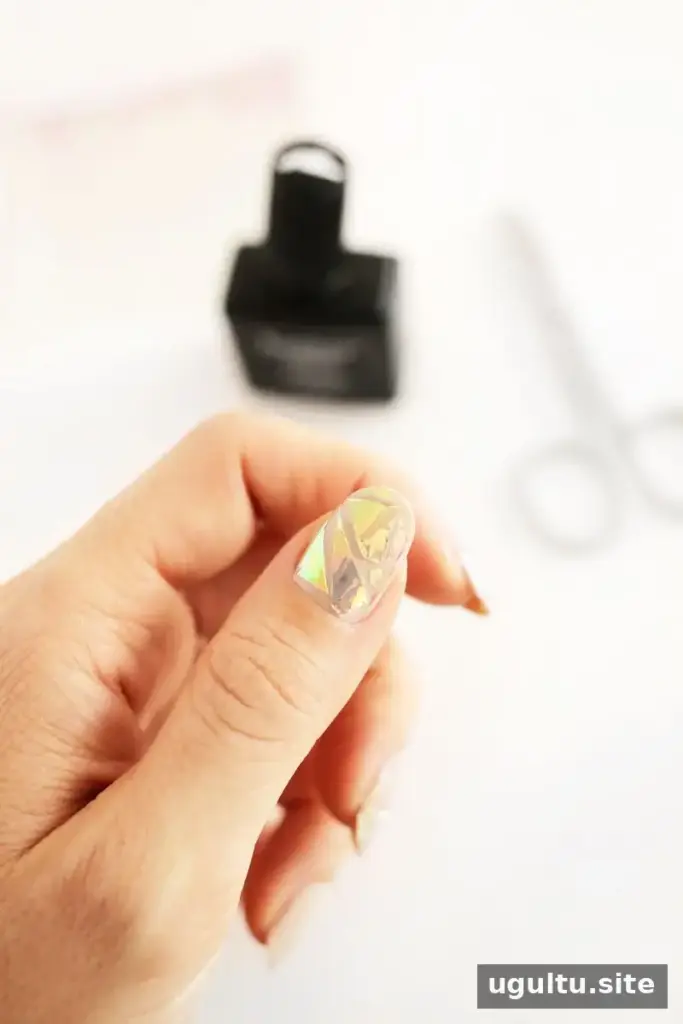
A holographic nail decal DIY is an easy way to turn a simple manicure into a bright, light-catching design. Jagged pieces of holographic tissue paper sit over a nude base, creating a rainbow effect that shifts with the light. This look is bold rather than subtle, so it works especially well when you want your nails to stand out.
Holographic Nail Decal DIY: Supplies
Gather everything before you begin. The clear polish needs to stay wet while you place the paper pieces, so having the materials within reach makes the process easier.
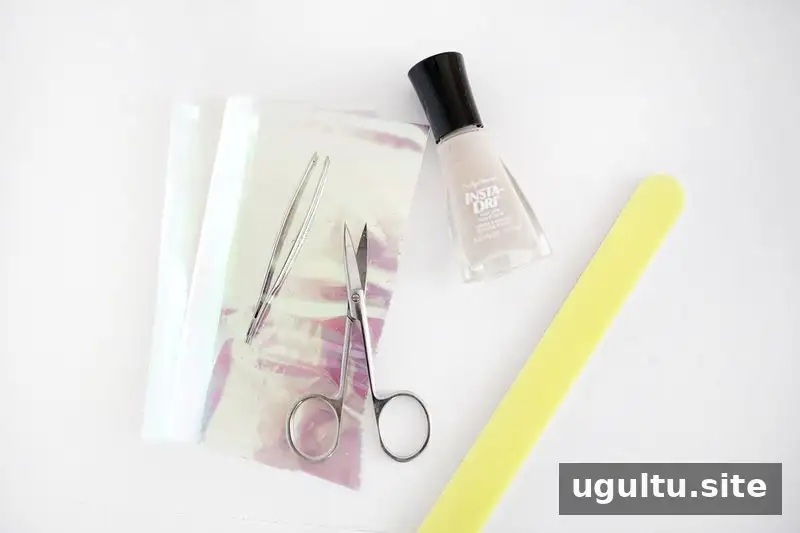
- Nude nail polish
- Clear top coat that is not quick-drying
- Holographic tissue paper, often found in the gift-wrapping aisle
- Small nail scissors
- Tape
- Tweezers, if you prefer to pick up the small pieces with them
Choose a nude polish that gives you the base color you want, and check that the clear coat is not labeled quick-dry. A slower-setting coat gives you more time to position the tissue before it sticks.
How to Make Holographic Nail Decals
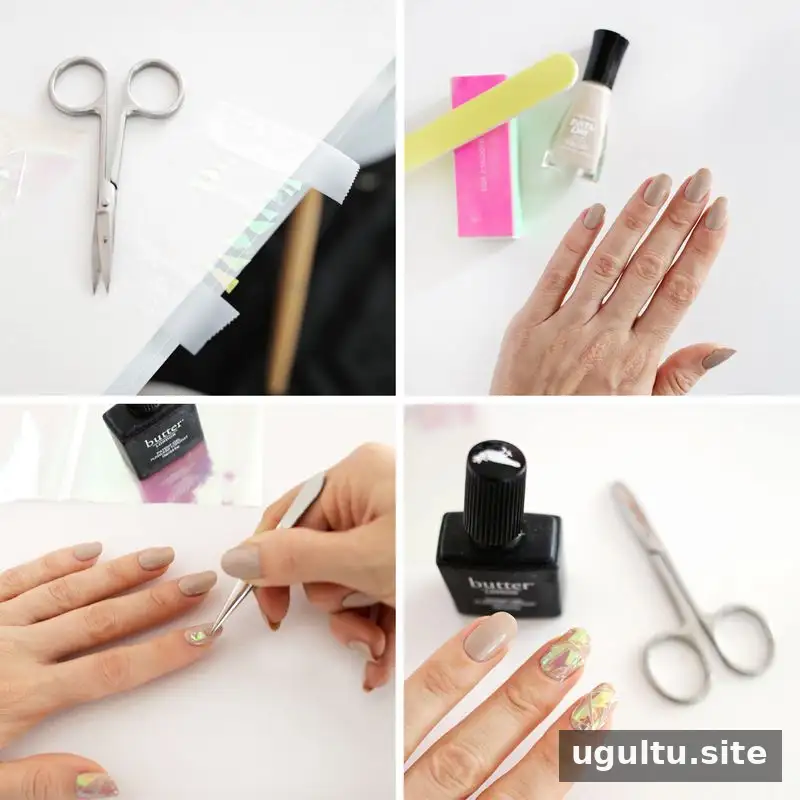
- Cut the tissue paper. Use the small scissors to make plenty of jagged, triangle-like pieces in a range of sizes and lengths. Varying the shapes helps you fill the nail without making every piece look identical.
- Prepare the pieces for handling. Place a strip of tape near the edge of a table with its sticky side facing up. Rest the tip of each paper shape on the tape so it is easier to pick up with tweezers.
- Apply the base color. Paint each nail with as many coats of nude polish as needed for an even, solid base. Let the polish dry before moving on.
- Add the tissue shapes. Brush on a layer of clear polish. While it is still wet, place the tissue pieces on the nail. Work promptly, since the clear coat acts as the adhesive and the paper is easiest to arrange before it sets.
- Fill any uncovered areas. If the clear polish dries before you finish, apply more to the remaining bare sections and continue placing pieces. Add shapes until the nail is covered to your preference.
- Seal the design. Apply another coat of clear polish over the tissue and allow the nail to dry. Repeat the steps on the other nails, cutting more pieces whenever needed.
For a neater result, handle the small shapes gently and avoid rushing the final coat. Make sure the tissue lies flat before sealing it, as raised edges can catch on clothing or hair.
A Bold, Light-Reflecting Finish
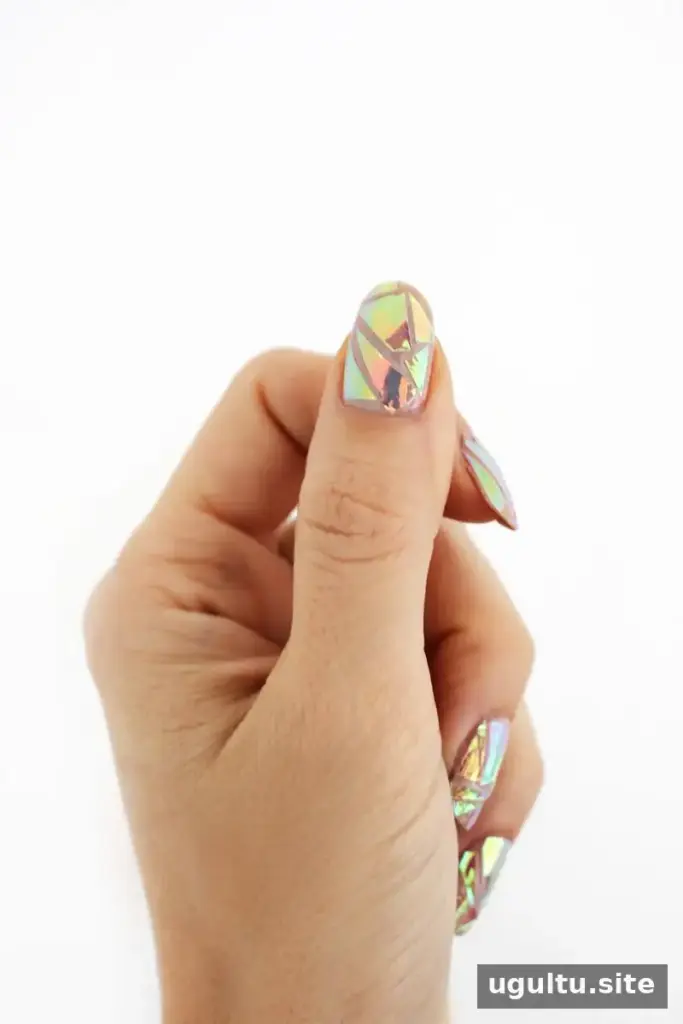
The holographic paper can appear pastel, nearly clear, or intensely rainbow-colored depending on the light. Because the effect is noticeable, you can use the design on every nail for a full statement manicure or adapt the same placement technique to create a more limited accent.
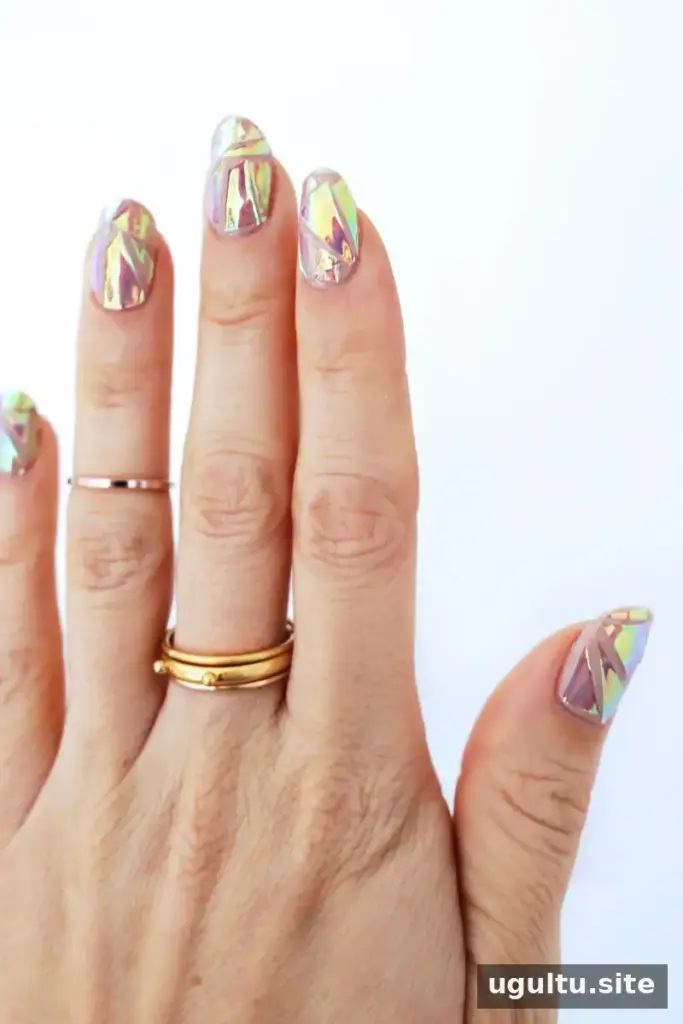
This holographic nail decal DIY combines a neutral base with reflective paper for a playful finish that changes as the light moves. Take your time with the placement, use a non-quick-drying clear coat, and let the sealed design dry fully. Design credit: Laura.


