admin
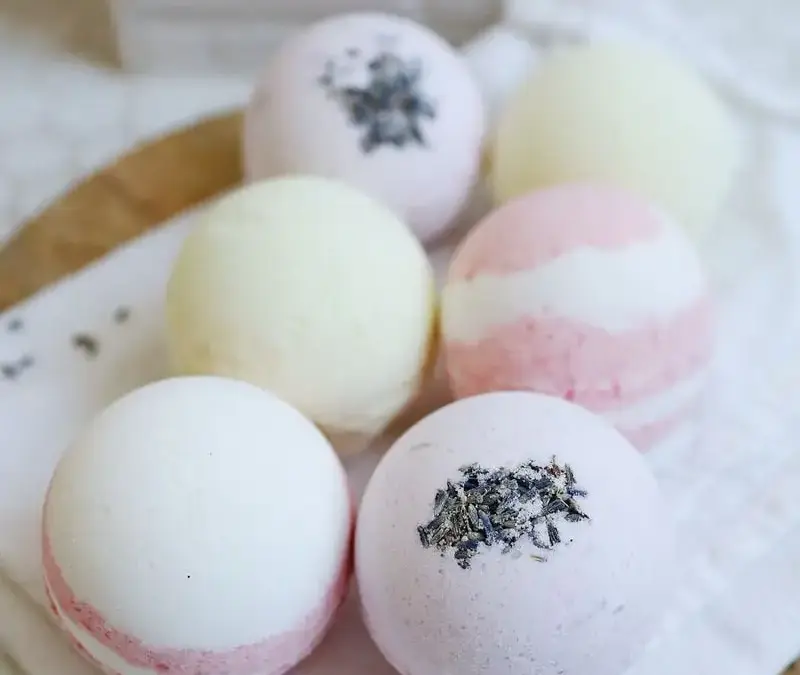
Homemade bath bombs are a fun, customizable craft made with a handful of common ingredients. This recipe makes two bath bombs and includes practical tips to help the mixture hold together, release from the molds, and dry without crumbling. You can also adjust the color and scent to suit the occasion or make a handmade gift.
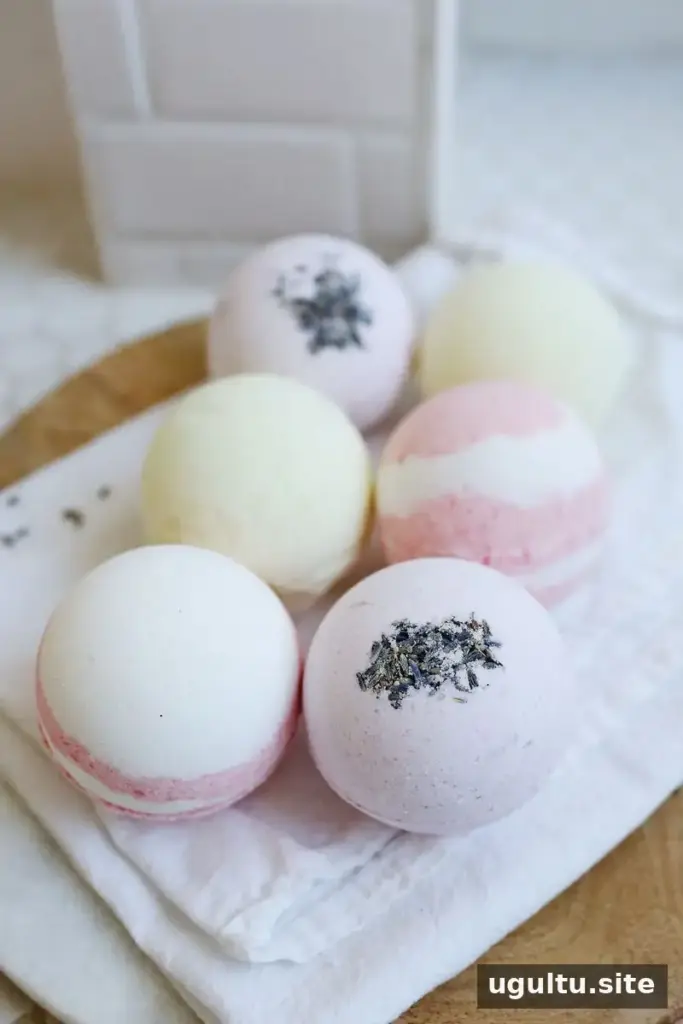
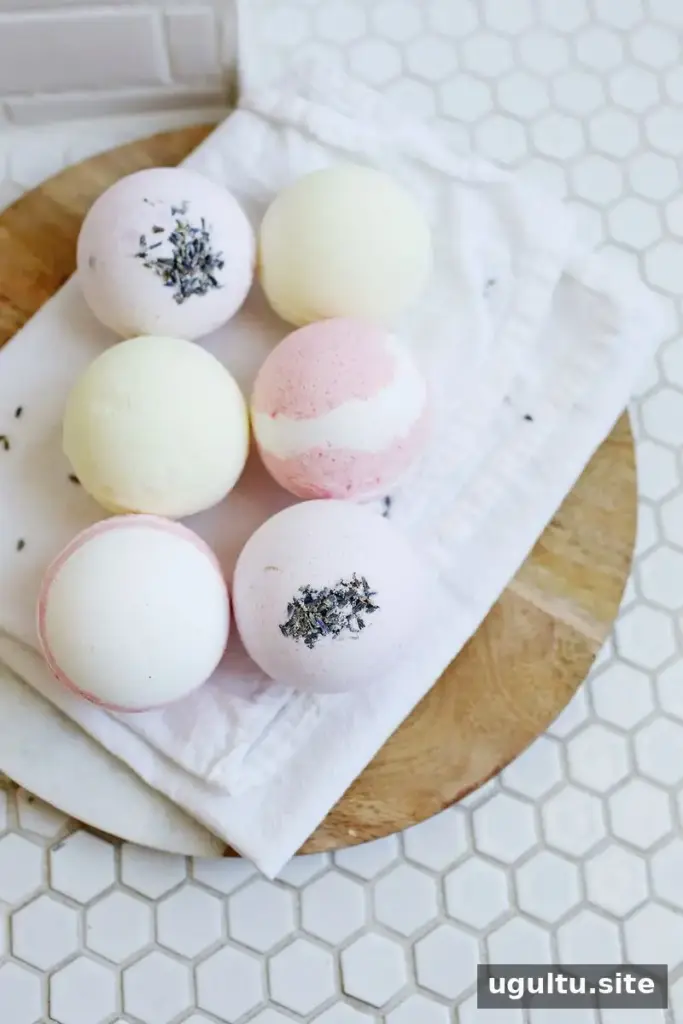
Follow the video tutorial or use the written instructions below to make your bath bombs.
Moisture is the main thing to watch while mixing: too much liquid can start the fizzing reaction before the mixture is molded. Add it gradually, and use a spray bottle if you find it difficult to control a slow pour.
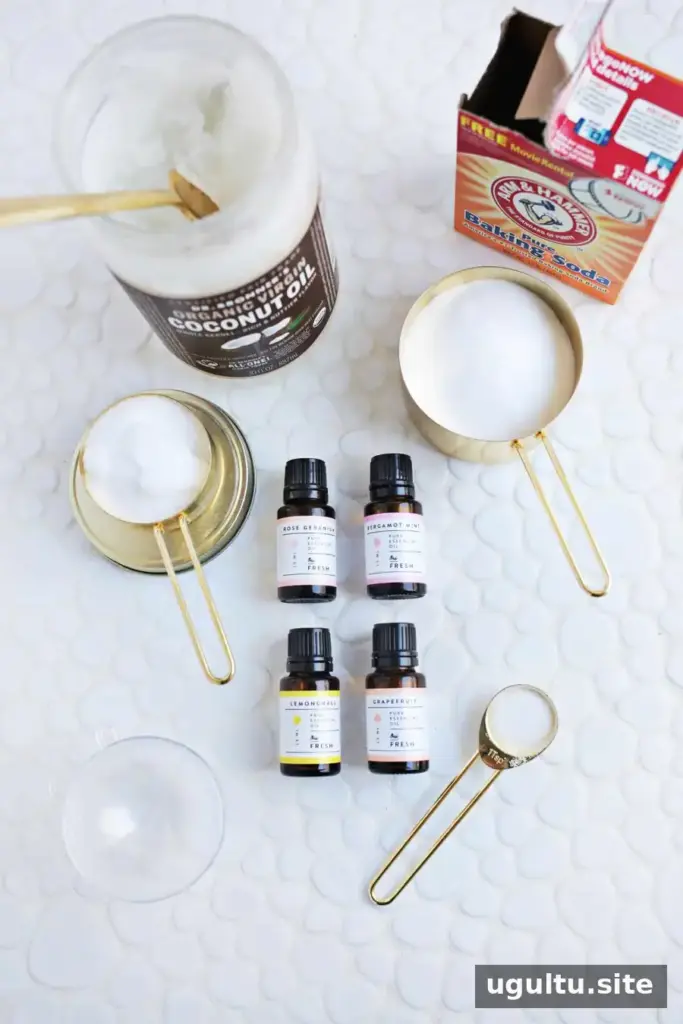
Homemade Bath Bombs: Ingredients and Equipment
This recipe yields two bath bombs. You can double or triple the quantities if you want to make a larger batch.
- Bath bomb molds
- 4 ounces baking soda
- 2 ounces cornstarch
- 2 ounces citric acid
- 2 ounces Epsom salt
- 1 to 1 1/2 teaspoons water
- 5–10 drops essential oil of your choice
- 1 1/4 teaspoons oil, such as coconut or olive oil
- 1–2 drops food coloring (optional)
How to Make Bath Bombs
- Whisk the baking soda, cornstarch, citric acid, and Epsom salt in a bowl until there are no noticeable clumps. Cornstarch can be especially prone to clumping.
- In a small glass jar, stir together the water, essential oil, oil, and optional food coloring. If using coconut oil, warm it briefly until it is liquid and easy to mix.
- Slowly add the liquid ingredients to the dry mixture while whisking. If the mixture fizzes or foams, pause and add the liquid more slowly.
- Squeeze a small amount in your hand. It should hold together in one or two large clumps. If it is too powdery, add a tiny amount of water and mix again.
- Fill one half of a bath bomb mold until the mixture is slightly overfilled, then press the two halves together. Gently remove one side and set the bath bomb on a tray to begin drying.
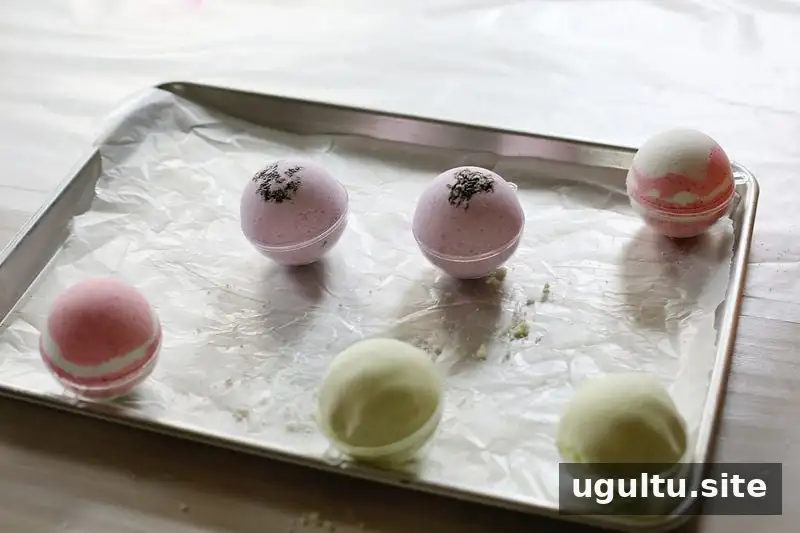
When to Remove Bath Bombs from the Mold
Wait about one hour, then carefully check whether the bath bomb can be released without breaking. If it cracks, press the mixture back into the mold and allow it to dry longer. Avoid leaving it in the mold for too long, as it may begin to stick.
When removing the second half, turn the bath bomb gently so the uncovered side faces down, then lift off the remaining mold. Handle it carefully: freshly molded bath bombs can break easily. If one splits, press the pieces together again or return the mixture to the bowl and mold it once more.
Once fully unmolded, leave the bath bombs to dry for 8 hours or overnight. When completely dry, wrap them in plastic wrap and store them somewhere dry until use.
Scents, Colors, and Add-Ins
Different essential oils can be used to create scents such as lemongrass, lavender, or peppermint. Use oils cautiously, follow the product’s safety directions, and avoid ingredients that may irritate your skin. If you have sensitive skin or known allergies, consider skipping fragrance or coloring and test cautiously before use.
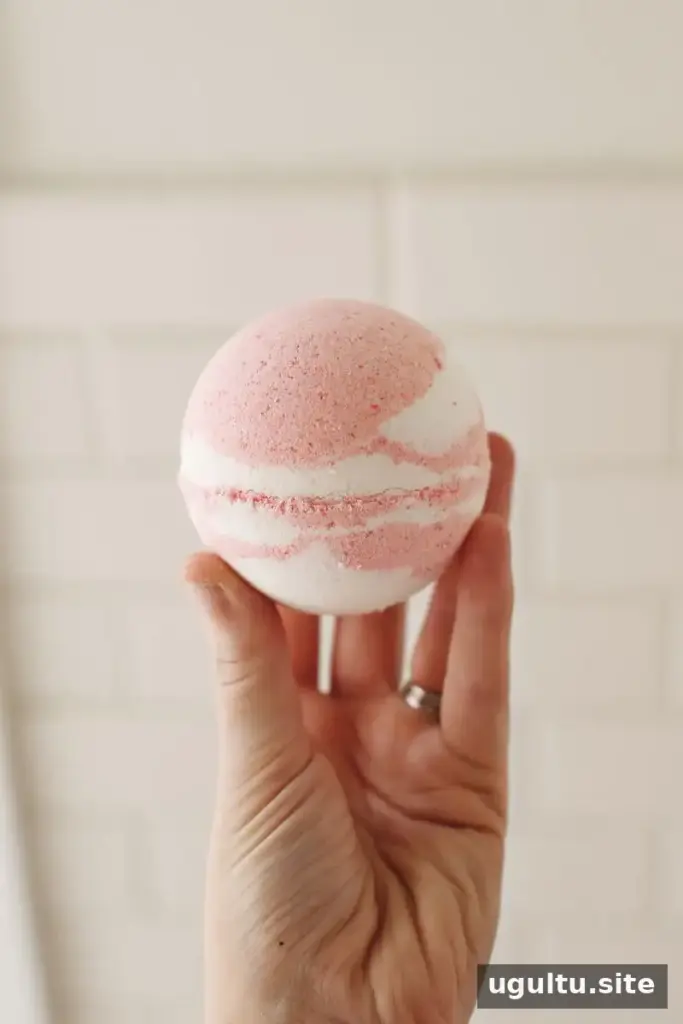
For two-tone bath bombs, divide the mixture between two bowls and color only one portion. Dried flower buds can also be added; choose food-grade dried flowers and remember that petals will need to be removed from the tub after bathing.
Seasonal Bath Bomb Shapes
Shaped molds can make these bath bombs suitable for seasonal projects or gifts. You can also use a small amount of watered-down food dye to decorate the surface after the bath bombs have dried.
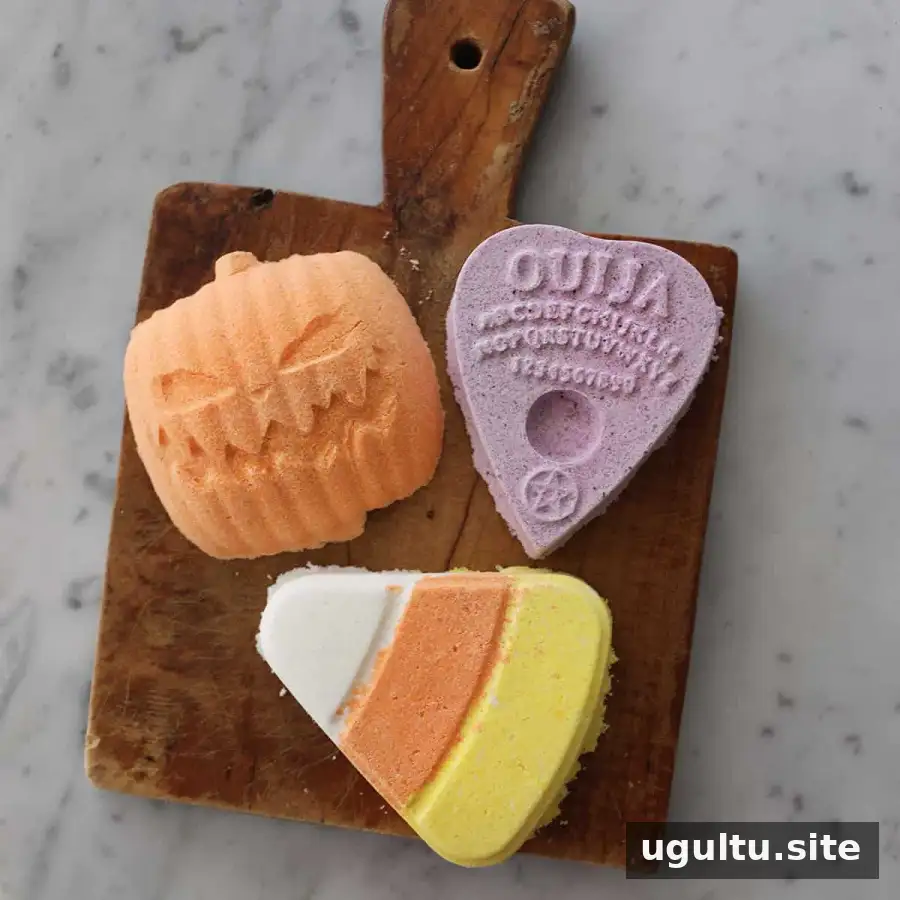
Halloween mold ideas:
- Ouija Board
- Candy Corn
- Pumpkin King
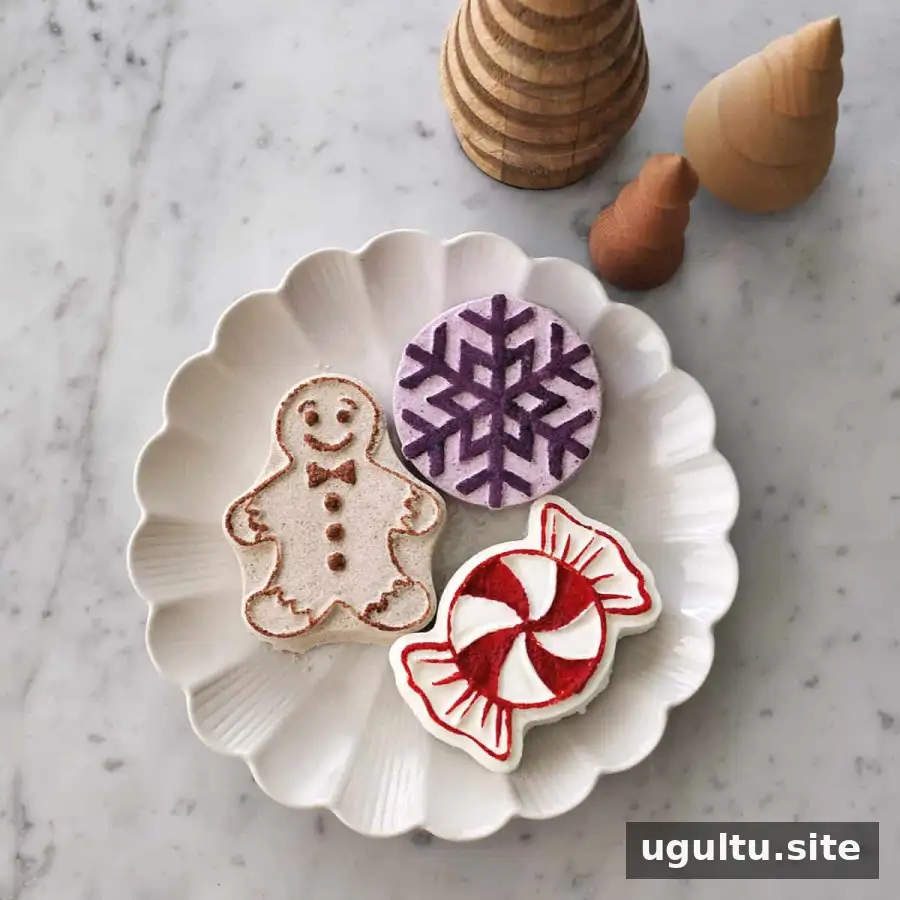
Christmas mold ideas:
- Gingerbread Man
- Peppermint Candy
- Snowflake
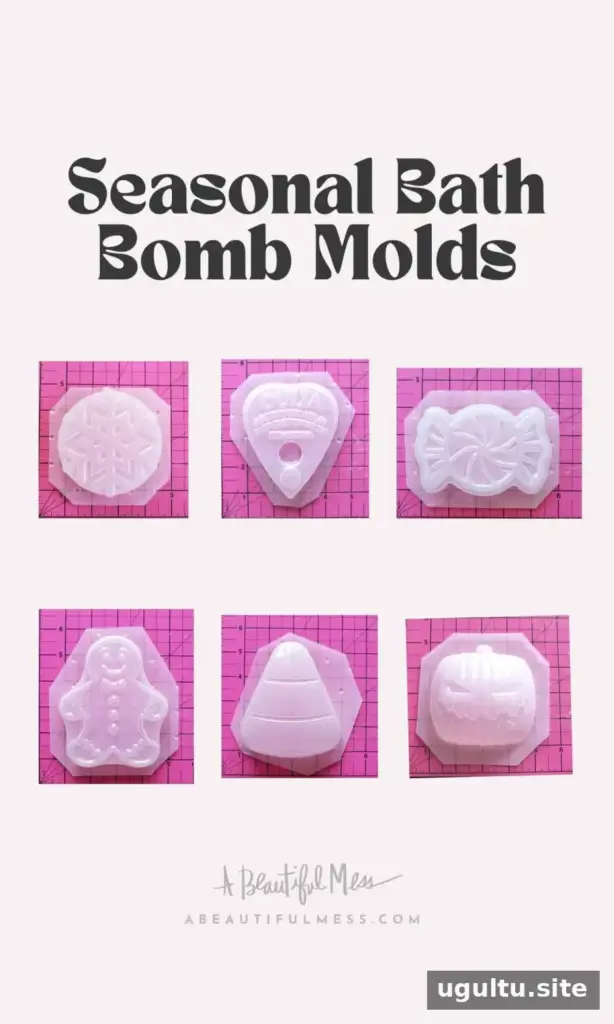
Snowflake / Ouija Board / Peppermint Candy / Gingerbread Man / Candy Corn / Pumpkin King
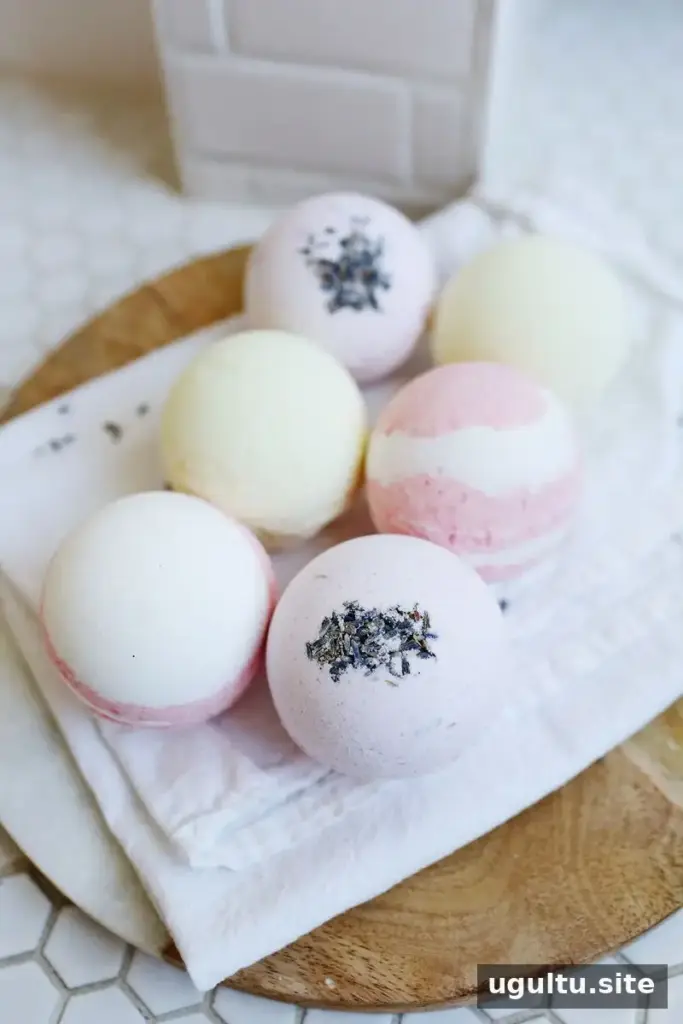
These homemade bath bombs can be customized with different colors, scents, and shapes. Keep the mixture only slightly damp, unmold it carefully, and allow it to dry thoroughly before wrapping or using. Recipe by Emma.