admin
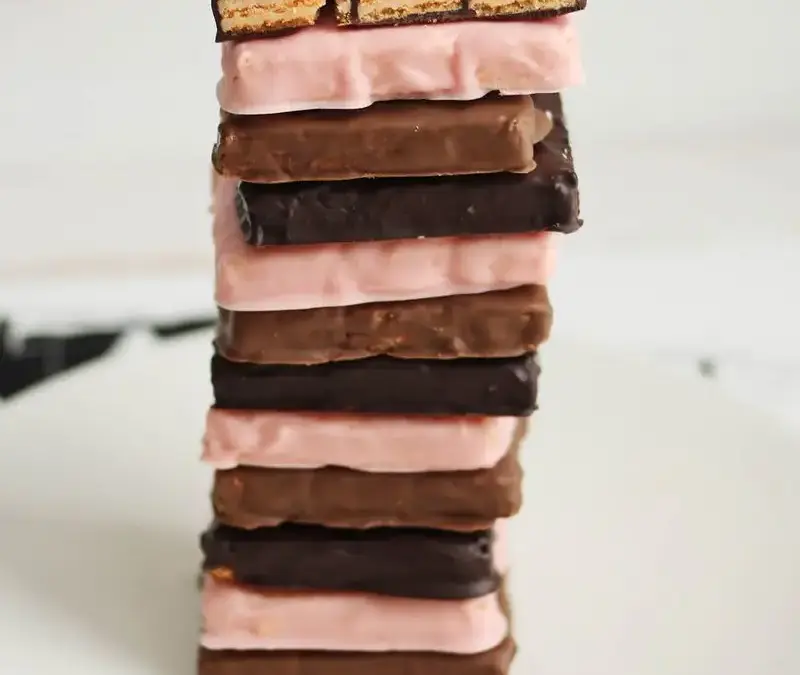
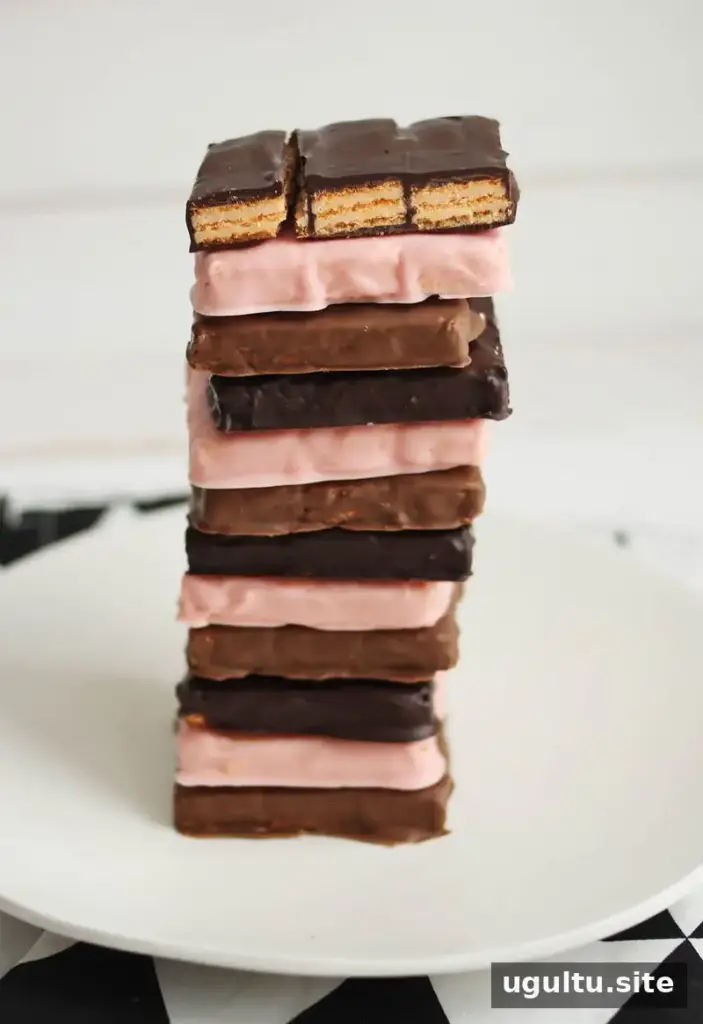
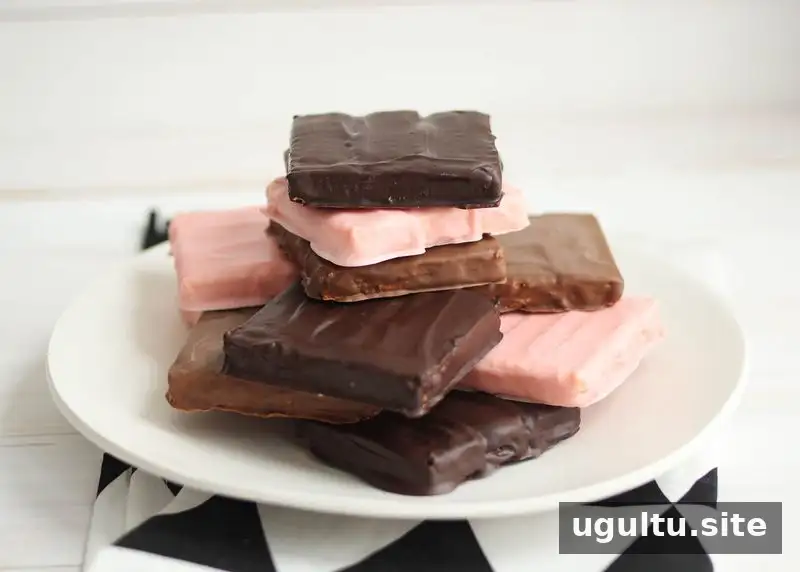
Homemade Kit Kat Bars are a simple chocolate treat made with just two basic ingredients: sugar wafer cookies and chocolate chips. The wafers provide a light, crisp center, while a coating of melted chocolate brings everything together. They’re easy to customize with different chocolate flavors, making this a fun recipe to prepare at home.
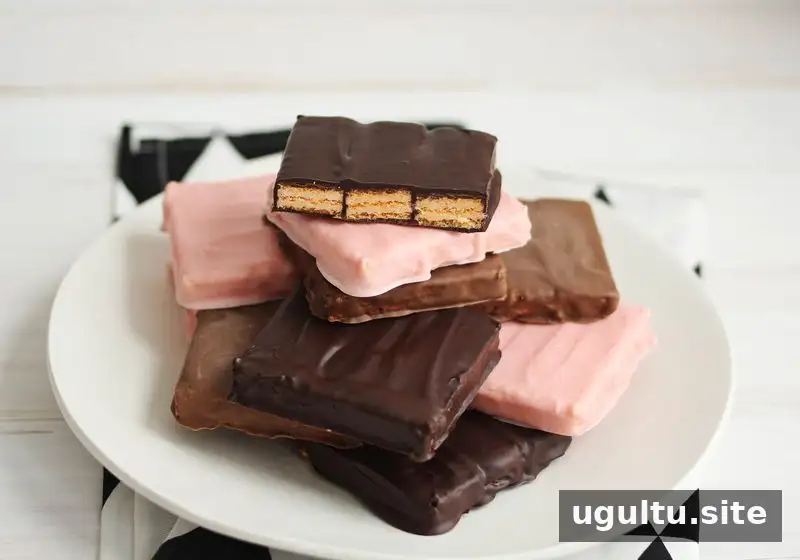
Unlike recipes that require baking or several preparation steps, these bars come together by dipping ready-made wafers in melted chocolate. You can make each bar with three wafers, or adjust the number to suit the size you want. Set out parchment or wax paper before you begin so the coated wafers have a clean surface to rest on.
Homemade Kit Kat Bars: Ingredients and Flavor Ideas
You only need two ingredients for the basic recipe. Choose wafer cookies that are crisp and intact, since broken wafers can be harder to dip and handle.
- Sugar wafer cookies: Use plain wafer cookies as the crunchy center.
- Chocolate chips: Dark, peanut butter, or white chocolate chips all work. For a colored coating, add red food coloring to white chocolate.
Different chocolates can vary in thickness when melted. If the chocolate is too thick to coat the wafers easily, stir in 1–2 teaspoons of a neutral-flavored oil, such as vegetable, canola, or peanut oil. Add it gradually and mix well before deciding whether you need more.
How to Make Homemade Kit Kat Bars
- Melt the chocolate. Place the chocolate chips in a microwave-safe bowl. Heat on high for 30 seconds, then remove the bowl and stir. Repeat in 30-second intervals, stirring each time, until the chocolate is melted. Use a dry bowl and utensil, as water can affect the texture of melted chocolate.
- Dip the wafers. Coat one sugar wafer cookie in the chocolate and place it on wax paper. Dip another wafer and set it directly beside the first, allowing the chocolate between them to join. Make each bar with three wafers, or use more or fewer as preferred.
- Let the coating set. Continue until all the wafers are coated. Leave the bars undisturbed until the chocolate firms before serving.
For neater results, let excess chocolate drip back into the bowl before placing each wafer on the paper. Work in small batches if the chocolate begins to cool and thicken; briefly reheat it in short intervals and stir again.
Serving and Storing
Once set, these homemade wafer bars are ready to enjoy. Store any extras in an airtight container in a cool, dry place to help keep the wafers crisp. If you make several flavors, keep them separate or label the container so everyone knows which chocolate coating to expect.
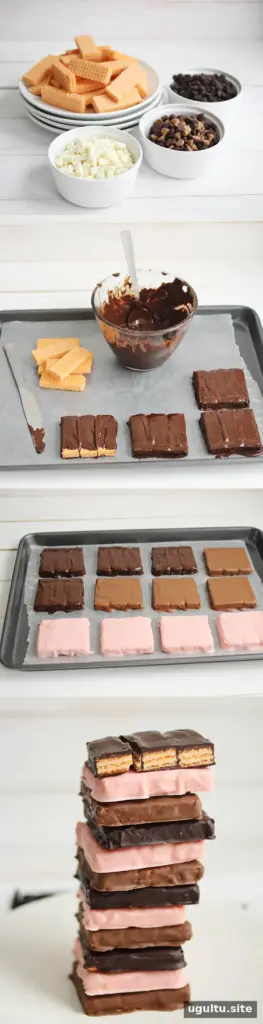
This easy recipe is a practical way to make a crunchy, chocolate-coated snack with ingredients that are simple to find. Try one chocolate for a classic look, or prepare a few varieties for a colorful assortment.
Have fun experimenting with the chocolate coatings and wafer combinations. — Emma