admin
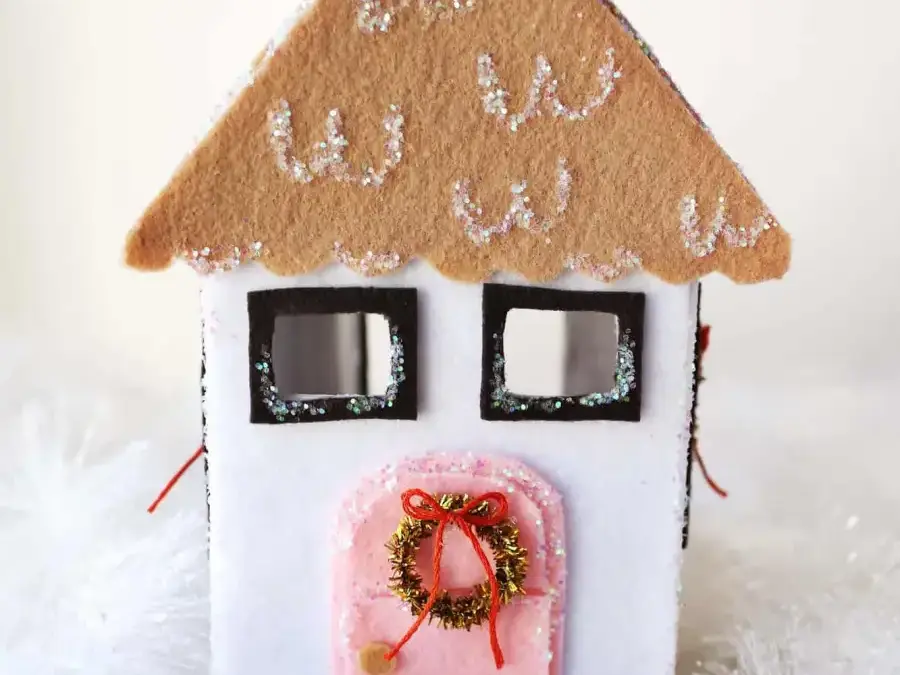
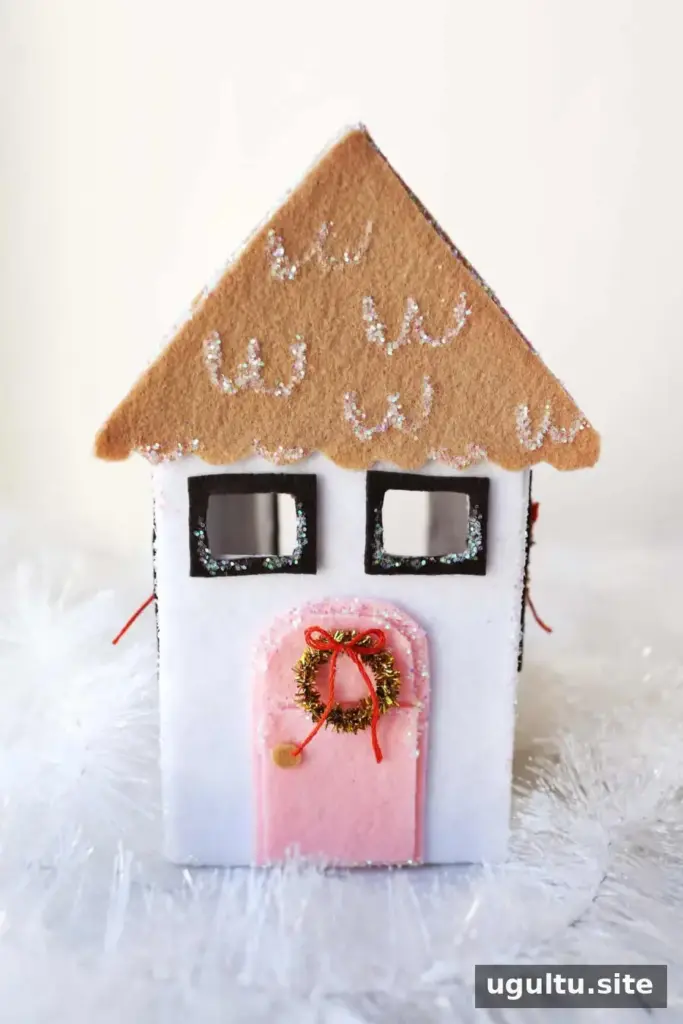
A House Christmas Tree Topper DIY project is a fun way to add a personal touch to your holiday decor. This handmade topper uses simple craft materials to create a little festive house, complete with windows, a colorful door, and optional wreaths. Adjust the colors and details to suit your tree, and check the size of the base before you begin so the finished piece can sit securely on top.
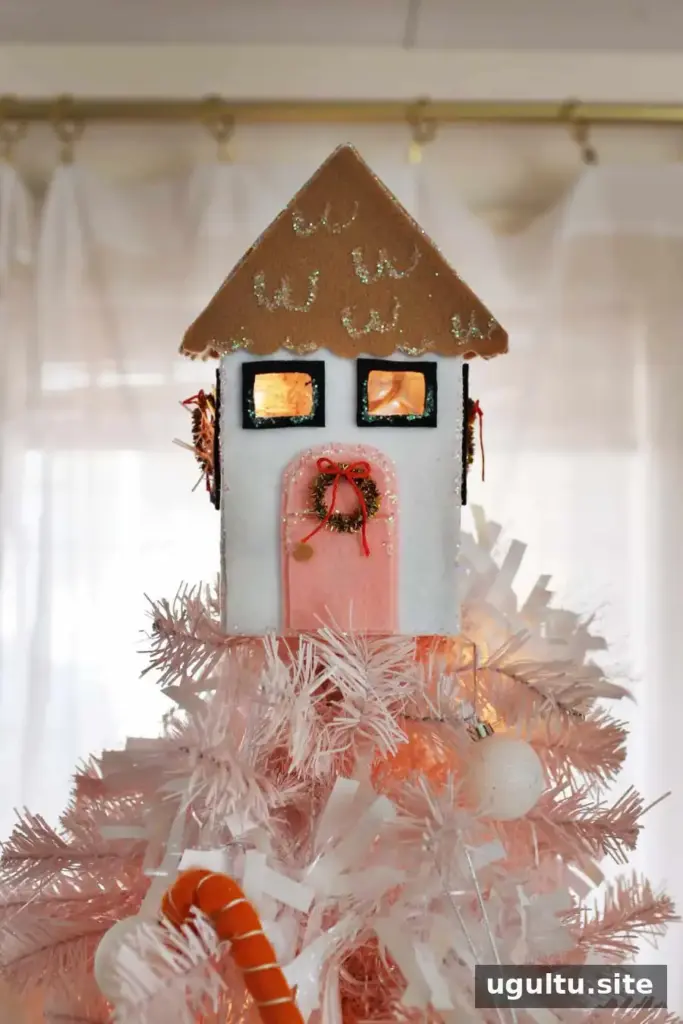
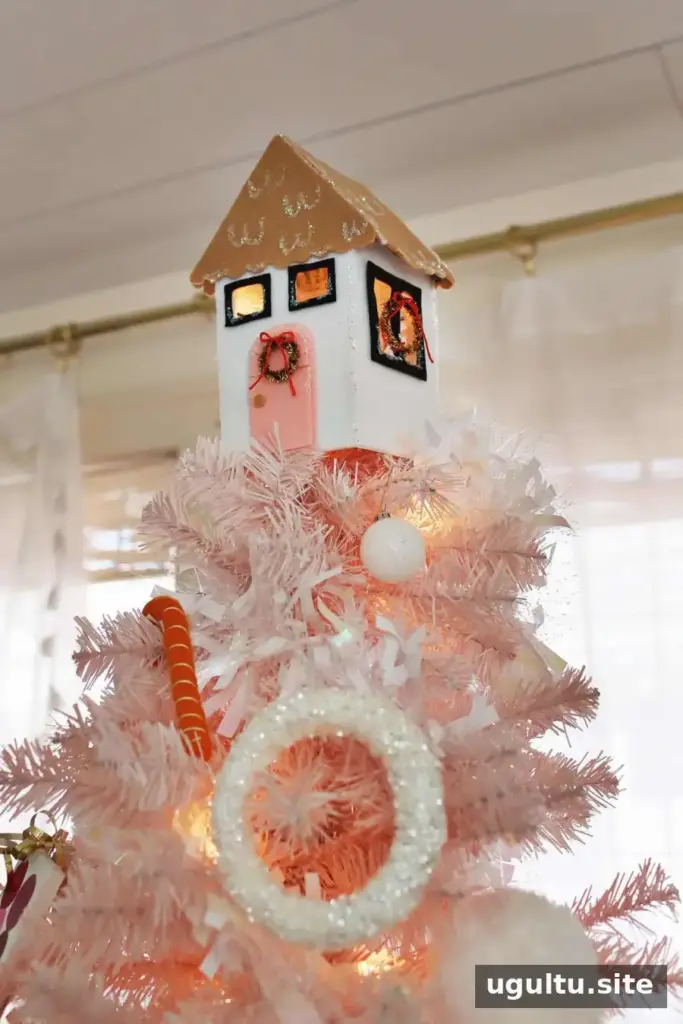
This design uses a pink door and small wreaths, with a look that suggests a cozy home for the holidays. Felt-covered walls and roof details give the house color and texture. If you want the windows to appear brighter when the tree is lit, leave small openings in the felt; keep the topper safely away from hot bulbs.
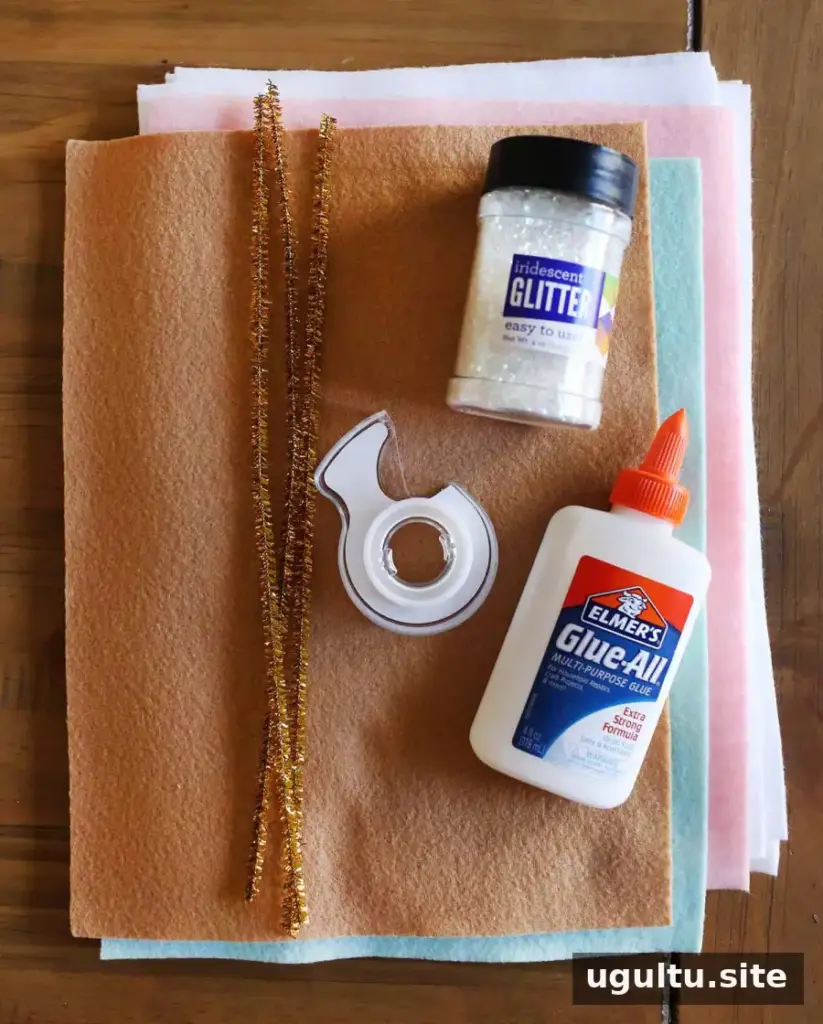
Supplies for a House Christmas Tree Topper DIY
- Thin cardboard
- Felt
- Glitter
- Pipe cleaners
- Embroidery thread
- Paint and a brush
- Tape
- Glue
The estimated cost is $5. Reuse clean, thin cardboard from food packaging, or use foam board instead. Optional details could include small window flower boxes or roof shingles. Before cutting materials, decide on a simple color scheme and make sure you have enough felt to cover the visible surfaces.
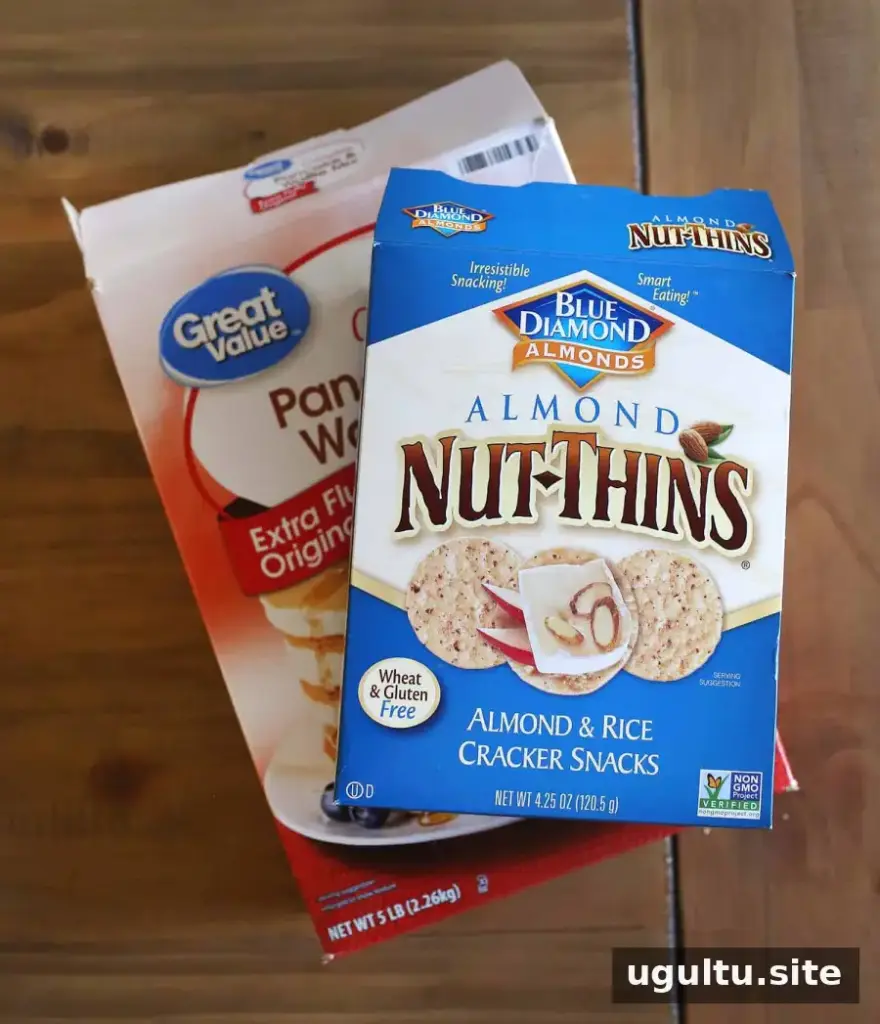
How to Make the House Tree Topper
1. Shape the cardboard house
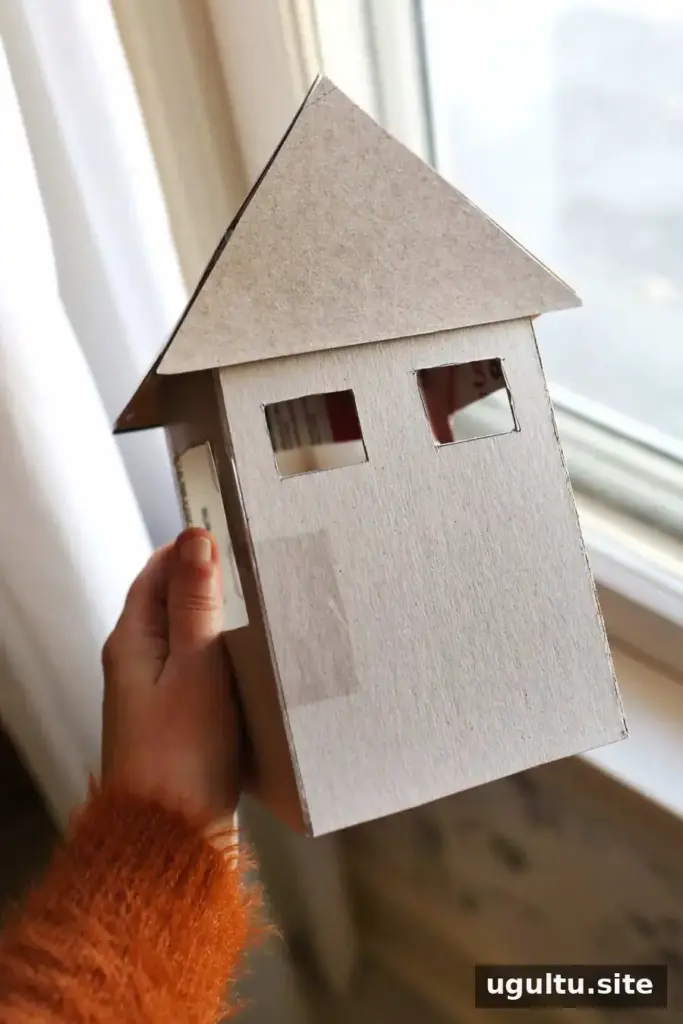
Cut and fold the cardboard into a house shape, then secure the edges with tape. Keep the bottom opening appropriately sized for the top branch or tree-top support; an opening that is too large may make the topper unstable. A basic house shape is easy to customize, but you can make the silhouette more detailed if you are comfortable working with cardboard.
2. Paint the house
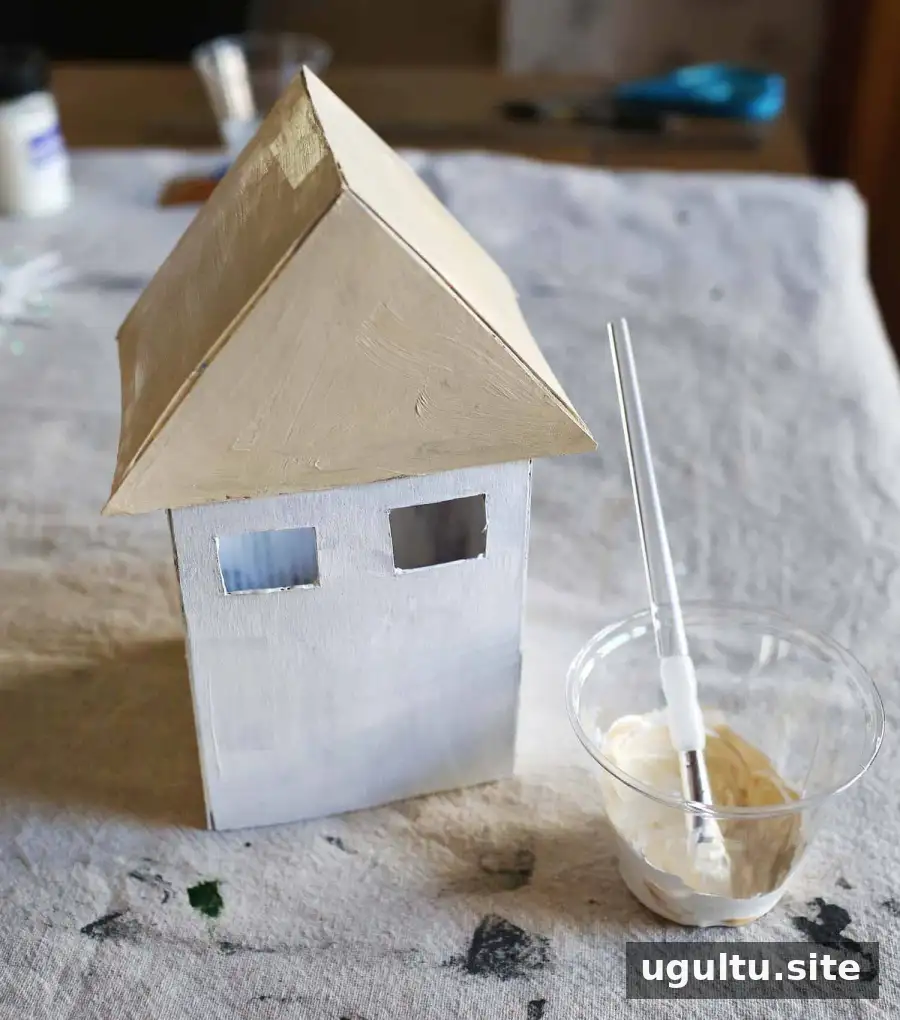
Paint the cardboard before adding felt. This helps disguise the base material if small gaps remain between felt pieces. Painting the inside can also cover printed text or logos that might be visible through the windows. Let the paint dry before moving on so it does not interfere with the glue.
3. Cover the exterior with felt
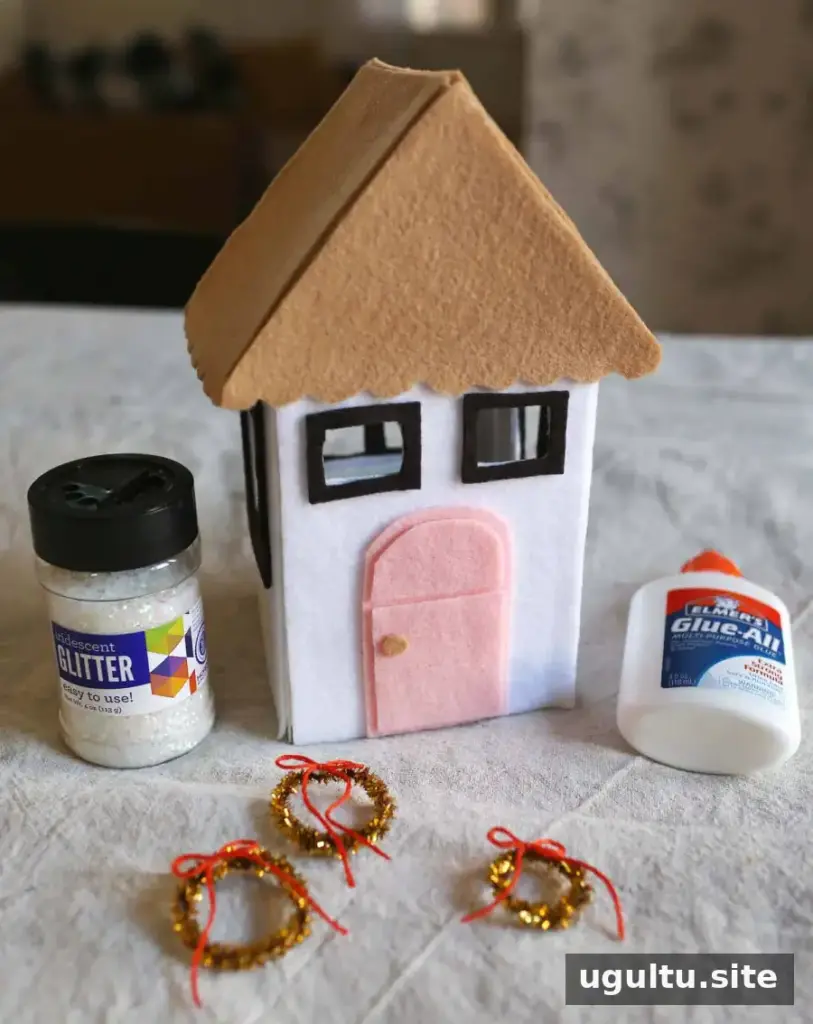
Glue felt onto the outside of the house. One possible palette is a white exterior, tan roof, dark brown window outlines, and a pink door. Cut the pieces to fit and press them gently into place. Take care around the edges and corners, where loose fabric can make the finished topper look less neat.
4. Add decorative details
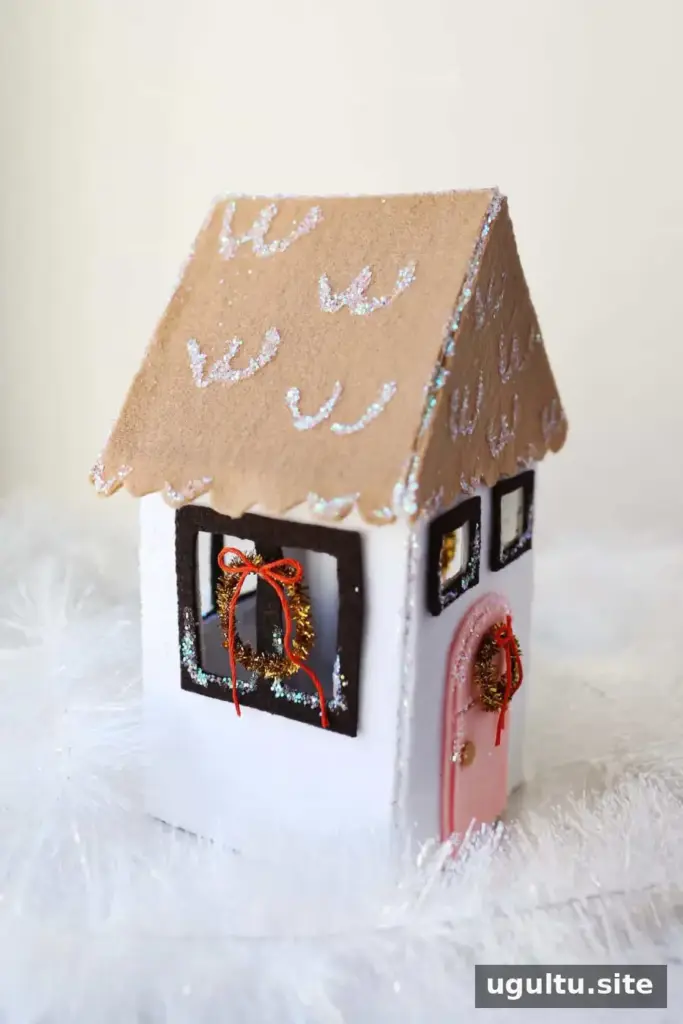
Attach small pipe-cleaner wreaths to the door or windows. Glue and glitter can create a snowy effect on the roof and around the window edges. Use embellishments sparingly if the topper needs to stay lightweight, and allow all glue and paint to dry completely before placing it on the tree.
Fitting, Safety, and Storage Tips
Once the topper is fully dry, position it carefully on the tree and check that it remains balanced. Because the project contains cardboard and felt, keep it clear of hot bulbs and other heat sources. Use cool-running tree lights and switch them off when unattended.
To help preserve the house from one season to the next, store it in a sturdy box with enough space around it. Tissue paper placed inside the house may help support its shape, while padding around the outside can reduce pressure on delicate decorations. Avoid stacking heavy items on the box.
This House Christmas Tree Topper DIY can be adapted with different colors, window styles, and seasonal accents. A careful fit, dry decorations, and protected storage will help keep the handmade topper looking its best.
— Emma