
 admin
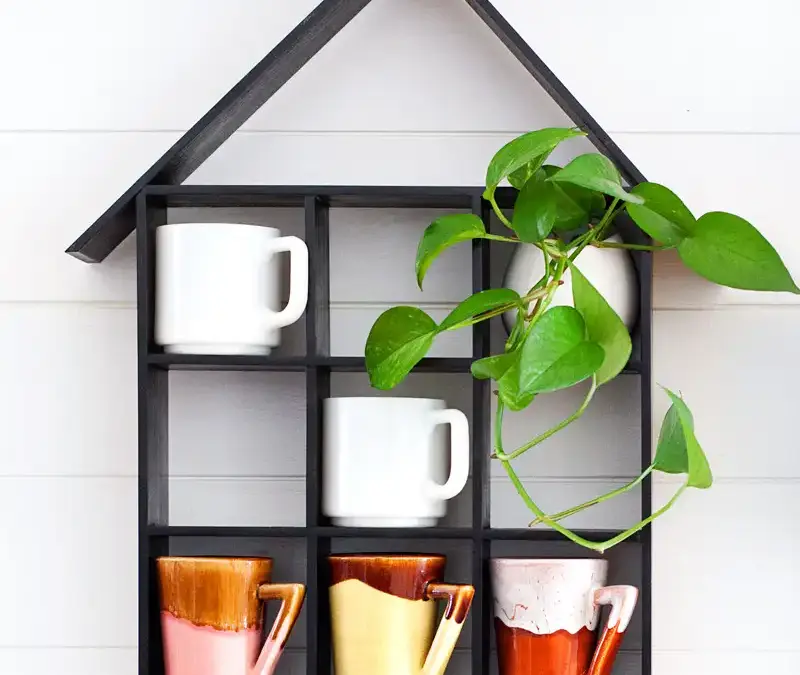
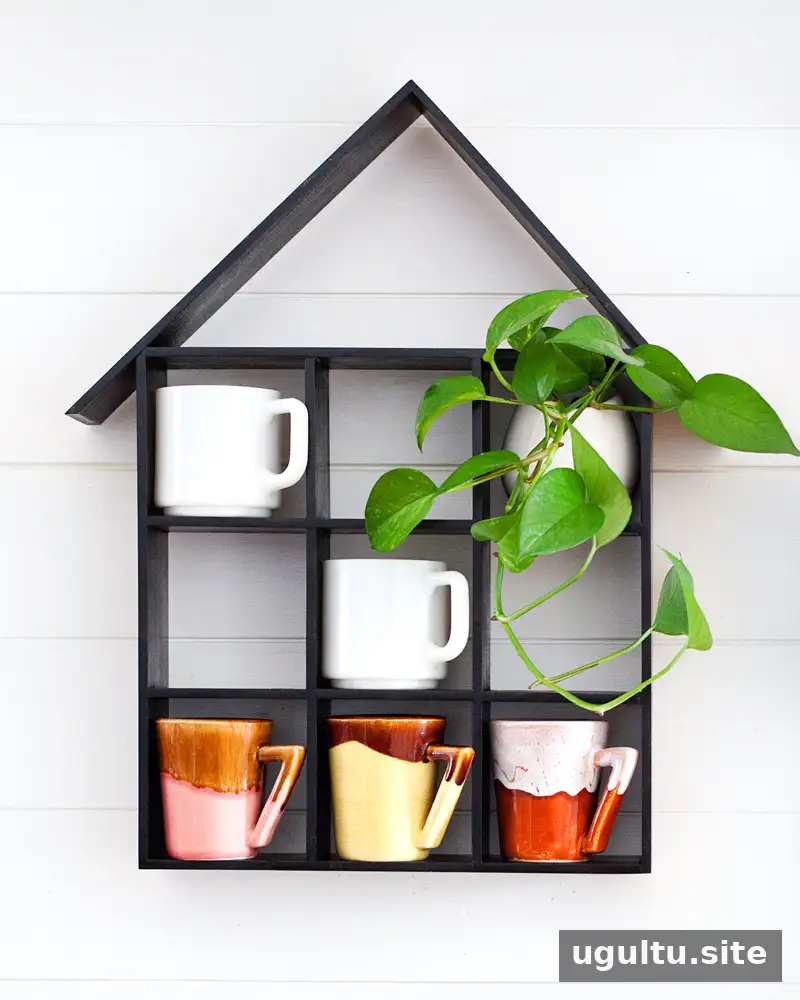
A house shaped shelf DIY project can add playful character to a room while providing practical space for small items. This design uses a simple house outline with a symmetrical grid inside, giving it a clean look that works in a kitchen, nursery, or living area. Before you begin, check the cut list and plan what you want to display: the finished compartments are approximately 4 by 4 inches, so larger mugs or objects may need more space.
Materials and tools for a house shaped shelf DIY
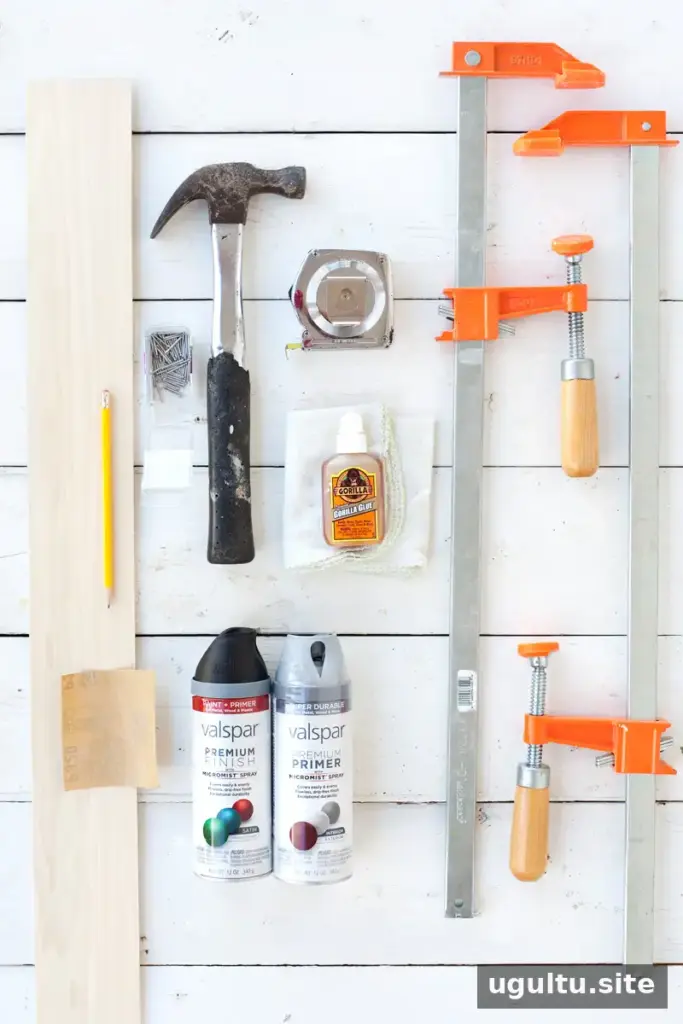
Materials:
- Four 1/4-inch x 1-inch x 4-foot boards; the project instructions refer to 1/4-inch x 4-inch boards, so confirm the intended board width before purchasing.
- Original polyurethane glue or another suitable wood adhesive
- 3/4-inch wire brads
- 120–150 grit and 350–400 grit sandpaper
- Primer and paint, or wood stain and sealer
Tools:
- Clamps at least 20 inches long
- Hammer and, if available, a nail punch
- Tape measure and pencil
- Rag or sponge and water
- Miter saw, if cutting the boards at home
Use eye protection while cutting or nailing, and work in a well-ventilated area when applying primer, paint, or sealer. If a lumber shop cuts the pieces, provide the measurements clearly and check each cut before assembly.
Cut the shelf pieces to size
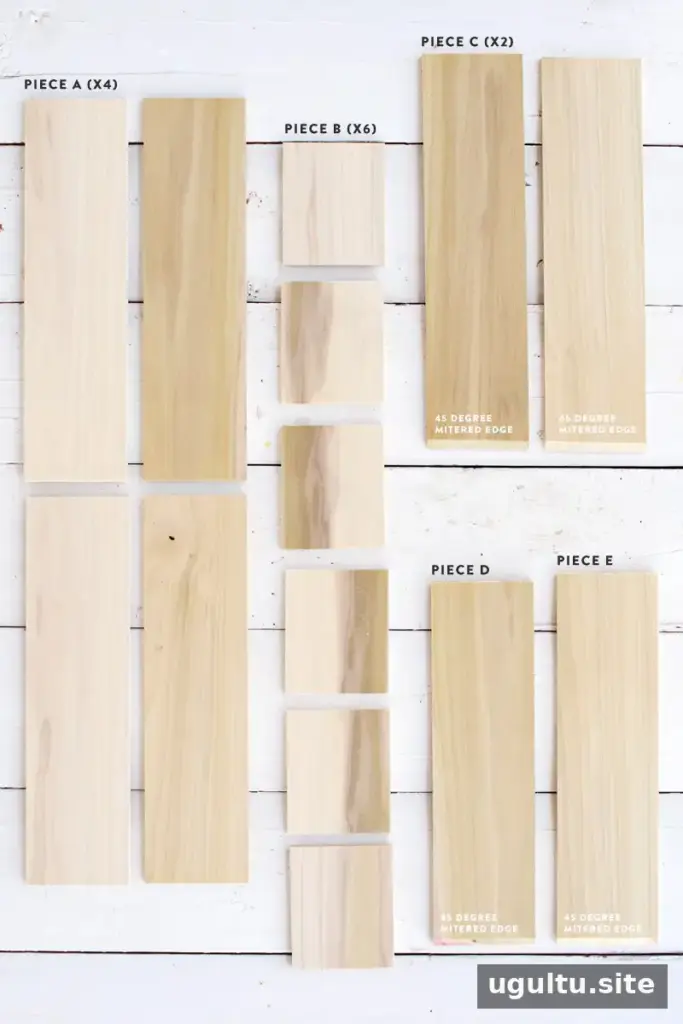
Step 1: Cut the boards to the following lengths. The two roof pieces have 45-degree mitered ends; the stated length is measured along the longest side of each miter.
- 4 A pieces: 13 inches
- 6 B pieces: 4 3/16 inches. Cut two additional B pieces to use as assembly spacers, for eight B pieces total.
- 2 C pieces: 13 5/8 inches, with a 45-degree mitered edge
- 1 D piece: 12 1/4 inches
- 1 E piece: 12 9/16 inches
Label each piece after cutting. Consistent lengths—especially for the B spacers—help keep the compartments even.
Assemble the house frame and shelves
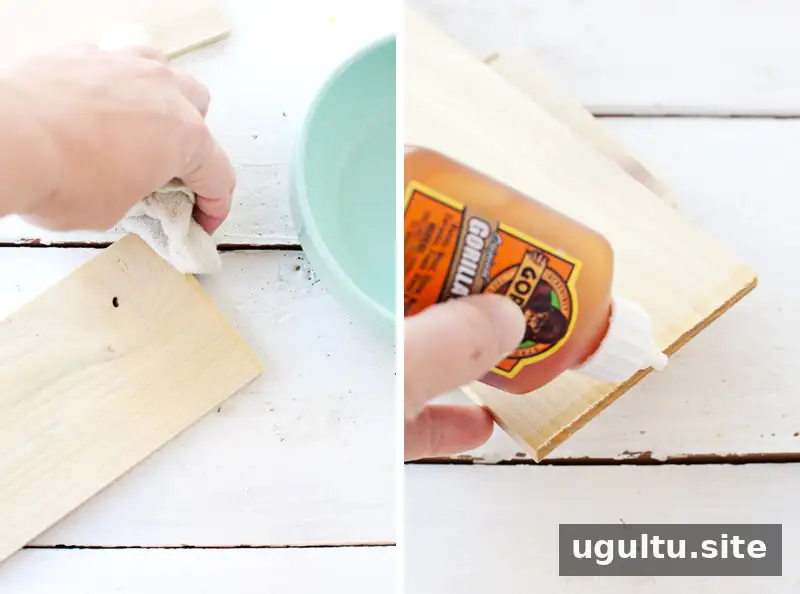
Step 2: Glue the house-shaped sides and horizontal shelves together. If you have only a few long clamps, assemble the frame in sections. For polyurethane glue, dampen the wood surfaces that will be joined, following the adhesive’s package directions.
Use the two extra B pieces as spacers when positioning the horizontal shelves. This makes the gaps consistent without repeatedly measuring each opening. Clamp the joints firmly, but wipe away excess glue before it hardens. The adhesive may expand as it cures, so check the visible edges during assembly.
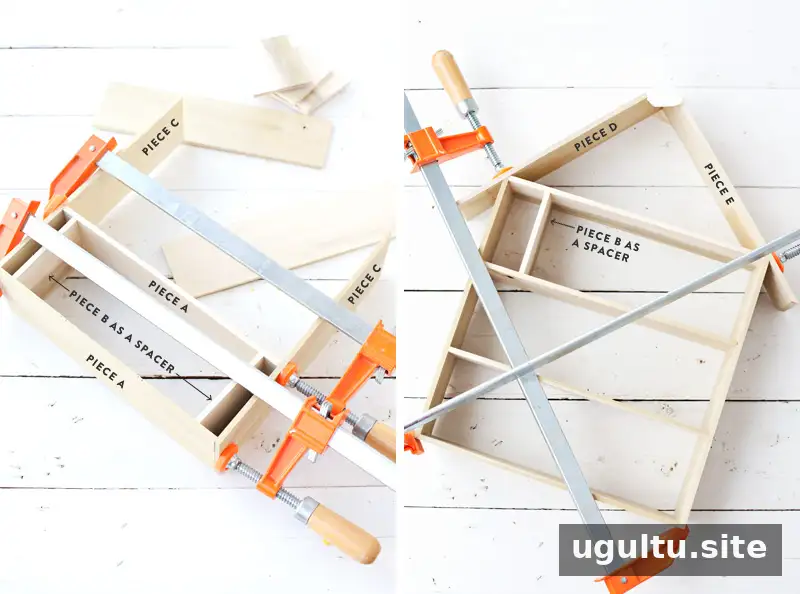
Allow the glue to cure for at least two hours before removing the clamps. Then glue the vertical B pieces into place, using the same spacing method and clamping each joint securely. Follow the adhesive manufacturer’s full curing instructions before moving on.
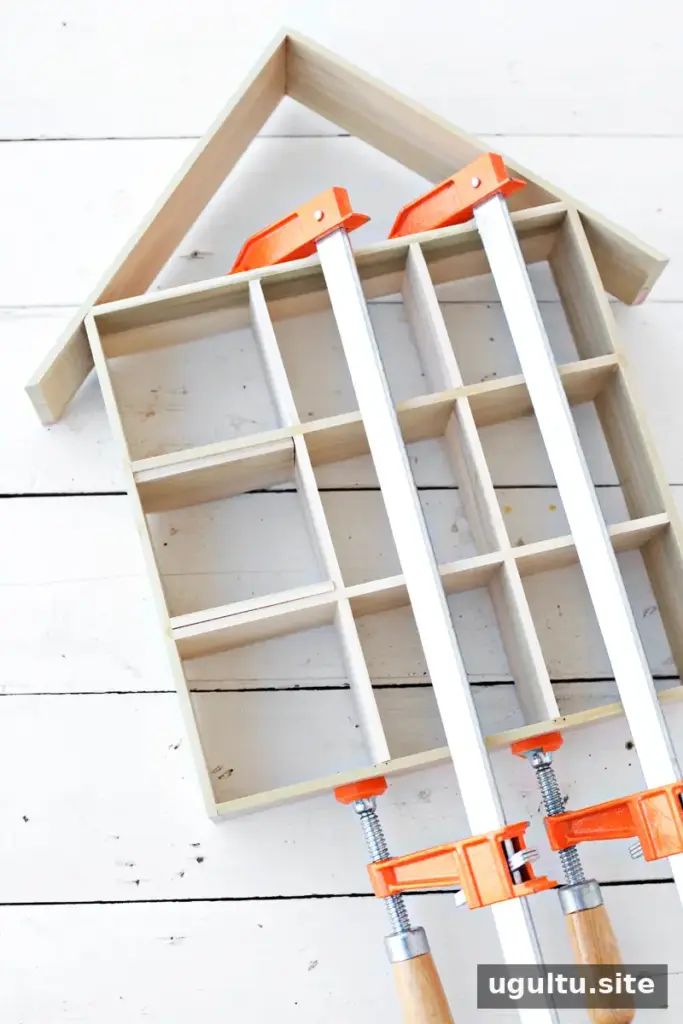
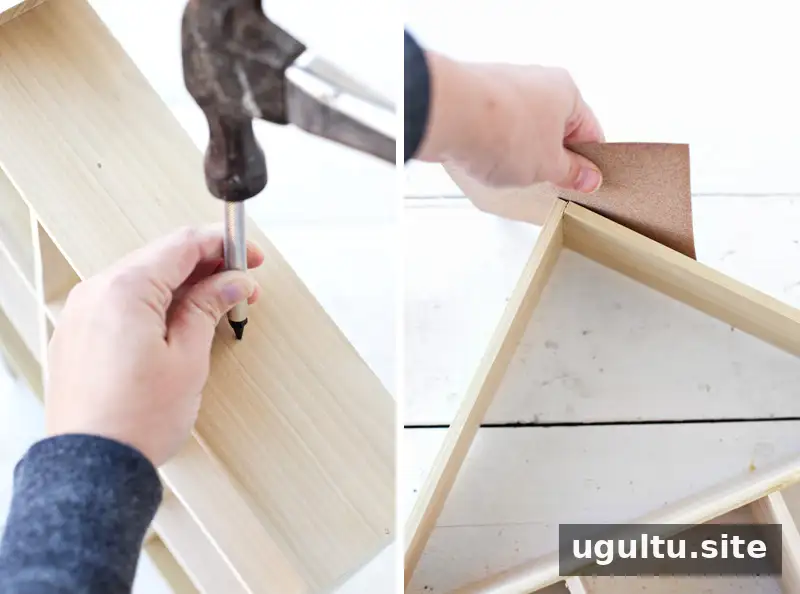
Step 3: Add extra mechanical support at the horizontal shelves by hammering 3/4-inch wire brads through the outer sides and into each shelf. Keep each brad straight to prevent it from emerging inside a compartment. A nail punch can set the heads slightly below the wood surface and help protect the boards from hammer marks.
Sand, paint, and hang the shelf
Step 4: Sand the entire shelf with 120–150 grit paper to smooth splinters, rough edges, and uneven joints. Wipe away the dust before applying a finish.
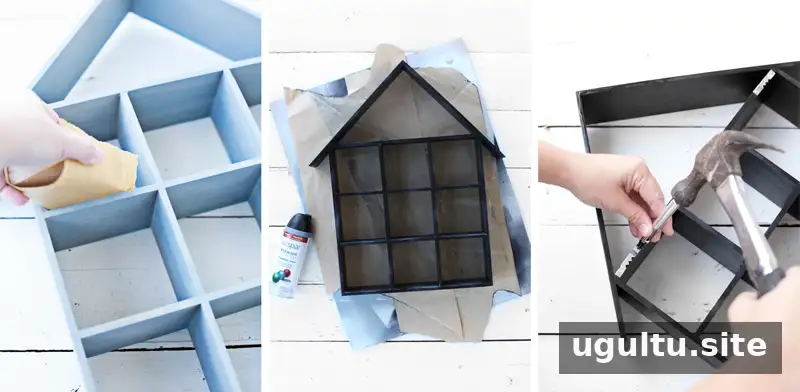
Step 5: Apply primer, then smooth the primed surface with fine sandpaper; the project instructions specify 320–400 grit for this stage. Add another light coat of primer wherever bare wood remains visible. Finish with several light coats of paint, allowing each coat to dry according to its label. For a natural wood look, use stain and sealer suitable for the wood instead.
Step 6: Attach appropriate hanging hardware to the back. Choose hardware suited to the shelf’s weight and the type of wall, and use suitable wall anchors when attaching it to drywall. Confirm the shelf is level and securely fixed before adding objects.
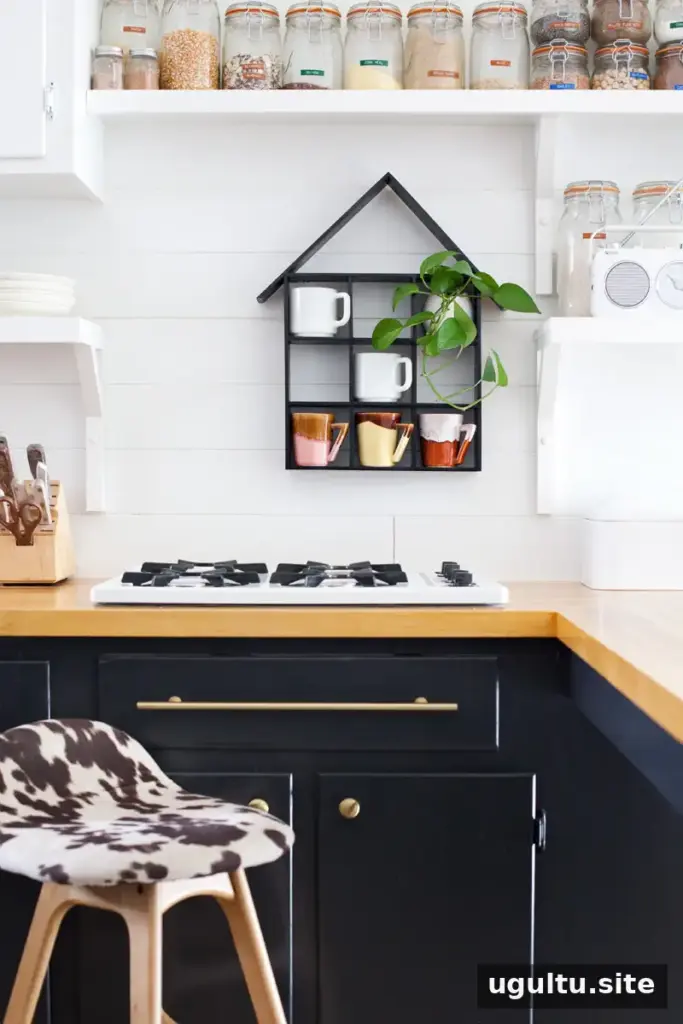
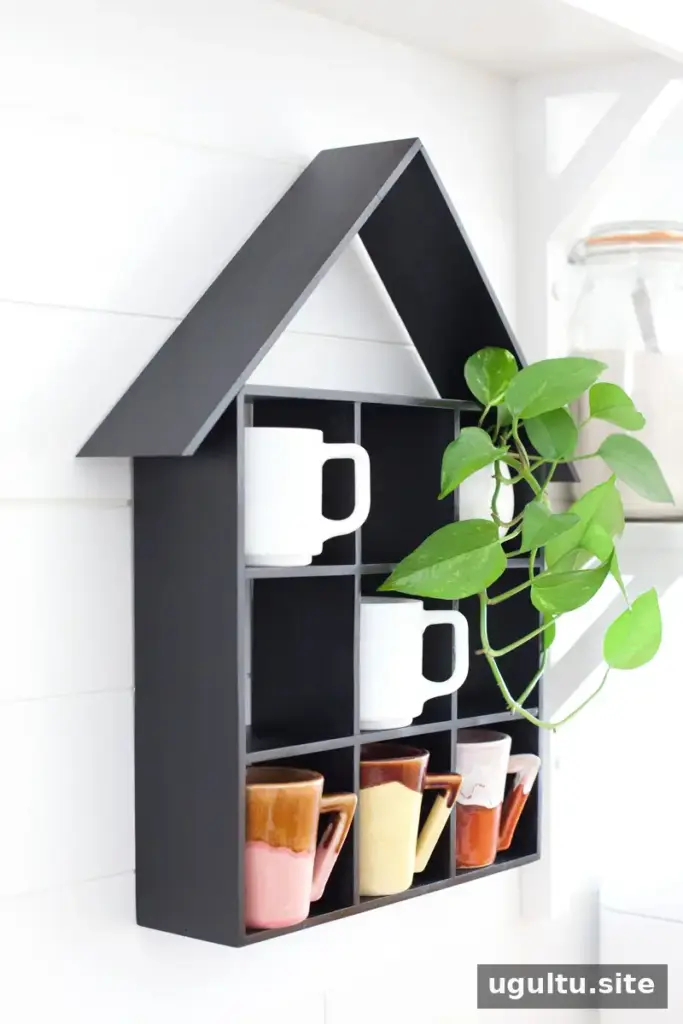
The compartments are sized for items that fit within an approximately 4-by-4-inch space. If you plan to store larger mugs or display pieces, adjust the shelf dimensions before cutting rather than discovering the fit problem after assembly.
Final thoughts on this house shaped shelf DIY
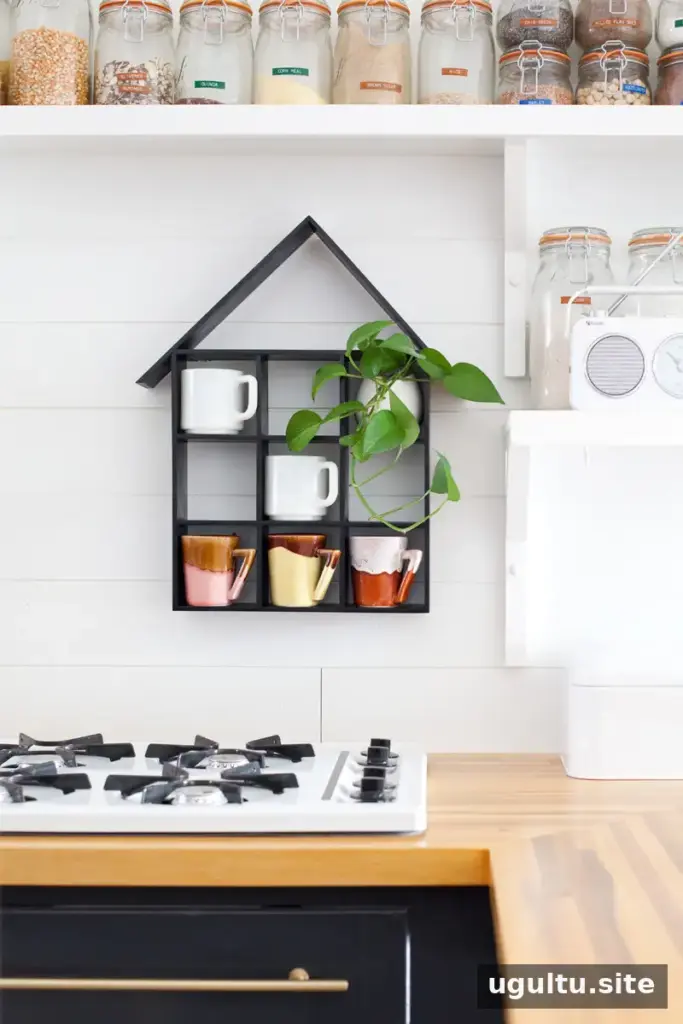
This house shaped shelf DIY creates a decorative display for a kitchen or another room, with a compact grid that can hold mugs and small keepsakes. Careful cutting, consistent spacers, and secure wall mounting are the most important details for a neat, dependable result. — Mandi


