
 admin

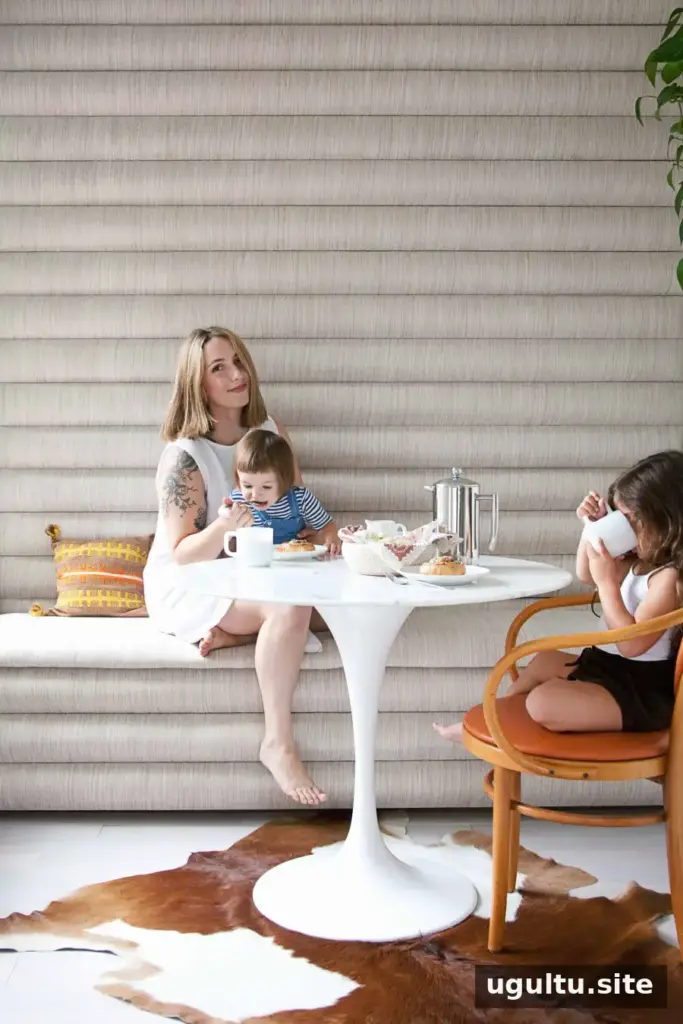
A channel tufted storage banquette can turn a small nook into a comfortable place to read, eat, play games, or study while adding useful hidden storage. This project combines a framed bench cabinet with upholstered panels on the seat and wall. The measurements below describe one build; check your room dimensions, wall framing, and window trim before cutting materials.
Planning a channel tufted storage banquette
The nook in this project had high ceilings, French doors, and a soffit that helped define the seating area. Rather than hide that feature, the design used it as a boundary for the upholstered wall. A tulip table completed the setting, while the channel tufting created a soft, coordinated backdrop.
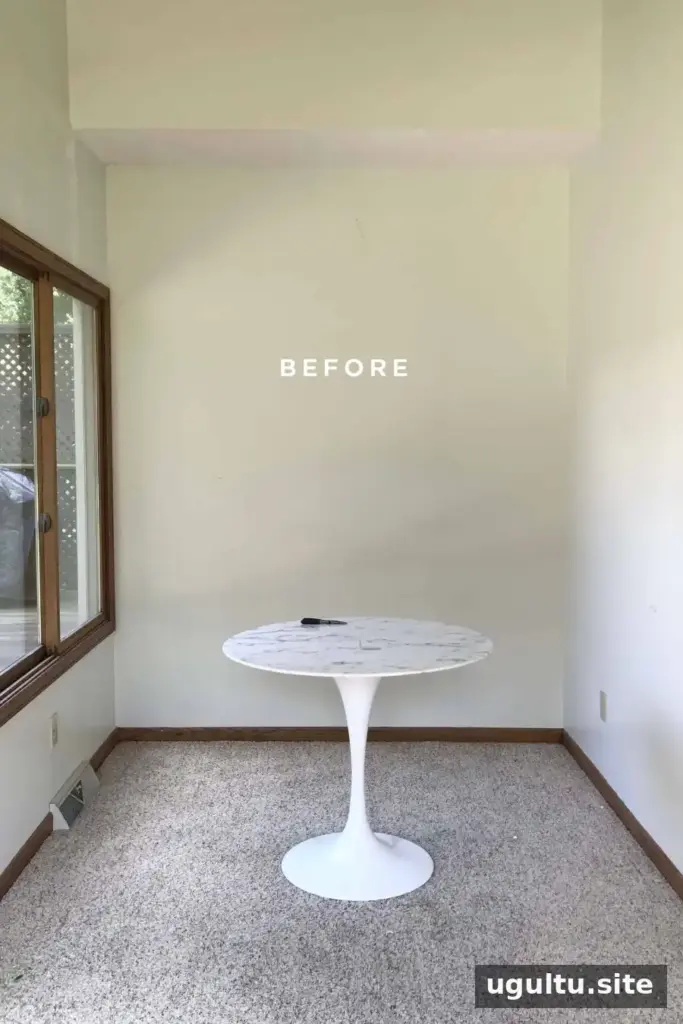
The original room had dark oak trim, shag carpet, and a ceiling soffit. The finished design uses the nook’s shape to frame the bench and wall panels. Before starting, measure the full installation area and identify the wall studs so the bench and upholstered sections can be securely fastened.
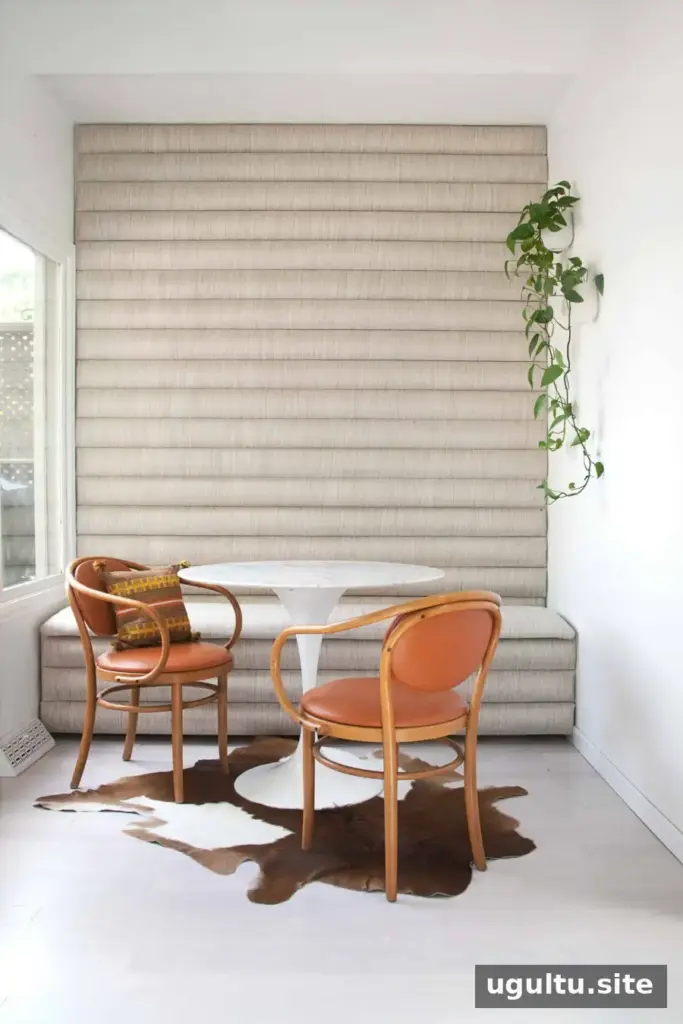
The wall and bench are covered with individually upholstered plywood panels. Metal straps connect the wall panels before installation. This method can be adapted to a smaller area if covering an entire wall feels too ambitious.
Build the storage bench base
Step 1: Make and level the platform
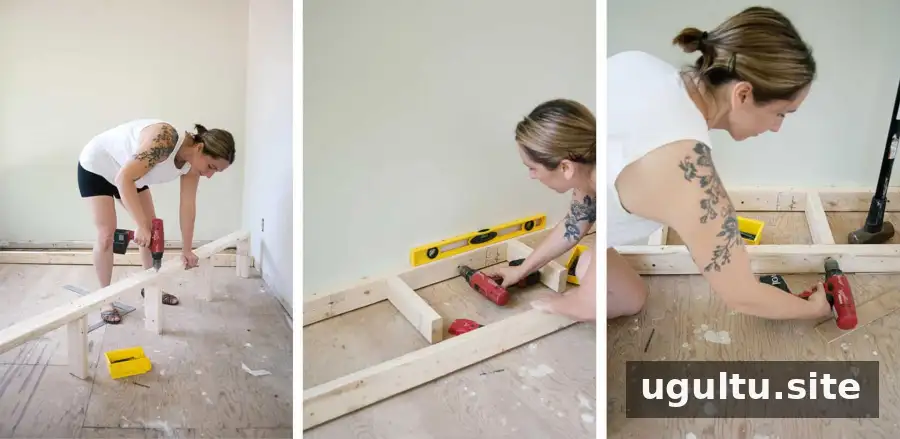
Build a platform from 2x4s to raise the bench, create toe-kick space, and give it a floating appearance. The base in this project was 14 inches wide, with middle braces spaced about 20 inches apart. Standard construction guidance commonly places framing at 16 inches on center, so consider the structure and your wall layout when positioning supports.
Attach the braces to the back piece, then fasten the back piece to wall studs and check that it is level. Use shims where the floor is uneven. Add the front piece and check the level again.
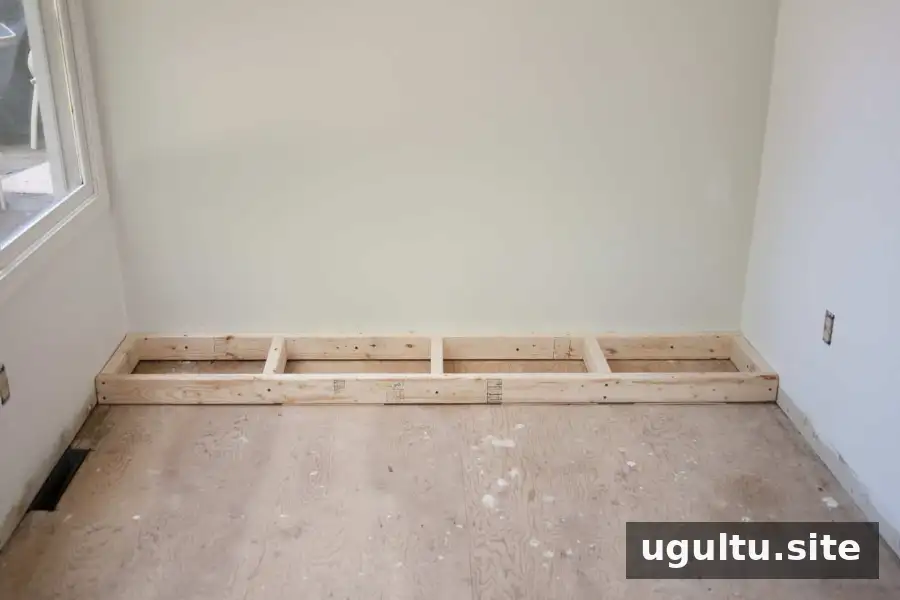
Step 2: Add the cabinet bottom
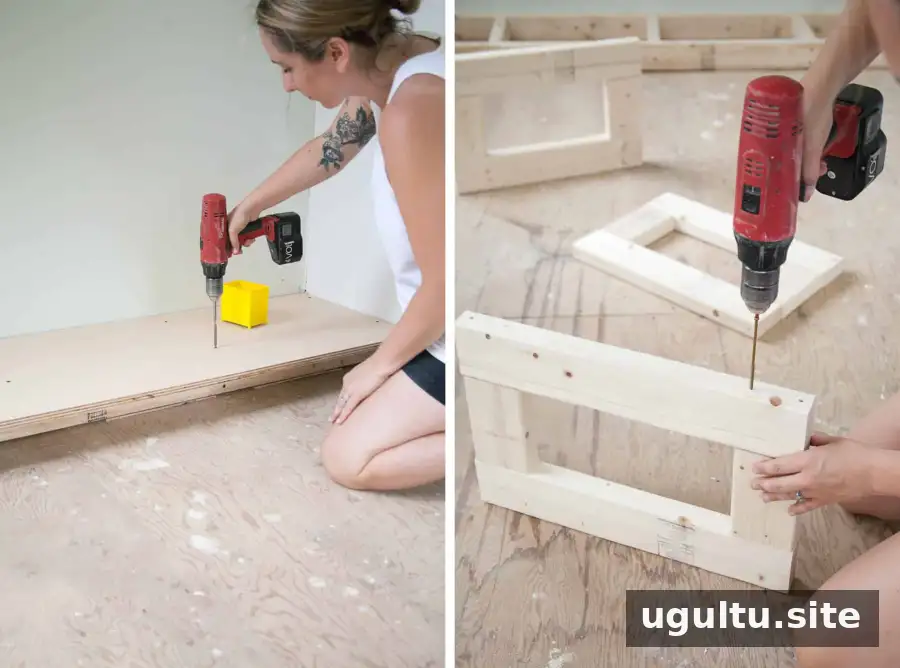
Fasten plywood to the base to form the bottom of the storage cabinet. The plywood should extend beyond the base; the example used a depth of 19.5 inches. Secure it to the braces with wood screws.
Step 3: Create the lid supports
Use 2x4s and long screws to make supports for the bench lid. In this build, the vertical pieces were 6 inches high and the horizontal pieces were 19.5 inches long.
Step 4: Connect and secure the braces
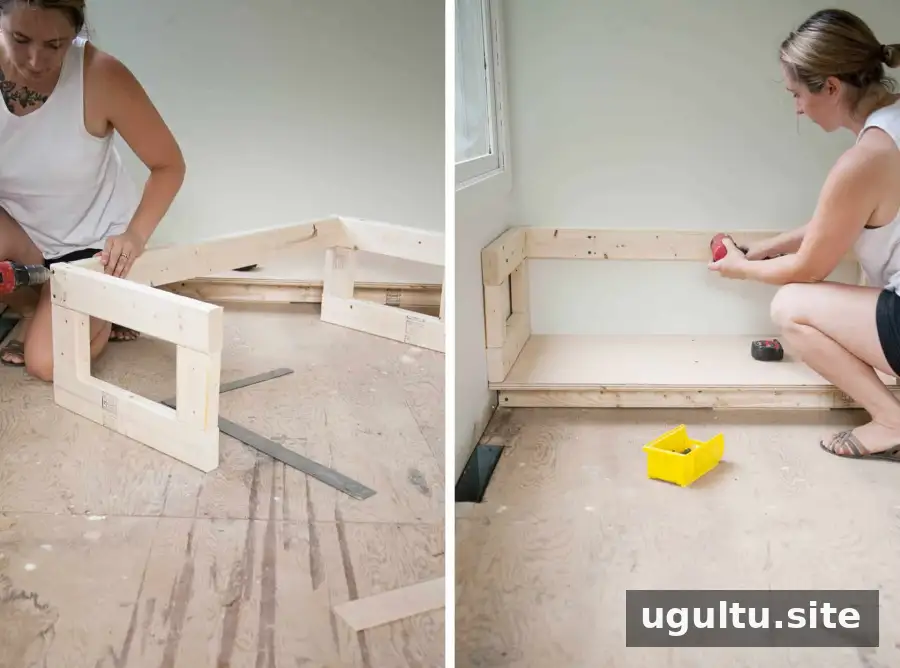
Measure the spaces between the braces and cut 2×4 connectors to fit. Attach the long 2×4 to the braces, then fasten it to the wall studs, checking level as you work. Screws make it easier to take a piece apart and correct a mistake than nails do.
Step 5: Attach the cabinet front
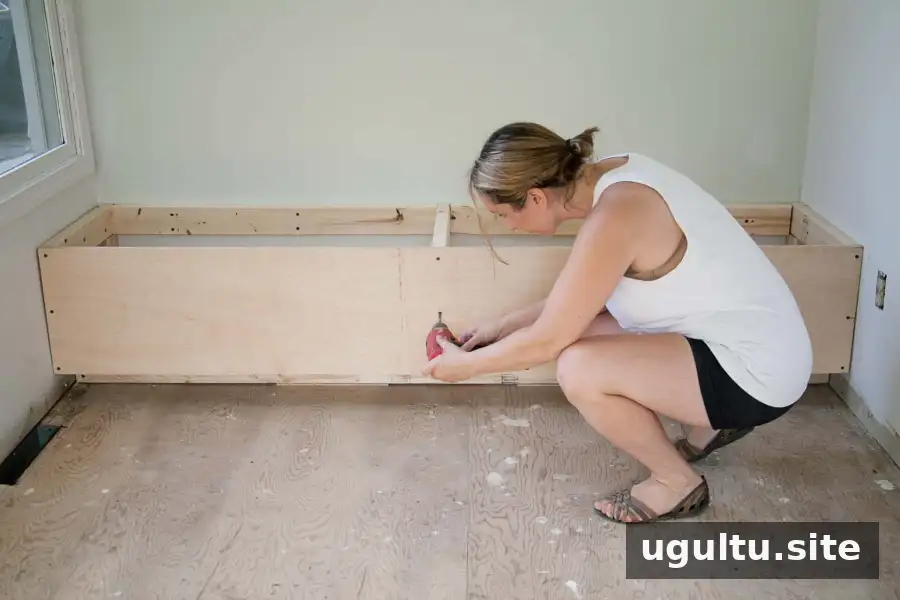
Fasten a plywood front to the braces with wood screws. Countersink the screws so their heads sit below the surface and do not interfere with the upholstered panels.
Step 6: Prime and paint inside
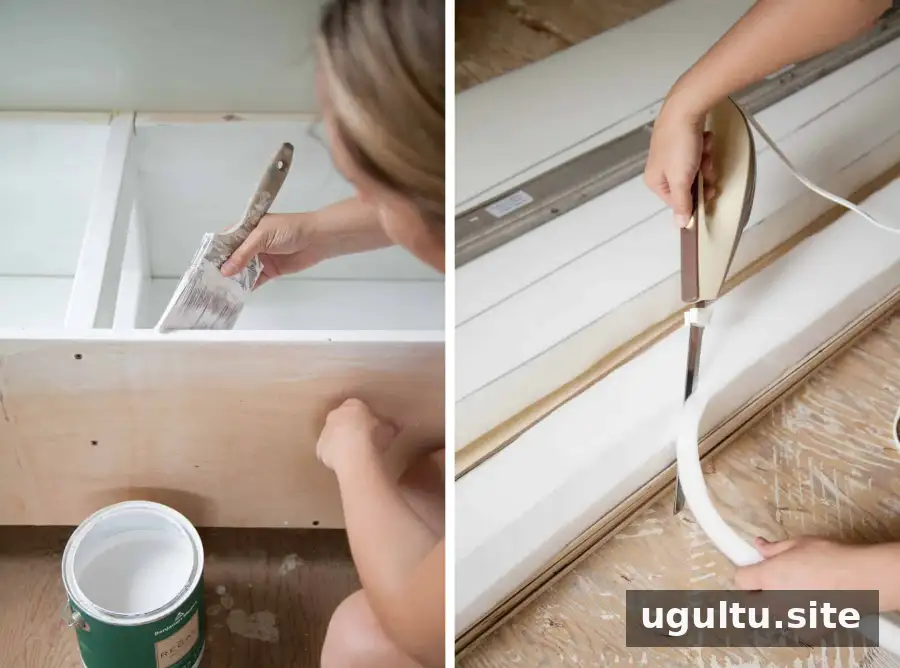
Prime and paint the cabinet interior before upholstering the exterior. This project used two coats of primer, a sanding with 400-grit sandpaper, and one final primer coat, followed by semi-gloss paint in Super White. Painting now makes the interior easier to finish than after the lid and panels are installed.
Upholster the channel panels
Cut plywood into strips for each wall and bench channel. The example’s panels were 7 feet long, made from two sheets of 1/2-inch plywood that were 8 feet long, cut into 5-inch-wide strips. For the rounded, plush appearance, 2-inch-thick foam slabs were cut into 4-inch-wide strips, with beveled edges.
An electric kitchen knife can make it easier to cut foam. Mark straight cutting lines with a long straight edge and permanent marker, then cut and bevel the strips carefully. Keep the work surface stable and protect your hands while cutting.
Step 7: Upholster each plywood panel
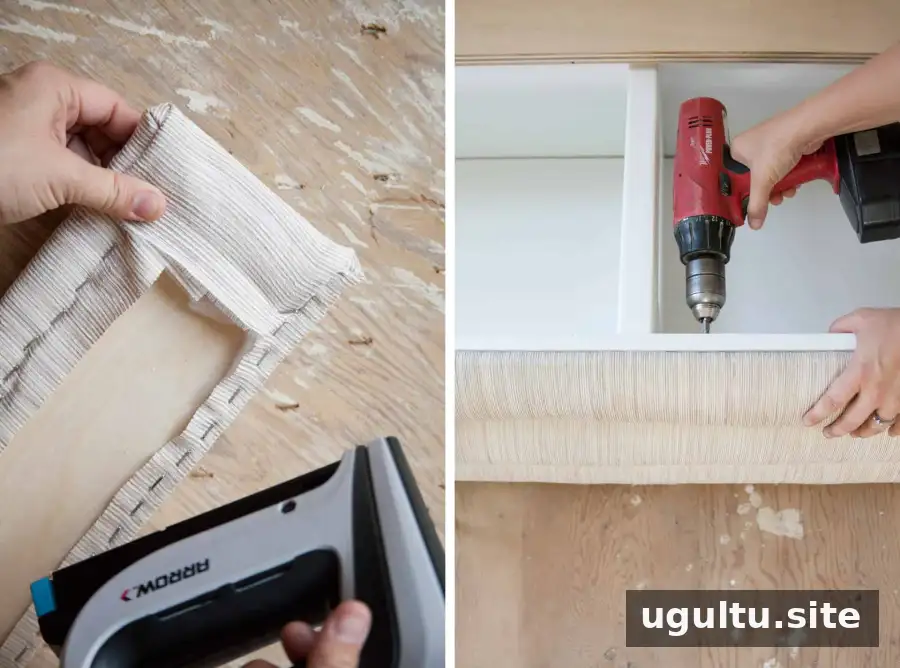
Cut fabric and two layers of batting for each panel. Place the foam over the fabric and batting, then set the plywood on top. Pull the fabric and batting firmly around the back and staple them in place with an electric staple gun. Maintain even tension along the full length to reduce lumps and wrinkles.
Step 8: Attach the bench-front panels
Secure three upholstered panels to the front of the bench. Drill pilot holes through the cabinet front first, then fasten the panels with wood screws from inside the cabinet.
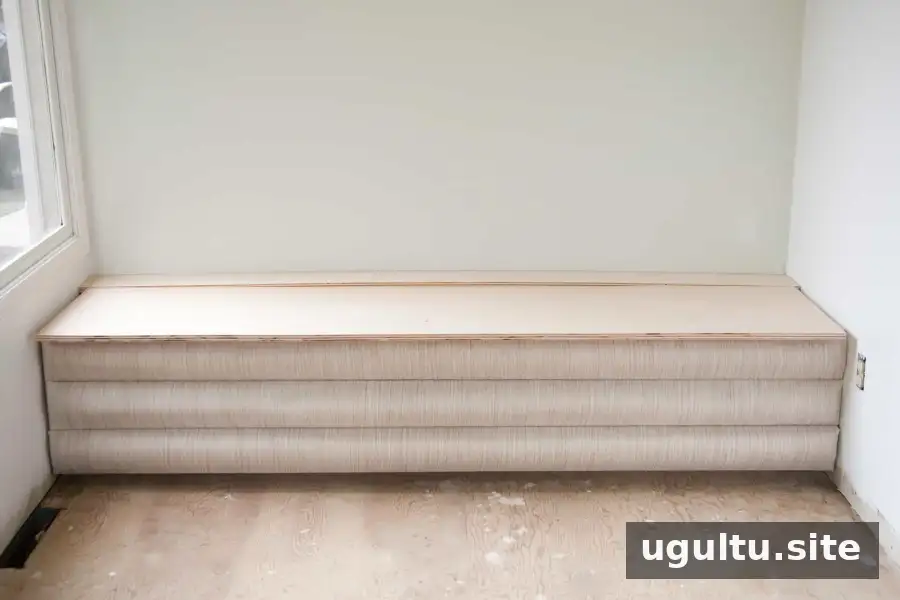
With the bench front finished, measure and cut the plywood for the lid.
Step 9: Size the bench lid
Make a 3-inch-wide spacer for the back of the bench to leave room for the lid as it opens. The lid in this project extended 2 inches beyond the front of the bench. Leave clearance at the sides so the lid can open without catching on window trim or scraping the wall.
Step 10: Upholster the spacer and lid
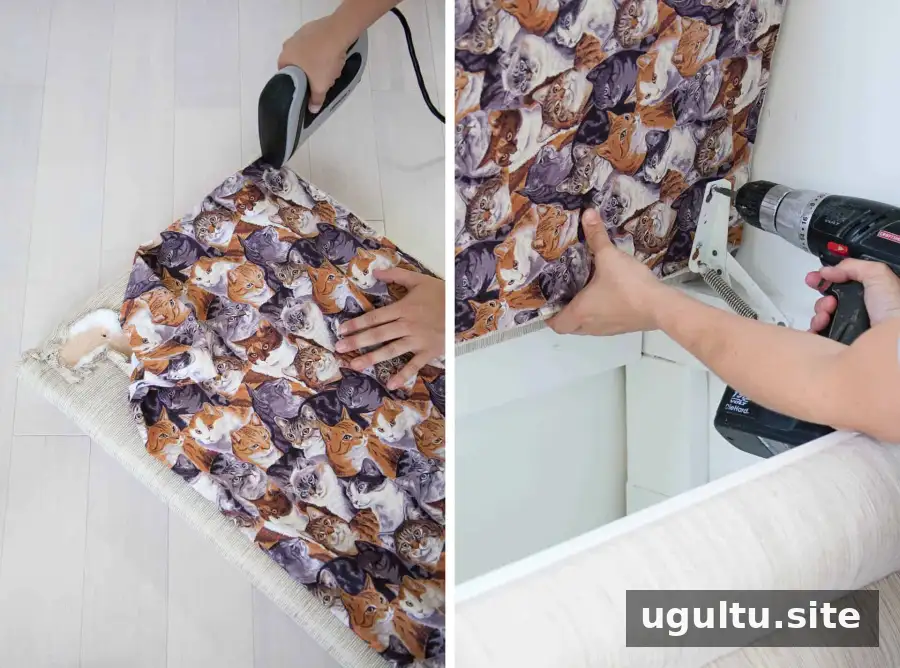
Upholster the spacer like the other panels and screw it into place from inside the bench. Cover the lid as well, including its underside. Fold the fabric edges under and staple them in place. A patterned fabric can help disguise staples and add a decorative detail inside the storage area.
Keep the areas where the hinges will attach free of fabric and batting so the hardware can be fastened securely.
Step 11: Install the hinge
Attach a swing-up hinge to the bench supports, then measure and drill pilot holes for its connection to the lid. Choose hardware designed to hold the lid open, and follow the manufacturer’s installation directions. Check that the lid moves freely before loading the storage compartment.
Install the upholstered wall panels
Step 12: Connect and mount the panels
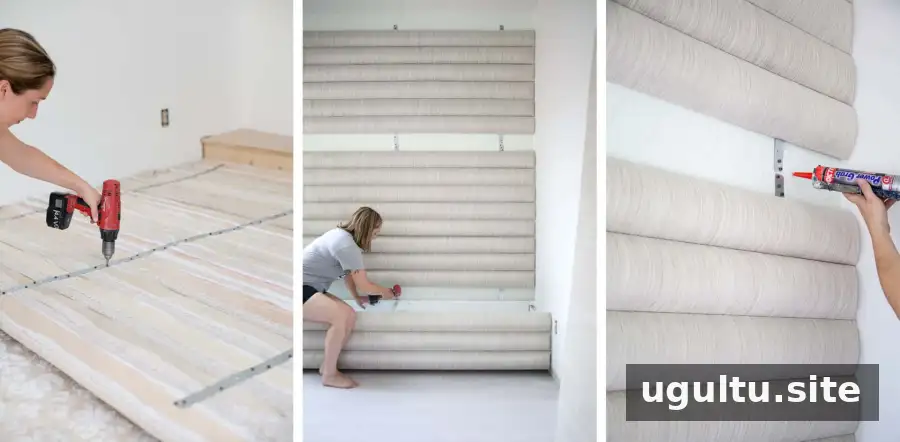
Lay the wall panels in order and join them with metal straps positioned to line up with the wall studs. For a large wall, install the panels in smaller sections; a full connected assembly can be difficult to lift and position safely.
Leave one panel off the top of each section to provide access for attaching the straps to the wall. Apply quick-setting construction adhesive to the back of the panels in the open areas, then secure the assembly to the wall. Confirm that the panels are aligned and firmly attached.
Finishing and practical tips
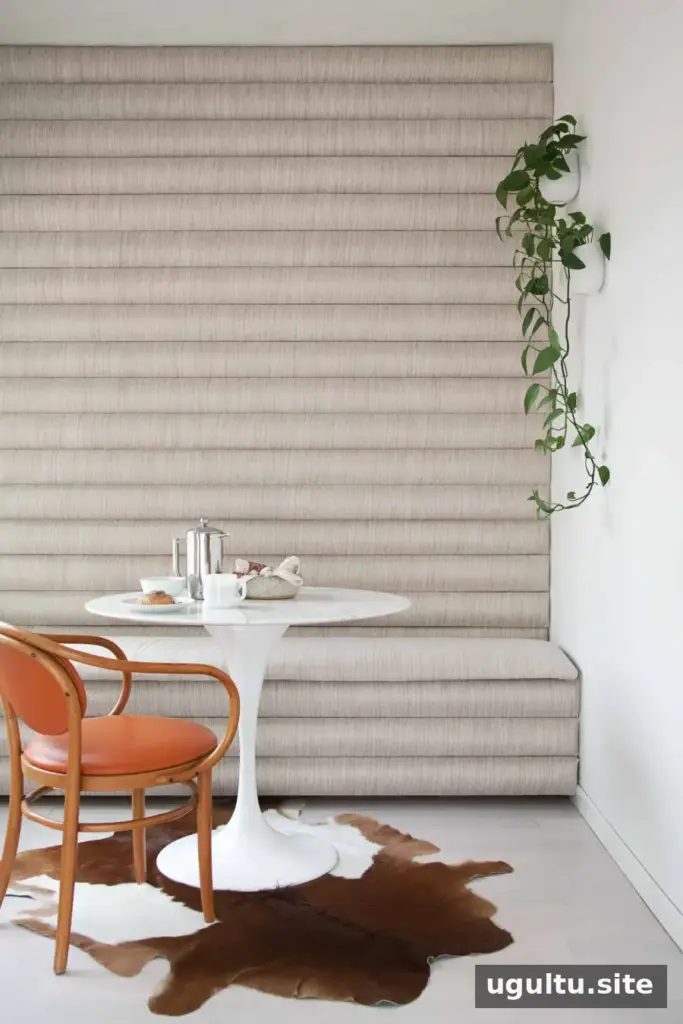
Upholstering every channel takes time, so consistent fabric tension and careful measuring are worthwhile. Keep extra fabric for future repairs, and consider applying a fabric protector according to its label if it is suitable for your material. Test any treatment on an inconspicuous area first.
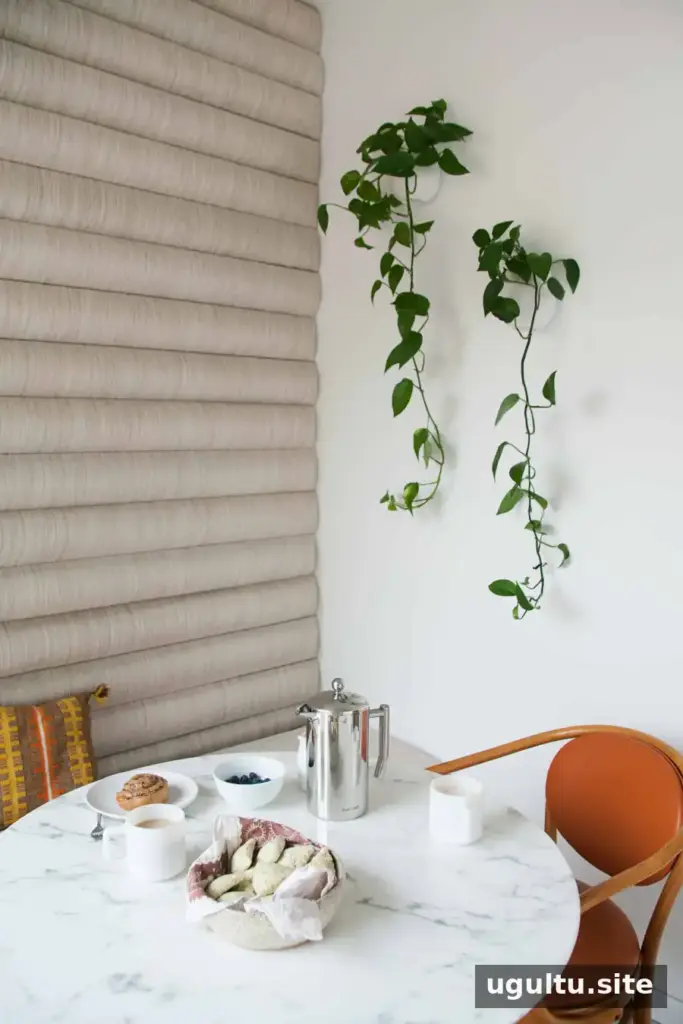
A storage banquette can serve as everyday seating while a kitchen or dining area is being renovated, and later become a spot for meals or games. The closed bench keeps items out of sight, making it useful in a compact room.
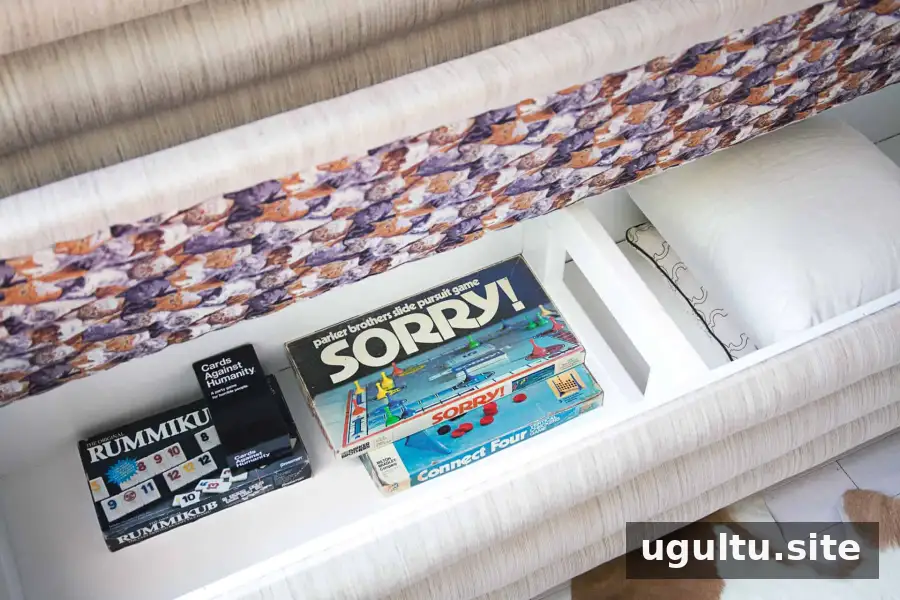

If upholstering the entire wall is too large a project, build the storage bench first and upholster only its front and lid. For a full channel tufted storage banquette, plan the framing, panel layout, upholstery, and hinge clearances before construction begins.
— Mandi


