admin
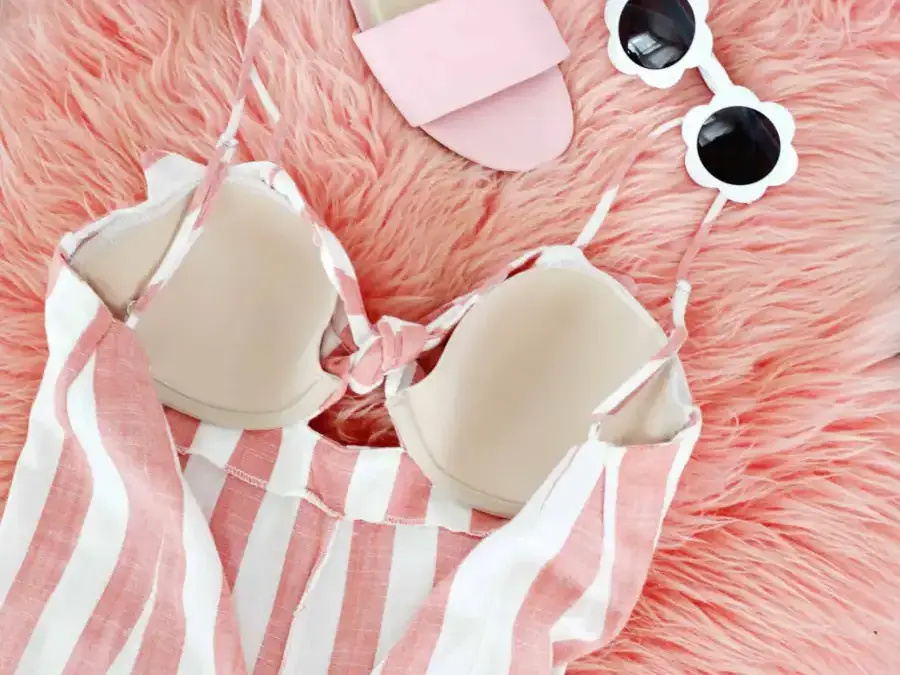
Learning how to add a built-in bra to clothing can make low-back, strapless, and cutout garments more comfortable to wear. With a few sewing supplies, you can attach either an existing bra or separate bra cups inside a suitable top or dress. The best results usually come from garments that fit close to the torso; loose, flowy styles may not hold the cups in position as well.
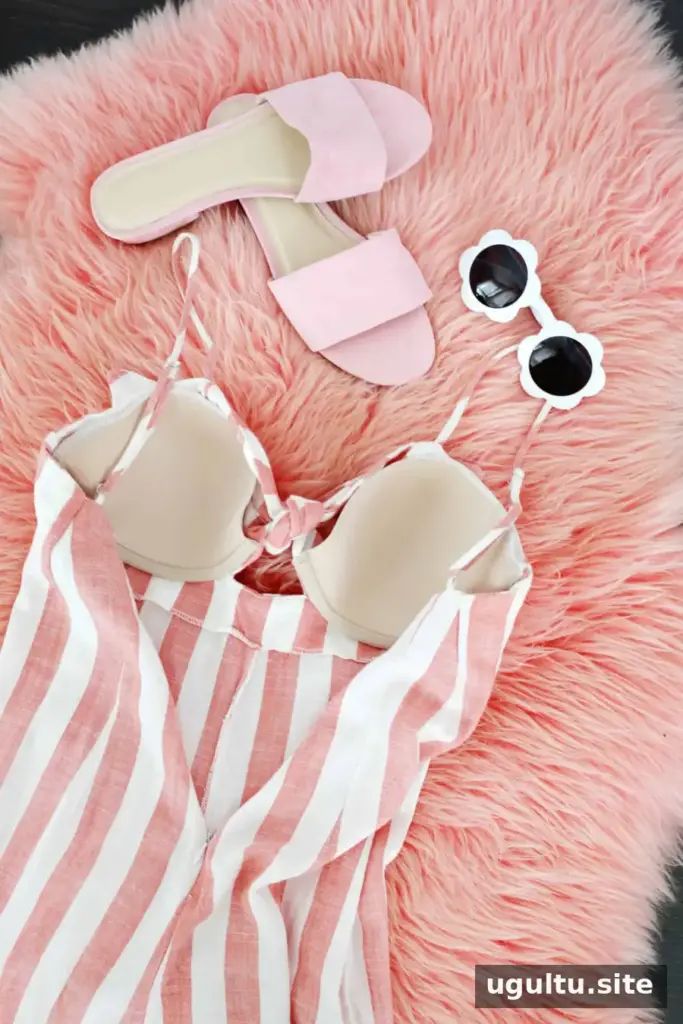
There are two approaches, depending on how much support you want. An underwire bra may provide more structure, while individual cups are a simpler option for lighter support. Check the garment’s fabric, lining, and construction before cutting or sewing, since not every style is suitable.
How to Add a Built-In Bra to Clothing
Choose a method based on the garment and the level of support you need. Before sewing, put the garment on and carefully pin the cups in place. Check their position while wearing it, and make sure the cups and bra edges cannot be seen from the outside.
More Support: Use an Underwire Bra
This method uses the cups from an underwire bra. The underwire can help maintain the cups’ shape, which may be useful when you want more structure. Since the bra will be altered, consider using one you no longer wear or an inexpensive bra with cups that fit.
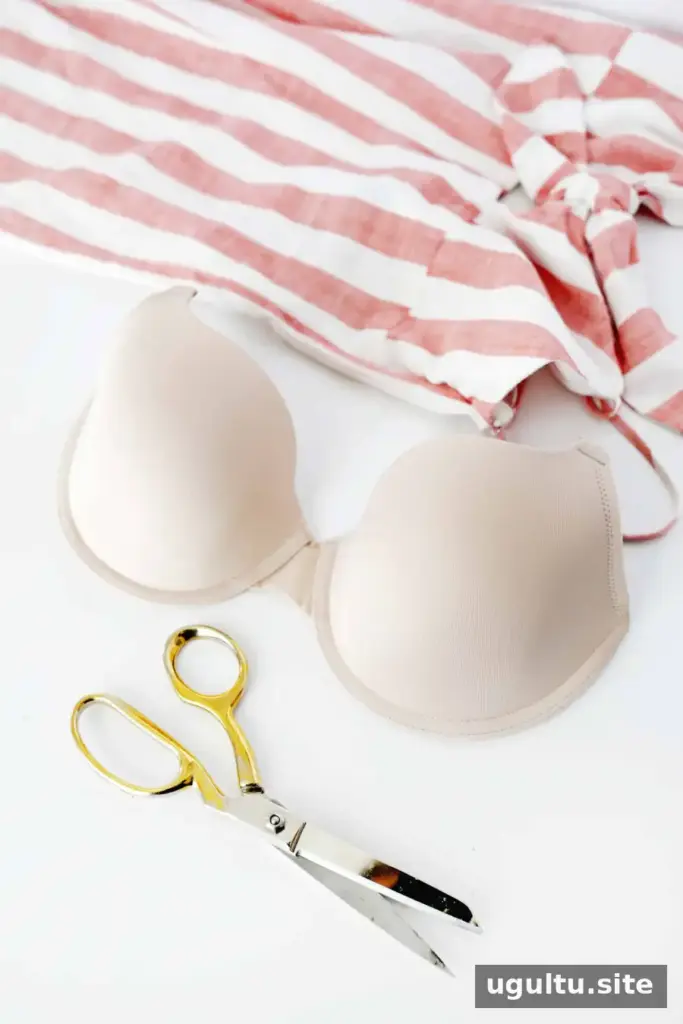
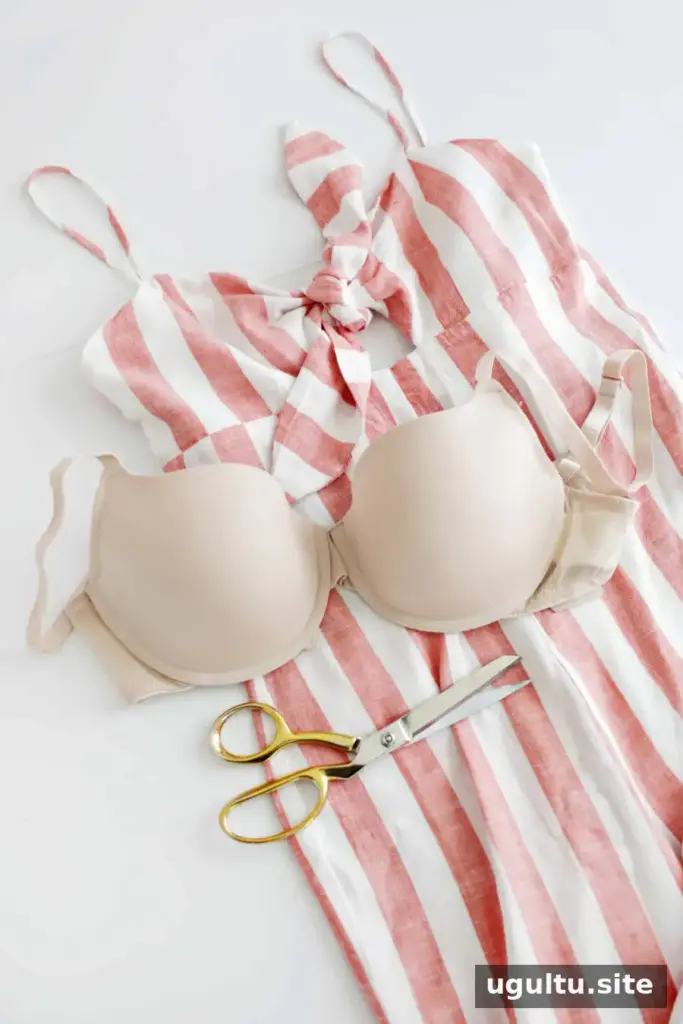
Assess the garment and decide how much of the bra to keep. Depending on what will be visible, you can remove the straps and separate the cups, trim the sides while keeping the cups joined at the center, or retain most of the bra and remove only its back closure. Keep as much of the bra as the garment allows, and trim away parts that would show.
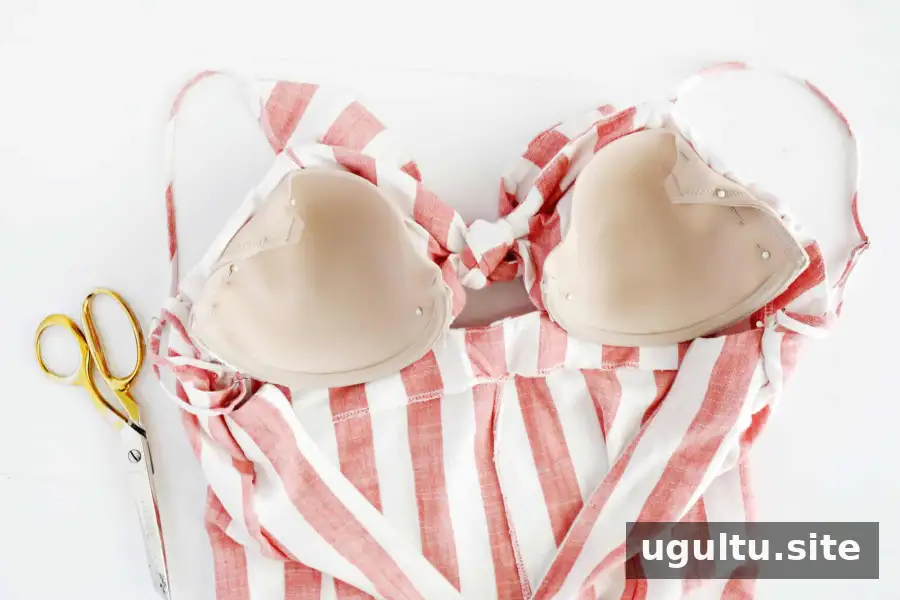
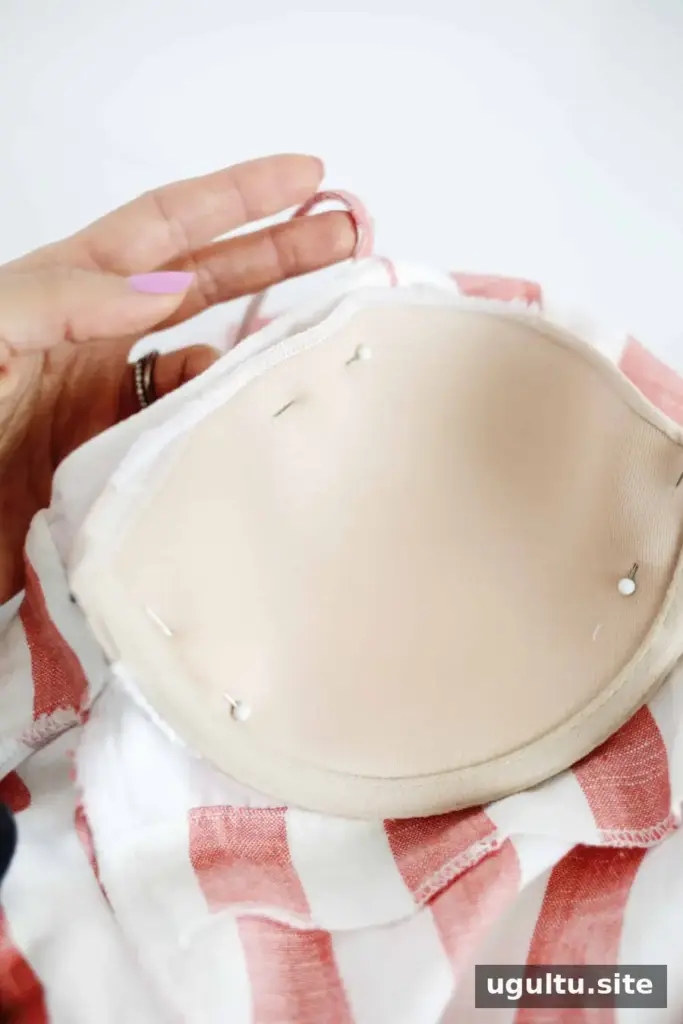
Try on the garment and pin the bra or cups where you want them. If a cup edge shows, fold it inward and tack it down with a needle and thread. Alternatively, trim the edge and finish it with a zigzag stitch or a serger to help prevent fraying.
Sew each cup to the garment in at least four places, about 1/4 inch from the cup edge: one at each side, one at the top, and one at the bottom. Add more stitches if needed, and tack down any bra sides you have kept. Choose thread that blends with the garment. Use small stitches, or sew through only the inside layer when the garment has a lining so the stitches are less visible from the outside.
Less Support: Use Separate Bra Cups
For a simpler option, use a pair of bra cups in your size. Cups that are close in color to the garment may be less noticeable if any edge shows through.
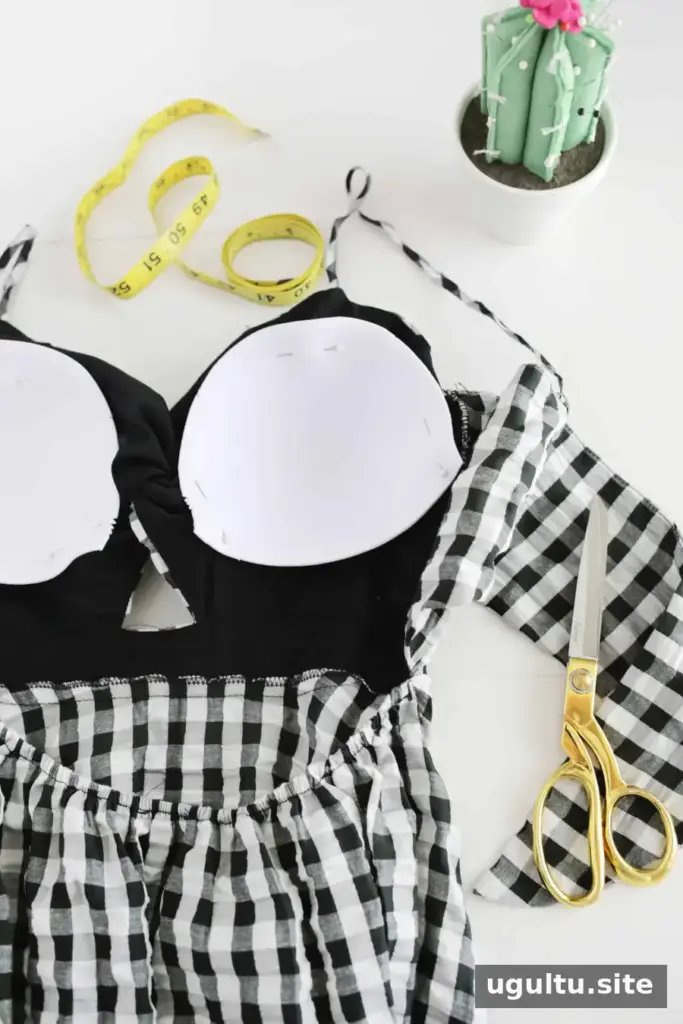
Try on the garment, pin the cups in place, and carefully try it on again to check their position. If the cups need trimming, follow the same edge-finishing guidance: fold and tack the edge, or trim and sew it with a zigzag stitch or serger. Attach the cups with small, discreet stitches, following the placement advice for the underwire method.
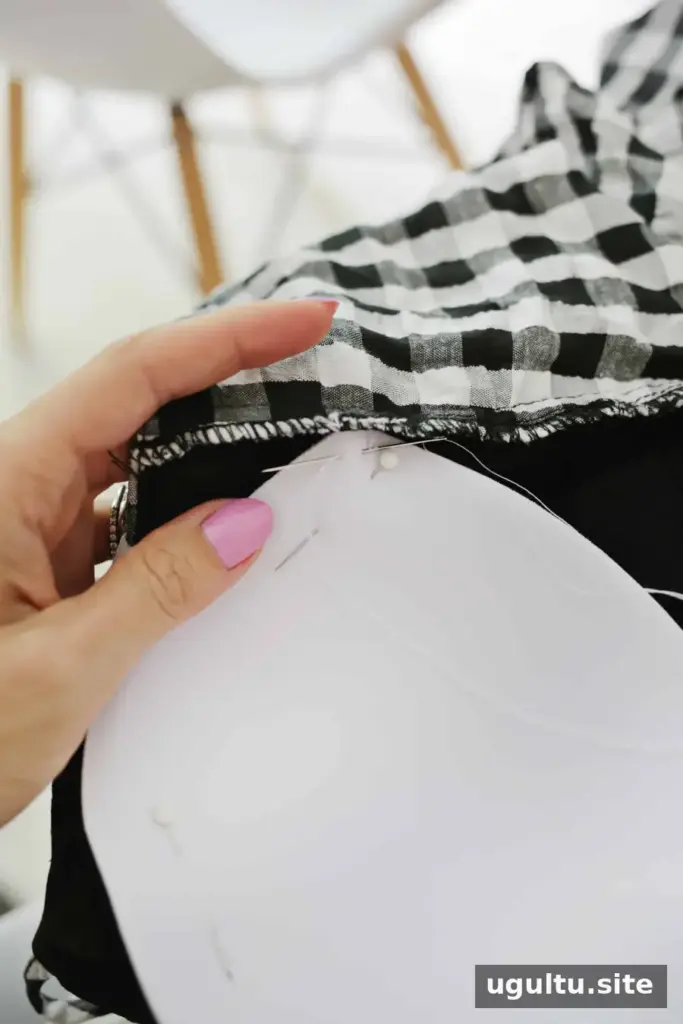
Once the cups are secure, check the garment from the outside and make sure the stitches and cup edges are not visible.
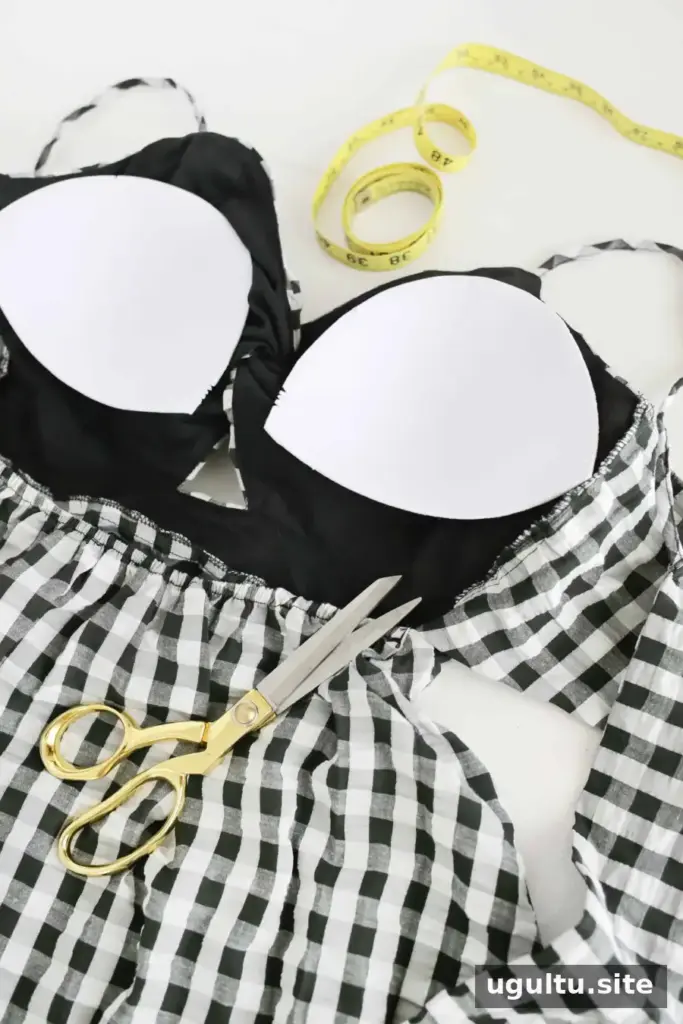
Supplies and Equipment
- One bra for the more-support method
- Two bra cups, if using the less-support method
- Scissors
- Needle and thread
- Straight pins
- Sewing machine, optional
Fit and Sewing Tips
The garment’s fit affects how well this alteration works. If the chest or waist is too loose, consider adjusting the fit before adding cups so the garment sits closer to the body. Pin and check the placement before sewing; small adjustments at this stage can help avoid visible edges or uncomfortable positioning.

With the right garment and careful placement, adding a built-in bra can create another option for wearing a style that is difficult to pair with a regular bra. Choose the underwire method for more structure or separate cups for lighter support, and check the finished garment from the outside before wearing it. These steps for how to add a built-in bra to clothing can be adapted to suit the garment’s construction.
— Laura