admin
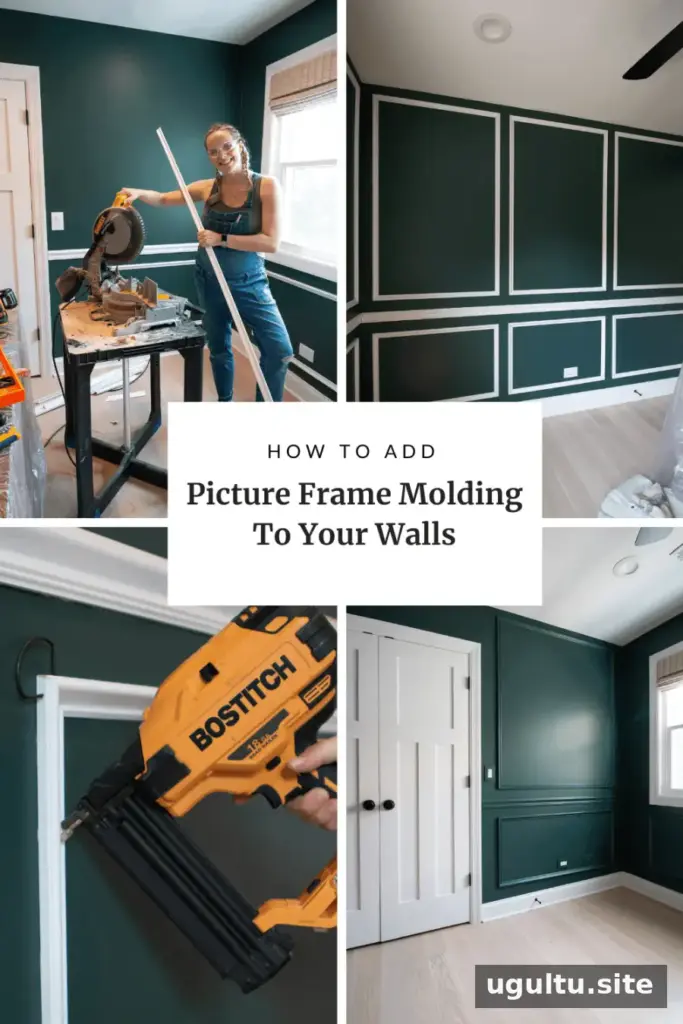
Picture frame molding is a classic way to add detail and a custom look to a room without changing the wall color or adding a separate accent material. With careful measuring, accurate miter cuts, and a little patience, this decorative trim can be installed as a manageable DIY project. The method below uses a chair rail and base cap molding to create rectangular wall frames.
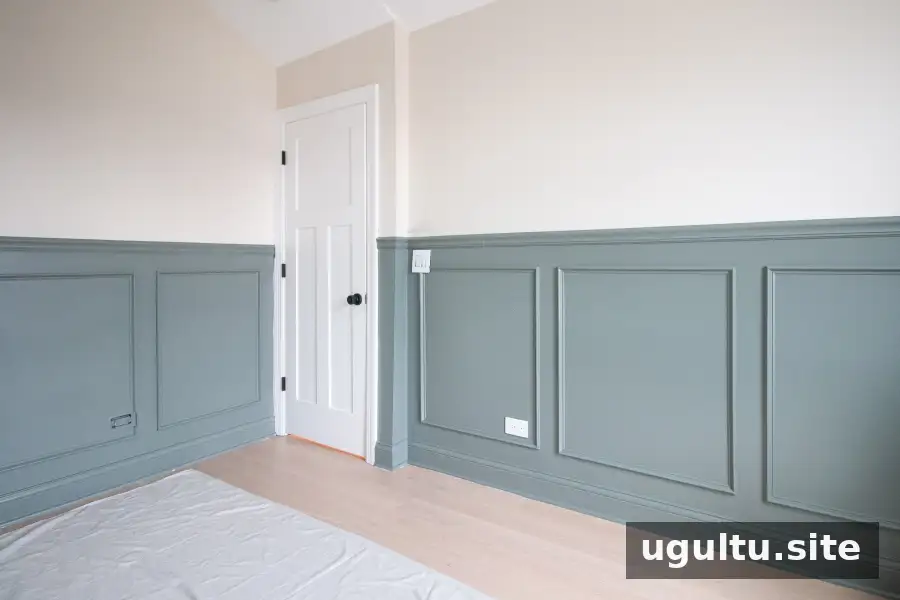
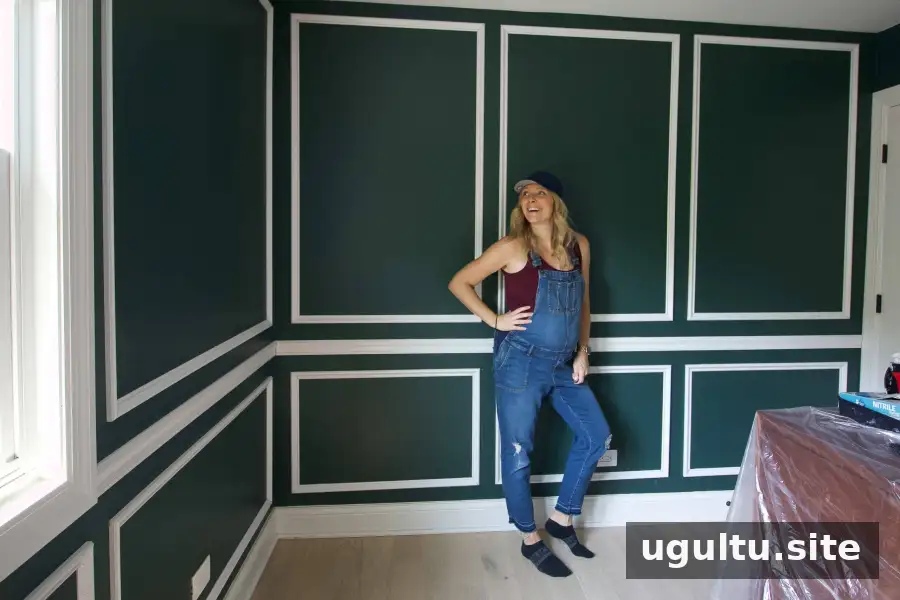
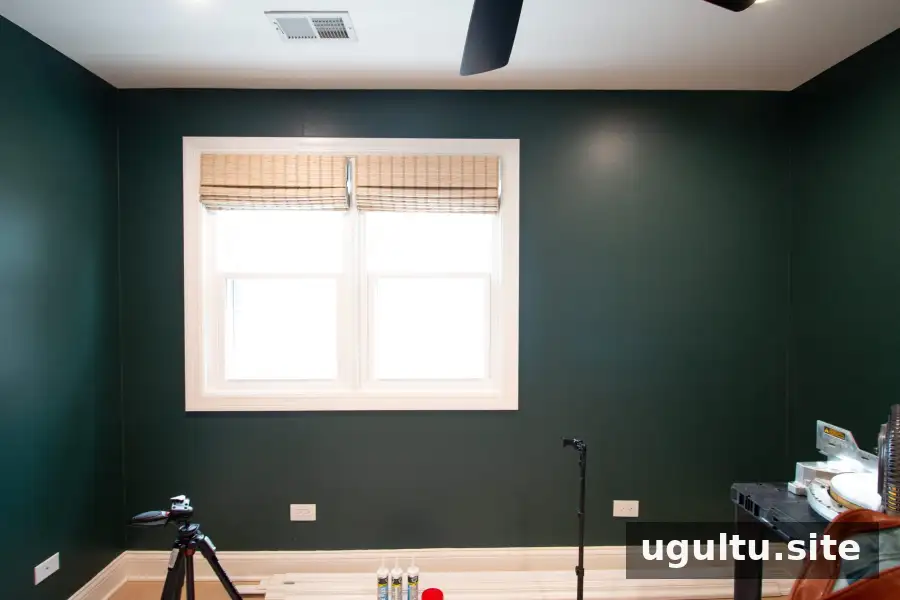
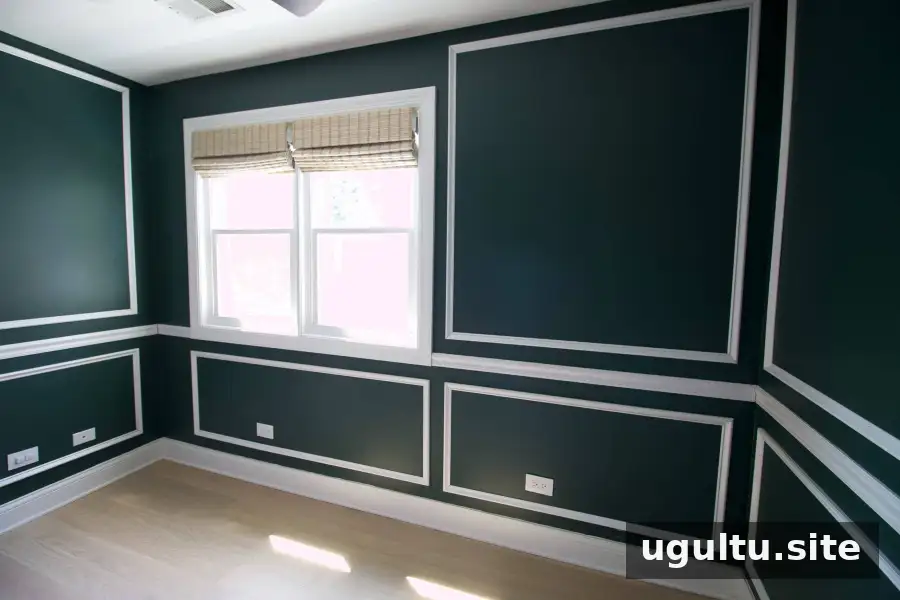
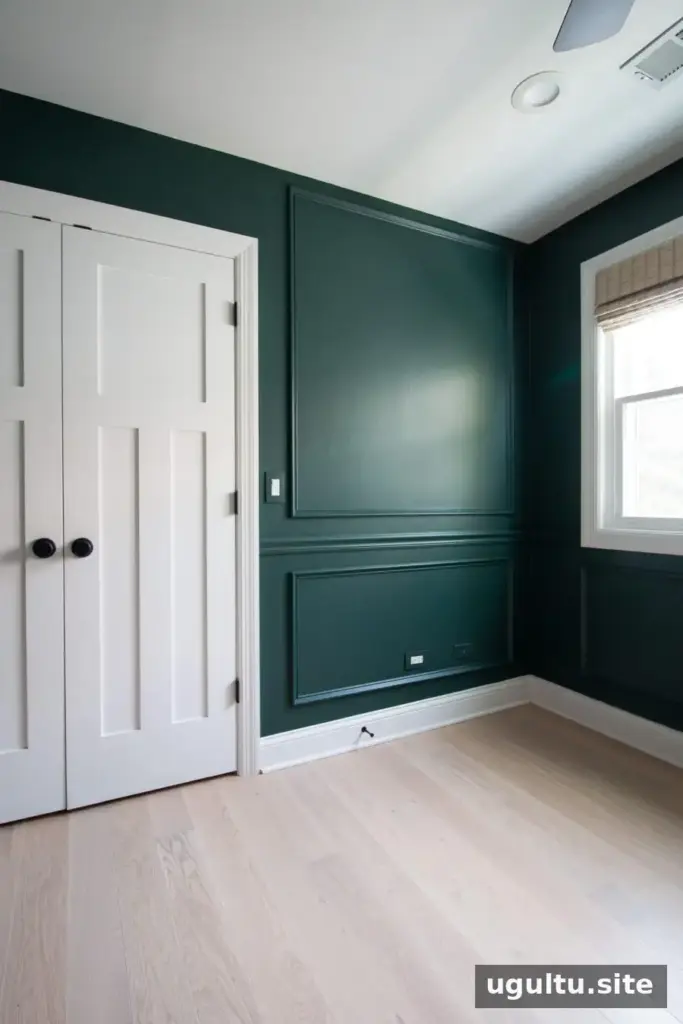
Plan the layout around the room’s features before buying materials. Doors, windows, outlets, furniture, and curtains can all affect the size and placement of each frame. A nursery project used a different arrangement on each wall, with a dark green eggshell finish across both the walls and molding.
Picture Frame Molding Supplies
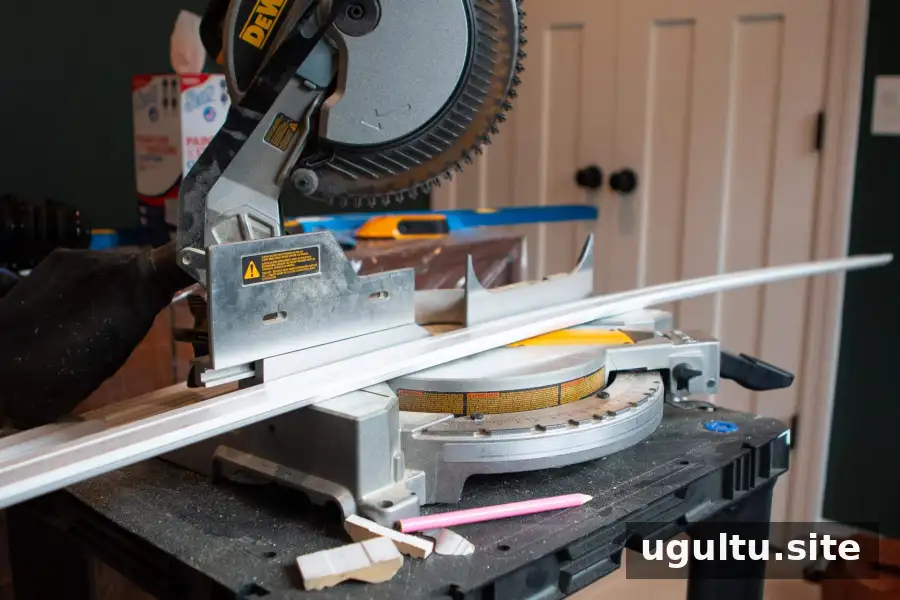
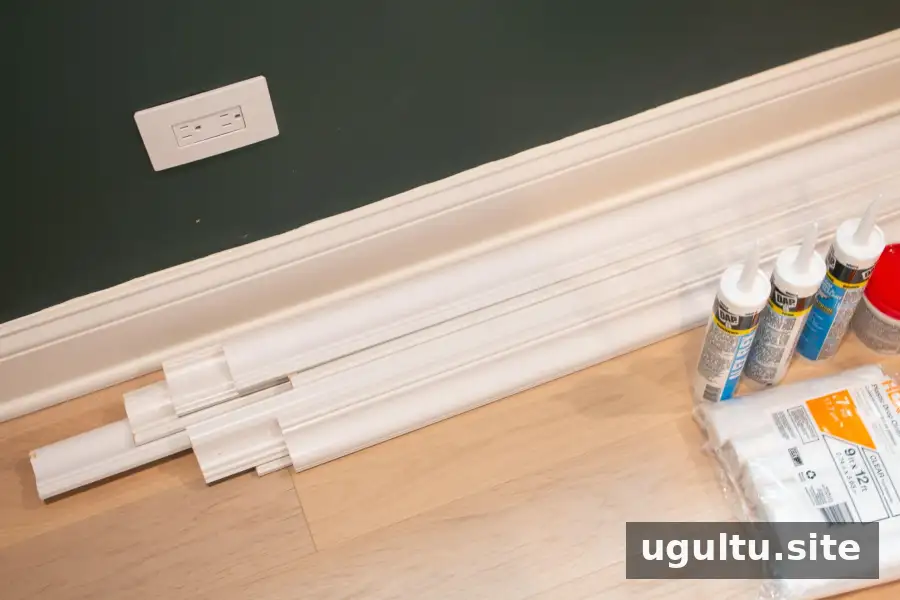
- Chair rail and base cap molding
- Construction adhesive, such as liquid nails, and a caulk gun
- Cordless brad nailer and 1 1/2-inch brad nails
- Miter saw and saw stand
- Tape measure, level or laser level, and stud finder
- Safety gear
- Caulk, painter’s putty, and painter’s tape
- Paint brush, roller, tray, and paint
- Corner clamps and a shop vacuum
Measure each wall and sketch the layout before purchasing supplies. A spreadsheet or simple drawing can help compare box sizes and account for obstacles. The example project used thirty eight-foot base cap boards and five eight-foot chair rail boards; that quantity was not quite right, so allow for extra material and check your measurements before shopping.
Plan Your Picture Frame Molding Layout
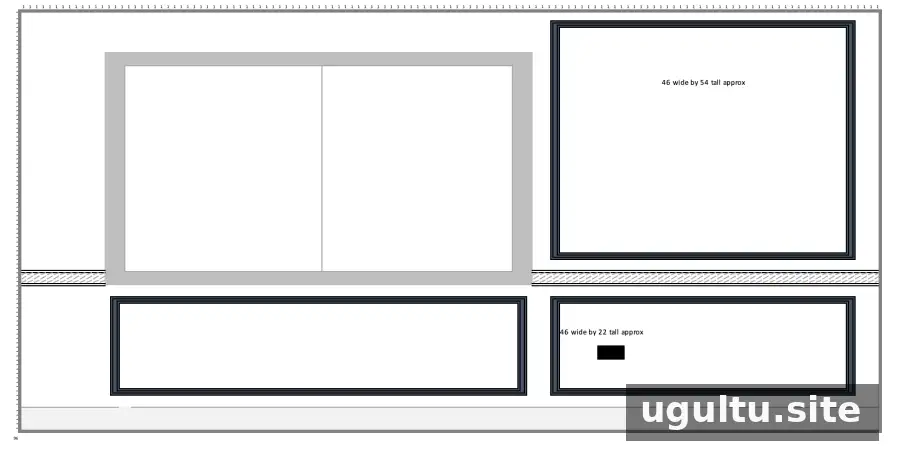
Decide how many frames will fit on each wall and how they relate to the room’s trim. One wall may suit three evenly spaced boxes, while another may work better with a single larger frame. Leave clear areas where curtains, artwork, shelves, or furniture will cover or interrupt the molding.
Make a cut list for every frame before starting. Record the intended dimensions and spacing, then verify the plan against the actual wall. This planning stage takes time, but it helps reduce mistakes and makes it easier to estimate how much molding to buy.
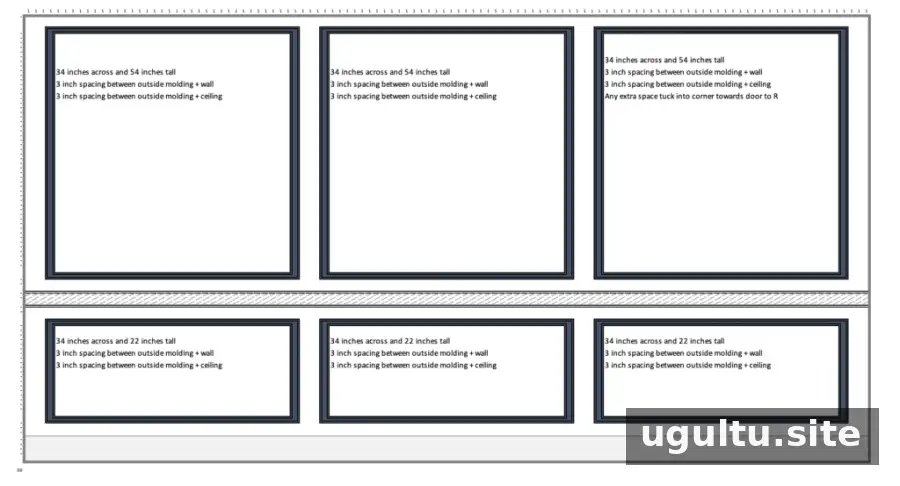
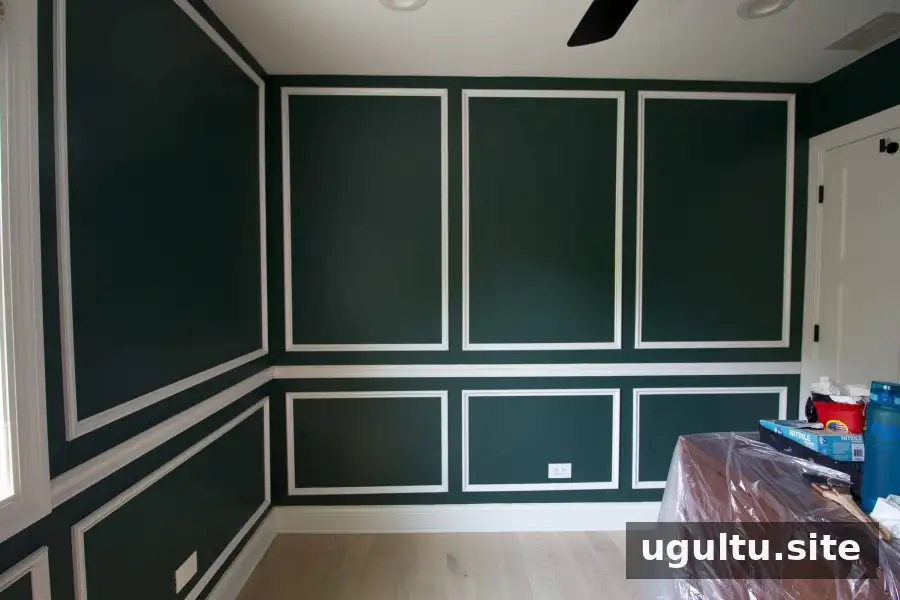
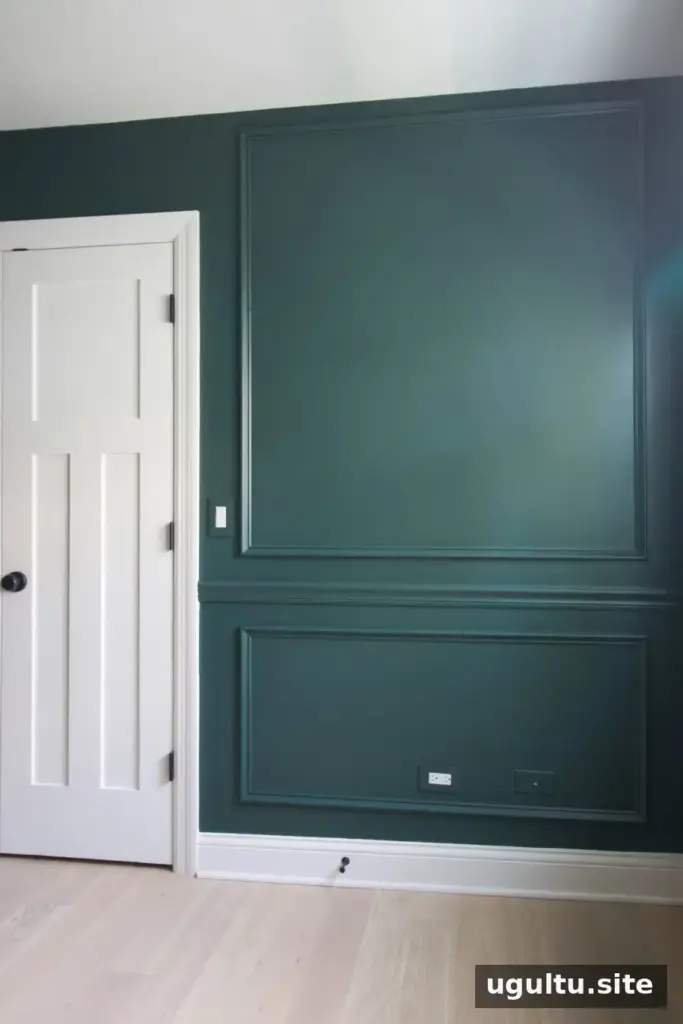
For the wall intended for a crib, the layout uses three symmetrical boxes positioned a few inches above the baseboard.
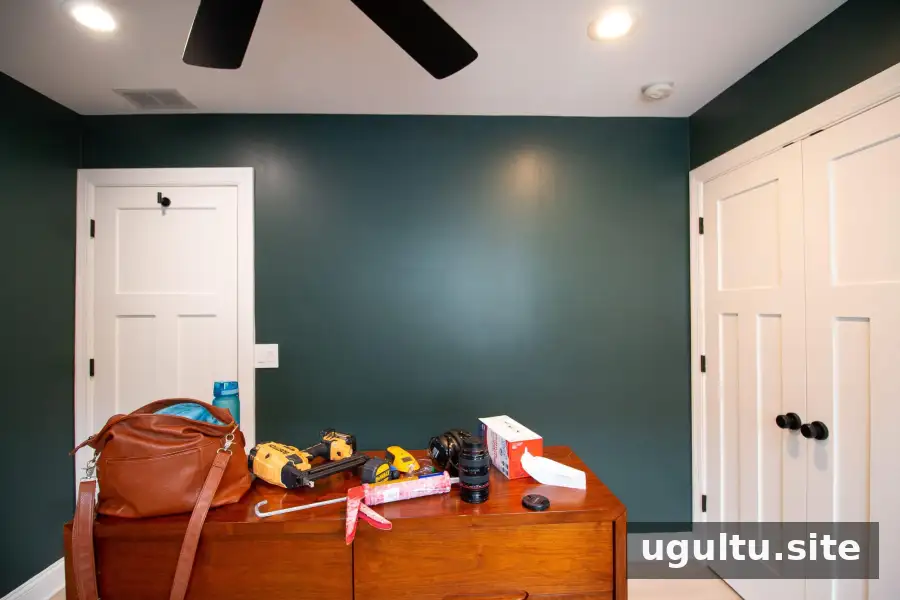
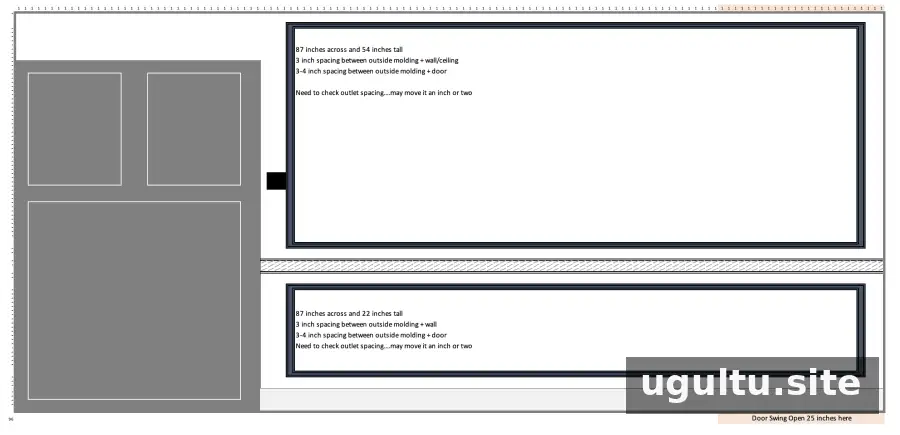
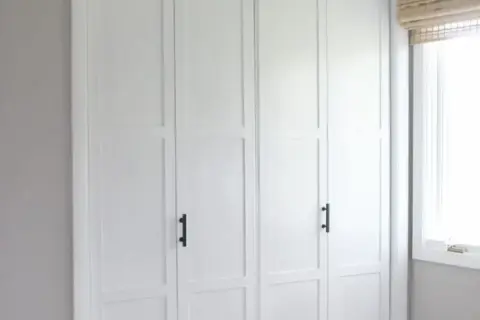
Near the entry, a larger box leaves room for artwork above a dresser without the frame crossing behind it. On the closet wall, one large box keeps the option open to add shelves or a gallery wall later.
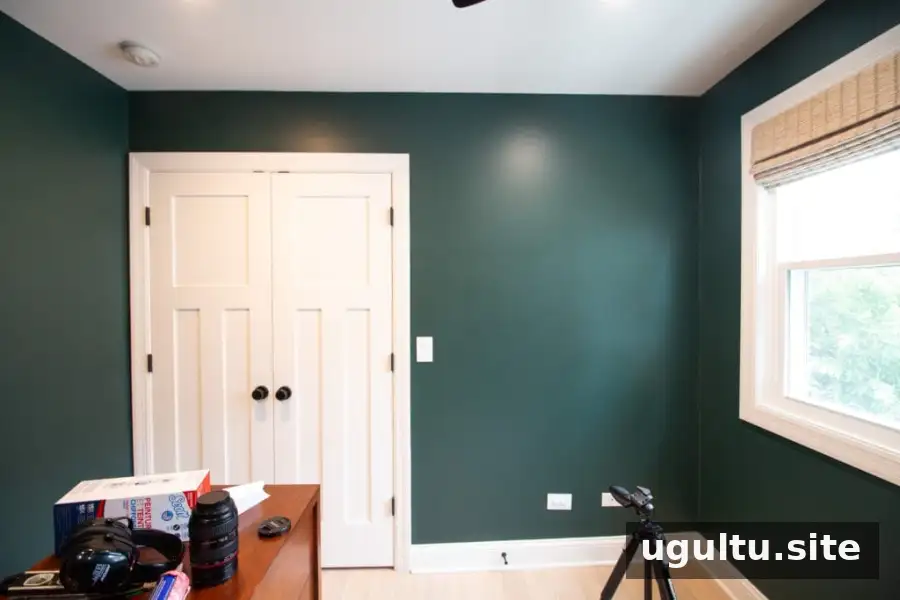
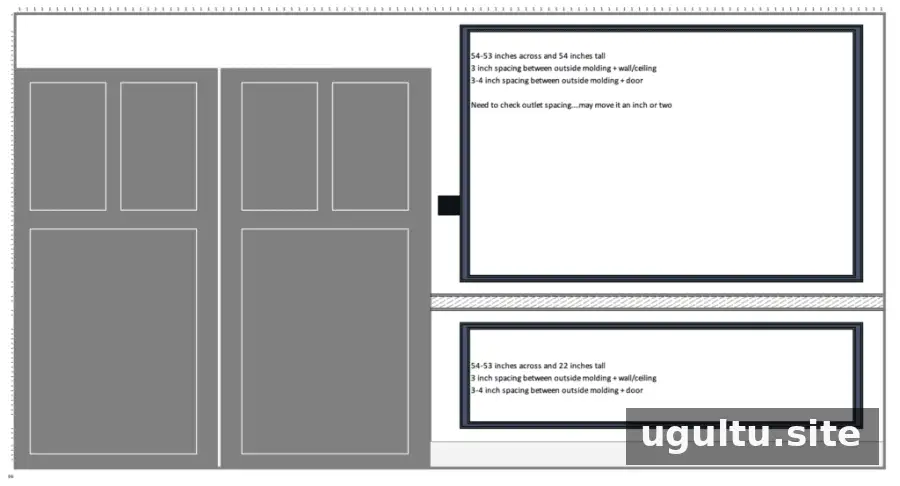
At the window, molding was left off the left side and above the opening to avoid conflict with curtains. Consider window treatments early so the trim does not end up hidden or crowded.
Install the Chair Rail
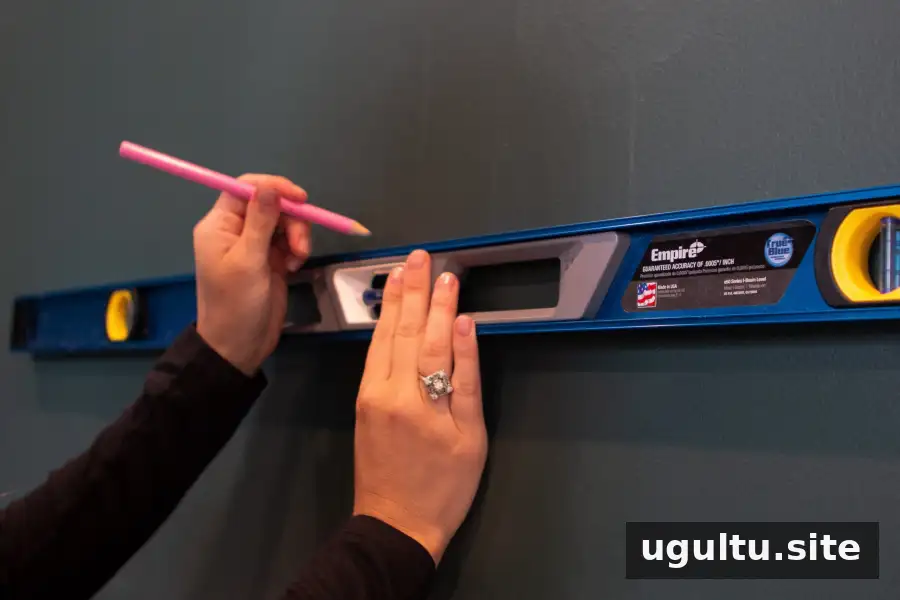
In this project, the chair rail was placed about 34 inches above the floor, aligning its bottom edge with the bottom of the window trim. Choose a height that suits the room, then use a level to draw one continuous line around the space. Measuring up from the floor separately on each wall can produce an uneven rail if the floors are not level.
Use a stud finder to locate and mark the studs along the rail. Apply construction adhesive to the back of each piece, then secure it with brad nails into the studs and at the ends. Follow the adhesive and tool manufacturers’ instructions, and use appropriate safety gear.


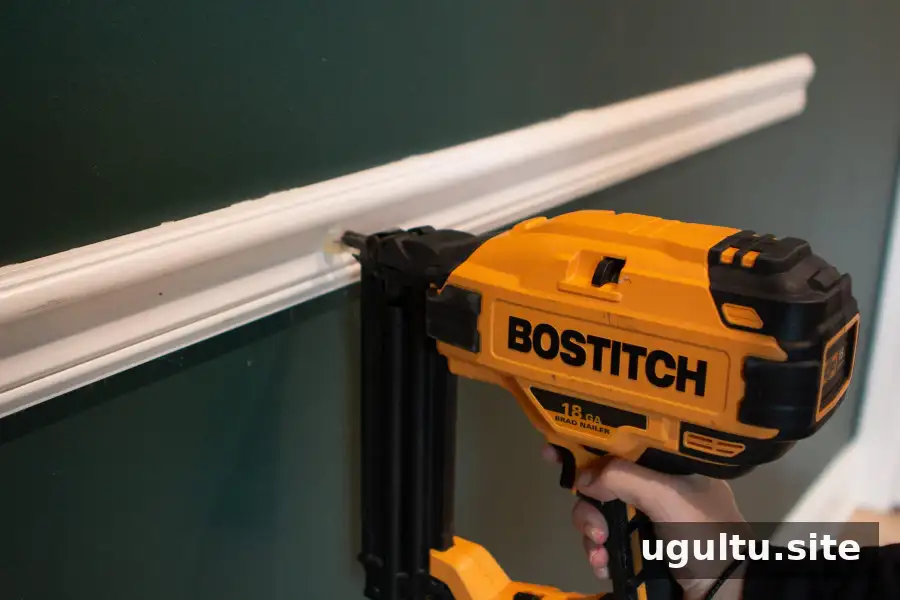
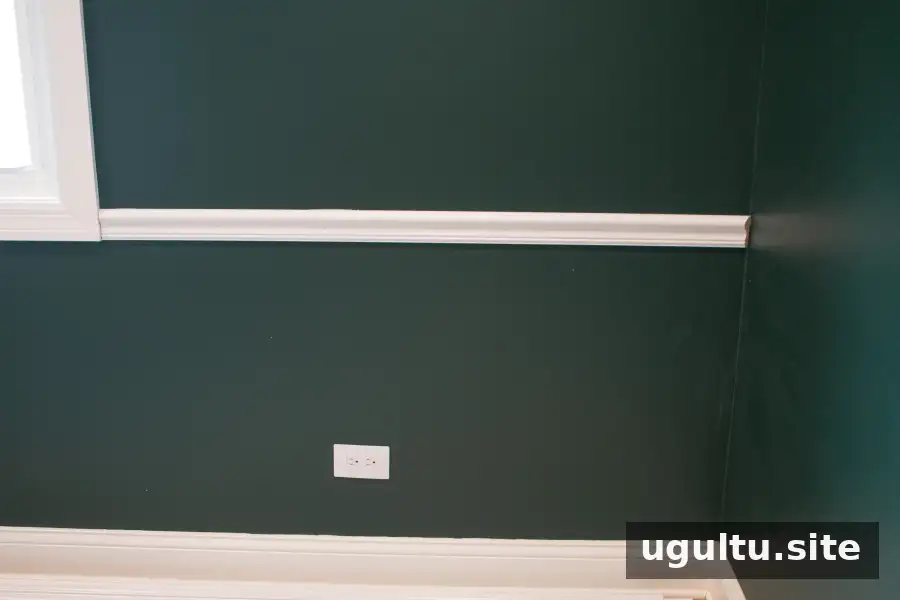
Make corner cuts
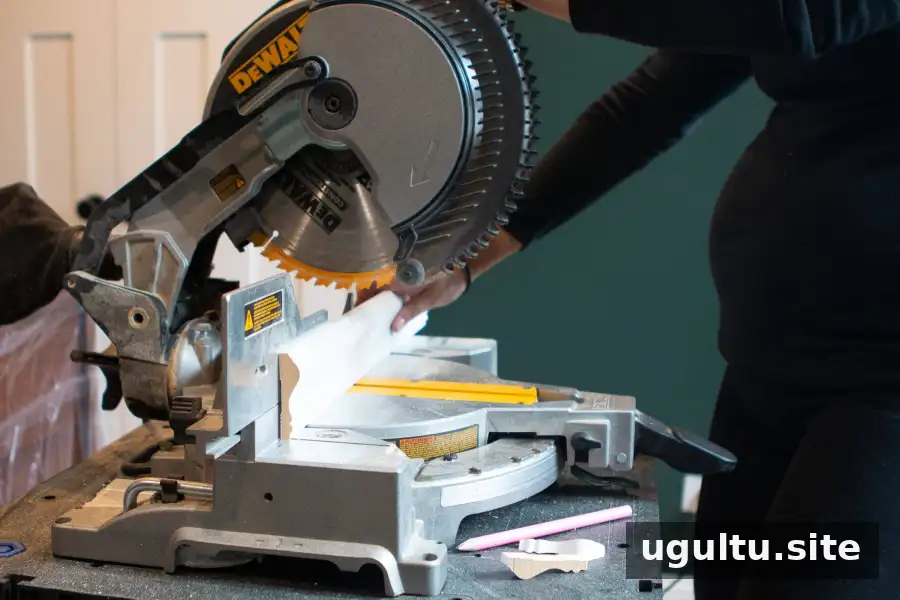
At corners, cut the chair rail with opposing 45-degree miters. The actual corner may not be exactly 90 degrees, so test the fit before fastening each piece. Small gaps can be addressed during finishing, but accurate cuts make the joints cleaner. Hold the molding in the same orientation on the saw that it will have on the wall.
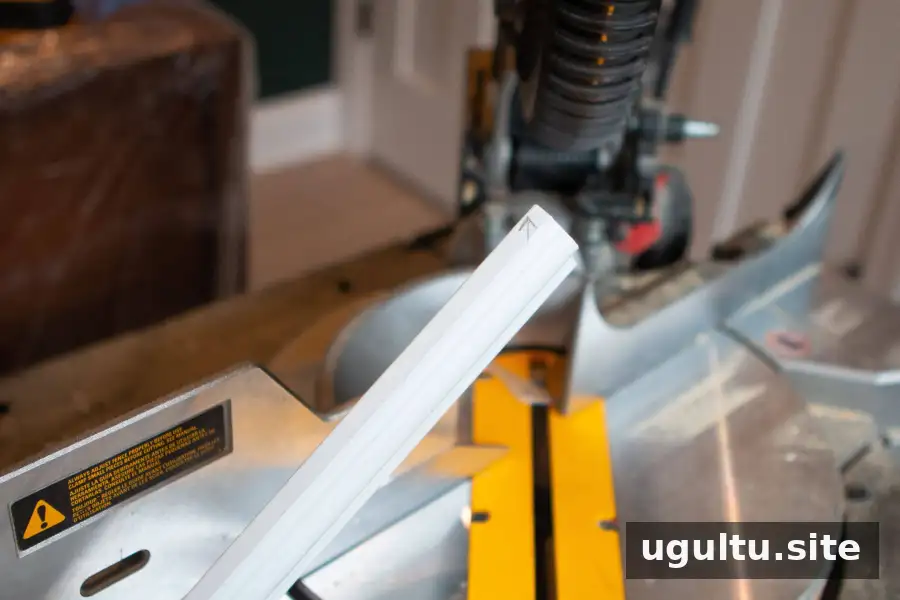
Mark the side of each piece that faces the wall and indicate the direction of the cut before moving it to the saw. Clear markings help prevent cutting the wrong end or angle.
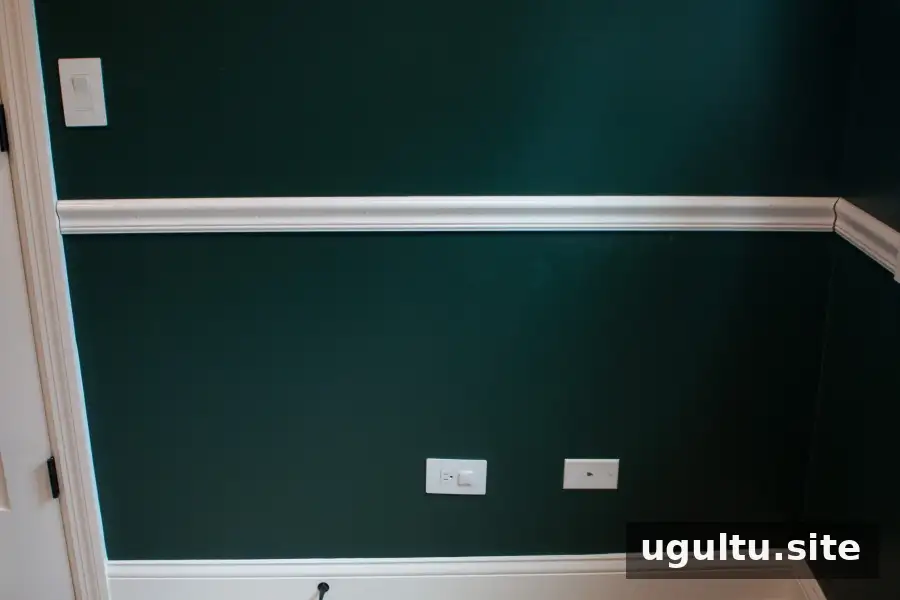
Once the chair rail is installed, confirm that it remains level before moving on to the frames.
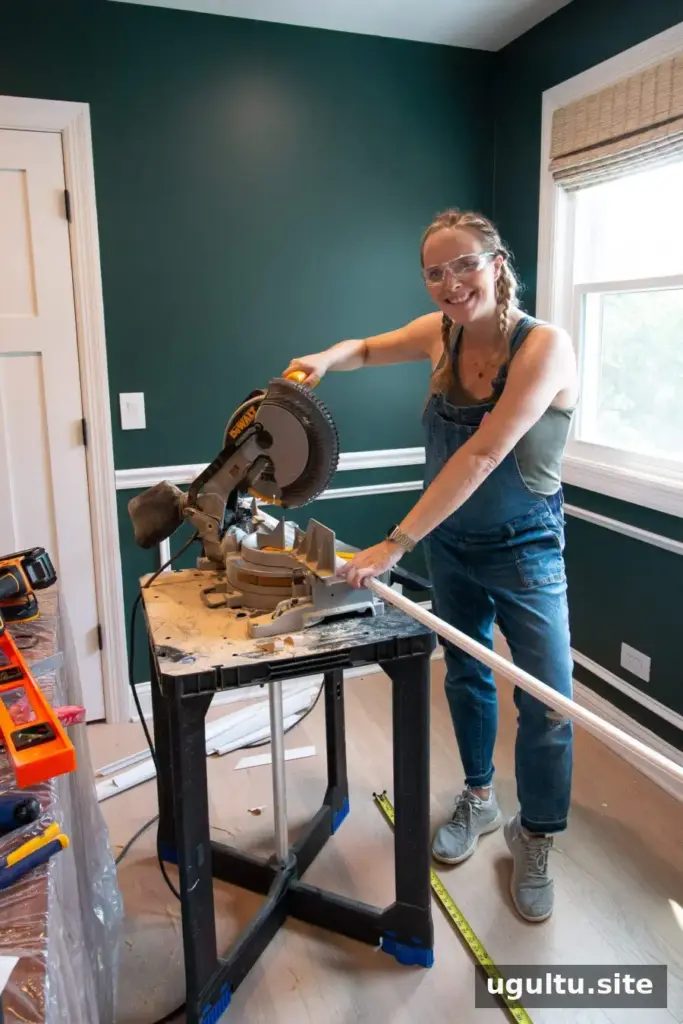
Cut and Attach the Picture Frame Molding
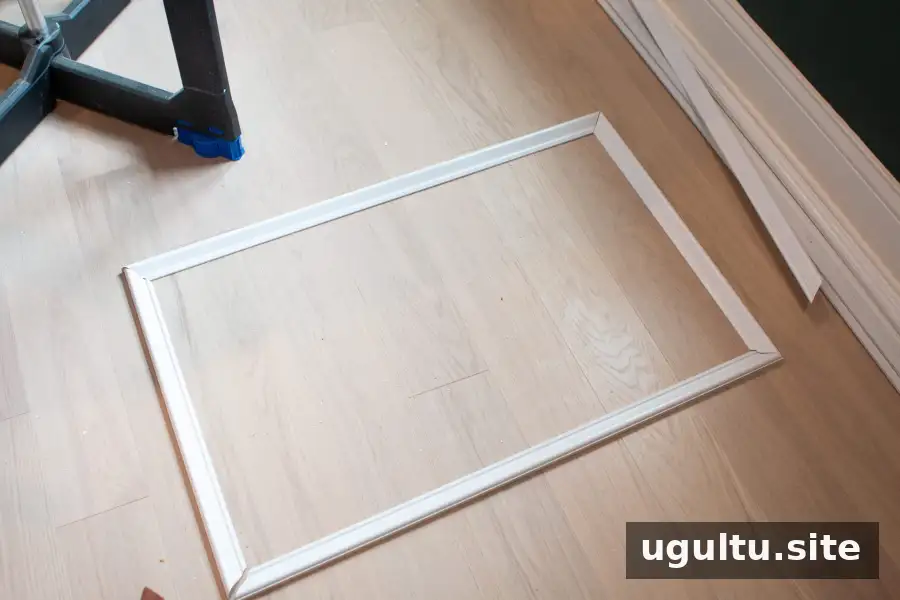
Each rectangular frame is made from four pieces of base cap molding, with a 45-degree miter at each end. Cut the pieces according to your layout. Preparing the cuts for one wall together can save repeated measuring, but label each piece by wall and position to keep the parts organized.
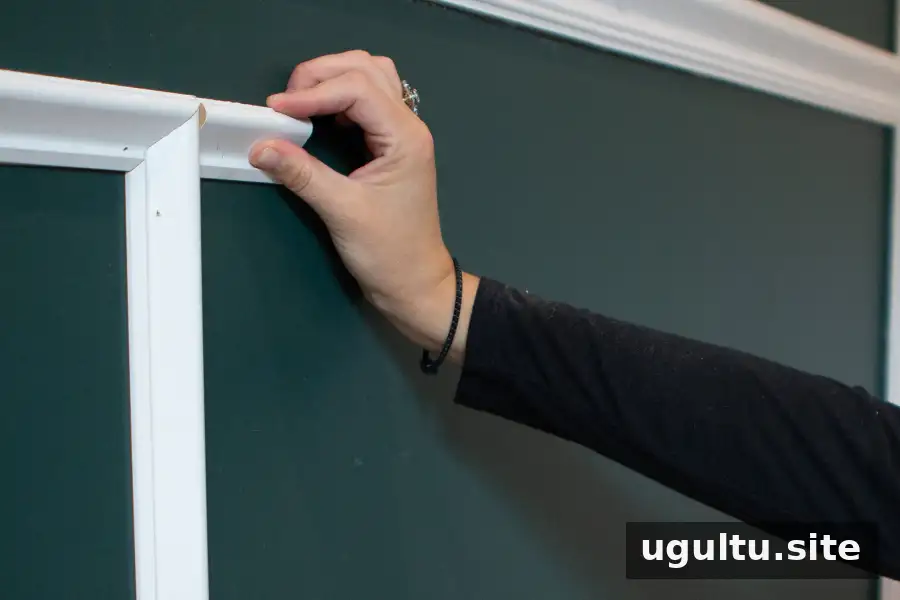
A spacer made from scrap wood can make the gaps between the frames and surrounding trim consistent. The example used three-inch spacing between the chair rail, frames, and baseboard. Confirm that spacing works with your wall dimensions before cutting a spacer.
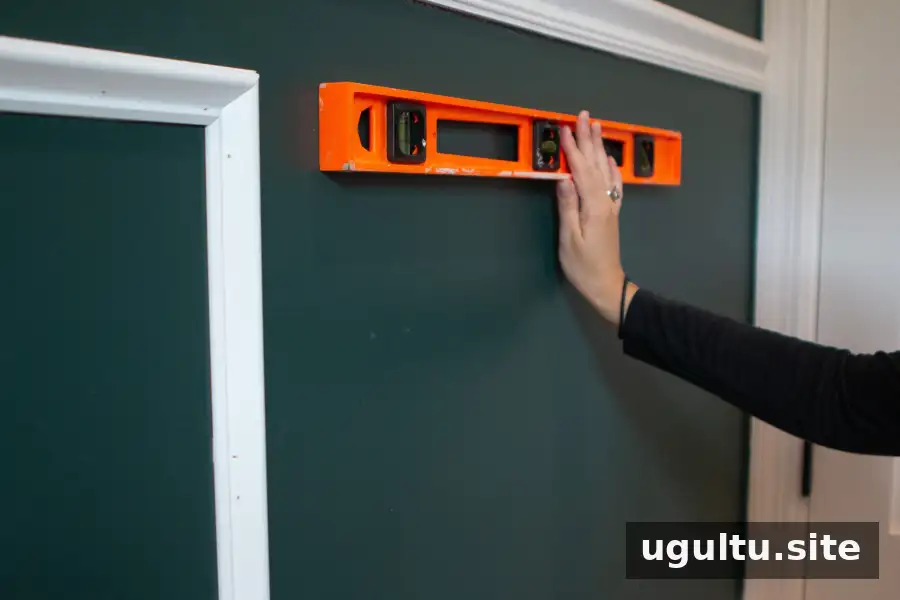
Mark the top position of each frame and draw a level line to guide installation. Apply adhesive to the molding and fasten it with brad nails.
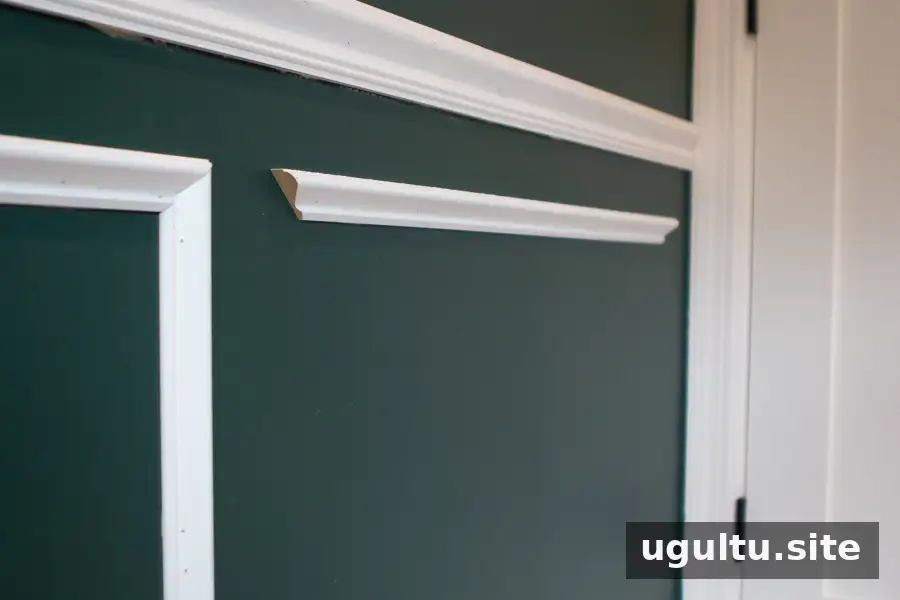
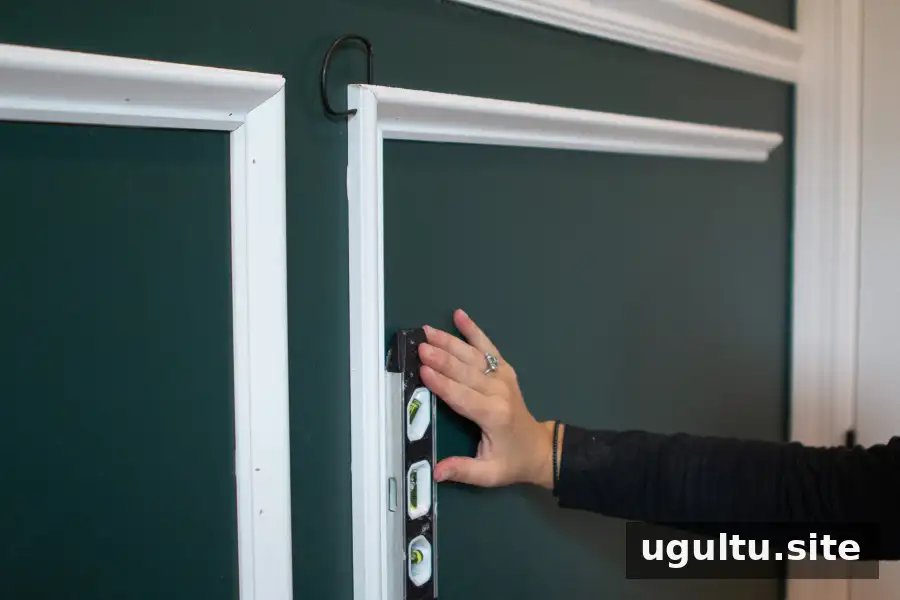
Corner clamps can help hold mitered joints together while you position the pieces. Start with the top piece, then add the sides and bottom, checking that the vertical pieces are straight. Leave the later pieces slightly loose until the corners align, then secure them once the fit looks right. Wipe away excess adhesive before it dries.
Fasten molding where there are no studs
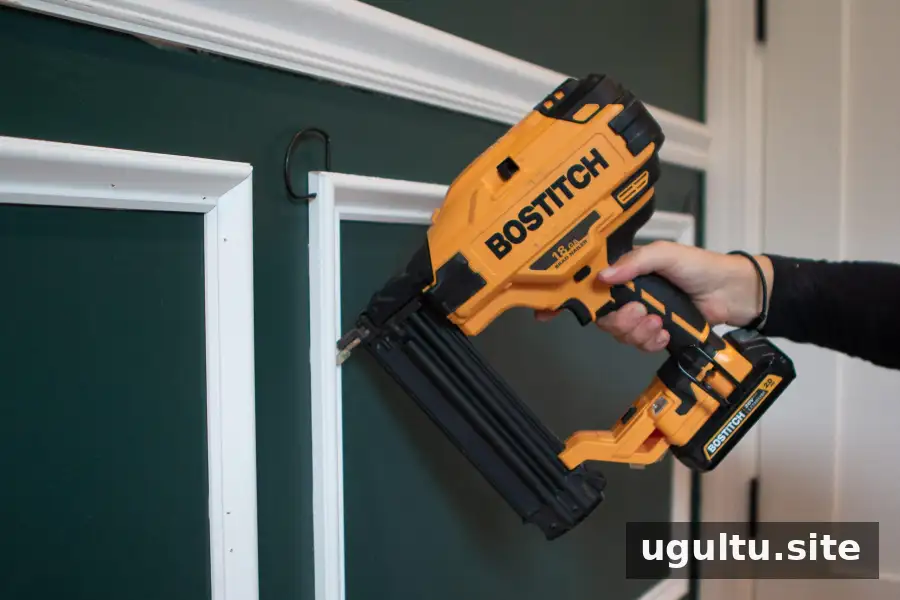
Frame molding will not always line up with wall studs. When nailing into drywall, angle the first brad downward, then add a second brad about an inch lower, angled upward. The opposing angles help hold the trim in place. Keep nails controlled and avoid placing them so close to a miter that the wood splits.
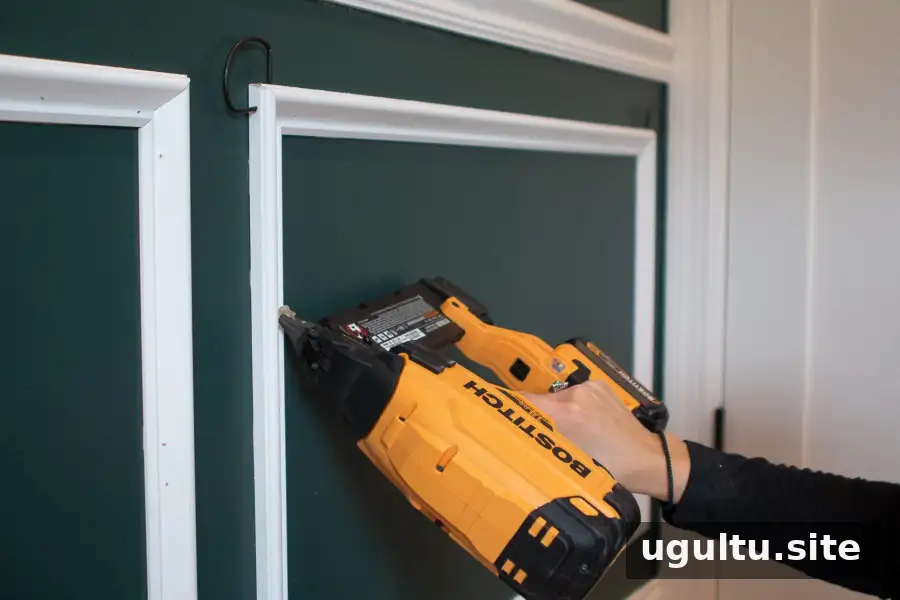
Work in a steady sequence
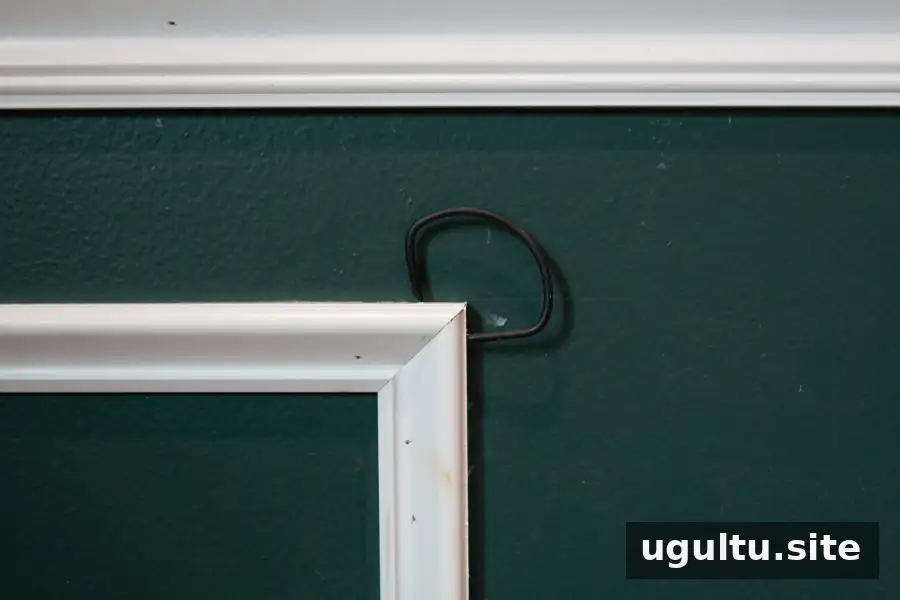
Install the lower frames first, then move to the upper ones. Check spacing and level as you go, especially when working above eye level. A helper can make holding and fastening long pieces easier, but allow enough time if working alone.
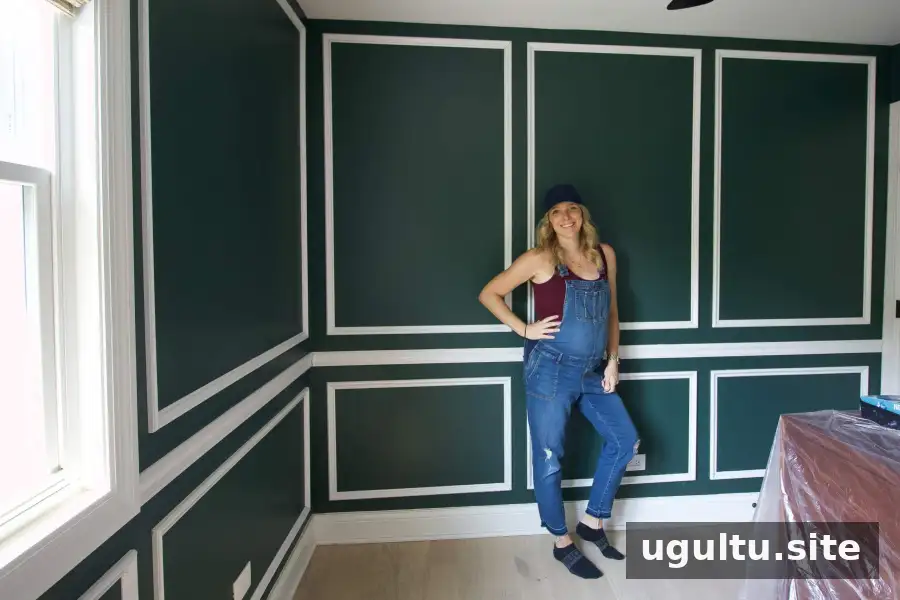
Fill, Caulk, and Paint
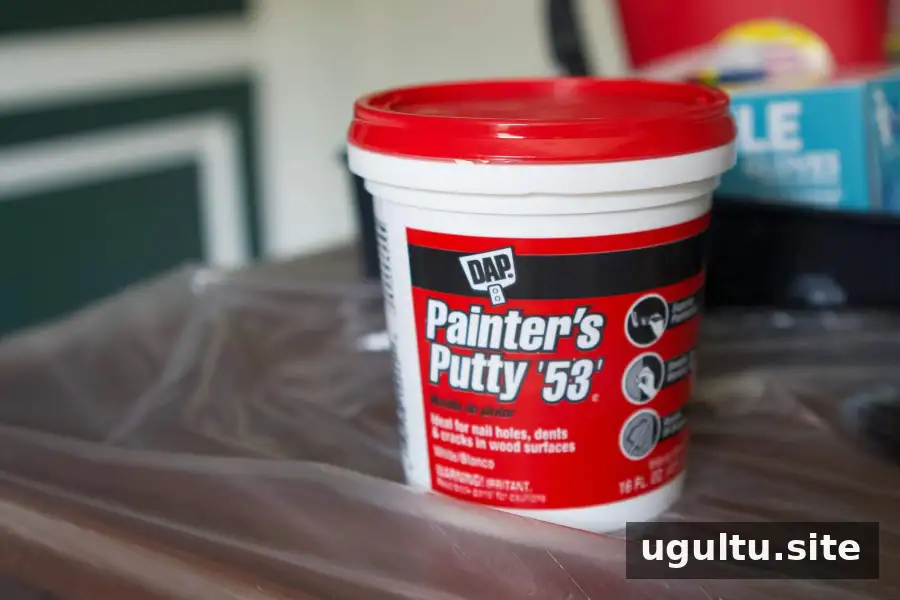
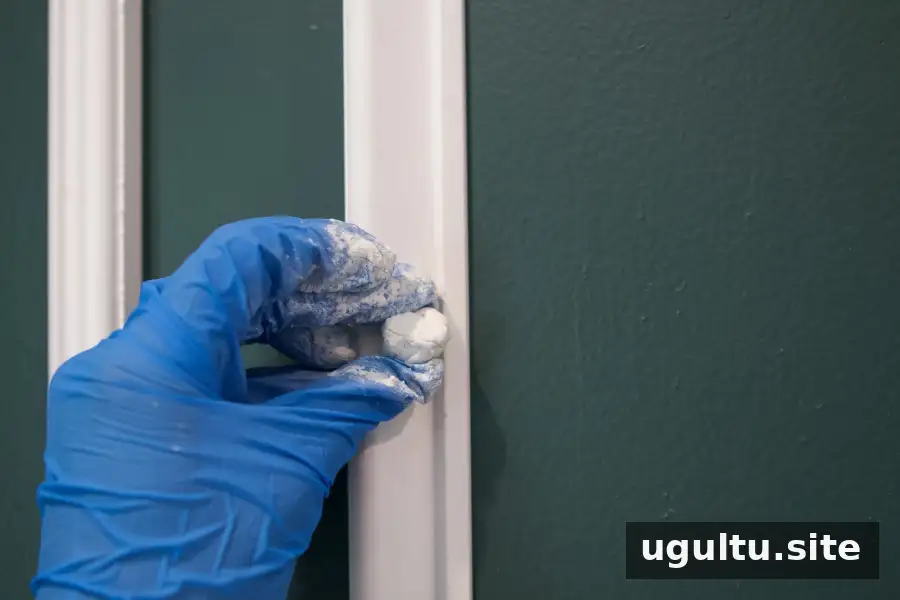
Fill nail holes with painter’s putty and let it dry before sanding smooth. Vacuum up sawdust and wipe down the walls and trim before caulking. Dust left behind can interfere with a neat finish.

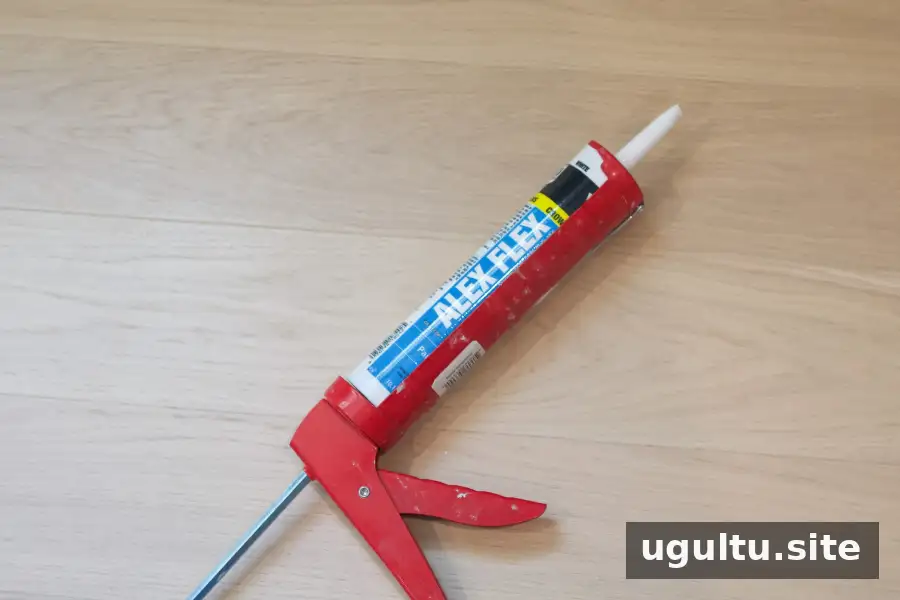
Apply caulk along the edges of the molding to close small gaps and create a seamless appearance. Cut the nozzle tip at an angle, starting with a small opening. Smooth the bead as you work and keep a damp cloth and paper towels nearby for cleanup. Follow the product label for drying time before painting.
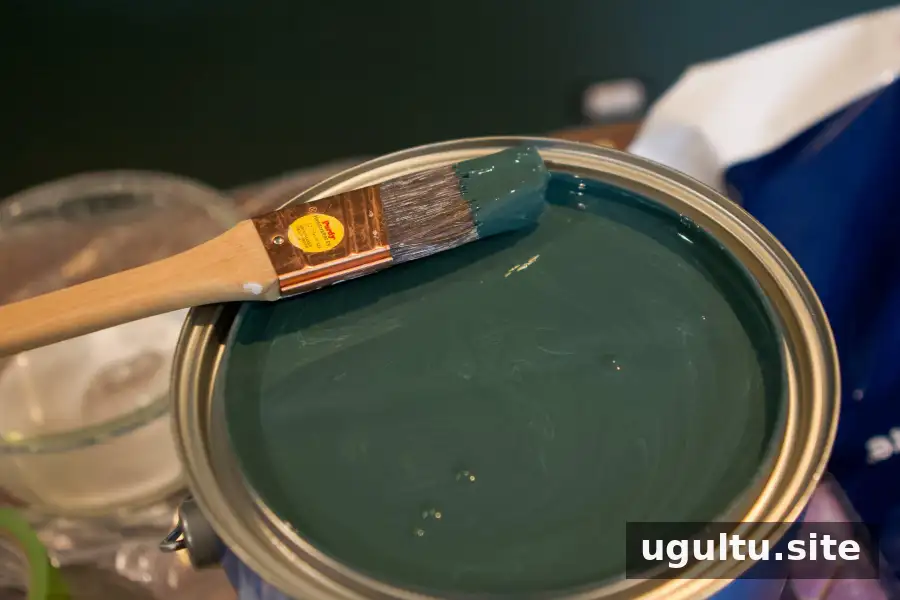
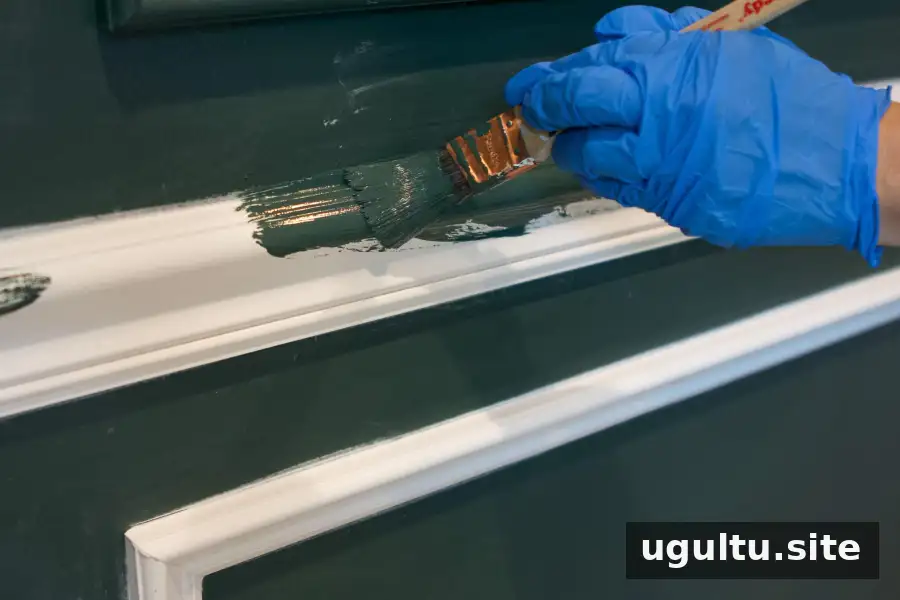
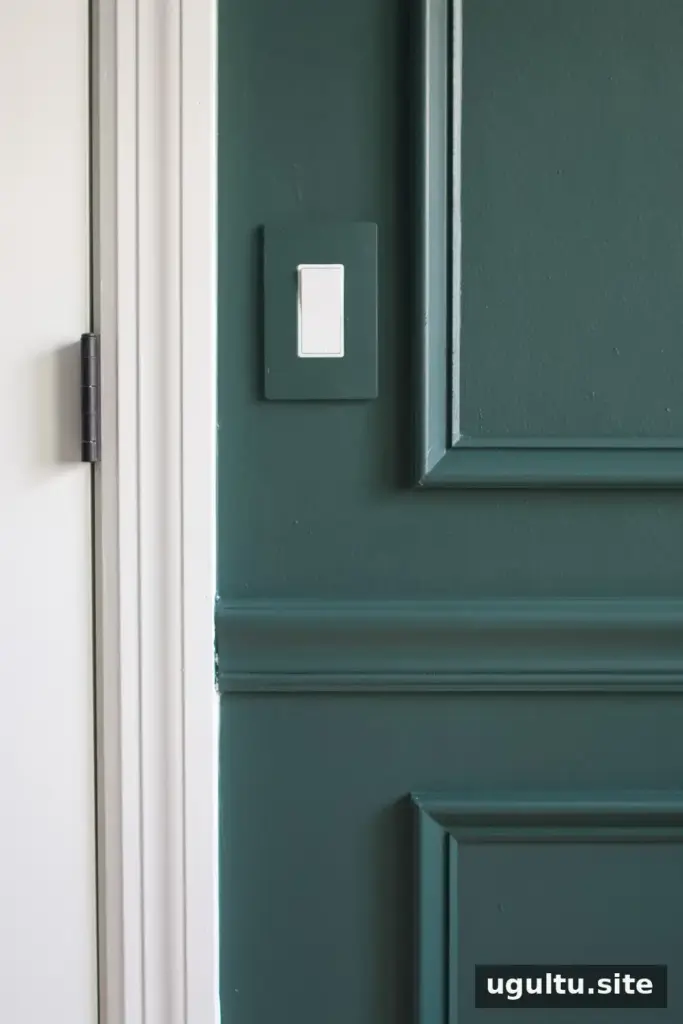
The project used Tarrytown Green in an eggshell finish on both the molding and the walls. Painting the molding first and then applying a final coat across the wall helped create an even, unified finish. Use paint in a well-ventilated area and follow the label’s safety and application directions.
Picture Frame Molding: The Finished Look
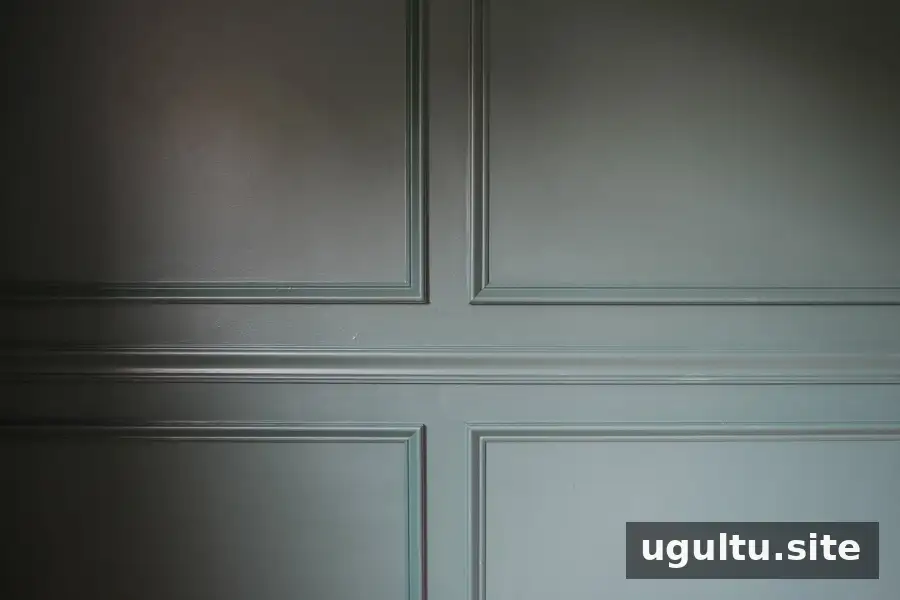
Painting the trim and wall the same color creates a subtle, cohesive effect, while contrasting colors make the frames stand out more. Choose the approach based on how prominent you want the architectural detail to be.
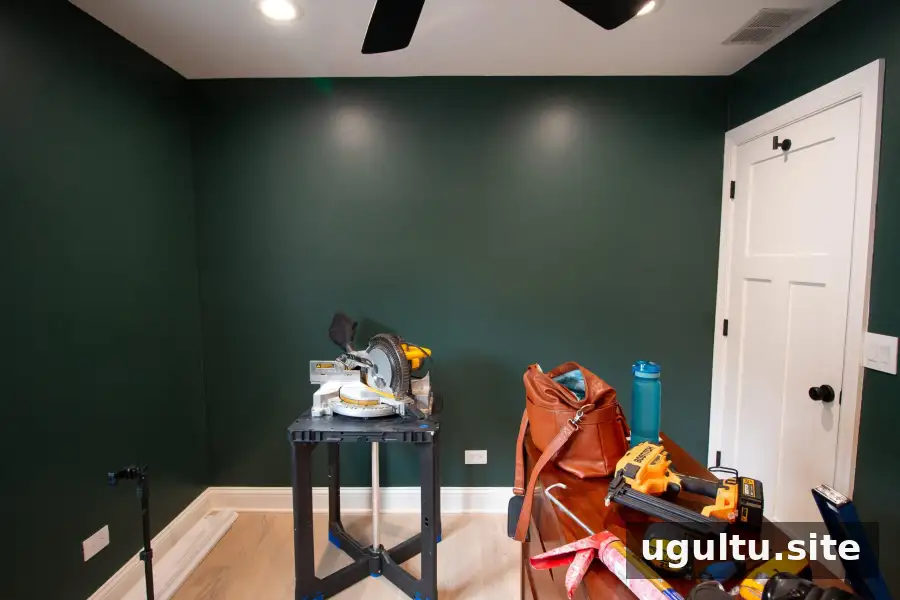
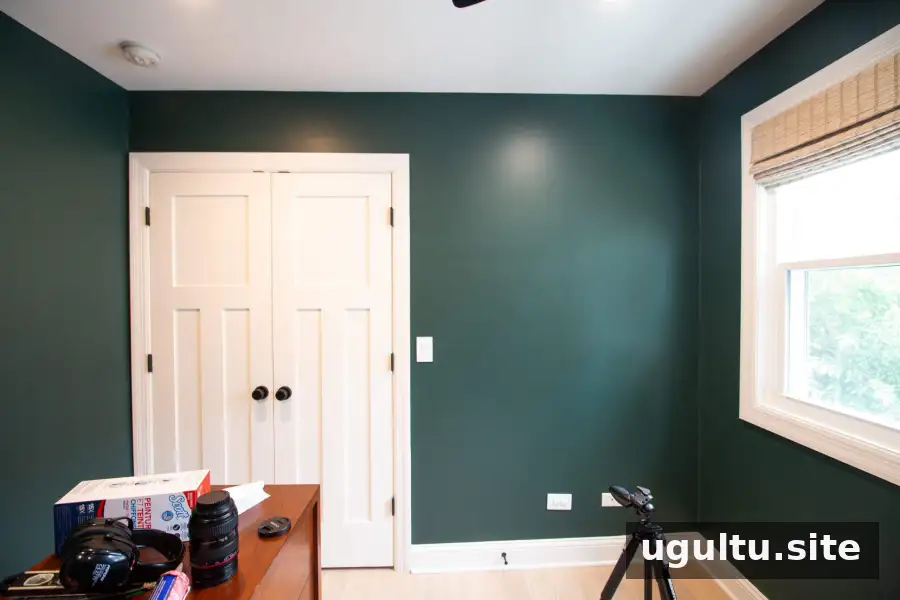
Before and After
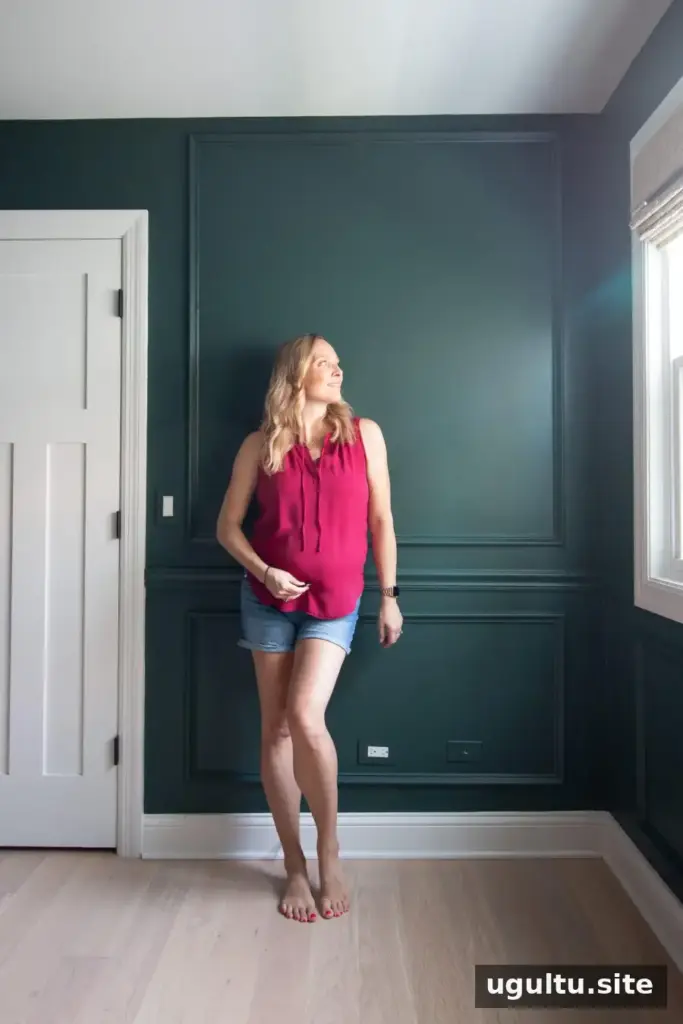
The completed nursery shows how decorative molding can add character without overwhelming a small room. Review each wall after installation to make sure the frames feel balanced around windows, doors, and planned furnishings.
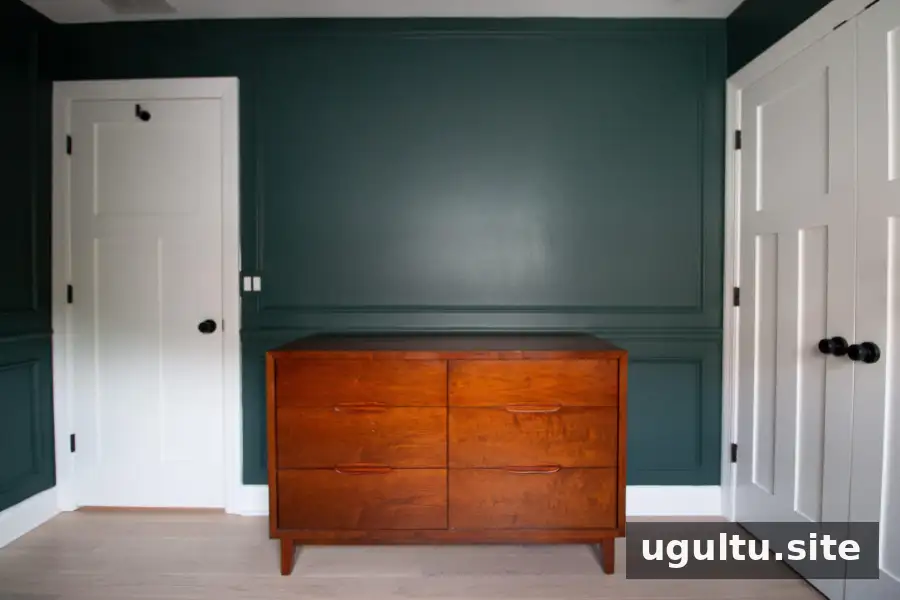
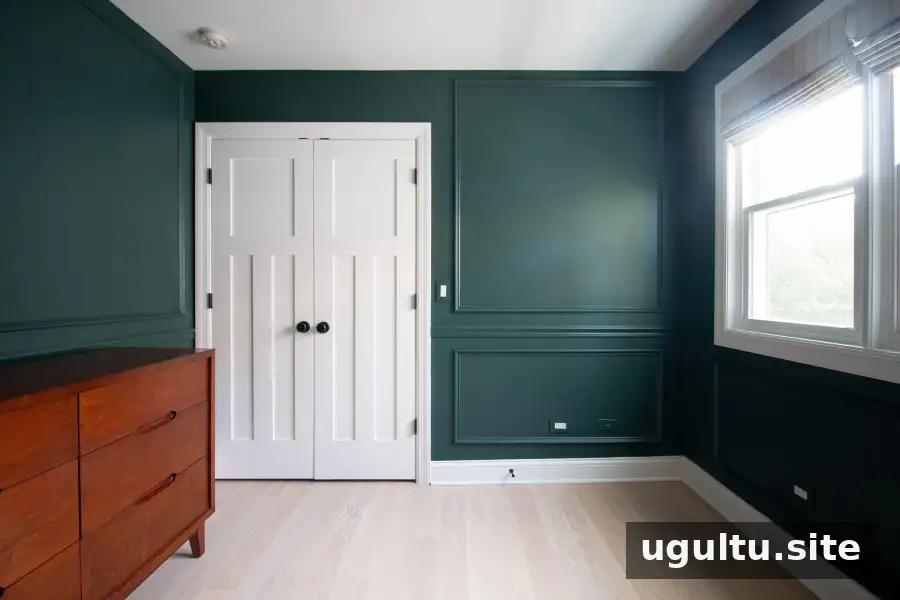
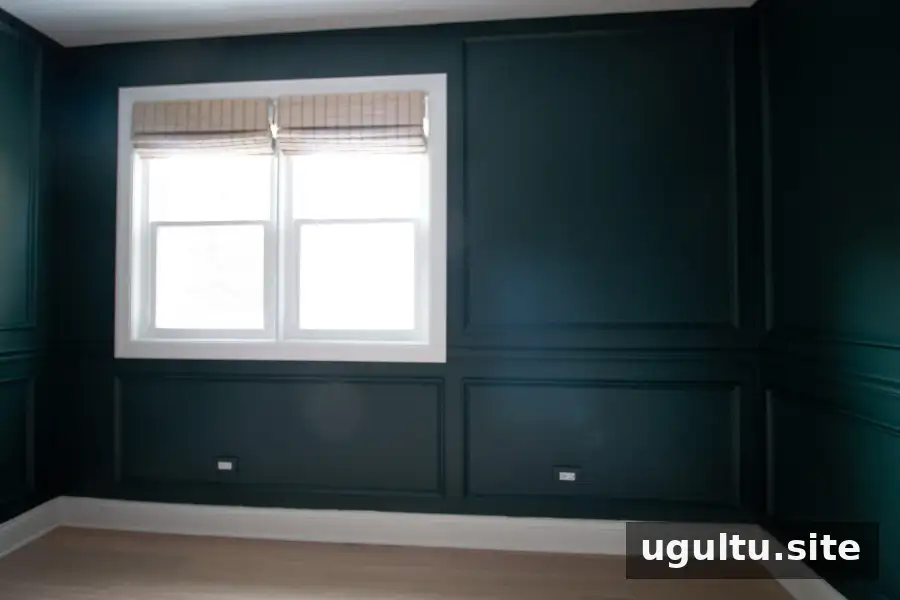
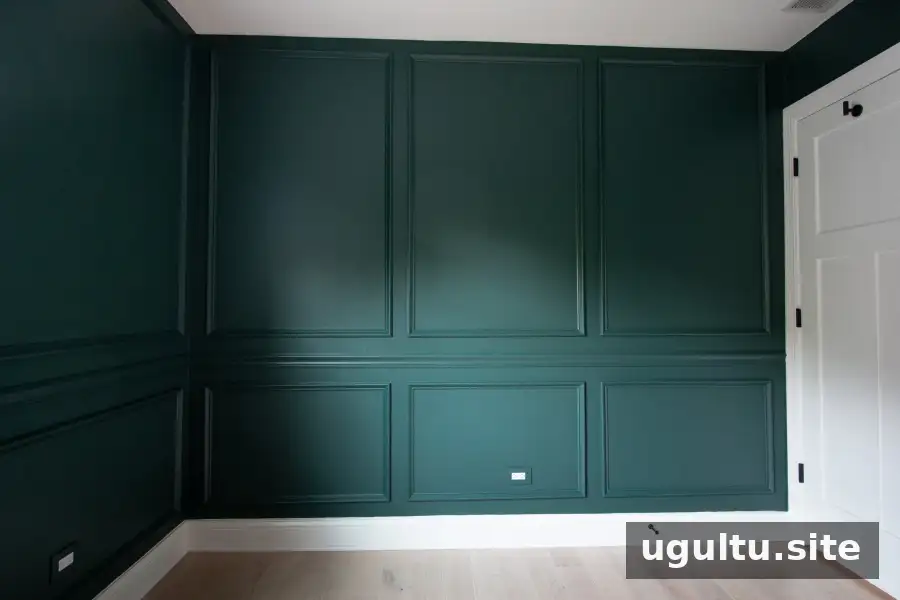
With advance planning, careful cuts, and thorough finishing, picture frame molding can give plain walls a classic, tailored look. Take measurements more than once, test miter joints before fastening, and leave enough time for caulk and paint to dry.
Author: Casey