admin
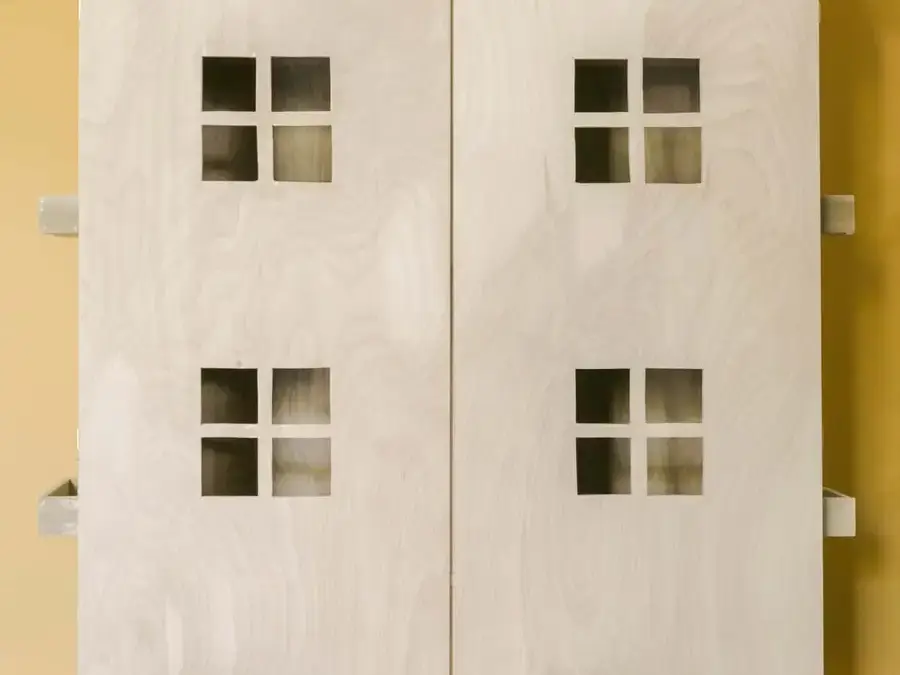
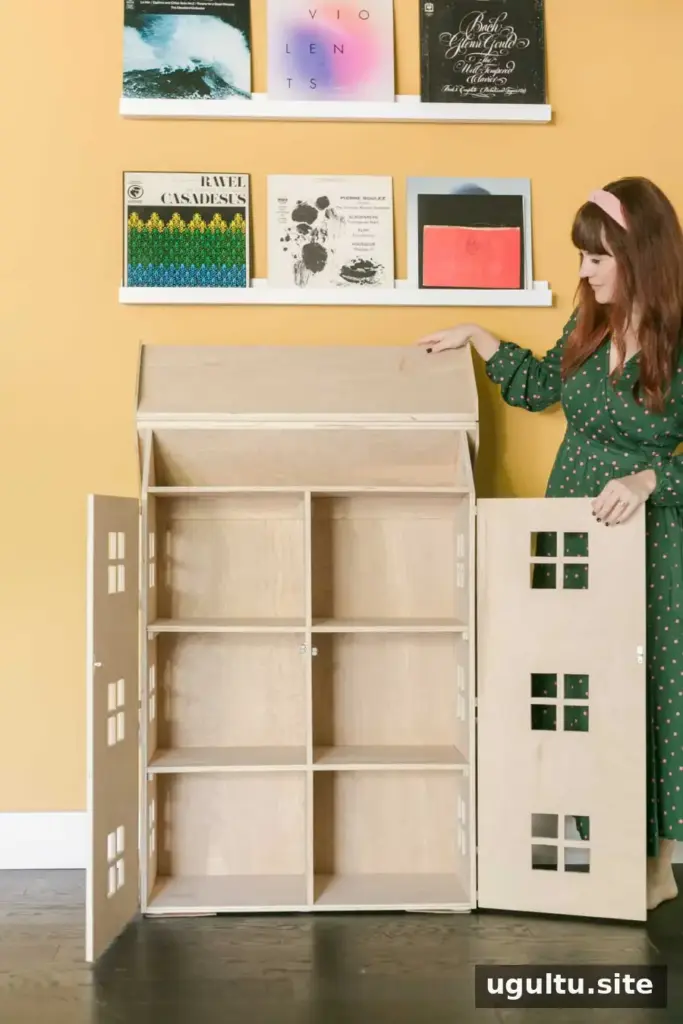
A DIY dollhouse can be designed to suit a child’s play space and interests. This four-foot-tall wooden version has two doors, six rooms, and a bonus room tucked beneath the roof. Its front roof panel opens for access, while the doors and windows add details inspired by a classic storybook-style house. Review the measurements and prepare all materials before cutting; careful planning helps the pieces fit together and makes assembly easier.
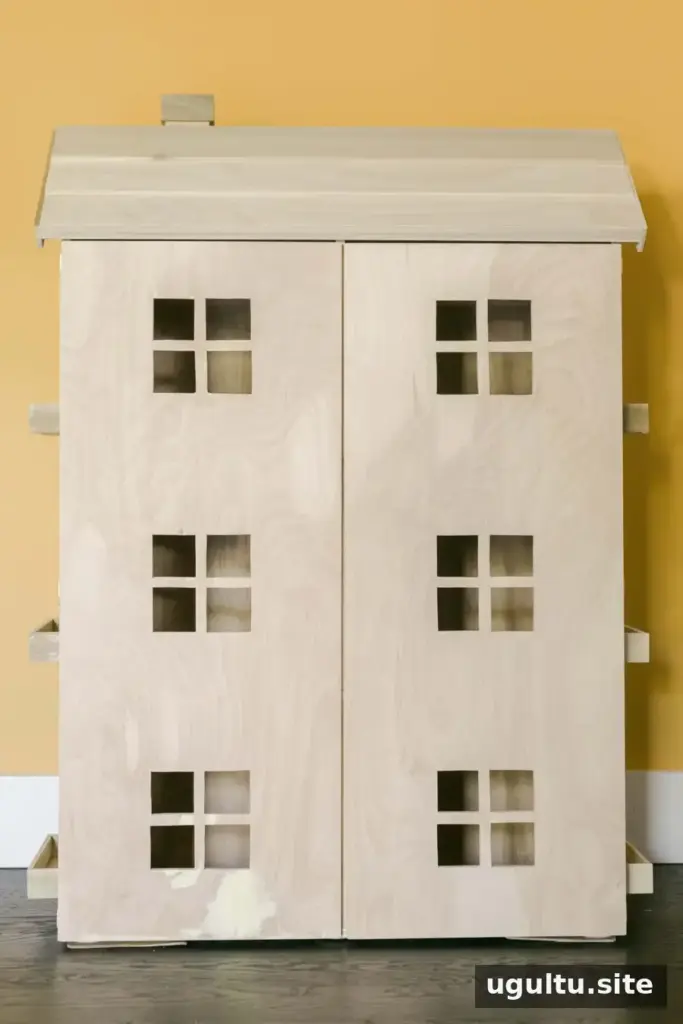
DIY Dollhouse Design and Materials
The finished house is approximately 30 inches wide, 4 feet tall, and 12 inches deep. The plan uses birch plywood for the body and poplar boards for trim, roof details, and window boxes. Gather the following materials:
- Six 1/2″ x 2′ x 4′ birch plywood sheets
- Fifteen 1/4″ x 2″ x 2′ poplar boards
- Six 1/4″ x 4″ x 2′ poplar boards
- One 3″ x 3″ x 3′ poplar board
- Small door hinges and two cabinet door catches
- Wood glue, clear flexible tape, and optional painter’s tape
Tools include a circular saw, miter saw, jigsaw, pneumatic nail gun and finish nails, tape measure, two wood clamps, 400-grit sandpaper, dust mask, and safety glasses. A 12-inch speed square is optional but helpful. Wear eye and respiratory protection, secure each workpiece, and follow the tool manufacturers’ instructions.
Cut and Assemble the Dollhouse Frame
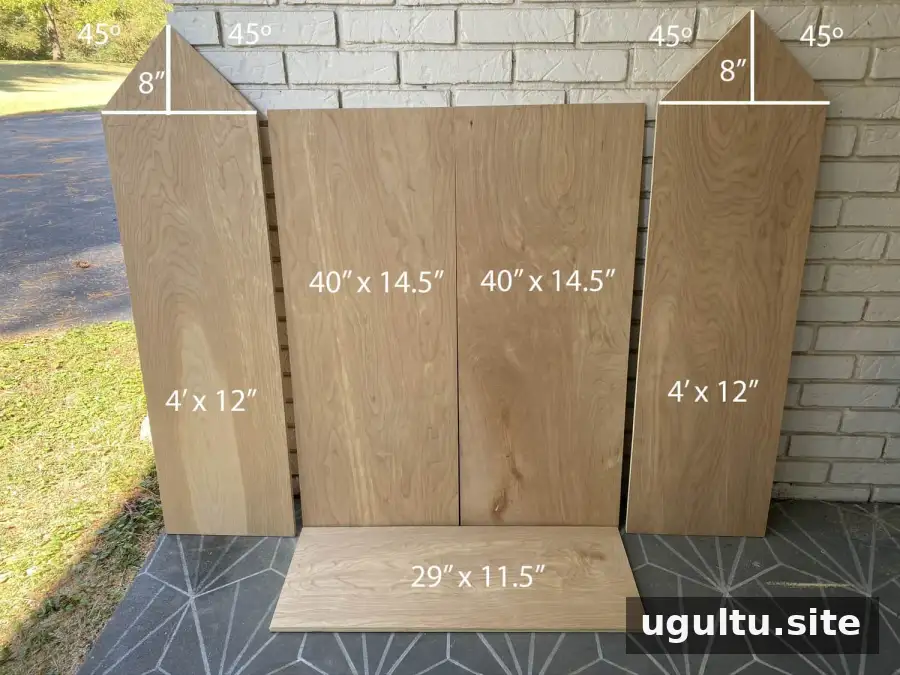
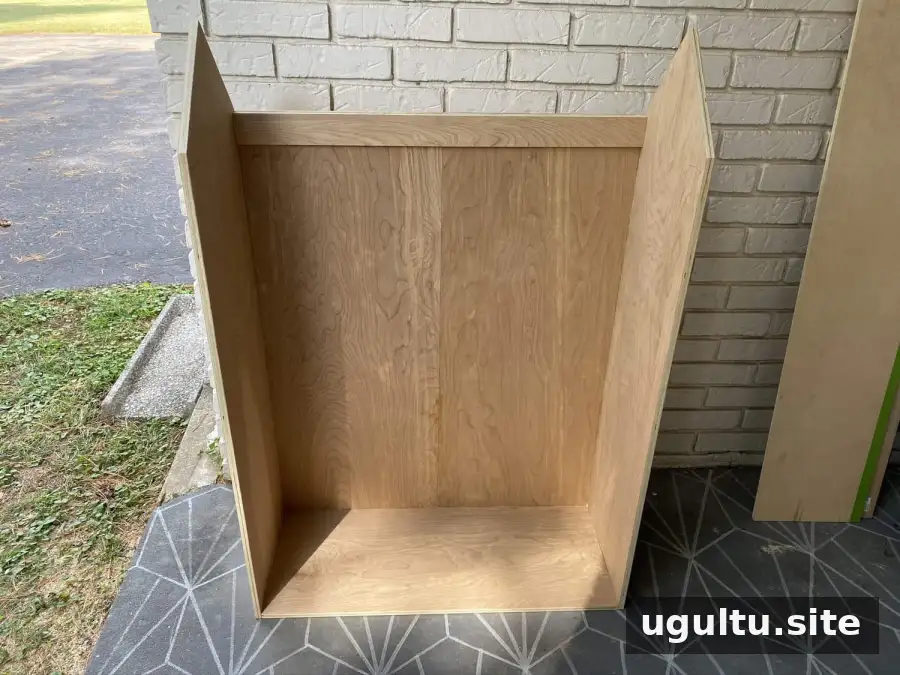
Cut the bottom panel to 29″ x 11″, the two back panels to 40″ x 14.5″, and the side panels to 4′ x 12″. Cut the top of each side at a 45-degree angle. The overall dimensions and individual cut sizes are listed as provided, so check the layout against your materials before making cuts.
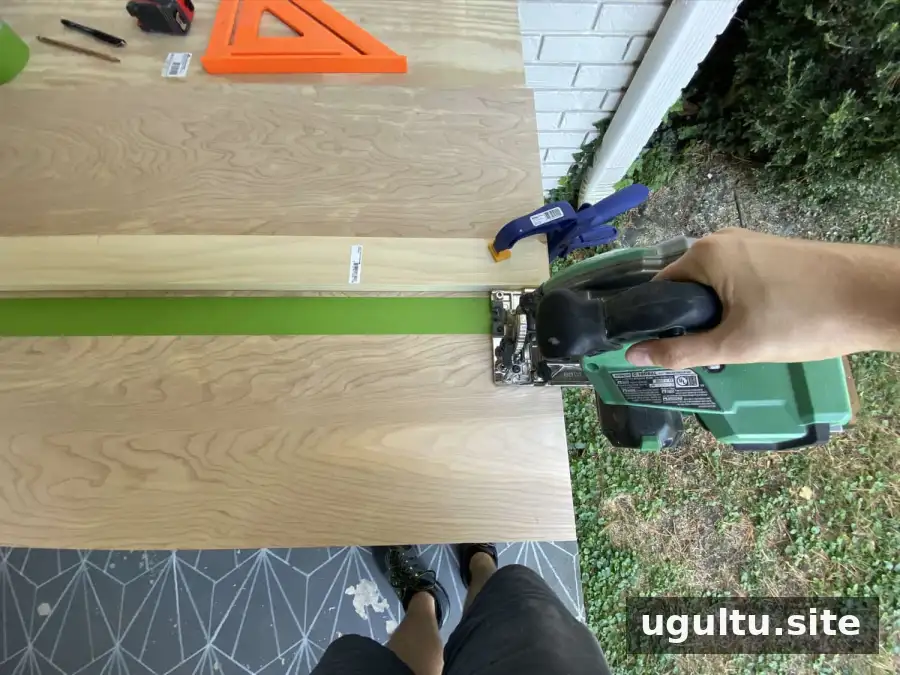
Support plywood on a workbench, clamp it firmly, and ensure the cutting path extends beyond the edge of the surface. Use a speed square to guide short straight cuts or clamp a straight scrap board as a guide for longer cuts. Painter’s tape along the cut line can help reduce splintering.
Join the sides and back to the edges of the bottom panel with wood glue and finish nails. A scrap strip across the top of the back panels can help hold them together during assembly, though it is optional.
Add Windows, Floors, and the Opening Roof
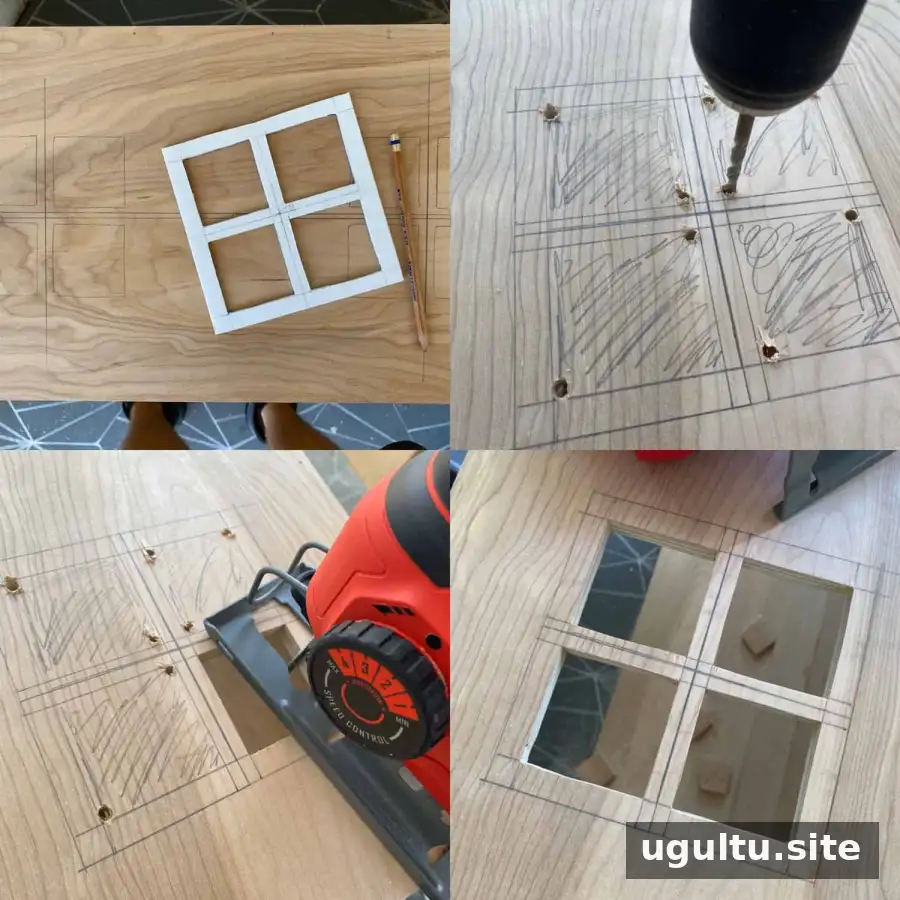
Make a reusable window template from foam board or cardboard. The example windows measure 2.5″ x 2.5″, with 1/2′ between squares. Mark six sets, with three on each side. Shade the areas to be removed so the cut lines are easy to distinguish. Drill starter holes in opposite corners, sized to fit the jigsaw blade, then cut out each opening.
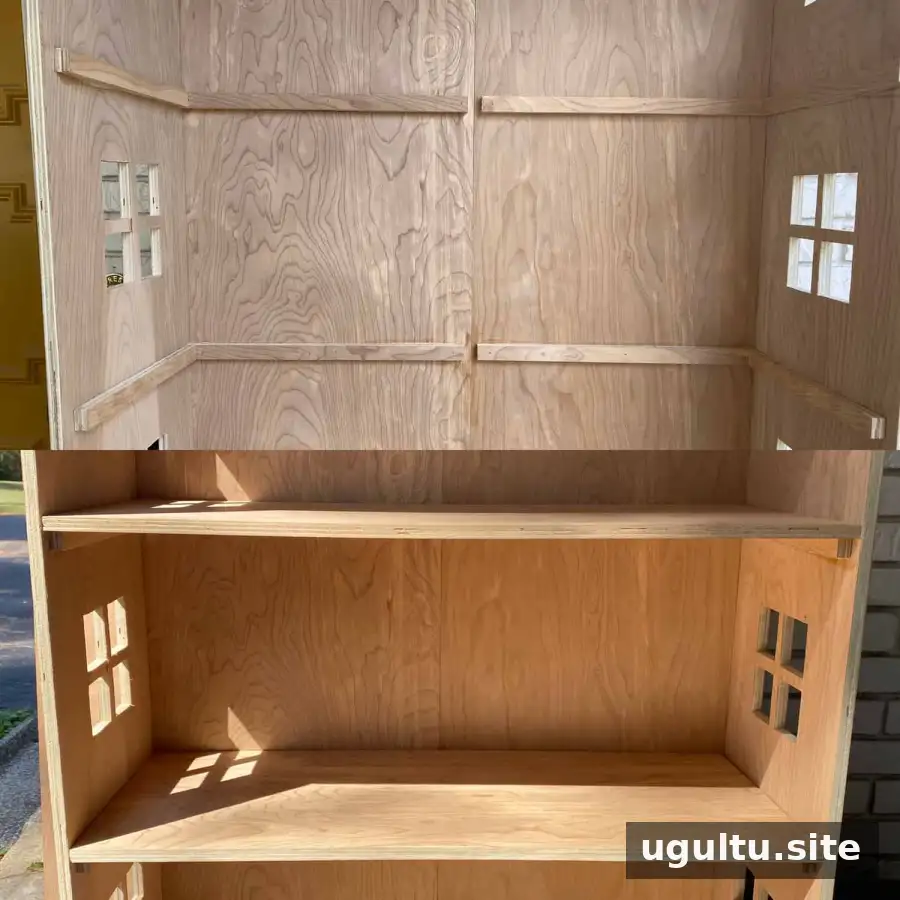
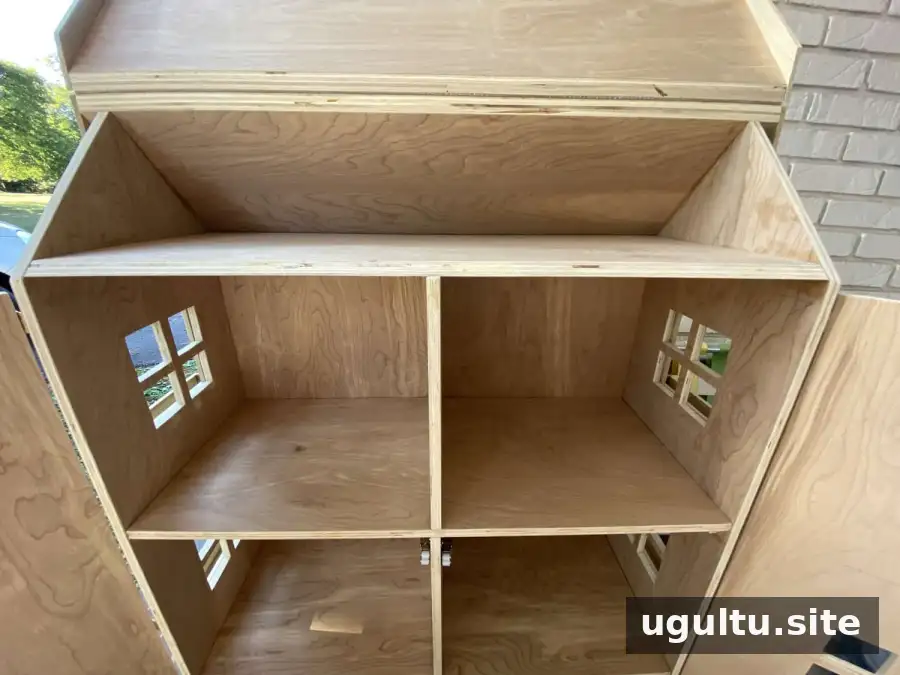
Cut 1-inch strips from plywood scraps to support the second and third floors. Glue and nail the supports to the inside walls, then fit two floor panels measuring 29″ x 11.5″ onto them. For the roof, cut two plywood panels measuring 32″ x 10″, with matching 45-degree edges so they meet at the peak. Set the saw to a 45-degree angle for these cuts.
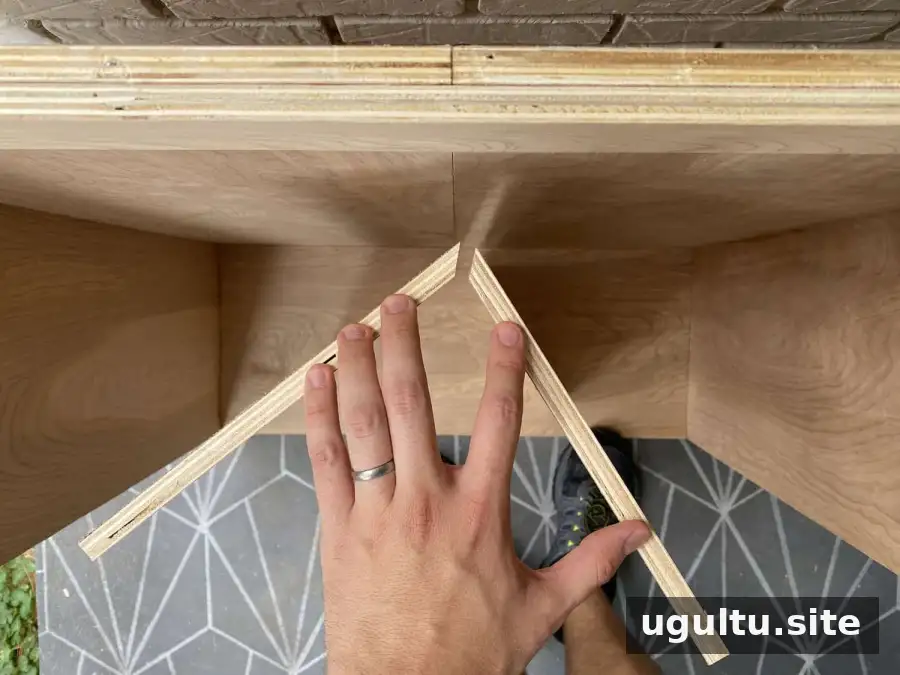
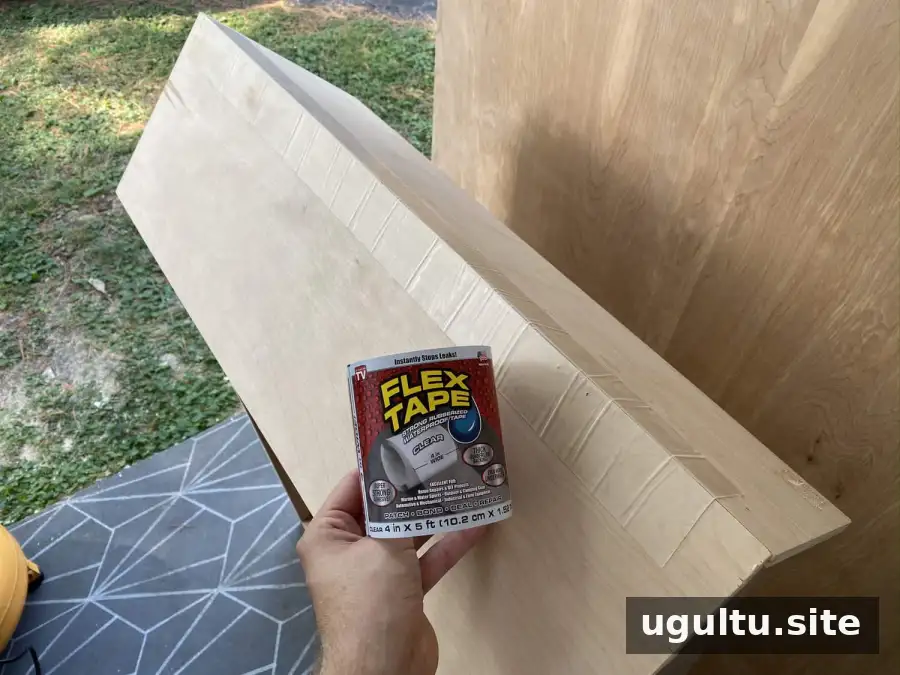
Place the roof panels on the house and run clear flexible tape along the peak to create a flexible connection. Glue and nail the rear roof panel in place, leaving the front panel free to open and close. This concealed hinge-like approach keeps the roofline simple while providing access to the bonus room.
Build the Chimney, Roof Details, and Doors
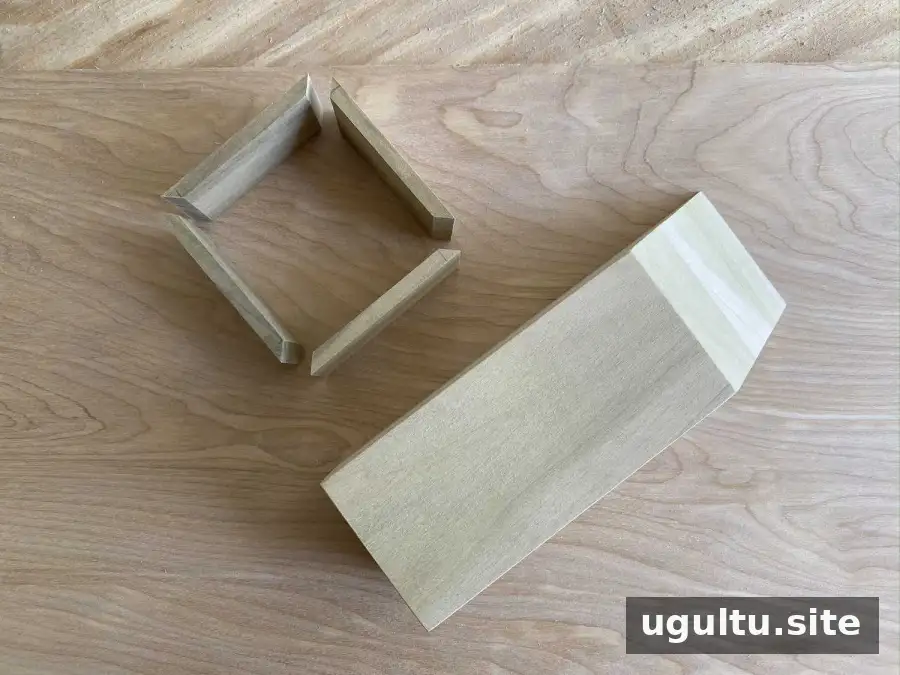
For the chimney base, cut a 5-inch piece from the 3″ x 3″ x 3′ poplar board, with a 45-degree angle on one side. Cut four 3-inch pieces from a 1/4″ x 2″ x 2′ board, adding 45-degree angles on both ends to form the chimney top. Attach these pieces, then glue and nail the chimney to the back of the dollhouse.
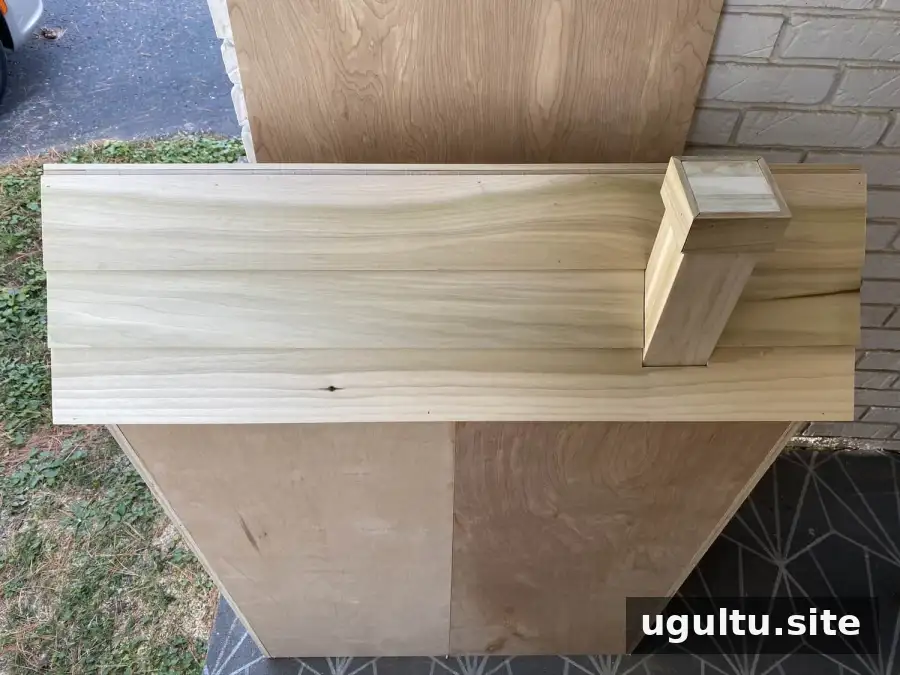
Cut the six 1/4″ x 4″ x 2′ poplar boards to 32 inches for the roof shingles and attach them from the lower edge upward. On the back roof, mark and cut around the chimney. Drill starter holes at the corners of each marked section before using the jigsaw.
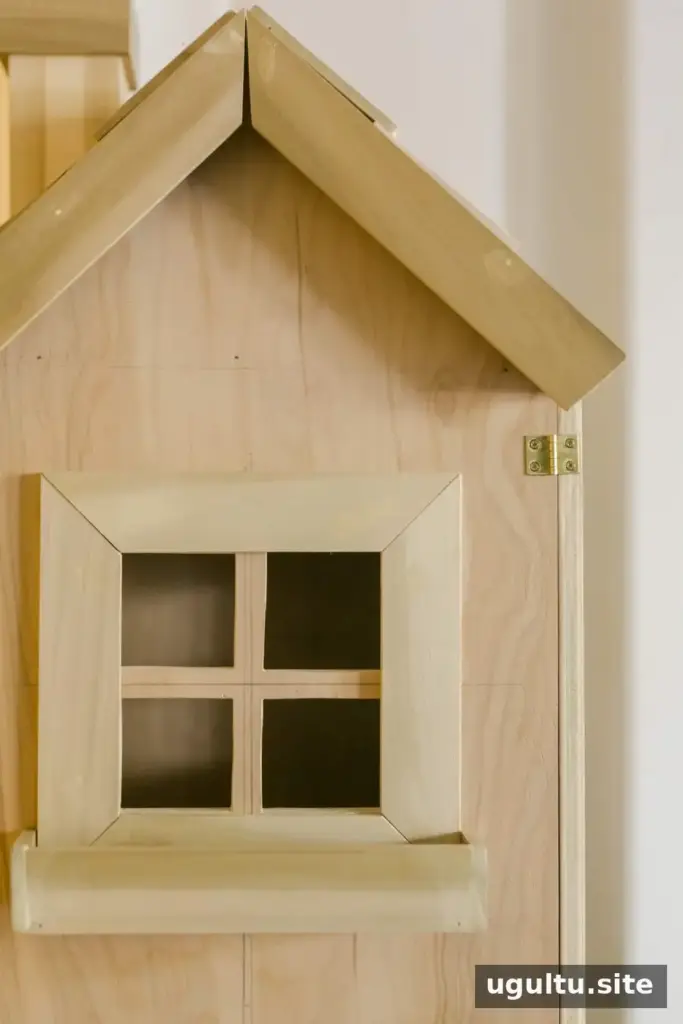
Use the 1/4″ x 2″ x 2′ boards to make 6-inch window-trim pieces with 45-degree ends. Glue the trim around all six windows. Cut 10-inch pieces with a 45-degree cut on one end for the roof trim. To smooth window interiors, attach 400-grit sandpaper to a small scrap of wood and sand carefully.
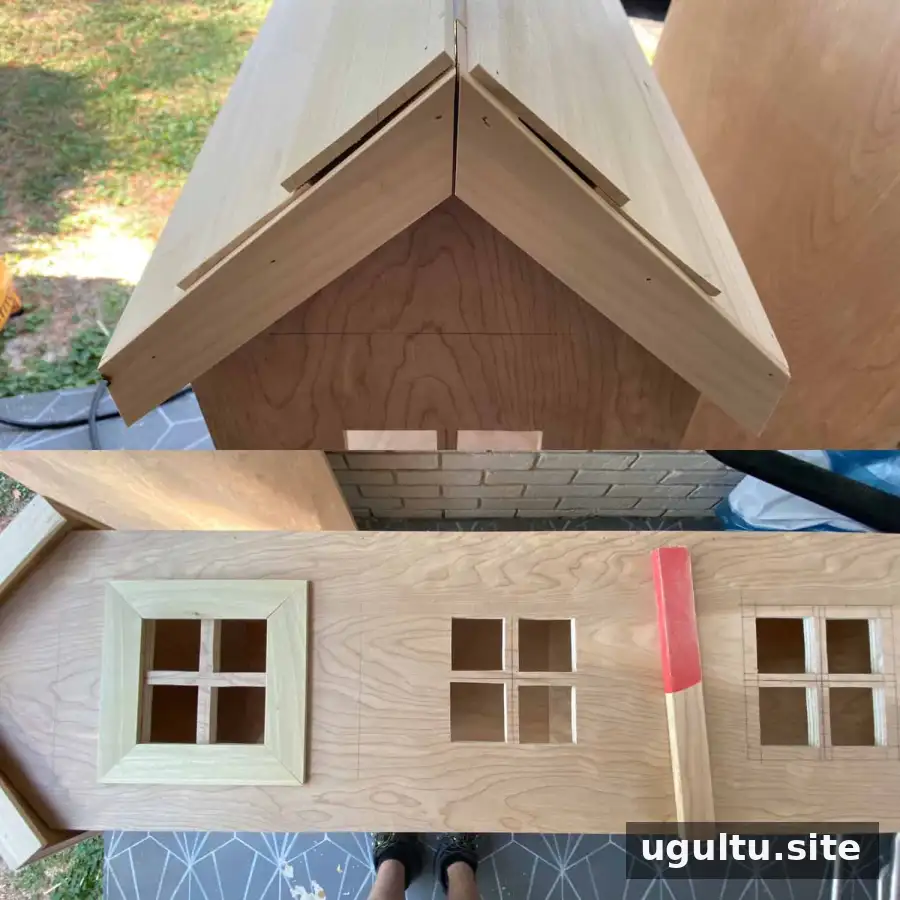
Cut two door panels from plywood, each 40″ x 15″, and cut six window openings using the same template and jigsaw method. Attach the doors with small hinges. Optional trim can be added around their windows; the example design leaves them plain.
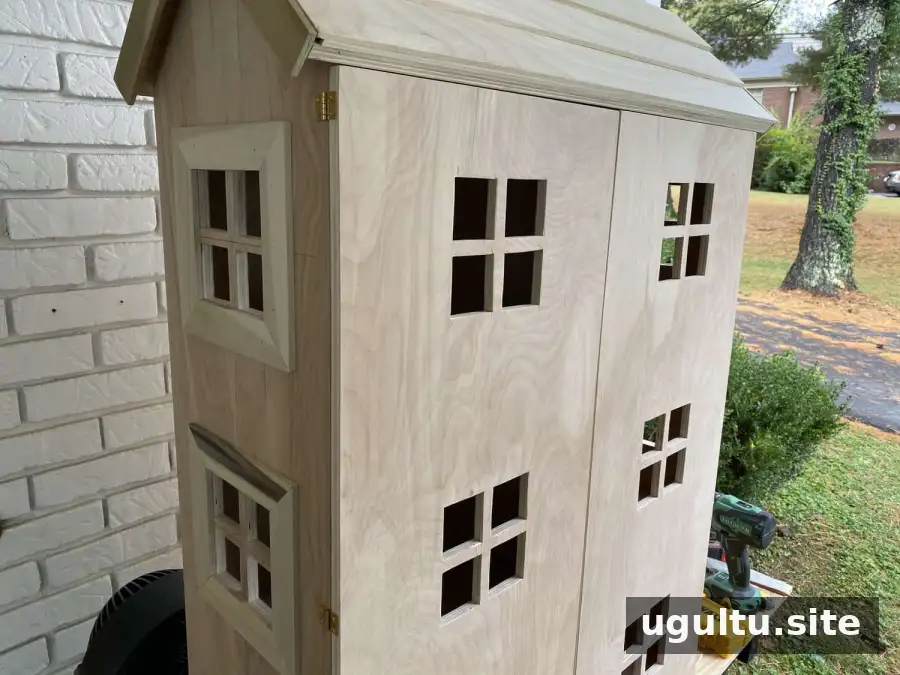
Finish the Rooms and Window Boxes
Make three room dividers measuring 12″ x 13 1/4″. Glue and nail one divider into the middle of each floor to create six separate rooms. Cut another 29″ x 11.5″ floor panel, with a 45-degree cut on one side to match the roof angle and form the upper hidden room.
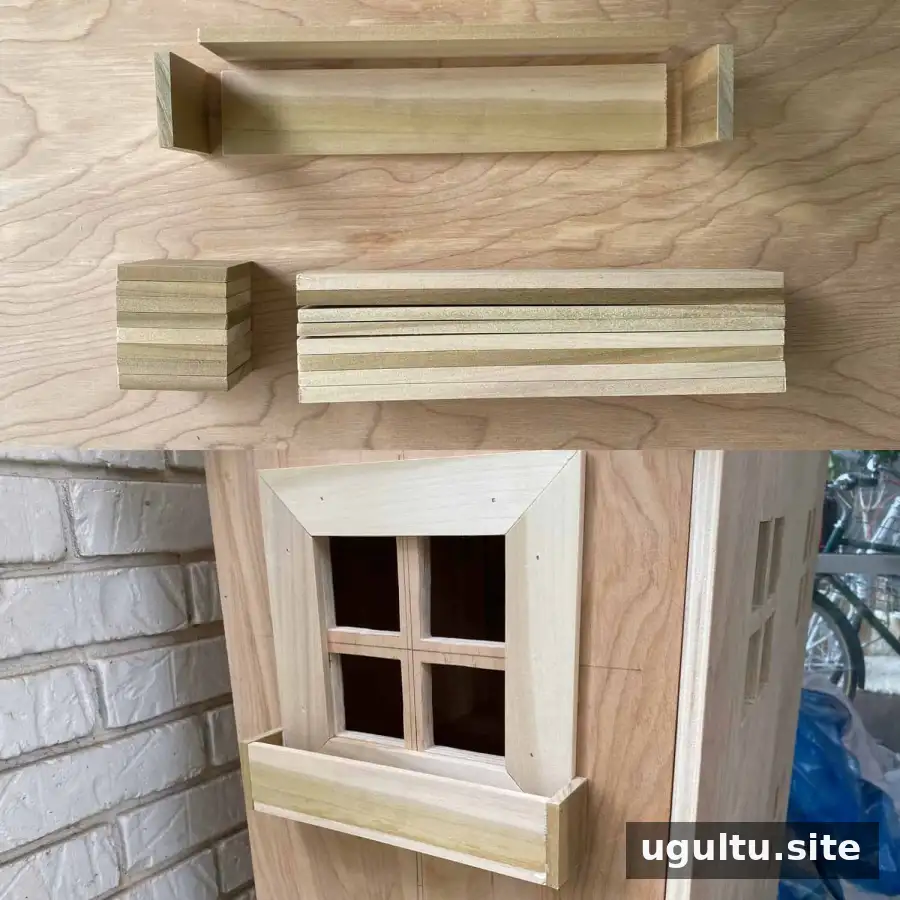
For the window boxes, cut pieces from the 1/4″ x 2″ x 2′ boards in lengths of 2 1/4″ and 6 1/2″. Assemble the pieces with glue and finish nails, then attach a box below each side window. Check that the boxes are level and that they do not interfere with the doors.
Before play, check that the structure is stable, all fasteners are flush, and cut edges are smooth. Allow glue to dry according to its product instructions. If you add paint or another finish, use a product suitable for children’s toys and let it cure fully before use.
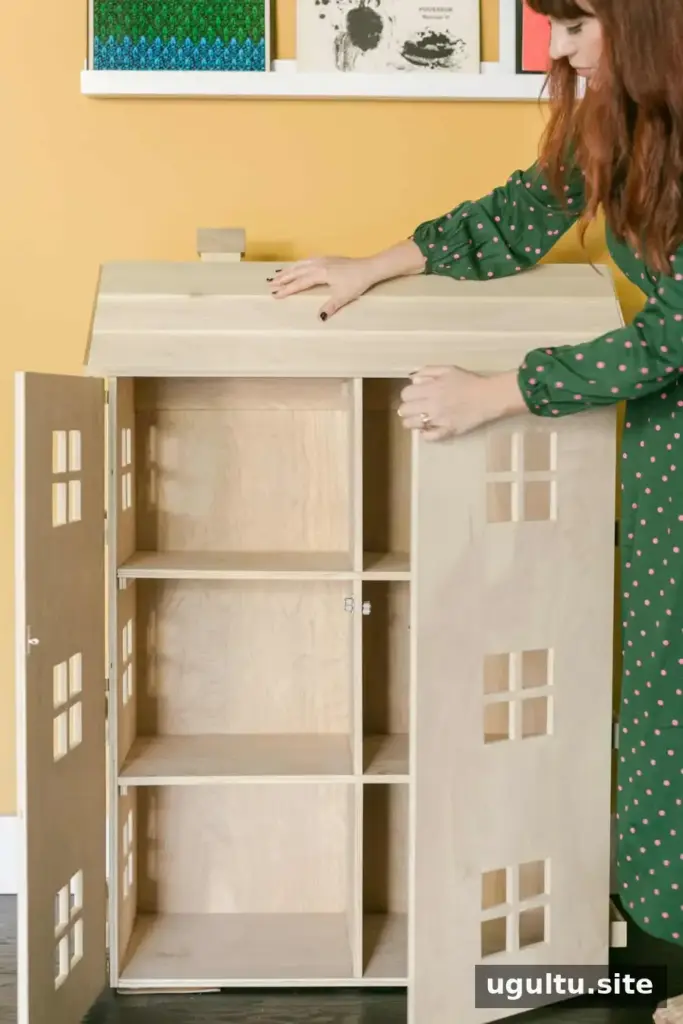
Enjoy Your Finished DIY Dollhouse
This DIY dollhouse combines a straightforward wooden frame with useful play features: hinged doors, six rooms, window boxes, and a roof that opens to reveal extra space. Measure each piece against the assembled structure as you work, and make any fit adjustments before permanently attaching trim or roof details. Once the house is complete and safely finished, furnish the rooms with appropriately sized doll furniture and accessories.