
 admin
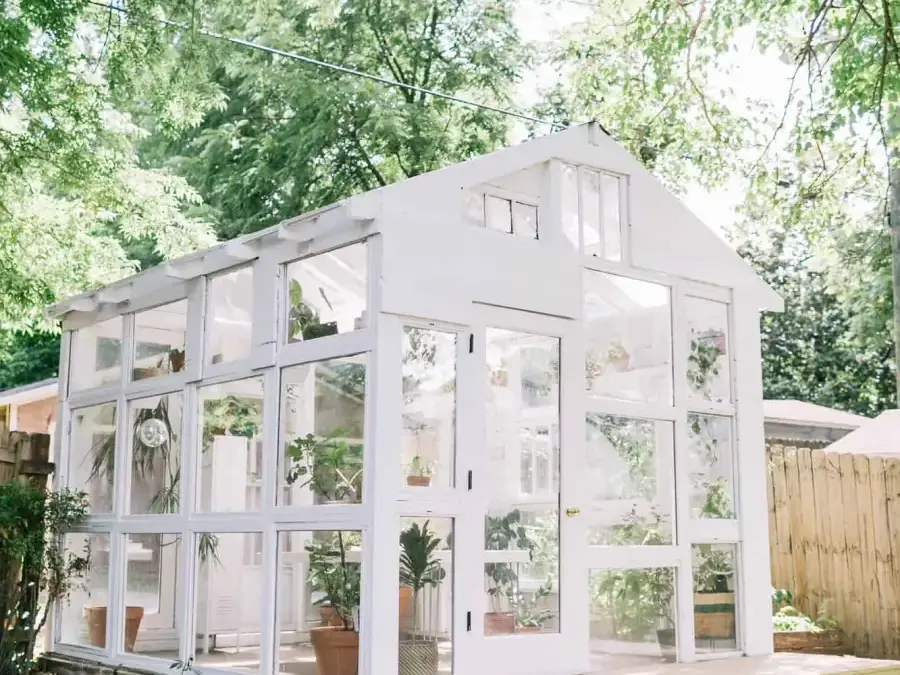
Learning how to build a greenhouse can turn an unused backyard structure into a practical growing space. This project, contributed by Andi Teggart, repurposed a deteriorating garage in East Nashville using salvaged windows and doors. The finished greenhouse measures 10 × 14 feet and took about seven months to complete, including demolition, construction, and required approvals.
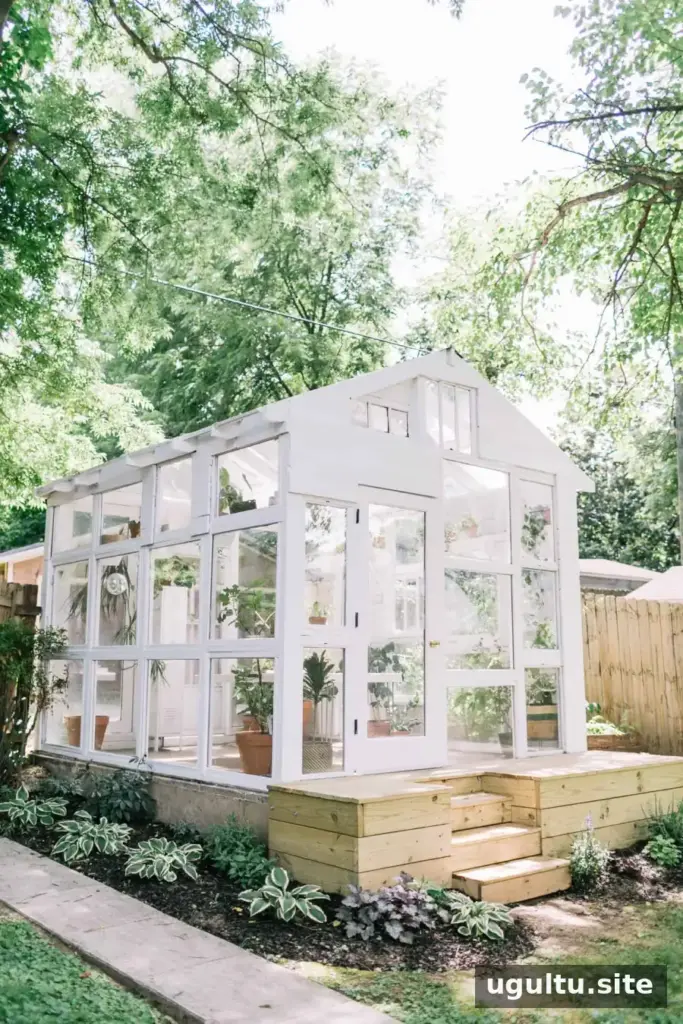
How to Build a Greenhouse from Recycled Windows
Before starting, decide whether you are converting an existing structure or building on a clear site. If you are replacing an old garage or shed, plan for safe demolition and debris removal. Check local building rules and historic-district requirements before work begins; this project required paperwork, applications, and approvals from local authorities.
1. Remove the old structure
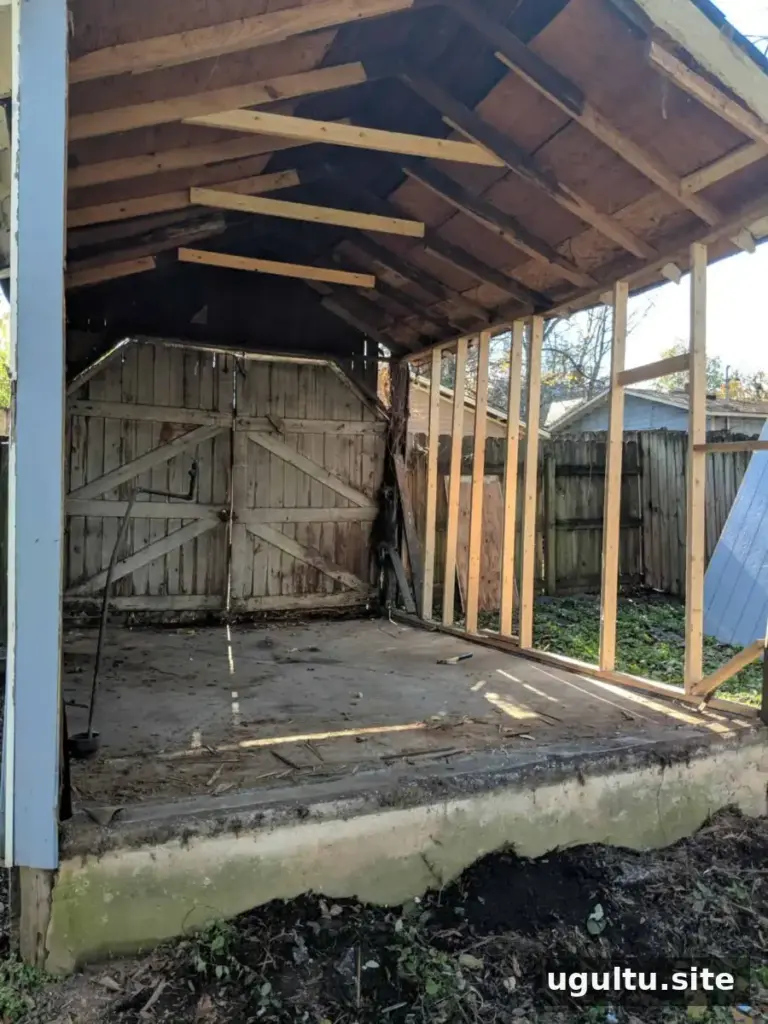
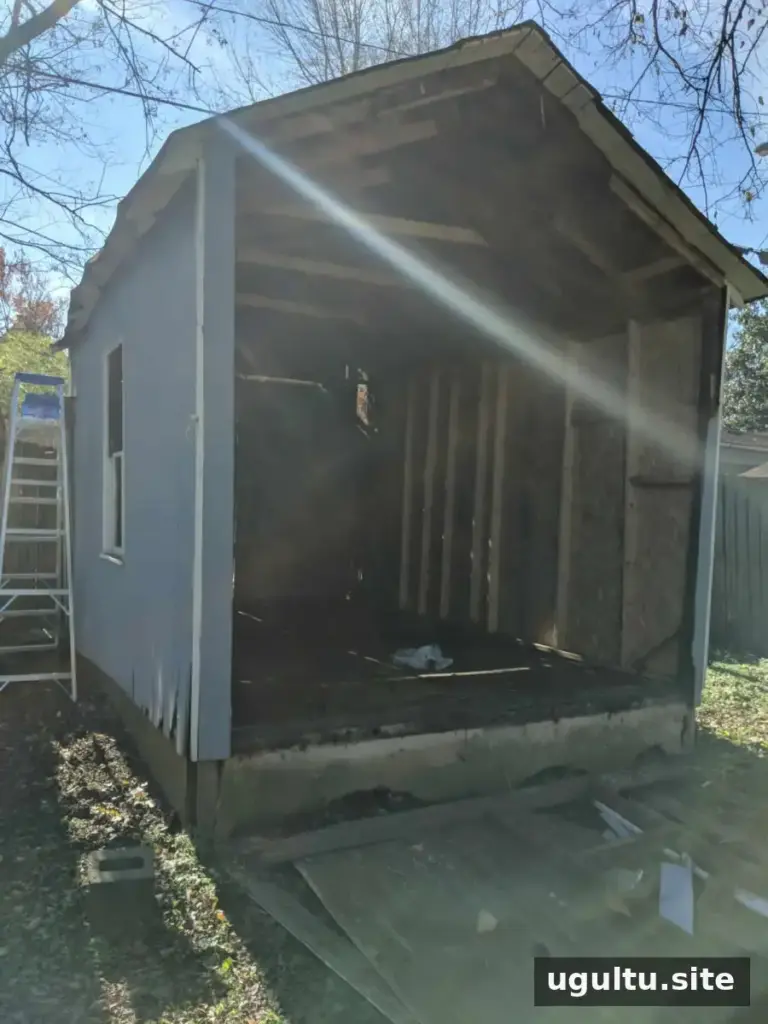
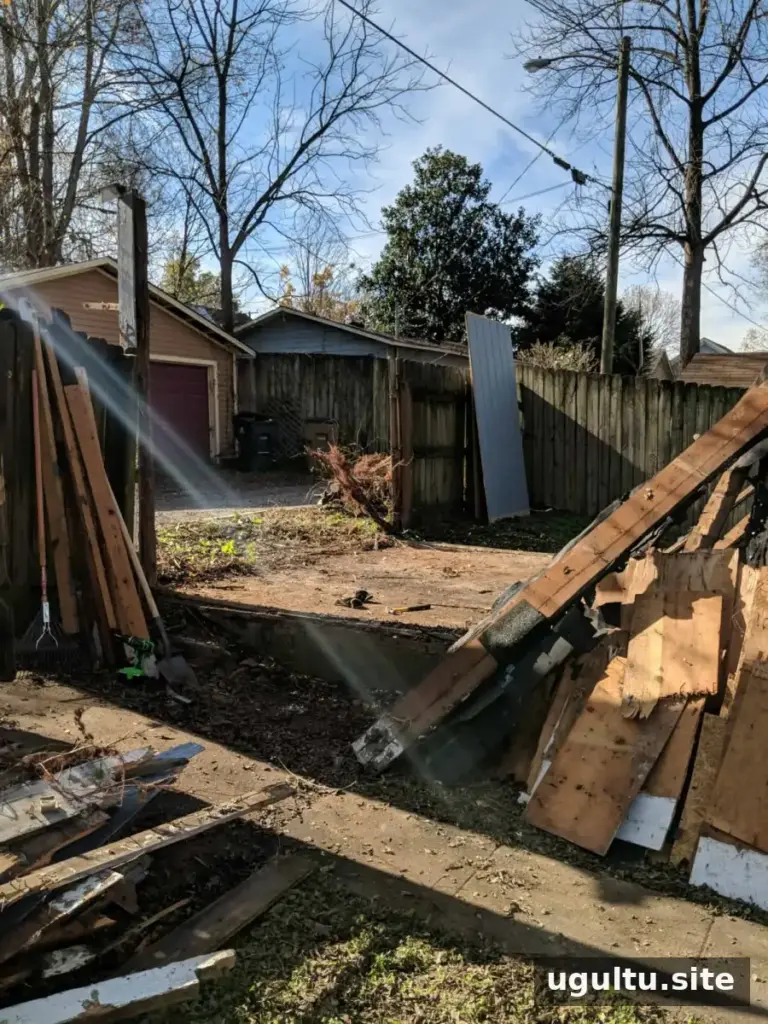
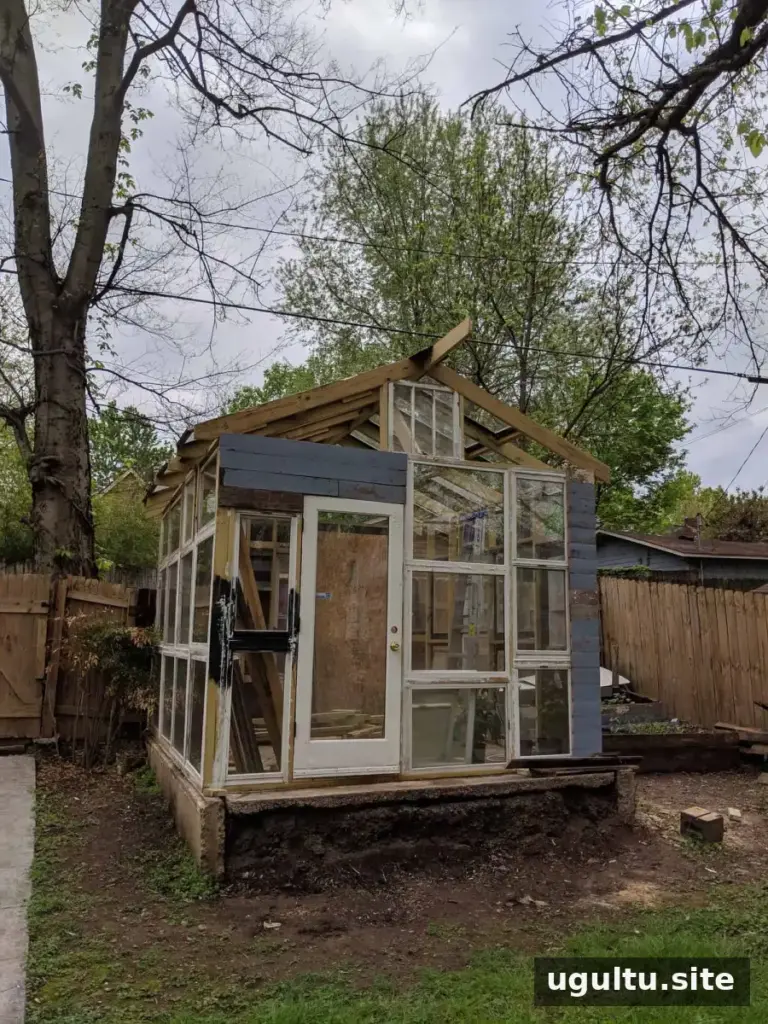
For a garage conversion, remove siding, windows, and doors while keeping the supporting frame intact. Work carefully and check the structure as you go to reduce the risk of collapse. Once the walls are down to the studs, a jigsaw fitted with a blade designed to cut wood and nails can help dismantle the remaining sections. Demolition is strenuous, so having another capable person help is a practical safety measure.
2. Clear debris and salvage useful materials
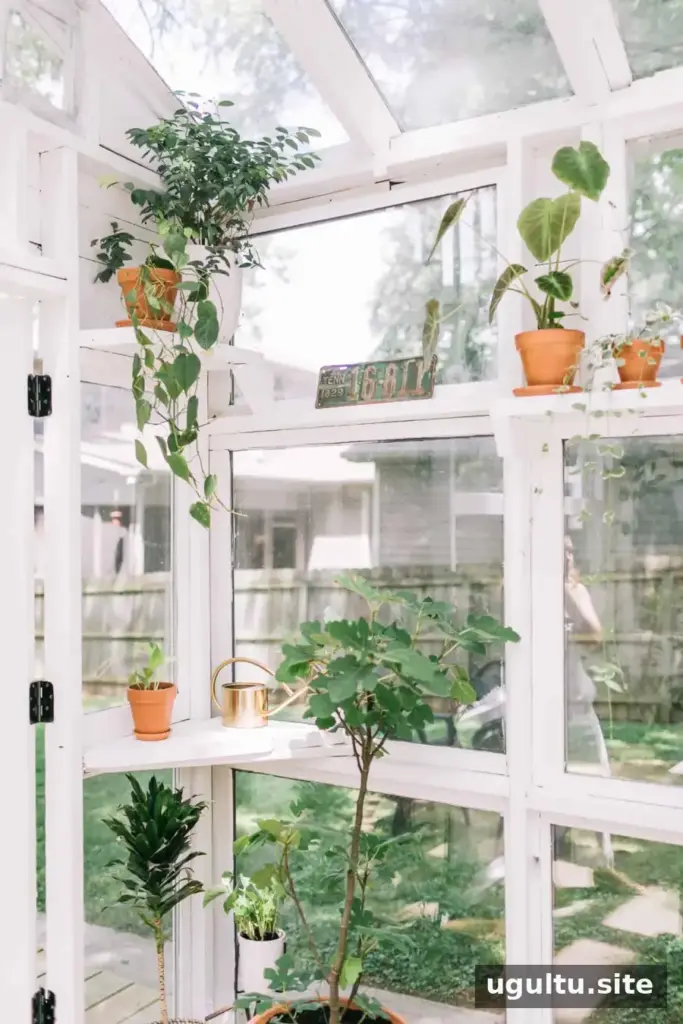
Remove debris before beginning construction. Set aside any sound doors, windows, or siding that could be reused in the greenhouse. In this project, some original garage materials were incorporated into the new structure, and old license plates found during cleanup were saved as decoration. Separate reusable materials from waste as you work to make cleanup easier.
3. Gather and measure the windows
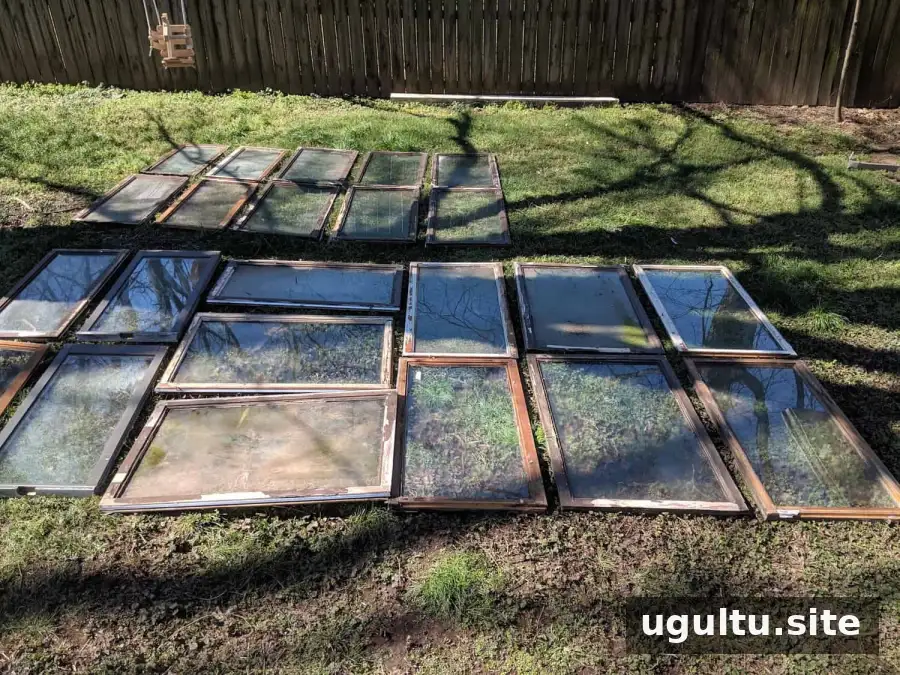
Collect the windows before finalizing the design. Salvaged windows can come in different shapes and sizes, so laying them out together helps you plan the wall openings and overall frame. Renovation projects, garage sales, estate sales, and auctions may be useful places to search. Measure each window and note its condition; a complete inventory helps prevent gaps or sizing surprises during construction.
4. Frame the greenhouse
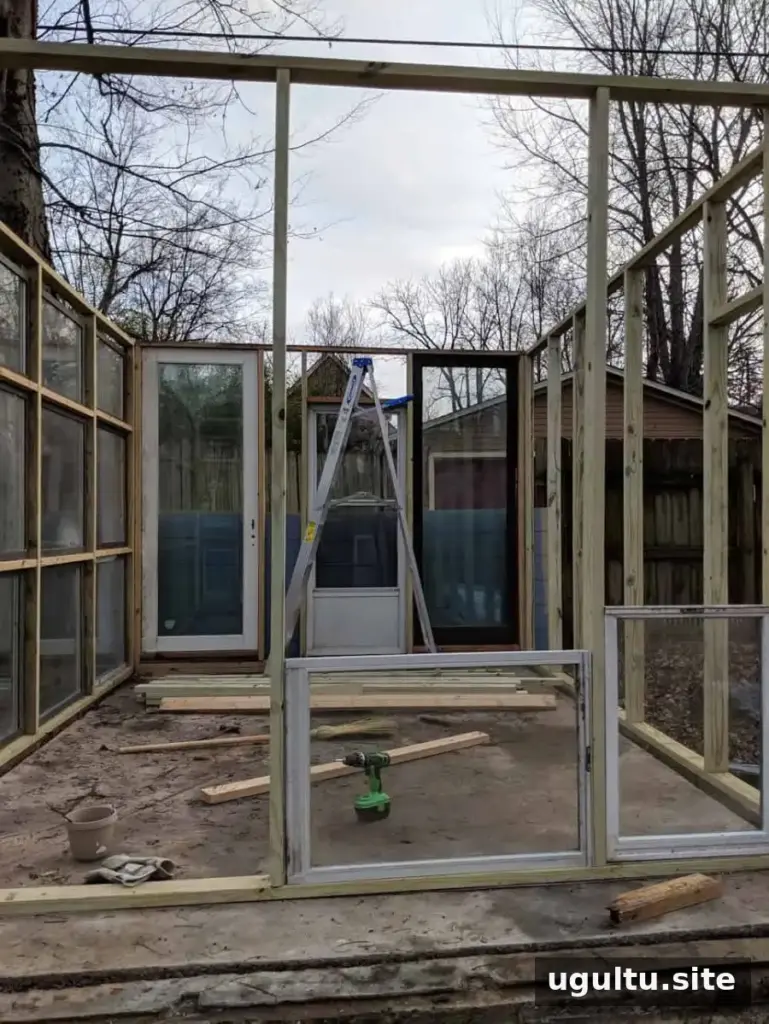
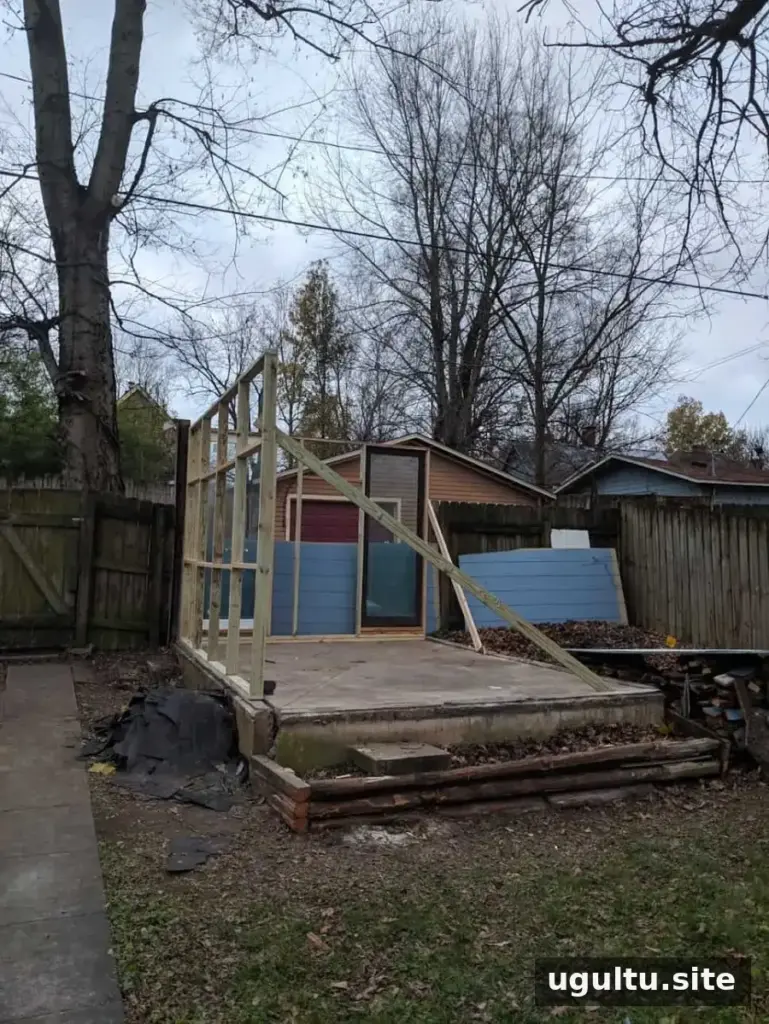
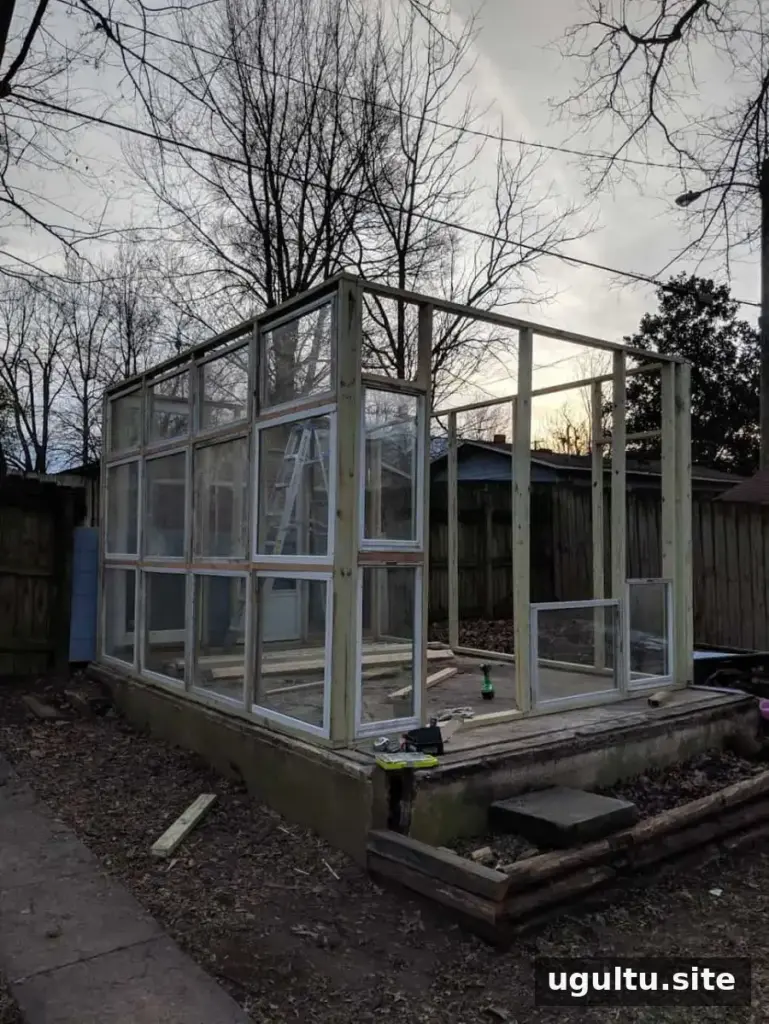
Arrange the windows on the ground like a puzzle and use the layout to plan the frame. For this 10 × 14-foot greenhouse, 2×4 lumber in different lengths was used to create four mostly glass sides. Draw the structure and mark the position of each window before assembling the walls.
Use pressure-treated lumber for parts exposed to the ground and outdoor conditions. A non-pressure-treated board was initially used at ground level in this project and had to be replaced later. Plan for airflow as well: a solar-powered attic fan was installed in the back wall to help circulate air.
5. Build and cover the roof
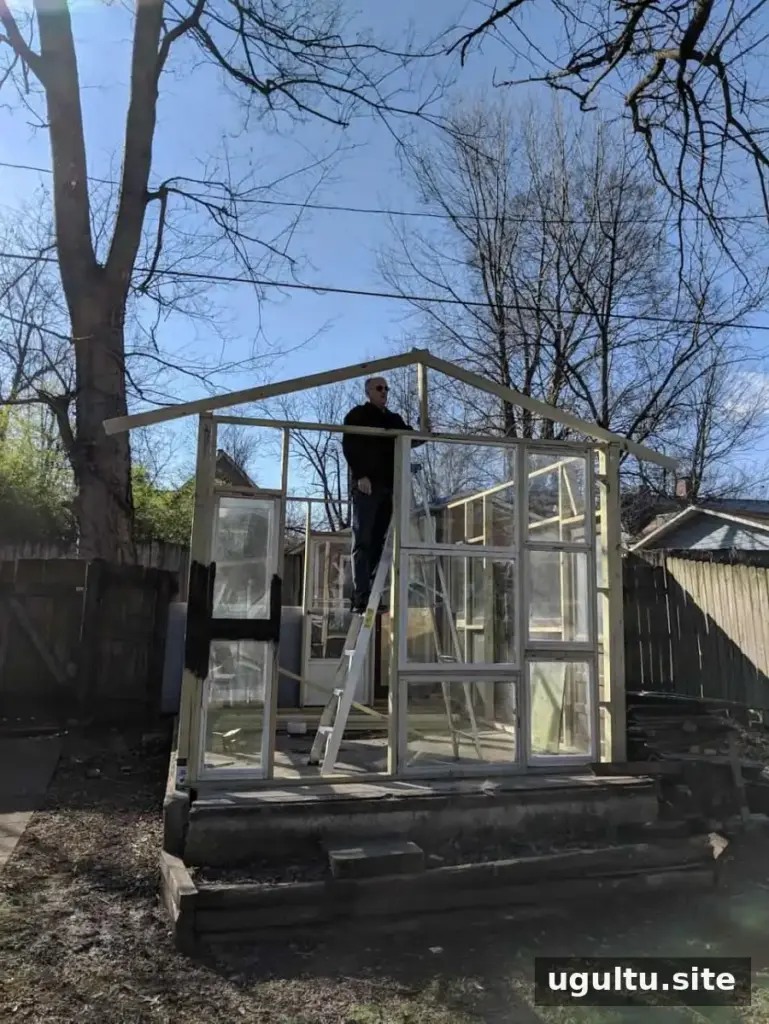
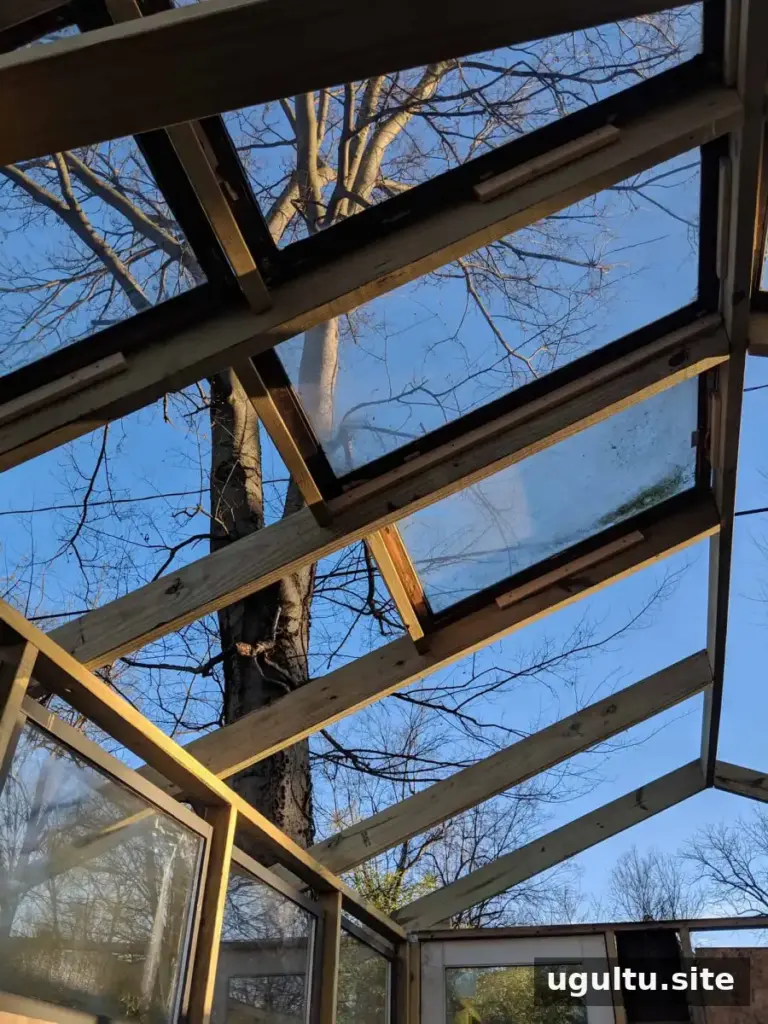
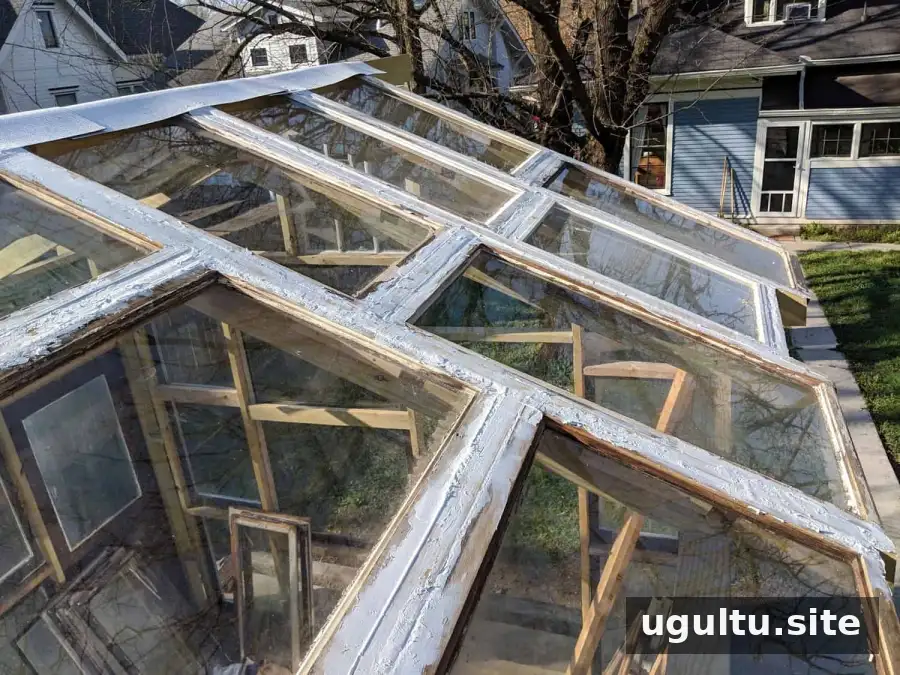
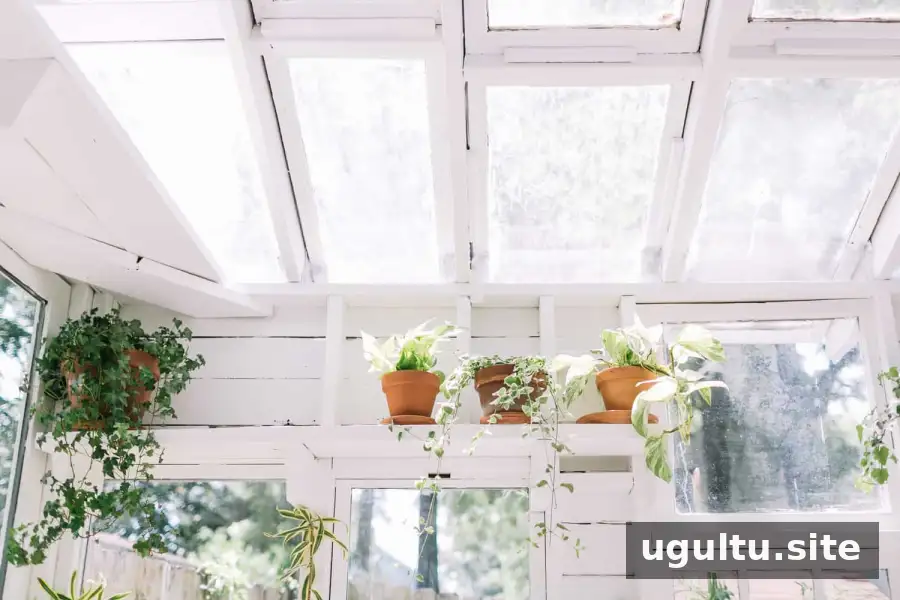
Corrugated plastic attached to the rafters is a straightforward roof-covering option and can simplify construction. Reclaimed windows can also be used, although they require more planning and careful support. For a window roof, the project used a 2×6 ridge board and rafters with birdsmouth cuts.
Lay out the windows to determine where the rafters need to go, making sure the roof structure is supported from the top beams down to the frame. Attach the rafters to the frame with hurricane ties, then frame in the windows. The gaps were filled with silicone sealant, and white asphalt roof panels were added along the ridge beam. Pay particular attention to secure support and sealed joints to help protect the interior from weather.
6. Improve the surrounding area
The greenhouse was built on the concrete slab left by the former garage. Flowers and other plants around the structure helped soften the hard surface, while a deck at the entrance created a more finished approach and covered part of the slab. Adapt the landscaping and entrance to your site, keeping access to the greenhouse clear.
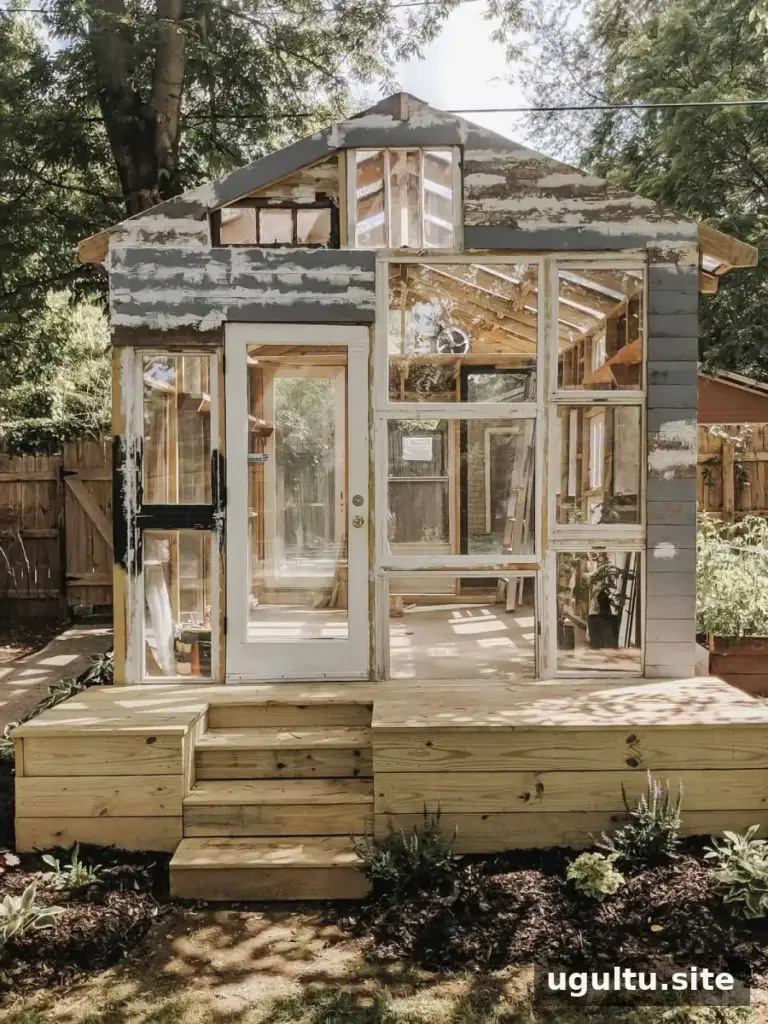
7. Paint and finish the structure
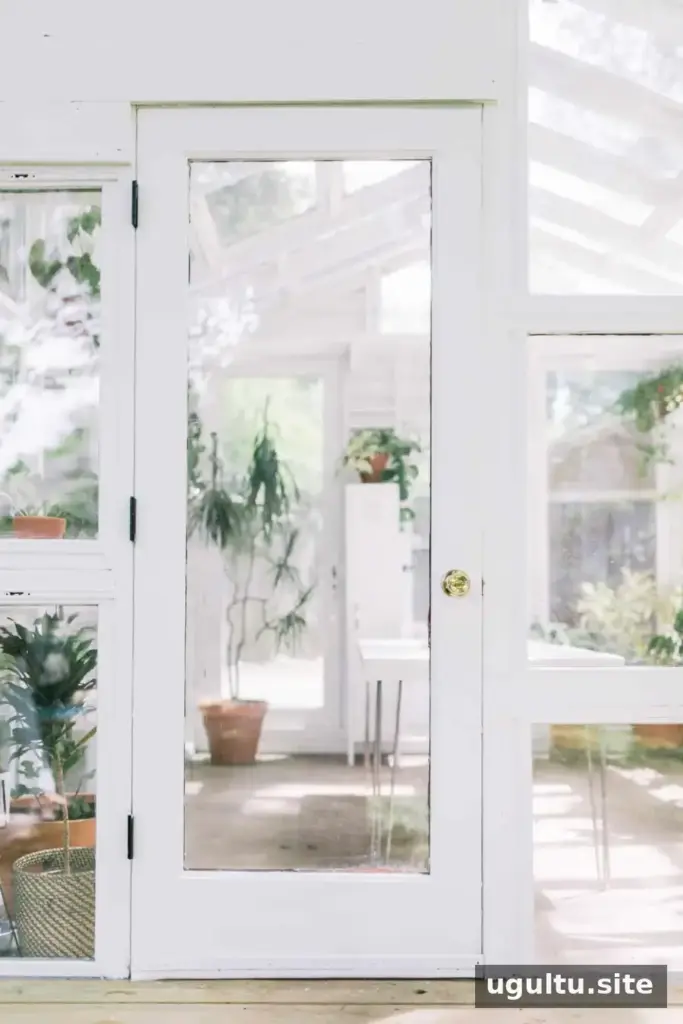
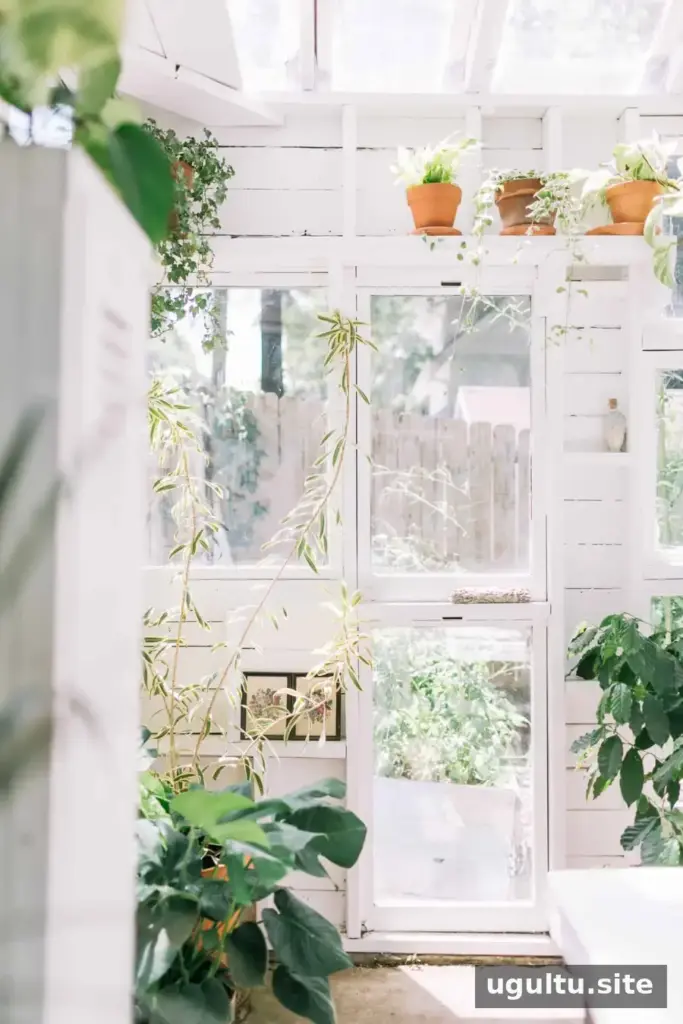
Painting the greenhouse one color can make a mix of salvaged materials look more cohesive. White was chosen for this build to complement the house and backyard. Before painting, prepare the surfaces and use a finish suitable for the materials and outdoor exposure.
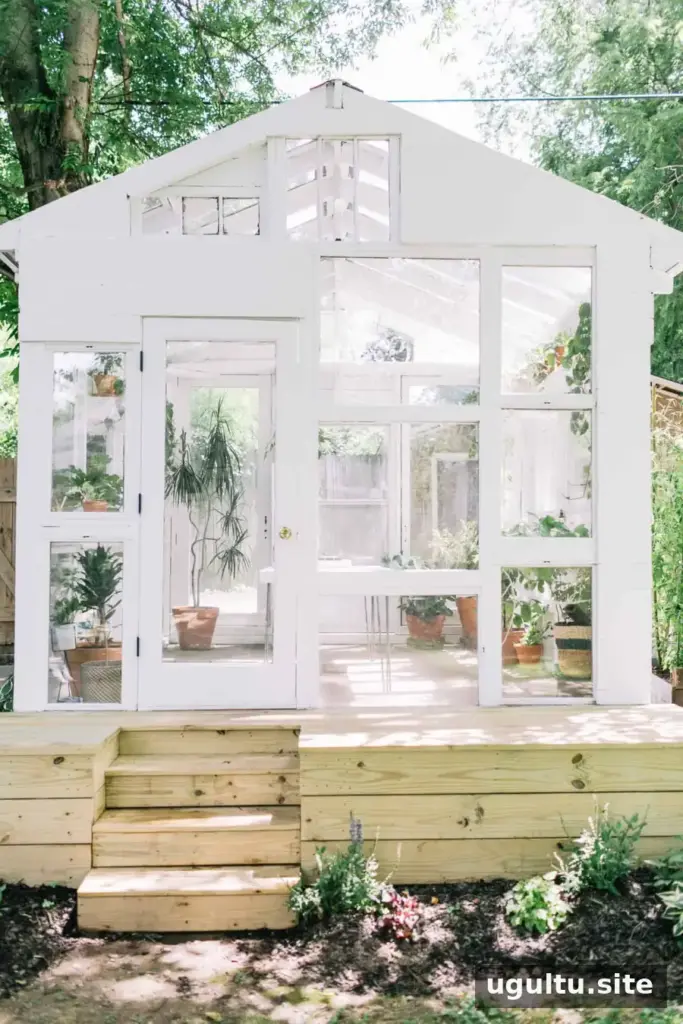
8. Add plants and interior features
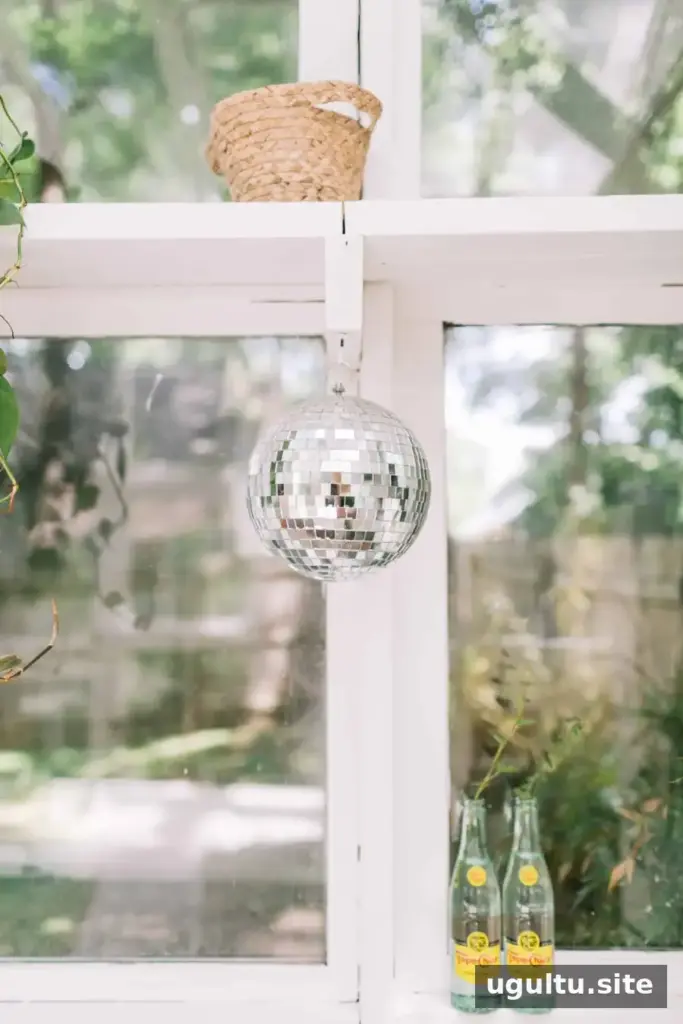
Once construction is complete, arrange plants and planters inside. Built-in shelves provide space for pots, while trailing plants can hang over shelf edges. Terra-cotta pots were used in this greenhouse, and some plants were propagated from cuttings. Leave enough room to reach plants for watering and care, and consider how much light and airflow each one needs.
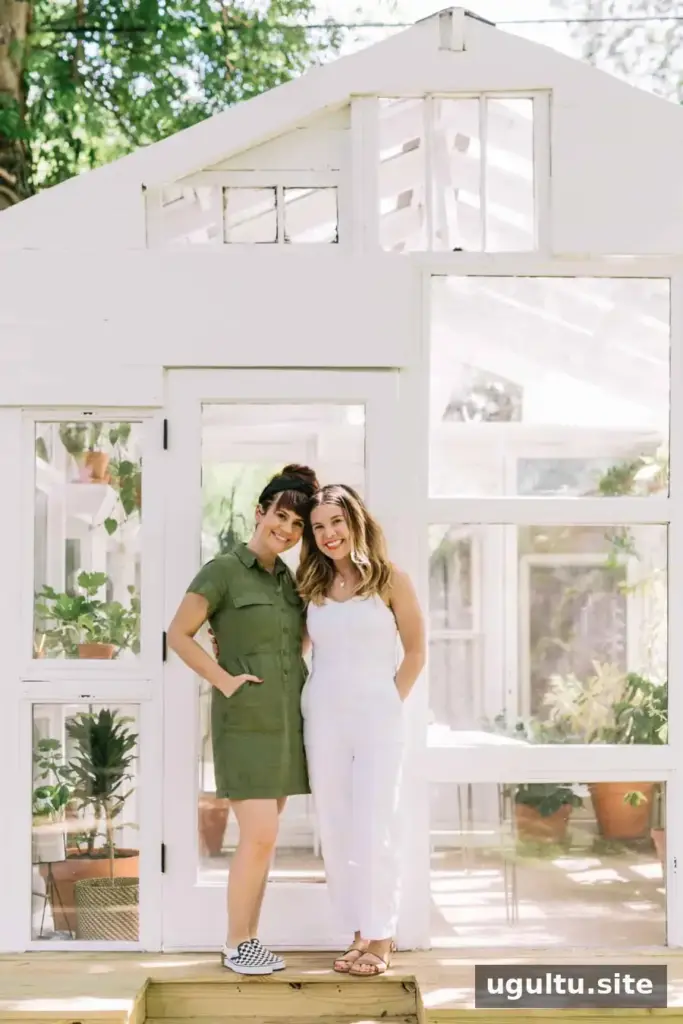
Final considerations for building a greenhouse
This recycled-window greenhouse transformed a damaged backyard garage into a space for growing plants and herbs. Its construction involved planning the window layout, choosing suitable lumber, supporting and sealing the roof, and improving ventilation. The project also took about seven months and required attention to local codes and approvals.
When planning how to build a greenhouse, gather your windows first, draw the structure before framing, use pressure-treated lumber where appropriate, and check local requirements before demolition or construction. These steps can help you create a greenhouse that fits your site and supports healthy plant growth.
Project contributor: Andi Teggart.


