
 admin
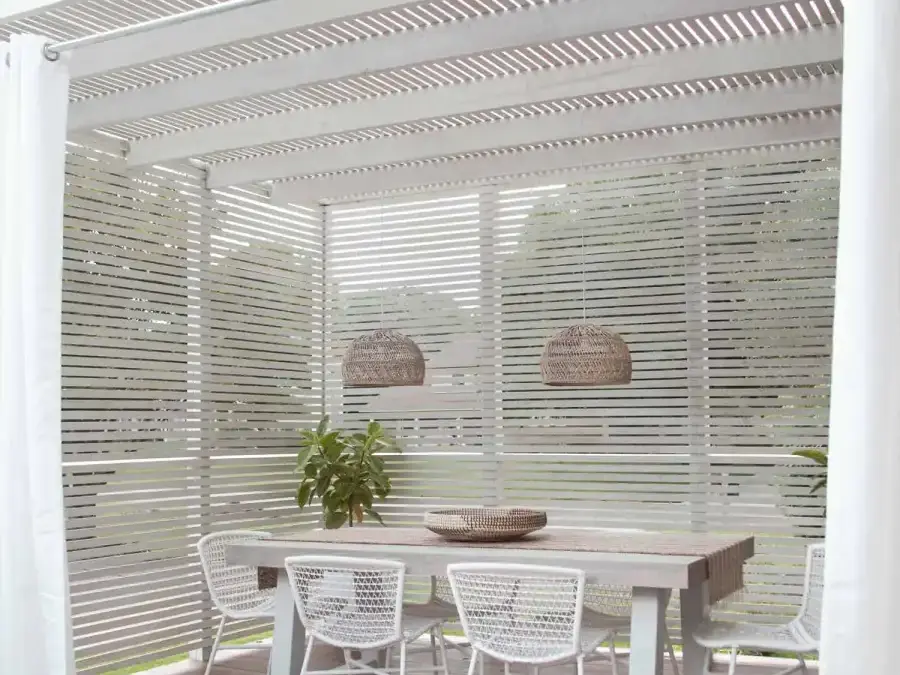
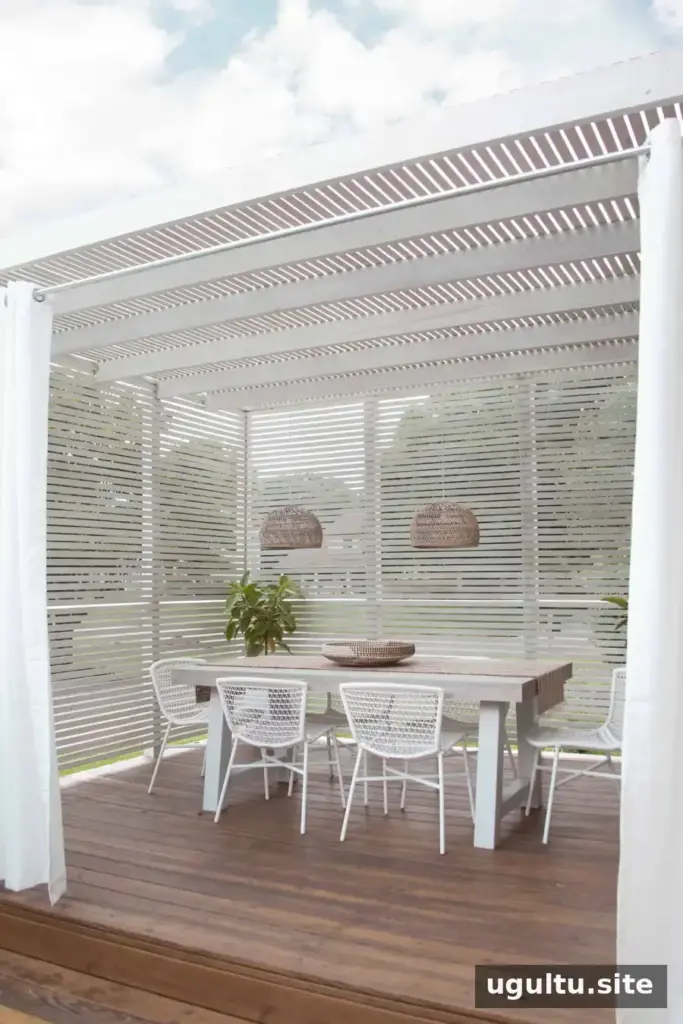
A slat wood pergola can add useful shade to an outdoor dining area while keeping the patio bright and open to the breeze. This project uses treated 2×6 lumber for the main beams and lattice strips for the overhead slats. Before starting, make sure you have a suitable fence or support posts with a top beam to mount the structure.
Why Choose a Slat Wood Pergola?
Unlike a solid roof, spaced wood slats soften direct sunlight without fully enclosing the patio. The overhead pattern also adds texture and can make a dining area feel more defined. Slat spacing affects how much light and shade the pergola provides, so consider the sun’s direction and how you plan to use the space.
Before and After
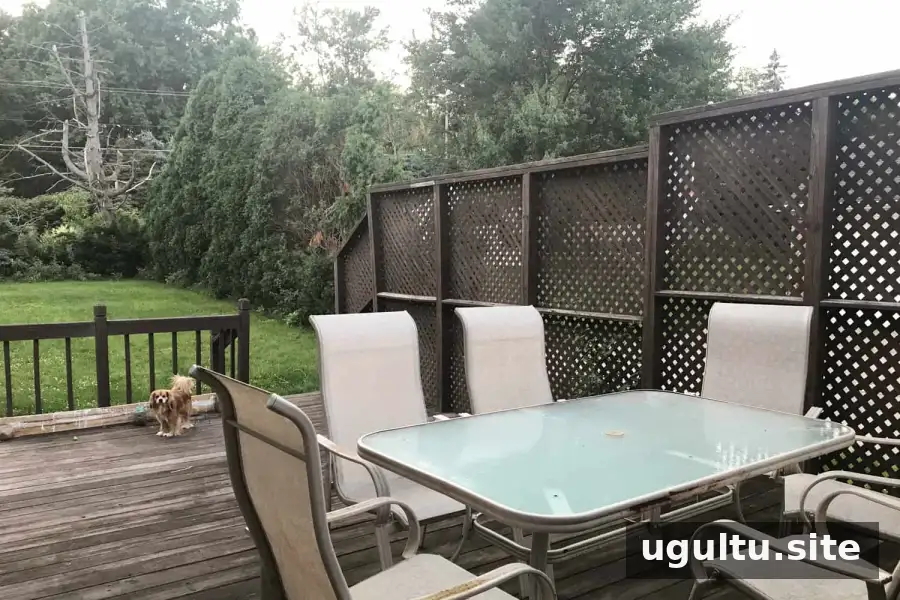
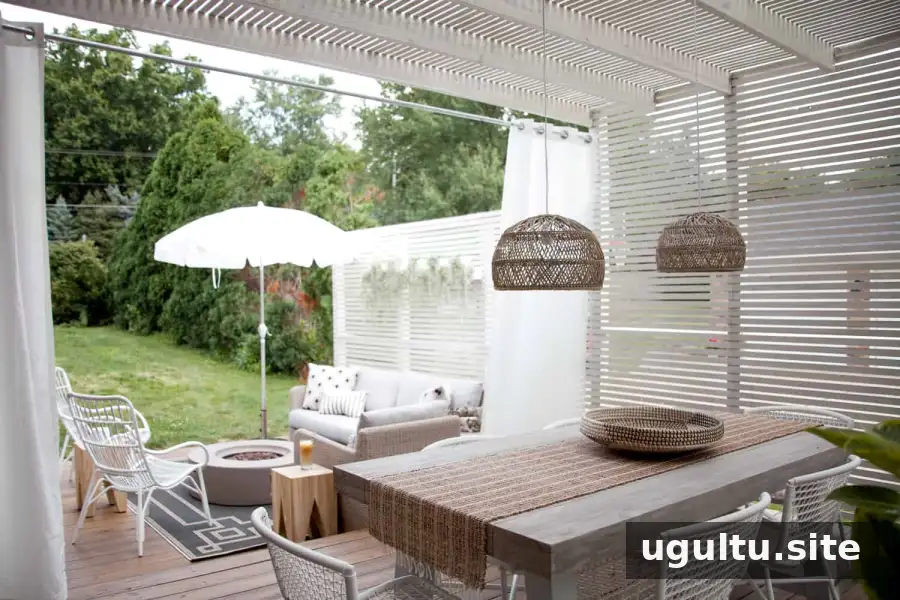
Making the Patio More Inviting
A pergola can help turn an underused patio into a more comfortable place to eat or relax. Outdoor furniture designed for exterior use can complete the area; choose pieces suited to your climate and leave enough room to move around the table.
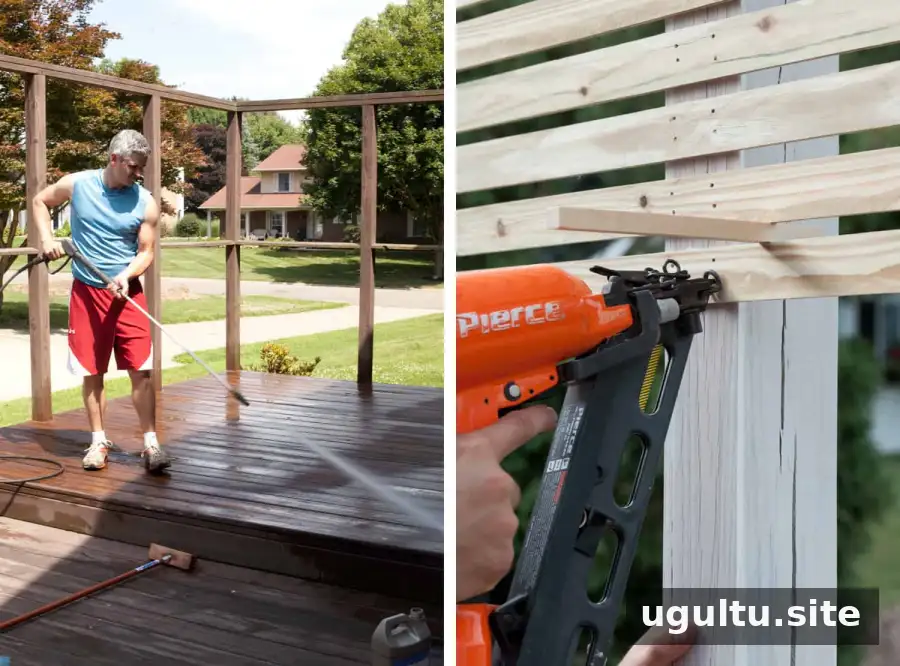
Before installing the pergola, plan where the beams will attach. The project described here uses an existing fence or support posts on one side and suitable house framing on the other. A secure attachment is essential: do not fasten structural loads only to siding or decorative trim.
Materials and Tools
- Metal hangers compatible with 2×6 lumber
- Coated deck screws
- 2×6 treated lumber, spaced 2 feet apart
- Lattice strips
- Tape measure
- Power drill
- Chop saw
- Nail gun or hammer and nails
Choosing Lattice Strips
Pre-cut treated lattice strips are available from many building-supply stores, but quality and straightness can vary. Making strips from treated lumber is another option and can provide longer, continuous pieces with fewer seams. Check that the material is suitable for outdoor use, and let treated wood dry as directed before applying paint or stain.
How to Build a Slat Wood Pergola
Step 1: Install the Hangers
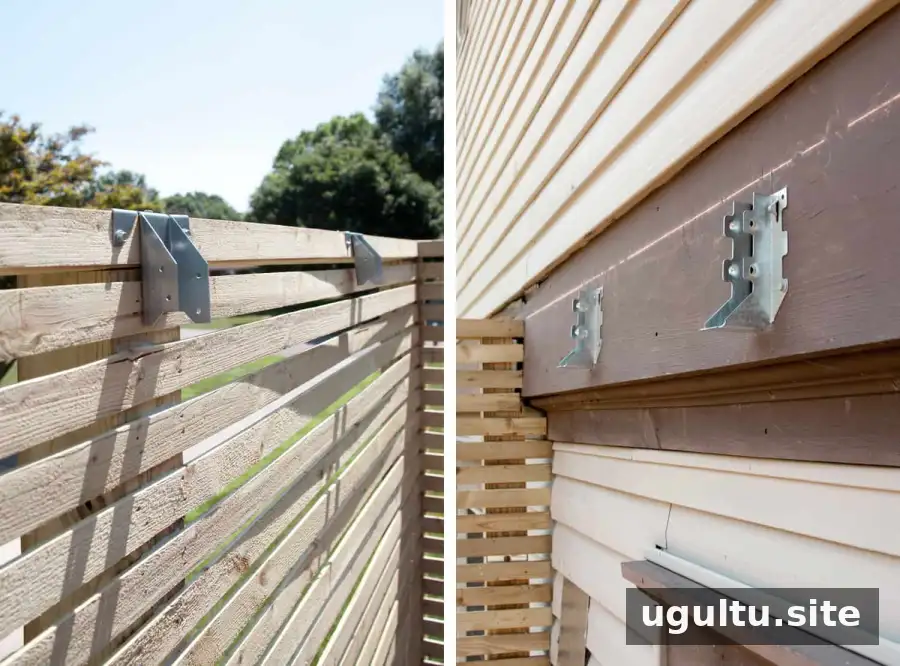
Set the metal hangers in a level line on the house and on the fence or support posts. Use hangers designed for 2×6 beams, and choose fasteners appropriate for each mounting surface. Where attaching to a house, use long enough screws to reach structural framing. For brick or mortar, use a hammer drill with a masonry bit and suitable masonry screws. If you are unsure about the wall construction or load capacity, consult a qualified professional before installation.
Step 2: Measure Each Opening
Measure the distance between every pair of hangers individually. Small differences in the spacing of a fence or supports can make a beam too short or too long if you rely on a single measurement. Label each opening and its matching board to keep the cut pieces organized.
Step 3: Paint or Stain Before Assembly
If you want a painted or stained finish, coat the beams and lattice strips before installation. This makes it easier to cover the surfaces that will be difficult to reach once the pergola is assembled. Follow the coating manufacturer’s instructions and allow the finish to dry fully.
Step 4: Secure the Beams
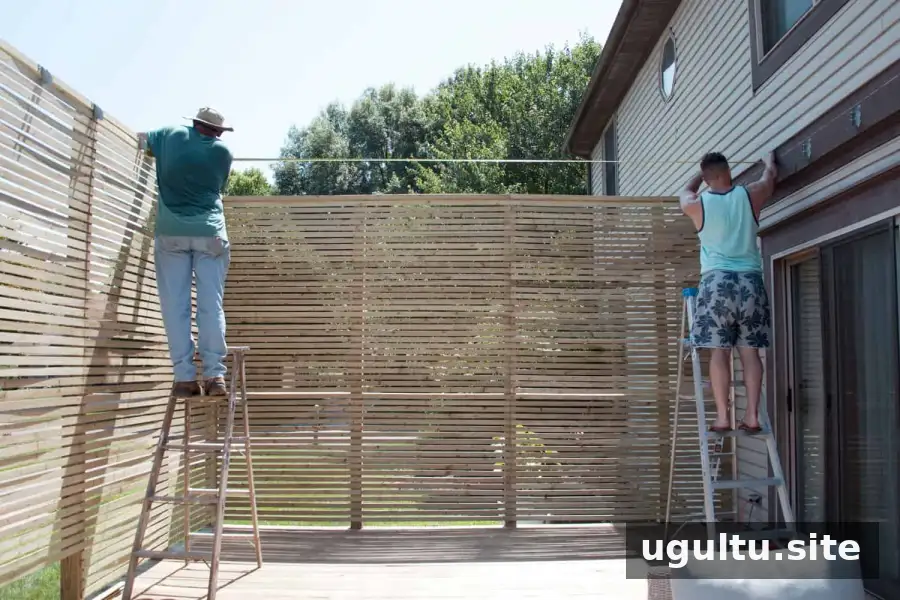
With a second person helping, place each 2×6 beam in its hanger and fasten it through the designated holes. A clamp can help bring a slightly warped board into position while you secure it. Use a stable ladder and work with a helper when lifting long beams.
Step 5: Attach the Slats
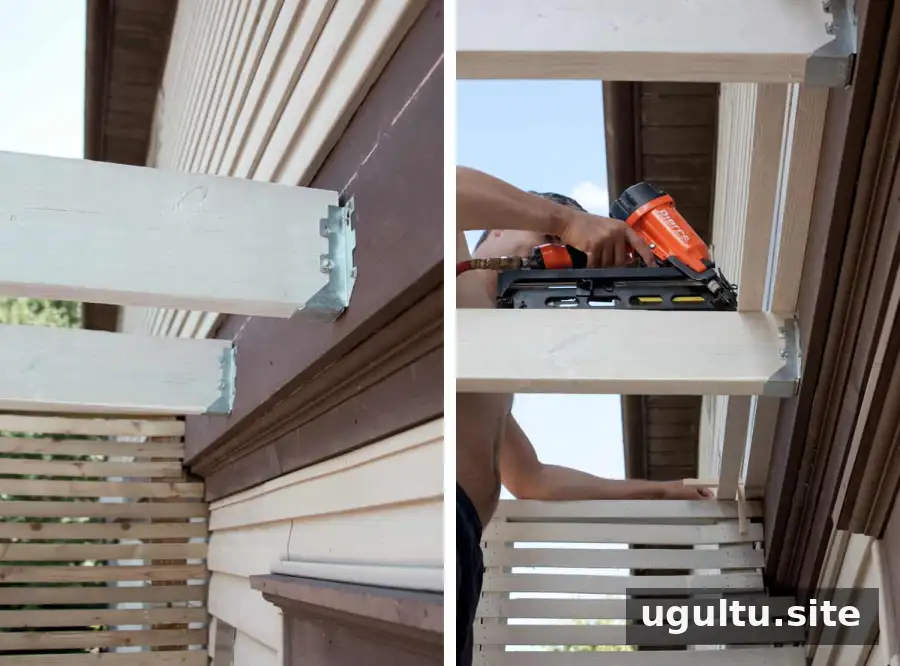
From a ladder, nail the lattice strips across the top of the pergola beams. Use a consistent spacer between strips to keep the gaps even; the builders used a 1/5-inch square dowel as a spacer. A nail gun can speed up the work, while a hammer and nails are an alternative. Wear eye protection and follow tool-safety instructions.
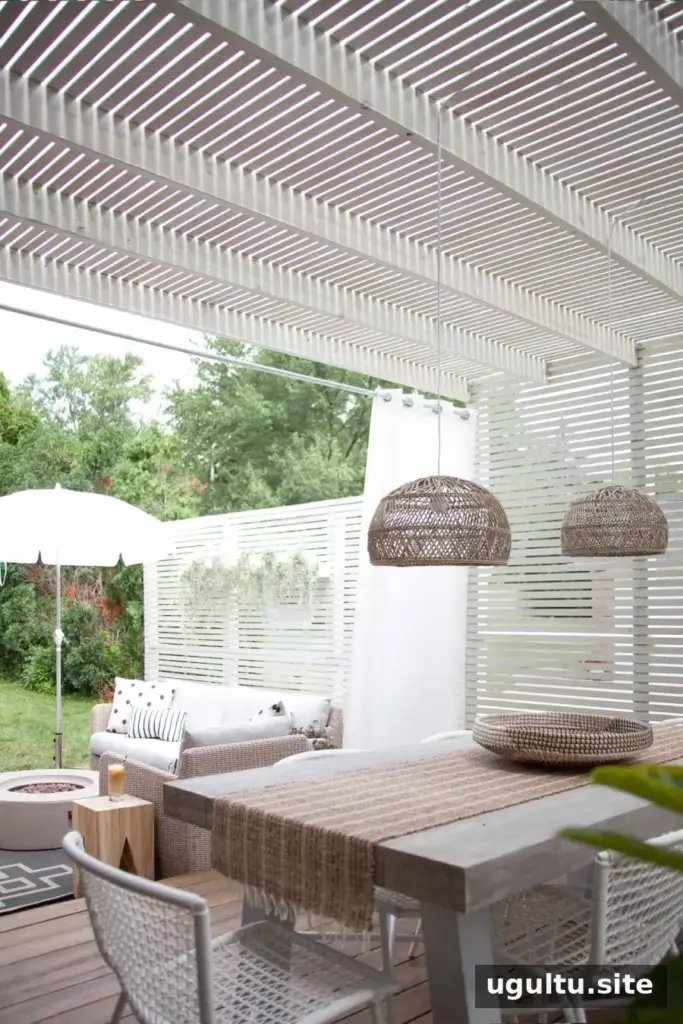
Enjoying Your Finished Pergola
A slat wood pergola provides filtered shade while still allowing daylight and air to pass through. Check the fasteners and wood periodically, especially after severe weather, and refresh the finish when needed. Before building, confirm local requirements and make sure the fence, posts, house framing, and chosen hardware can safely support the structure.
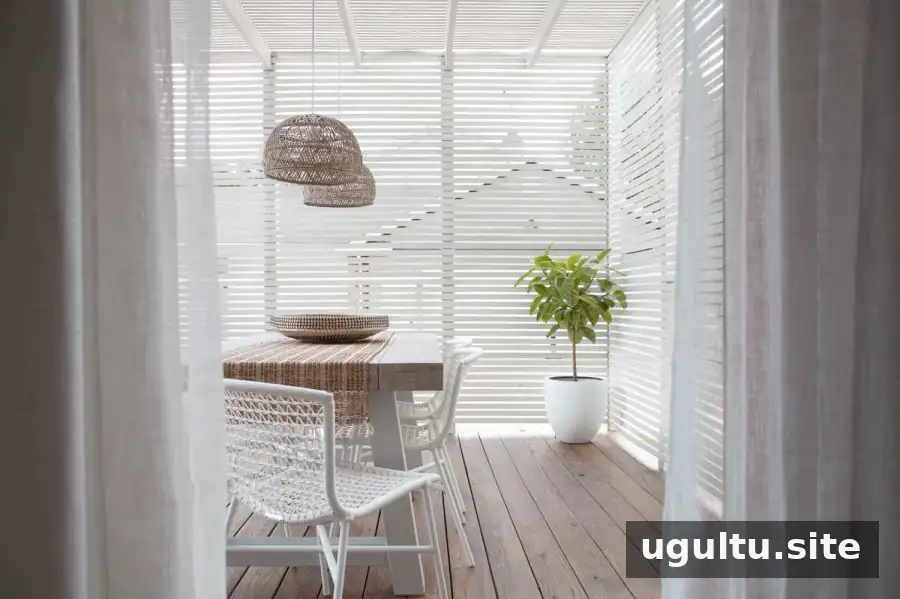
With careful measuring and secure mounting, a slat wood pergola can make an outdoor dining area feel more comfortable and distinct. — Mandi


