
 admin
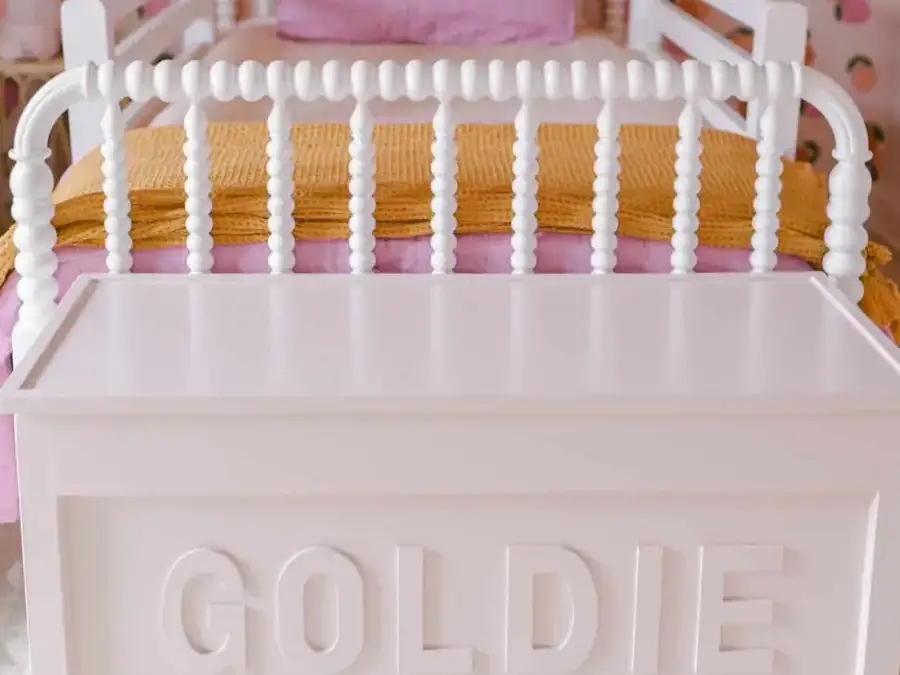
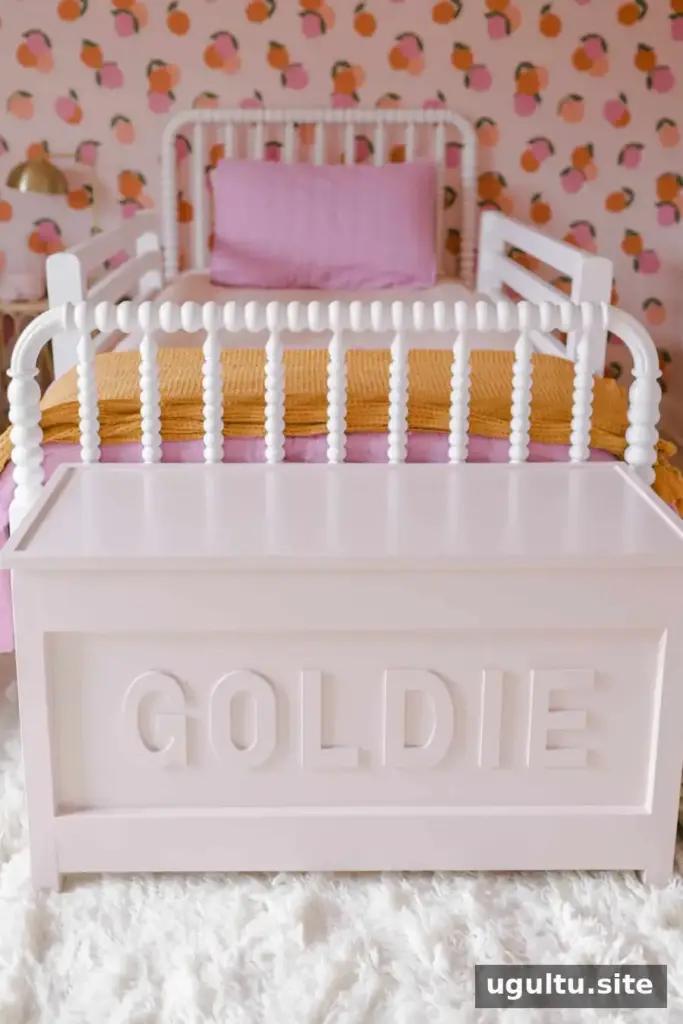
Learning how to build a toy box can help you create practical bedroom storage with a personalized finish. This wooden design measures 40″ wide, 25″ high, and 16″ deep, making it suitable for placing at the foot of a twin bed. Add wooden letters for a custom look, or adapt the decorating idea for a ready-made toy chest.
Materials and tools for building a toy box
Gather all the materials and check the measurements before cutting. This helps keep the frame square and reduces the chance of needing replacement pieces.
- Two 4″ x ¾″ x 8′ boards
- Four 1¾″ x 1¾″ x 36″ square dowels
- Three ¼″ x 2′ x 4′ birch plywood sheets
- One ½″ x 2′ x 4′ birch plywood sheet
- One 1-5/16″ x 1-5/16″ x 8′ outside corner moulding
- Five-inch wooden letters, if desired
- One universal lid support hinge and hinges
Tools: table saw or circular saw, miter saw, tape measure, pocket hole jig, 1¼″ pocket hole screws, nail gun, and drill.
How to build a toy box frame
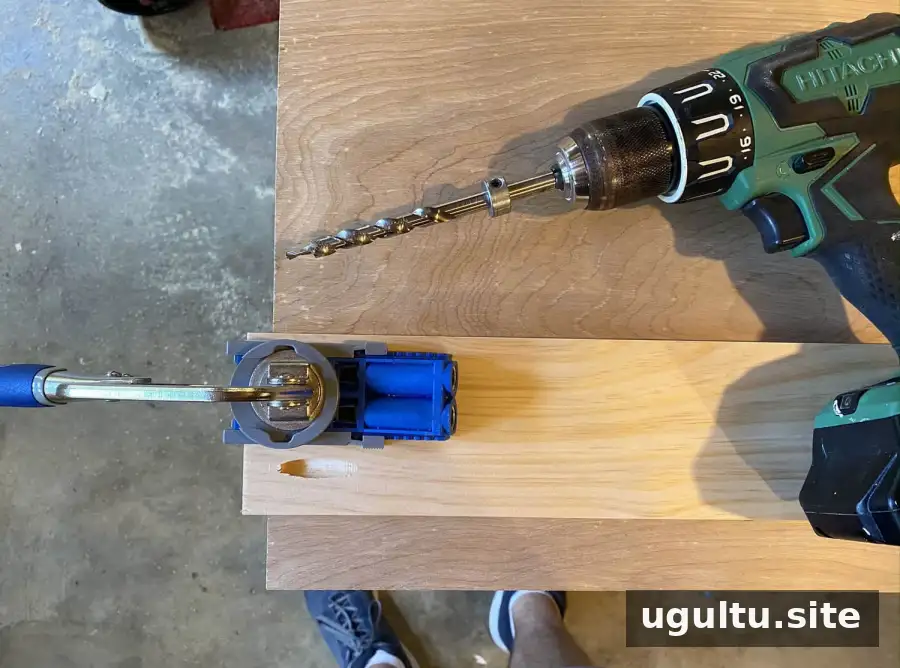
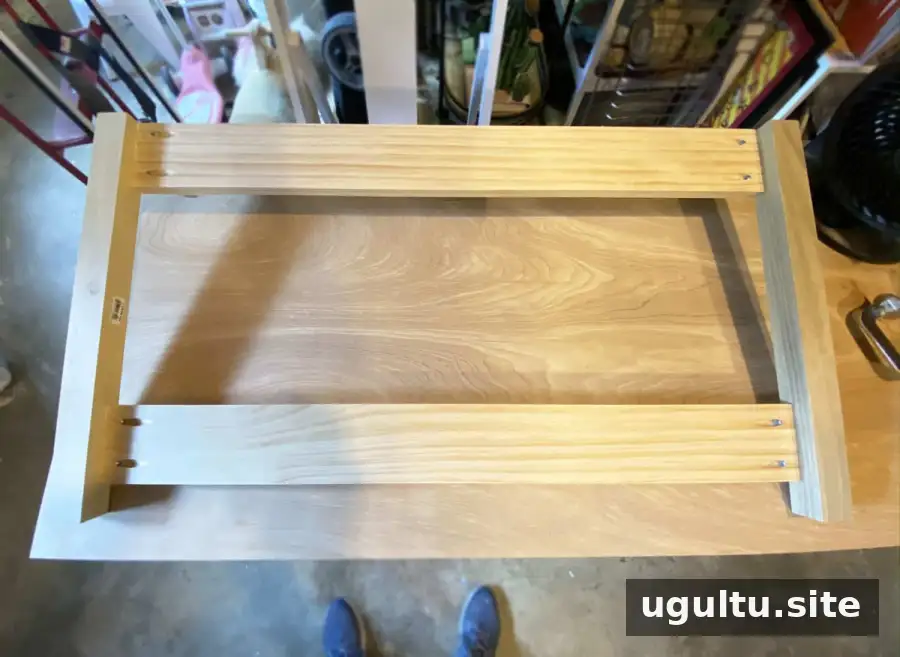
Cut two of the 4″ boards to 36.5″ long. Drill two pocket holes at each end of both boards. Then cut two square dowels to 23⅛″ long. Use wood glue and pocket hole screws to attach the boards to the dowels, leaving 2″ of space at the bottom. This forms the front frame. Repeat the same steps to build the back.
Before fastening the pieces, check that the boards are aligned and the frame is square. Accurate alignment makes it easier to attach the sides and fit the bottom panel.
Attach the sides and install the base
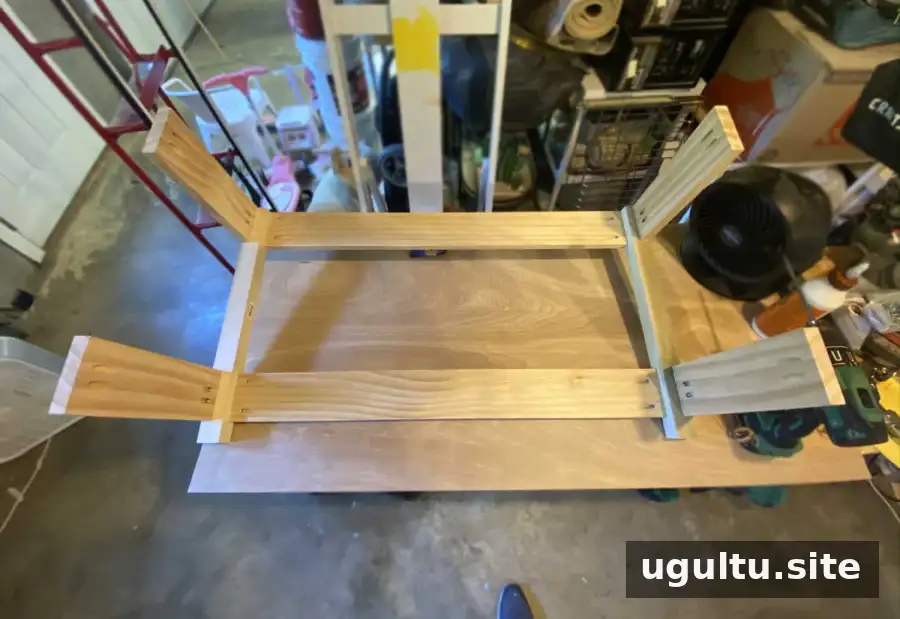
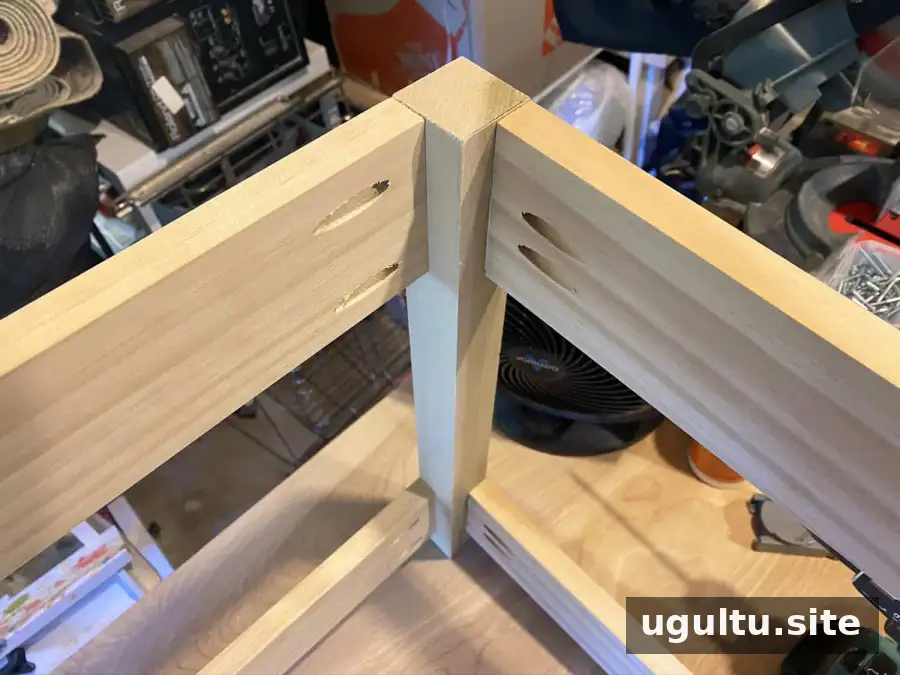
Cut four more 4″ boards to 12½″ long. Drill two pocket holes at both ends of each board. Attach them to the back frame with wood glue and pocket screws, lining them up with the other horizontal boards to form the sides.
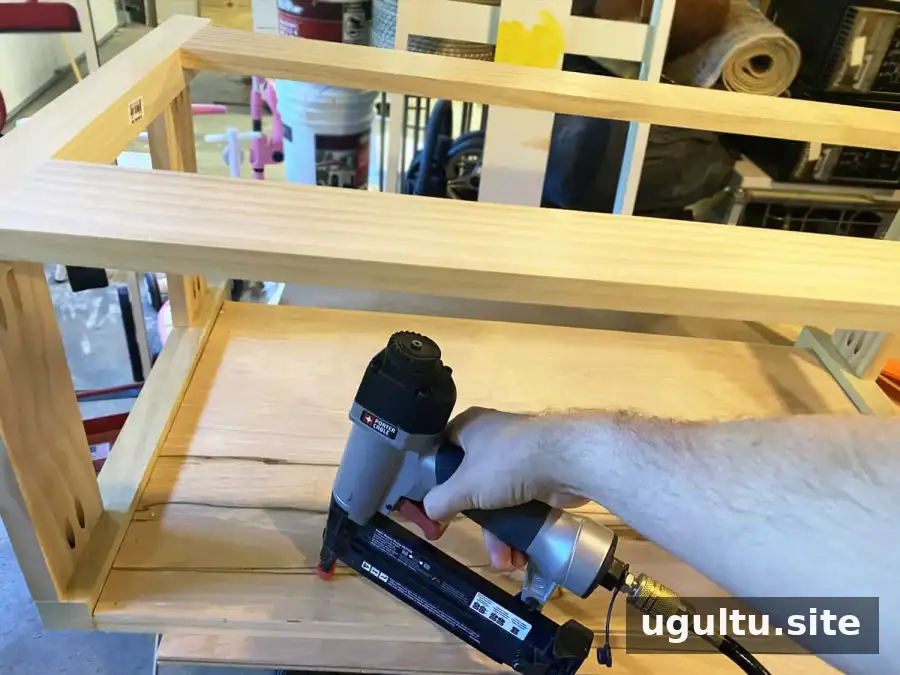
Join the front frame to the side boards to complete the box structure. Measure the inside of each side, cut ¼″ plywood panels to fit, and fasten them in place with wood glue and a nail gun. Measure each opening separately rather than assuming all sides are identical.
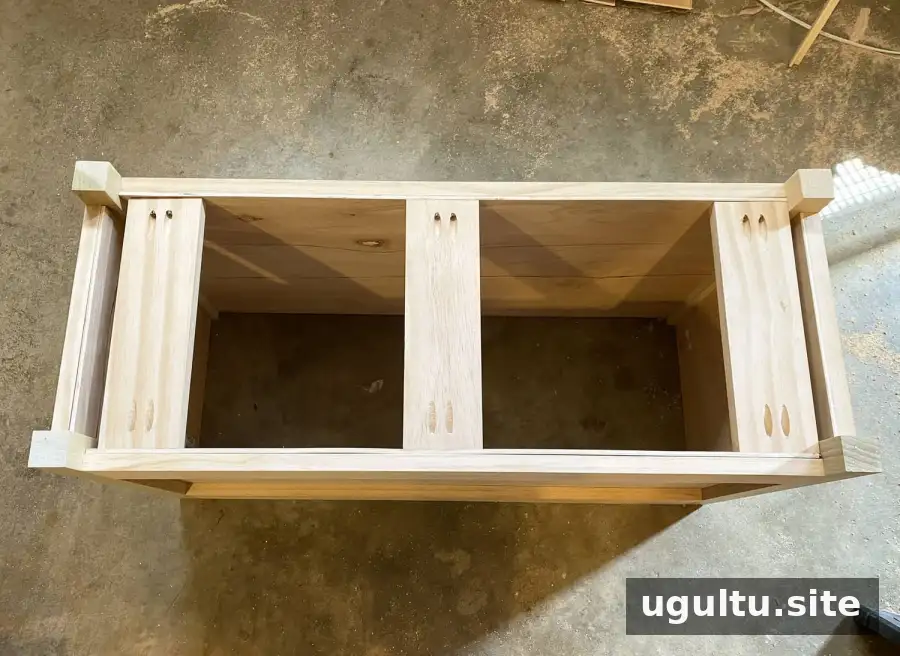
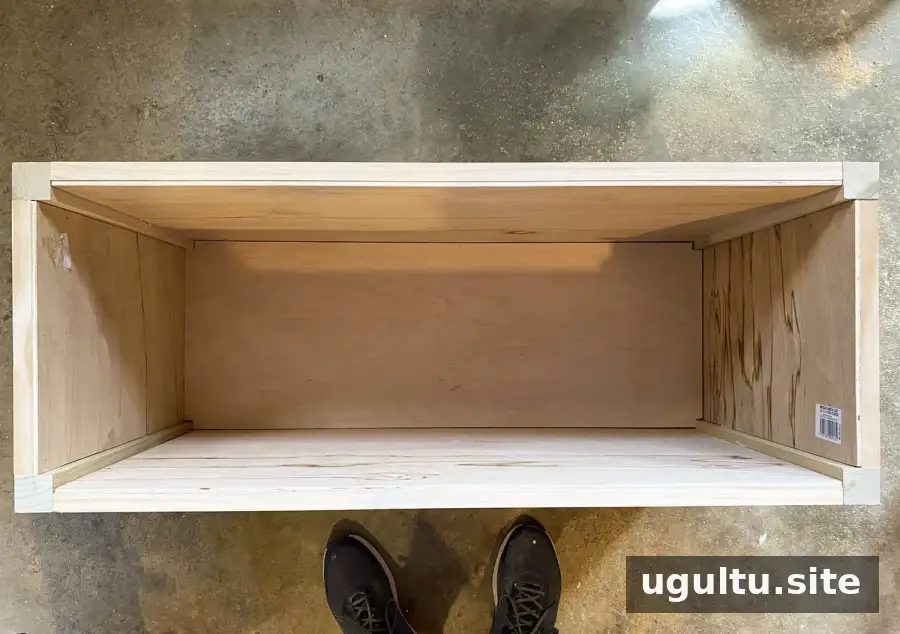
Turn the box upside down and measure its inside width. Cut three 4″ boards to that length, drill pocket holes at each end, and attach them flush with the bottom edges of the walls. These pieces support the floor panel.
With the box still upside down, trace its inside shape onto ¼″ plywood and cut out the panel. Turn the box upright, place the panel inside, and secure it with glue and nails driven into the support boards.
Make and attach the toy box lid
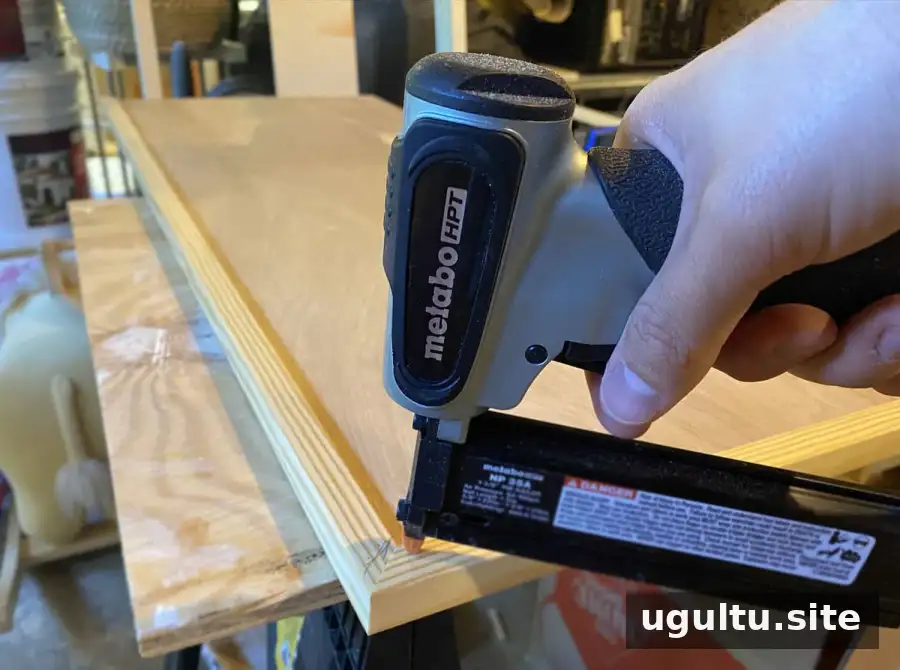
Cut the ½″ plywood to 40½″ x 16½″ for the lid. This provides a ½″ overhang on each side. Cut four pieces of outside corner moulding to fit the lid edges, using 45-degree mitered ends. Attach the moulding with wood glue and a nail gun.
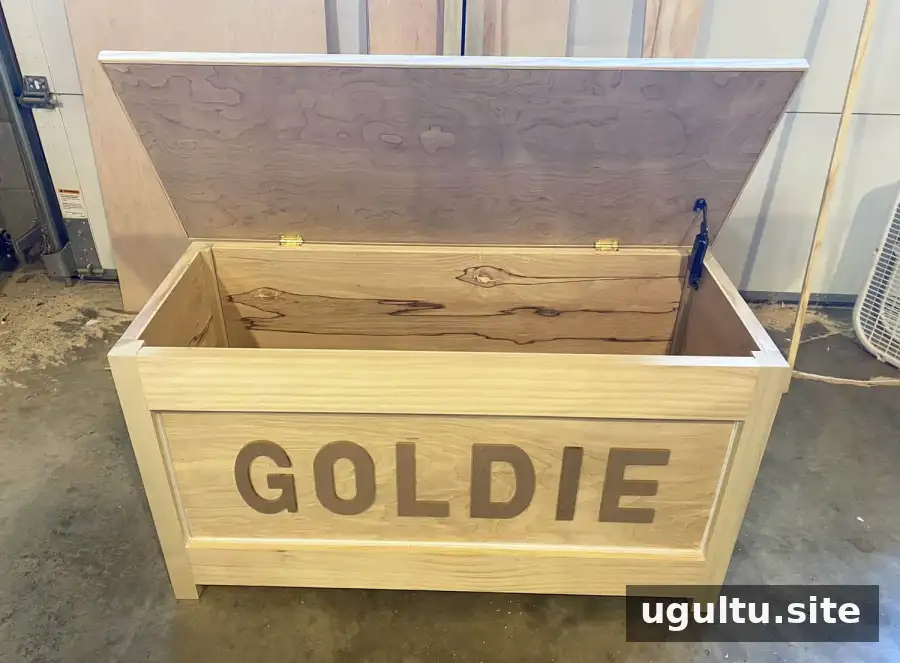
Install the lid with hinges and a universal lid support hinge. Follow the hardware instructions and check that the lid opens and closes smoothly before using the chest. Add wooden letters if you want a personalized design. If painting, fill cracks or gaps with caulk first and allow it to dry before applying paint.
Finishing and decorating
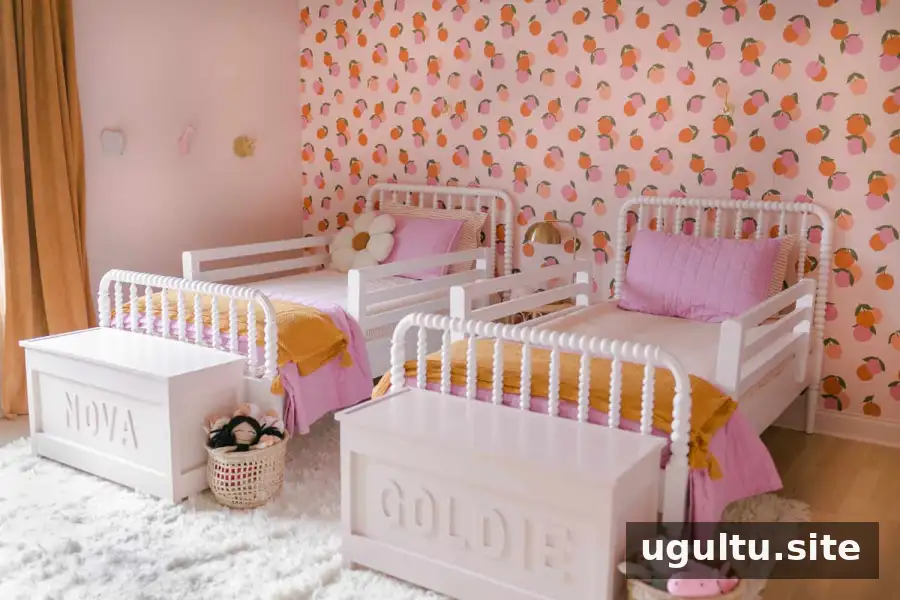
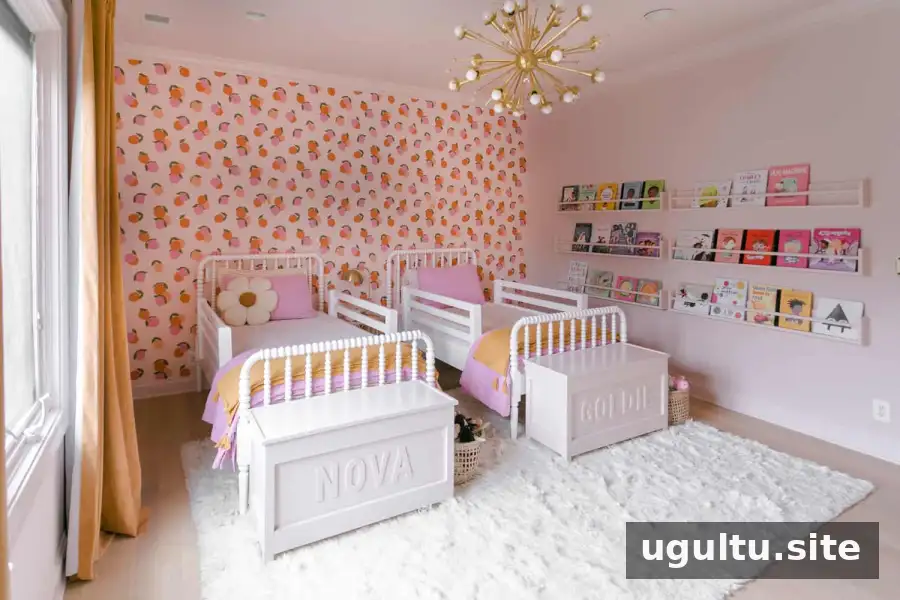
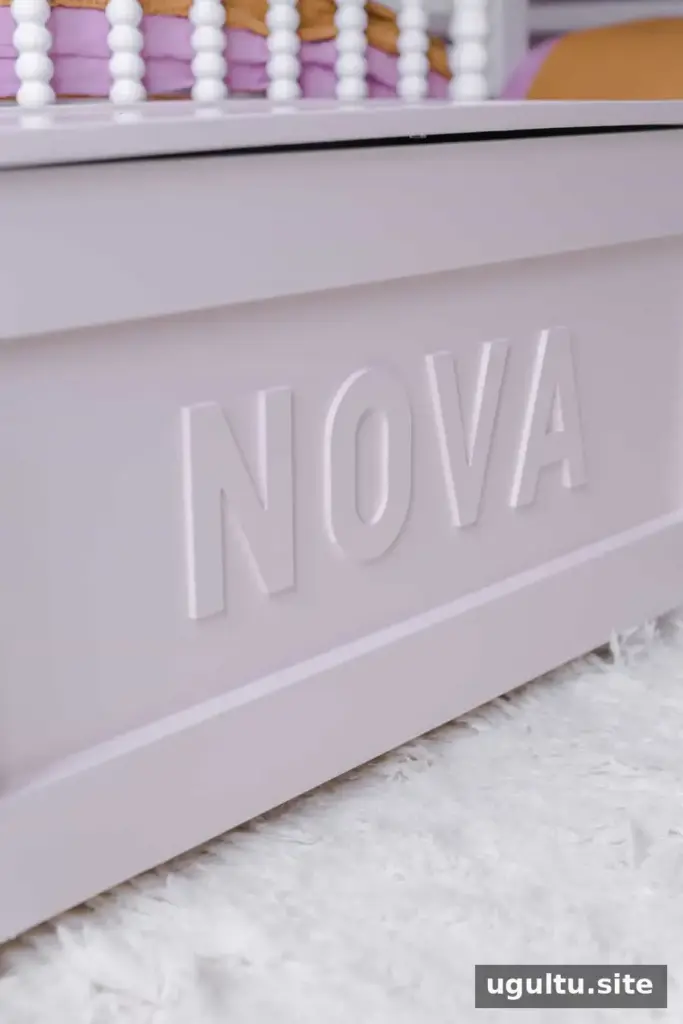
A painted finish can be refreshed later to suit a new room style. For a simpler alternative to building the full chest, use a suitable toy box and attach wooden letters before painting it one color. Project instructions by Elsie + Collin.
Conclusion
This guide to how to build a toy box covers the frame, side panels, supported plywood base, and hinged lid. Measure carefully before cutting, confirm the finished chest fits its intended space, and check the lid support before putting the toy box into everyday use.


