admin
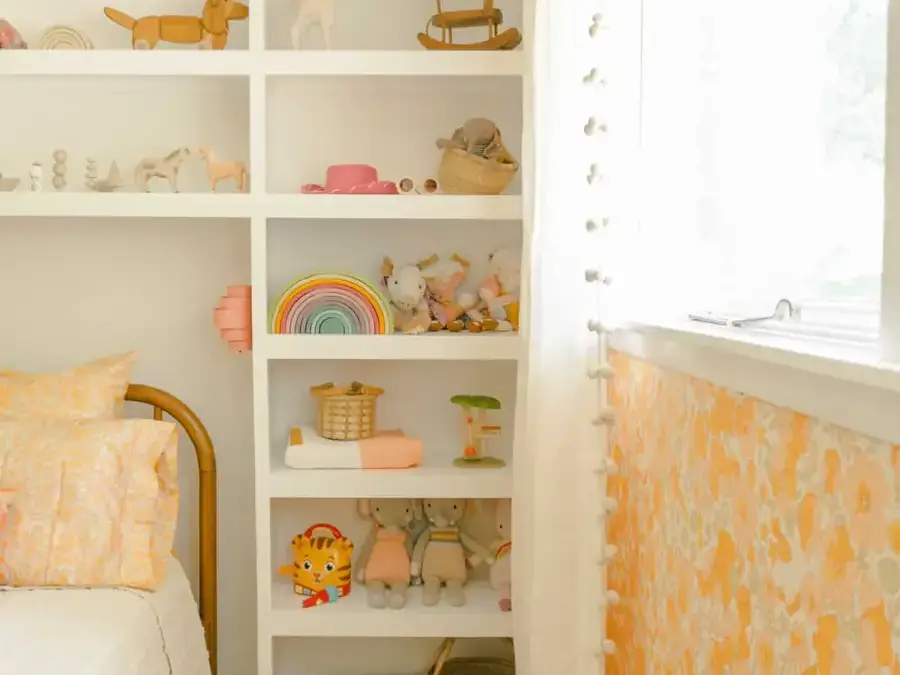
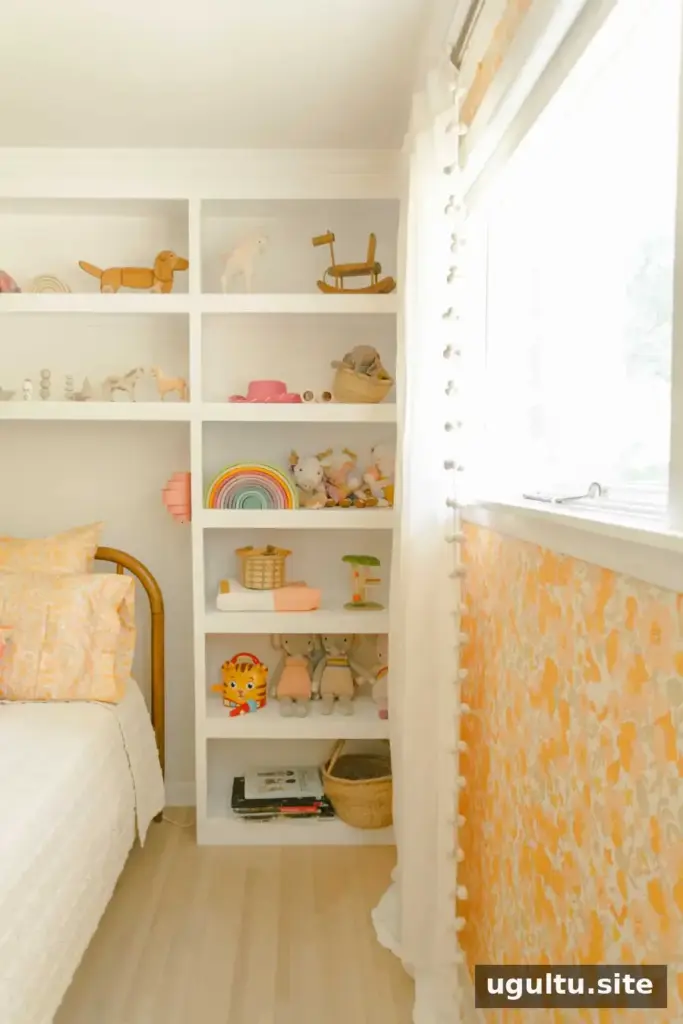
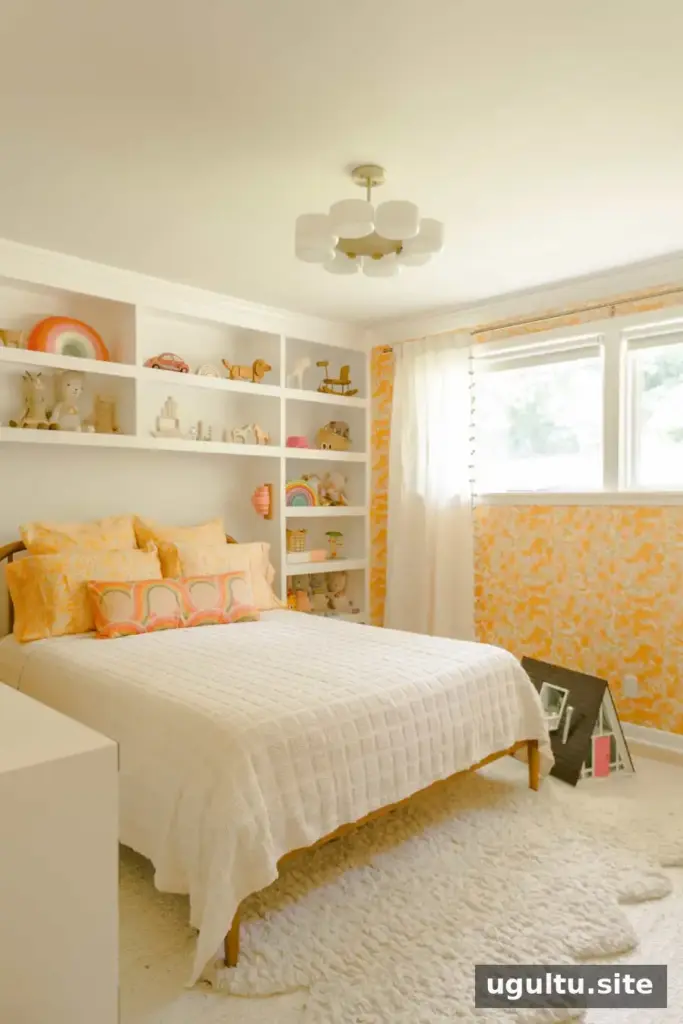
Custom shelves can add useful storage and make a room feel more thoughtfully designed. With careful planning, accurate measurements, secure supports, and tidy finishing, you can create shelving that fits your space and looks like part of the room. The examples below include bedroom built-ins around a queen-size bed, colorful floor-to-ceiling bookshelves, and ideas for making better use of closet space.
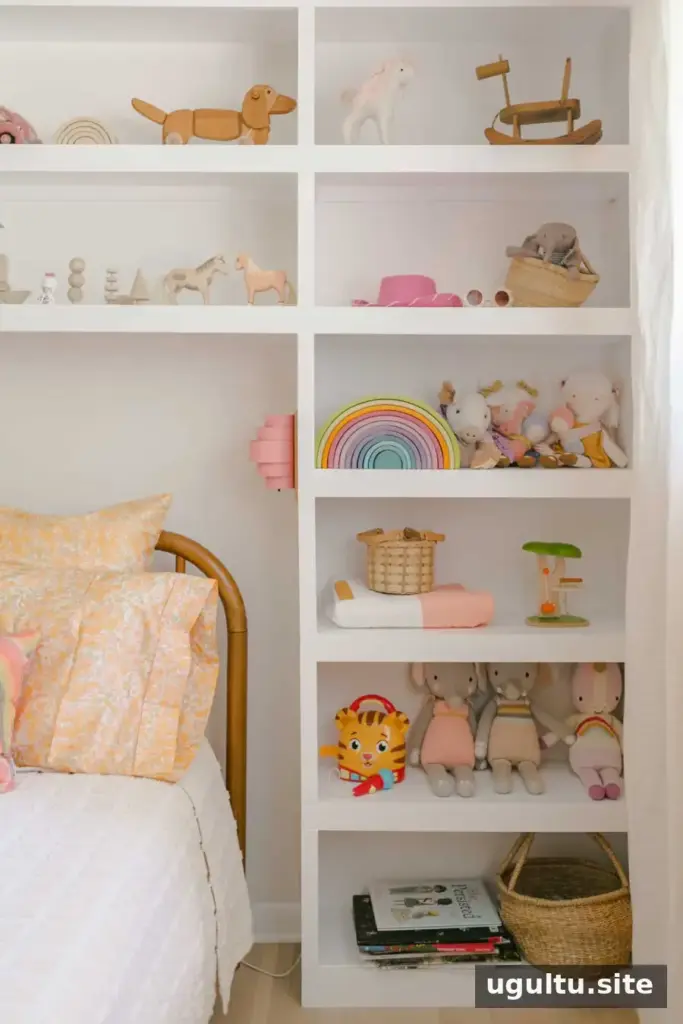
In one bedroom, built-in shelves were designed to store toys while adding visual interest. The layout also made room for wall sconces to serve as bedside lighting. Reusing and refitting the original trim along the top helped the shelves look integrated with the room rather than added afterward.
Custom Shelves: Plan the Layout Before Building
Before buying materials, map out the shelving on the wall with painter’s tape. This simple step makes it easier to judge the overall shape, spacing, and proportions from across the room. It can also help you estimate how many boards you need and which lengths to buy.
Many boards are sold in 6-foot or 8-foot lengths. Planning the layout first can help you make efficient cuts, reduce offcuts, and avoid purchasing more material than the project requires. If the shelves will sit around a bed, desk, or doorway, check that the layout leaves enough usable space for those features.

Floor-to-ceiling “rainbow” bookshelves show how a bold color choice can turn simple storage into a room feature. Shelving can also be customized inside a closet, where a mix of small and large shelves may help organize items of different sizes. Measure the items you plan to store so the finished spacing works for everyday use.
Measure the Wall and Locate Studs
Once the taped layout looks right, check that the lines are level and the gaps between shelves are consistent. Adjust the tape or mark the final positions lightly with a pencil. A long straight edge can help you extend marks neatly, while a stud finder can help locate the framing behind the wall.
Mark stud locations before installing supports so you can plan where the fasteners will go. Wall construction can vary, so choose fasteners that suit the wall and follow the manufacturer’s installation instructions. Do not assume that drywall alone can safely support a loaded shelf.
Build Custom Shelves in Four Stages
Breaking the work into stages helps keep the installation organized:
- Attach the support boards to the wall, aligning them with your layout marks.
- Fasten the shelf boards to their supports.
- Add trim boards for a finished, built-in appearance.
- Fill holes, caulk appropriate gaps, and paint after the surfaces are prepared.
For the original project, 2.5-inch star-bit wood screws were used to attach support boards where they could be fastened to studs. Drywall toggle anchors were used in areas without a stud. Fastener choice depends on the wall, shelf design, and intended use, so check that the selected hardware is appropriate before loading the shelves.
Finish Shelves for a Clean, Professional Look
Careful trim work makes a noticeable difference. Measure and cut trim accurately, and take time to fill visible gaps with caulk where appropriate. Rushed cuts, uneven joints, or poorly finished gaps can make otherwise sturdy shelves look unfinished.
Pre-primed boards can simplify painting. With unprimed wood, knots may show through the paint over time, so use a suitable primer and follow the product directions. If you are building floor-to-ceiling shelves on a wall with crown molding, the molding may need to be removed from that wall. Where practical, refitting the molding along the top of the shelves can help create a more integrated look.
Choose Paint and Tools Carefully
For painted shelves, especially designs that include cabinet doors, choose a durable paint intended for the surface and allow it to dry according to the label. Mini paint rollers can make it easier to cover broad, flat areas evenly; use a brush for corners and detailed trim. Let each coat dry as directed before putting items on the shelves.
Conclusion: Make Custom Shelves Fit Your Space
Custom shelves work best when the layout is planned around the room, measurements are checked before cutting, and supports are secured with suitable fasteners. Finish the trim, gaps, and paint patiently for a polished result. Whether you are adding bedroom storage, colorful bookshelves, or closet organization, these custom shelves tips can help you create a practical design that feels at home in the space.
Written by Elsie, with building tips from Collin.