admin

Knowing how to clean refrigerator coils can help keep dust and debris from building up around an important part of your appliance. The task usually takes about 10 minutes and requires a coil brush, a handheld vacuum, a microfiber cloth, and possibly a flathead screwdriver. Check your refrigerator’s owner’s manual first, since coil locations and access instructions vary by model.

What Are Refrigerator Coils?
Refrigerator coils, also called condenser coils, help release heat from the refrigerator’s cooling system. Depending on the model, they may be located behind the refrigerator or near the bottom at the front. Some front-mounted coils are covered by a kickplate or access panel.

Use the owner’s manual to find the coils before moving or opening any panels. This can help prevent unnecessary handling and make the job quicker.
Why Clean Refrigerator Coils?
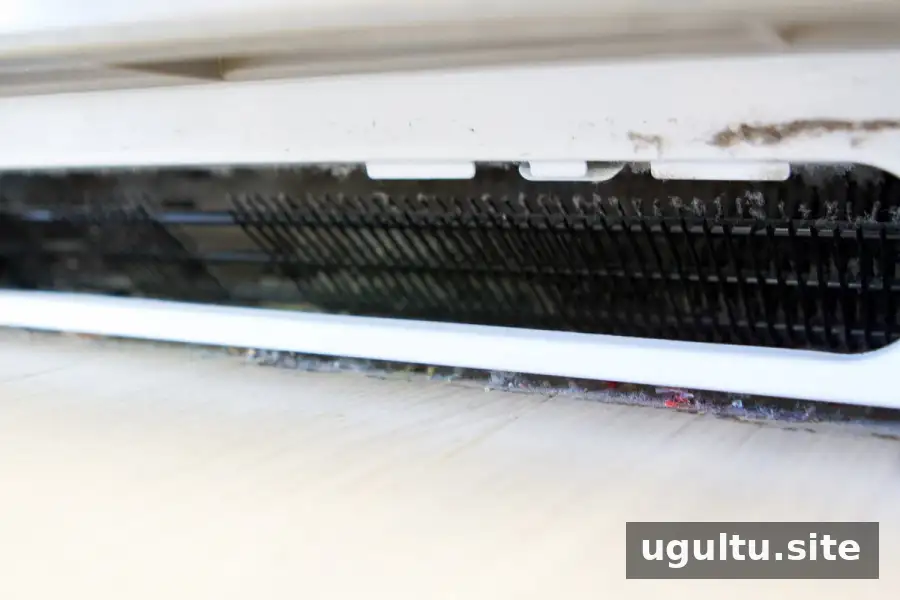
Dust and grime can collect on the coils over time. A thick layer of debris may restrict airflow and make it harder for the refrigerator to release heat. Keeping the area clean is a simple maintenance step that may help the appliance operate as intended.
Coil cleaning does not replace other refrigerator care. If the appliance is not cooling properly after cleaning, consult the manual or contact a qualified appliance technician.
How to Clean Refrigerator Coils
Difficulty: Easy
Estimated time: About 10 minutes
Supplies: Coil-cleaning brush, microfiber cloth
Tools: Handheld vacuum, flathead screwdriver if needed
1. Unplug the refrigerator
Disconnect the refrigerator from power before cleaning. If you cannot safely reach the plug, follow the manufacturer’s instructions for switching off power. Avoid working on the coils while the appliance is connected.
2. Find the coils
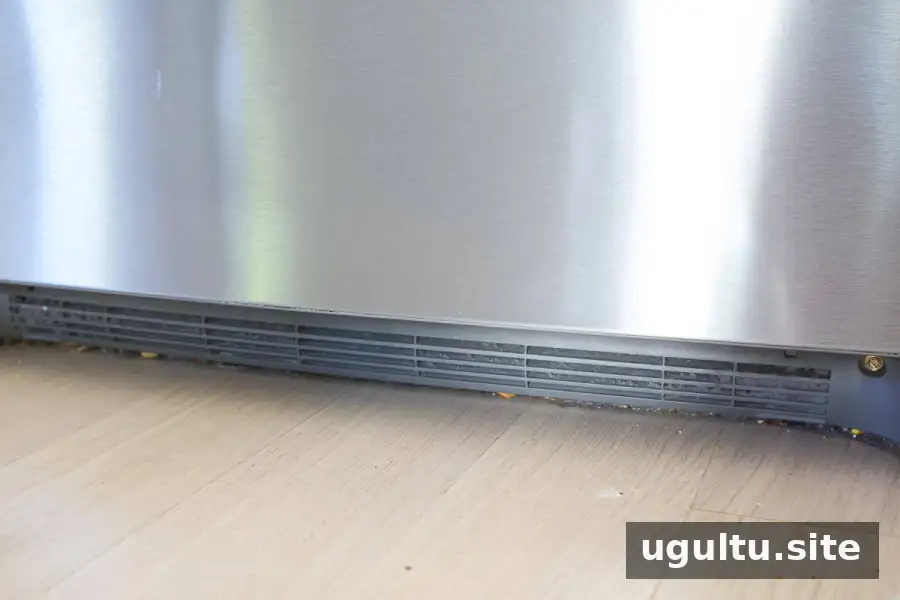
On some older models, the coils are at the back of the refrigerator, sometimes behind a panel. Other models have coils near the lower front, behind a kickplate. If access requires moving the refrigerator, move it carefully and avoid pulling or crushing the power cord or water line.
3. Remove the access panel
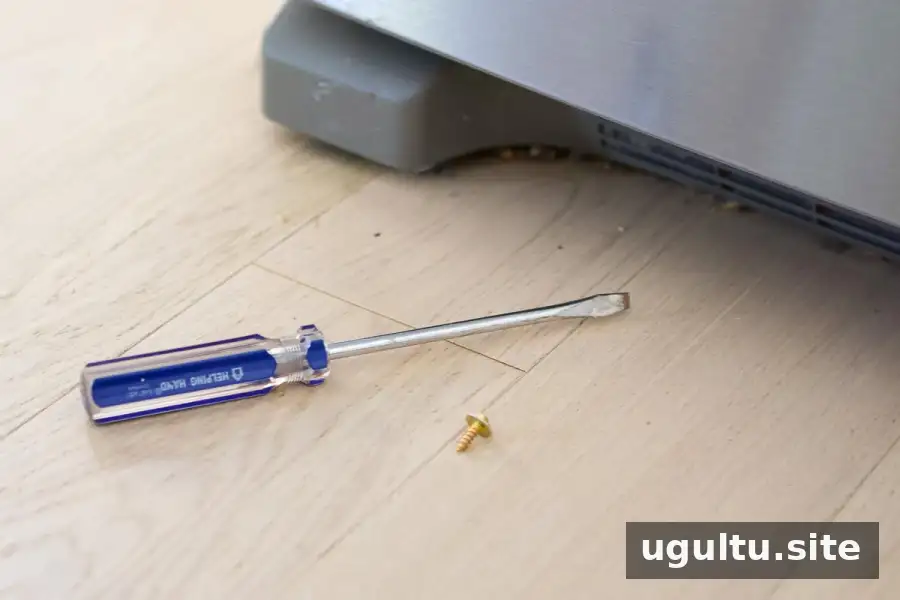
Take off the kickplate or panel according to the manual. A flathead screwdriver may be needed on some models. Keep screws and small parts together so they are easy to replace.
4. Loosen dust with a coil brush
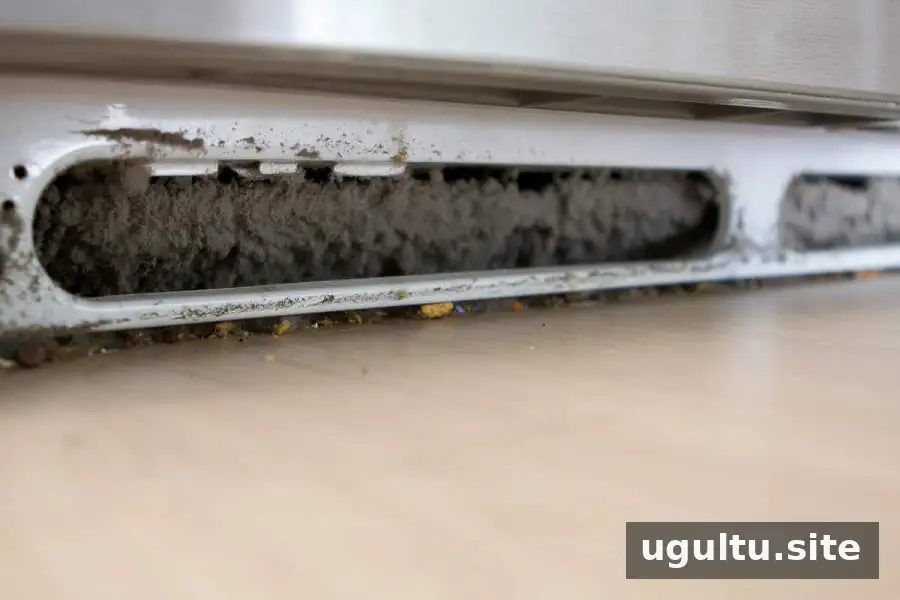
Gently brush dust and debris from the coils. Work carefully and avoid bending the coils or forcing the brush into tight spaces. If there is a heavy layer of dust, consider wearing a dust mask.
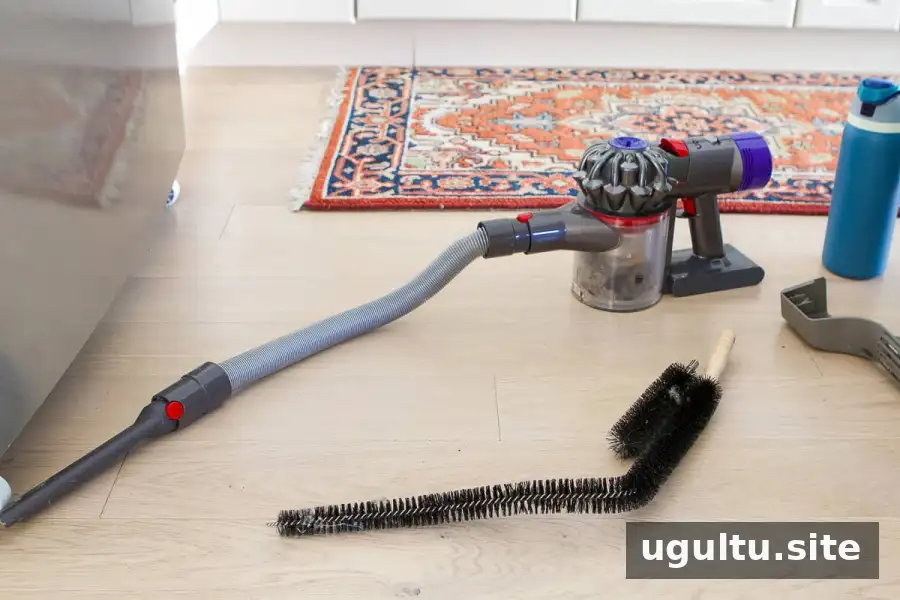
5. Vacuum the loosened debris
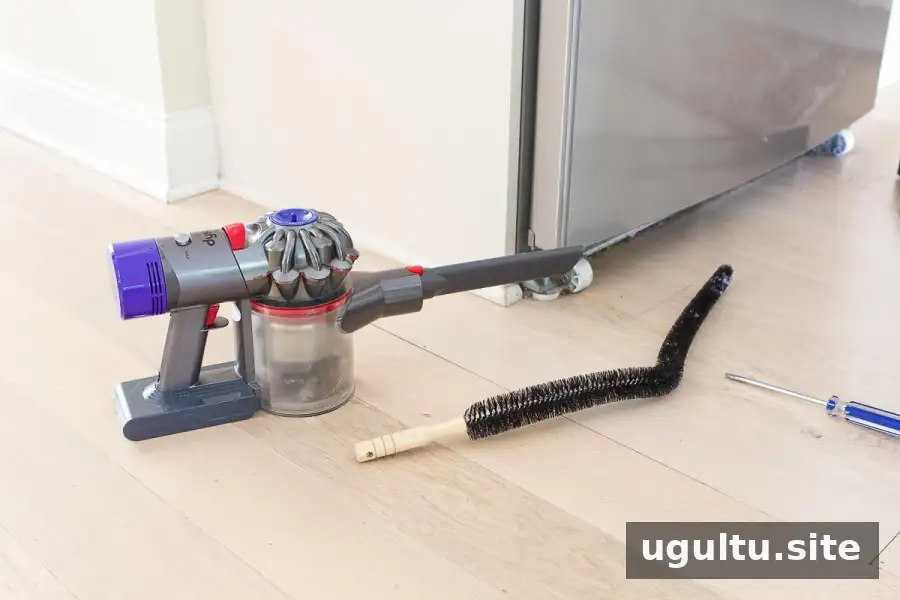
Use a handheld vacuum to collect dust as it comes away. A narrow attachment can help reach around the coil area, but do not press hard against the coils or nearby components. Keep the vacuum nozzle and brush under control to avoid damaging anything.
6. Clean and dry the panel
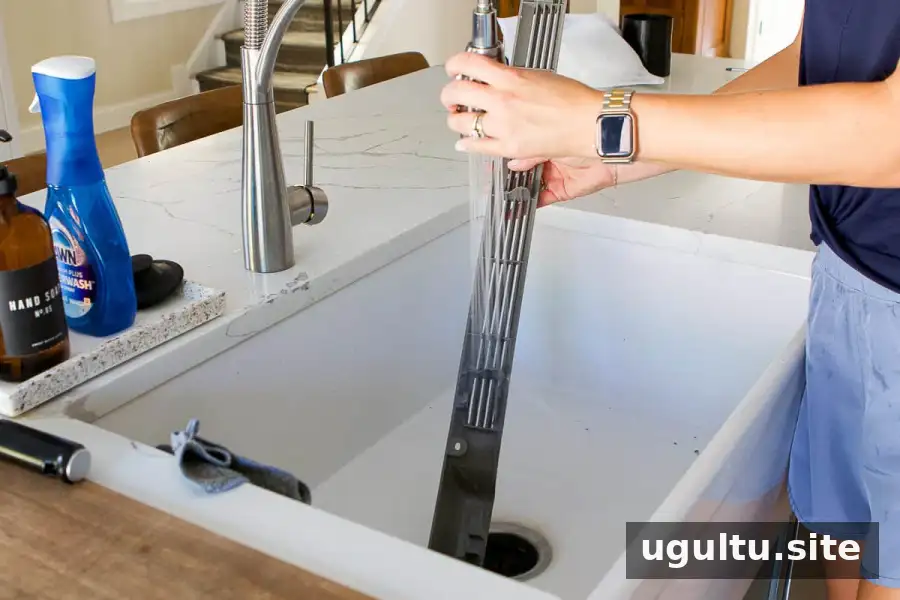
Wash the removed panel separately with mild soap and water if the manufacturer’s instructions allow it. Do not spray or pour water onto the coils or electrical parts. Dry the panel completely before putting it back.
7. Reattach the panel and restore power
Secure the panel or kickplate in its original position. Check that tools and loose debris have been removed from the area, then reconnect the refrigerator to power. If the appliance was moved, return it carefully to its usual position without trapping cords or lines.
How Often Should You Clean Refrigerator Coils?
Cleaning the coils about every six months is a practical routine suggested for this task. Your refrigerator’s manual may recommend a different schedule, so follow the guidance for your model. Add the next cleaning date to a household maintenance calendar to make it easier to remember.

Keep Refrigerator Maintenance Simple
Regularly checking the area around the coils can help you spot dust before it accumulates heavily. When it is time for maintenance, follow the manual, unplug the appliance first, and use a soft coil brush and vacuum carefully. These steps explain how to clean refrigerator coils without rushing or putting unnecessary pressure on the components.