
 admin

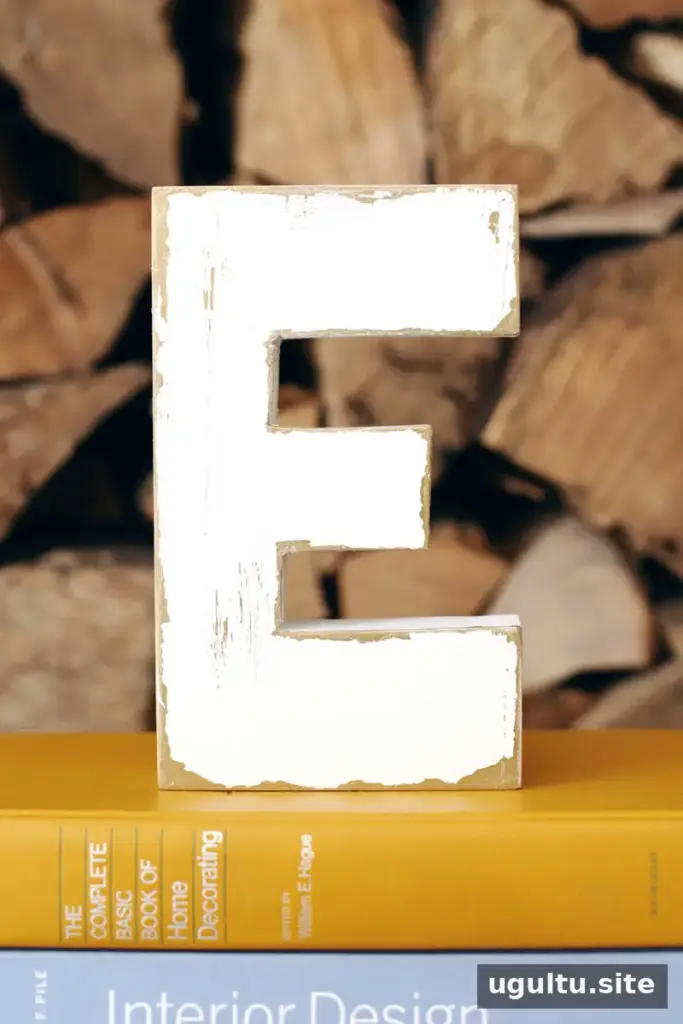
A weathered paint effect can give wooden furniture, picture frames, and decorative letters a layered, timeworn appearance. This method uses two paint colors and rubber cement to create areas where the top coat can be removed, revealing the color underneath. The result is easy to adjust, so you can keep the finish subtle or distress selected areas more noticeably.
Before starting, protect your work surface and check the product labels for application and drying guidance. If you are unsure how the materials will look together, test the technique on a spare piece of wood first.
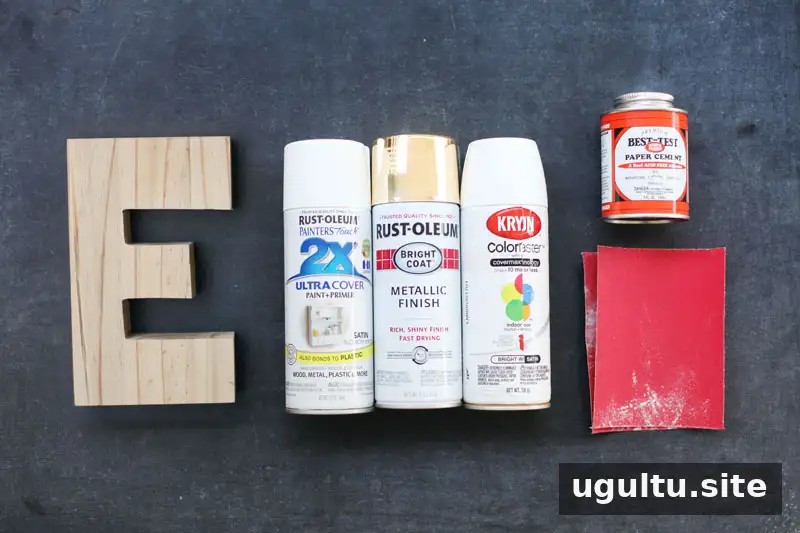
Supplies for a Weathered Paint Effect
- A wooden object
- Primer
- Base-layer paint; metallic gold is one option
- Top-layer paint; white is one option
- Rubber cement
- Fine-grit and coarse-grit sandpaper
Important: Do not use paint-and-primer spray paint for the top coat. The technique relies on removing portions of the top layer to expose the base color.
How to Create a Weathered Paint Effect
1. Prepare and prime the wood
Apply primer to the wooden object according to its label. Once it is ready for sanding, lightly smooth the surface with fine sandpaper. Wipe away sanding dust before painting so it does not interfere with the finish.
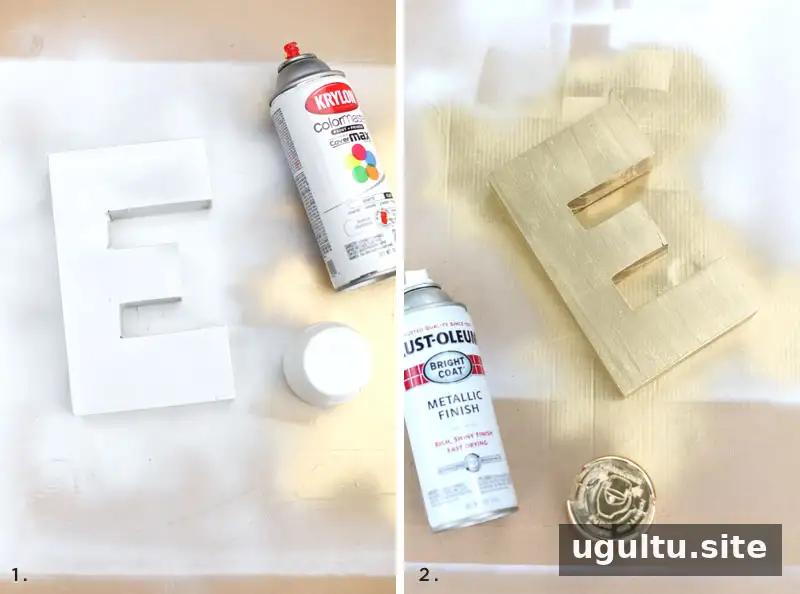
2. Apply the base color
Paint the object with the base color, covering the areas you want to show through the distressed finish. Build up the coat as needed; the example used three coats of metallic paint. Follow the paint label between coats, and allow the base layer to dry before moving on.
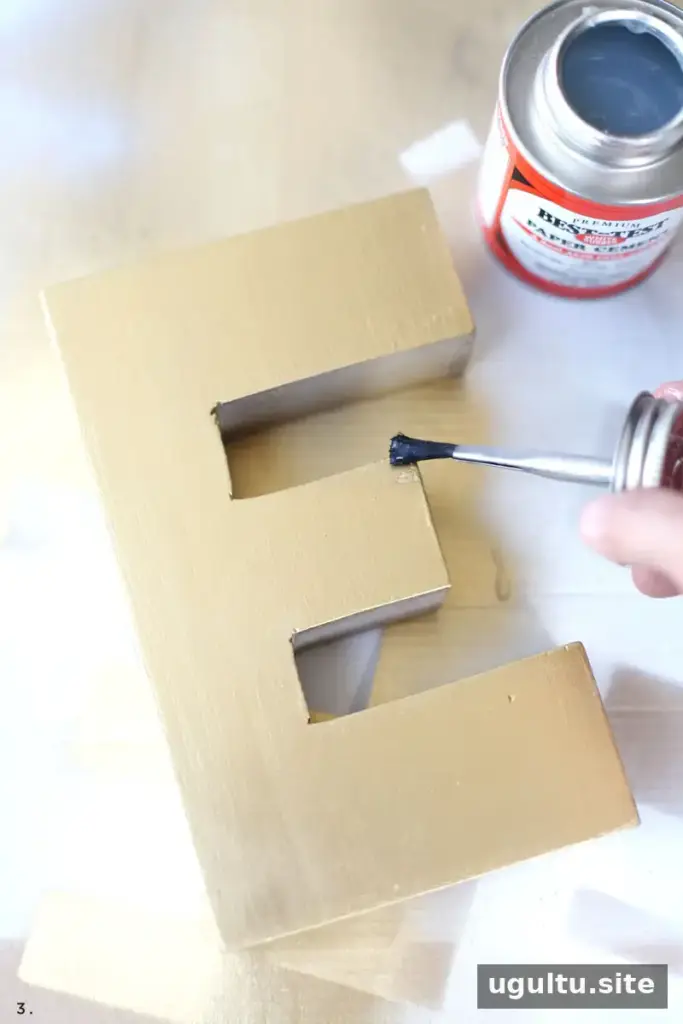
3. Add rubber cement where you want distressing
Brush rubber cement along edges and over any other areas where you want the top coat to lift. For a more varied look, add a few vertical strokes across the surface. These marks determine where the underlying base color will be revealed, so apply them selectively.
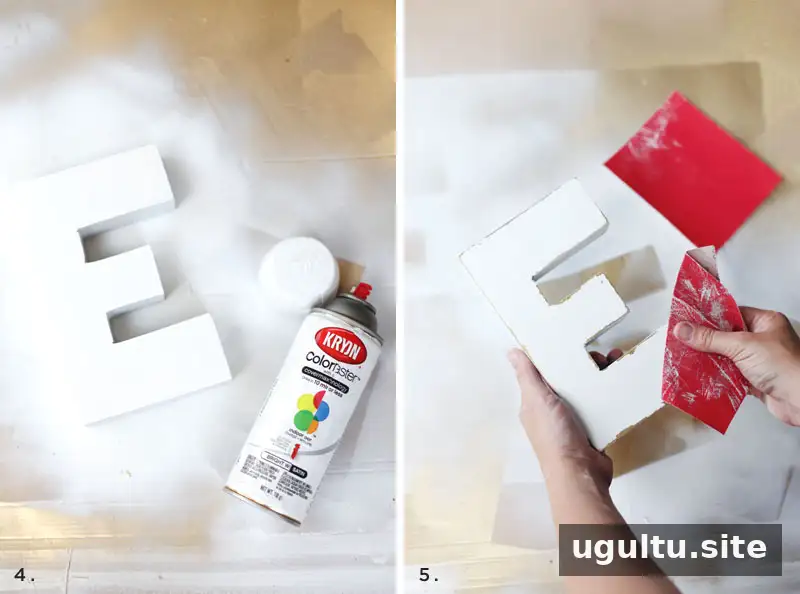
4. Paint the top coat
After the rubber cement dries, apply one coat of the top color. Keep the layer even and let it dry before sanding or peeling. Check the paint instructions for drying guidance, since conditions and products can affect how long this takes.
5. Reveal the layers
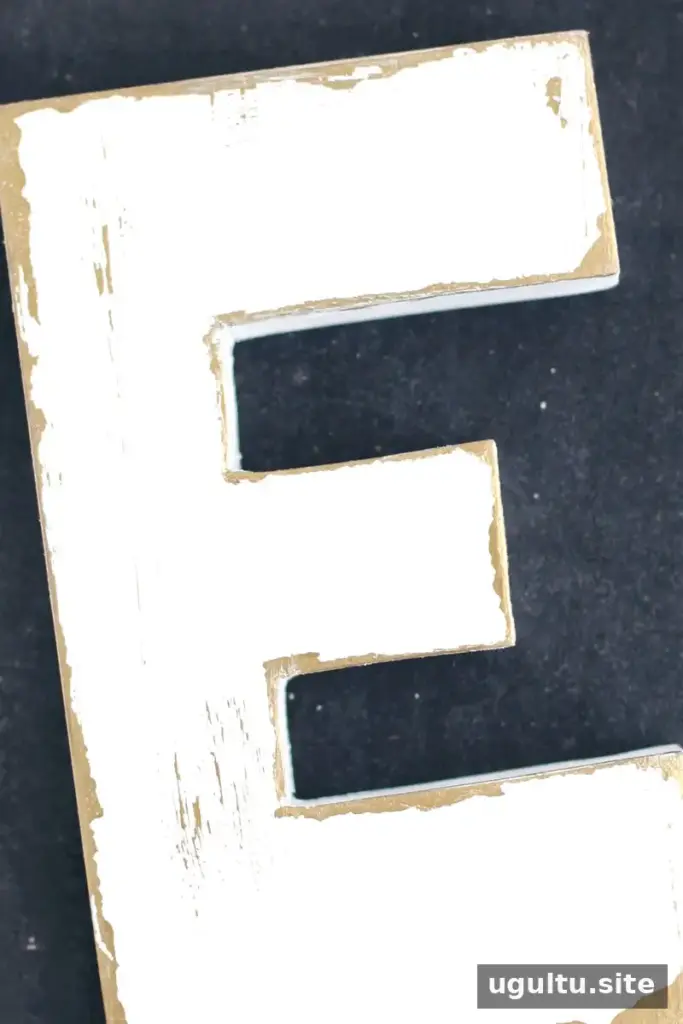
Gently rub coarse sandpaper across the surface to wear away small areas of the top coat. Avoid sanding directly against pointed corners, where you may remove more paint than intended. Use your fingers or thumb to rub over areas coated with rubber cement; the top paint should peel away there and expose the base color.
Work gradually and pause to check the result. A few light passes can create a restrained, aged look, while additional sanding can reveal more of the metallic layer. For extra variation, lightly sand selected spots across the surface.
Sealing and Finishing
If you want to help keep the finish in place, apply a clear sealer once the paint is dry and the distressed effect is complete. Follow the sealer’s directions and consider testing it on an inconspicuous area first, as the final appearance can vary by product.
Final Tips
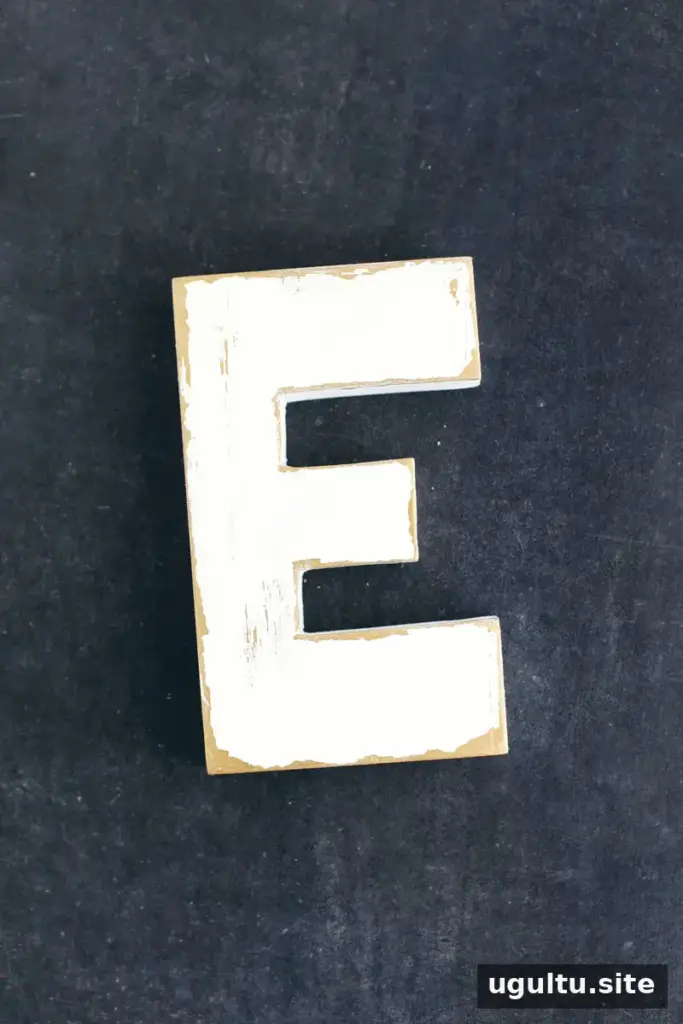
This weathered paint effect works by layering color and removing parts of the top coat, so the placement of the rubber cement and the pressure used during sanding both affect the result. For a balanced finish, focus distressing around edges and a few chosen areas rather than sanding the entire piece evenly. Mandi created the decorative letter E using this technique.


