admin
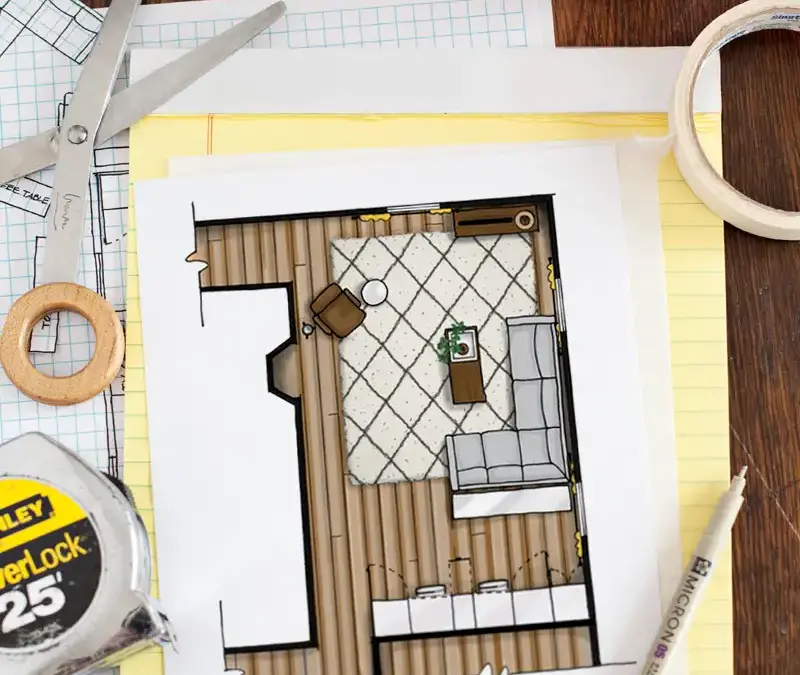
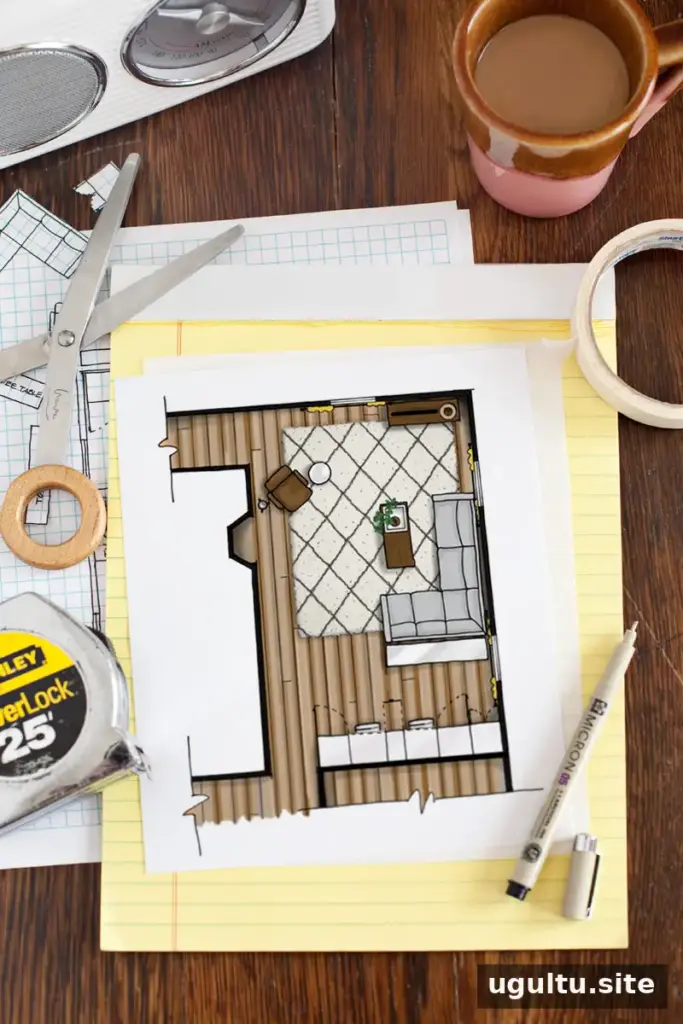
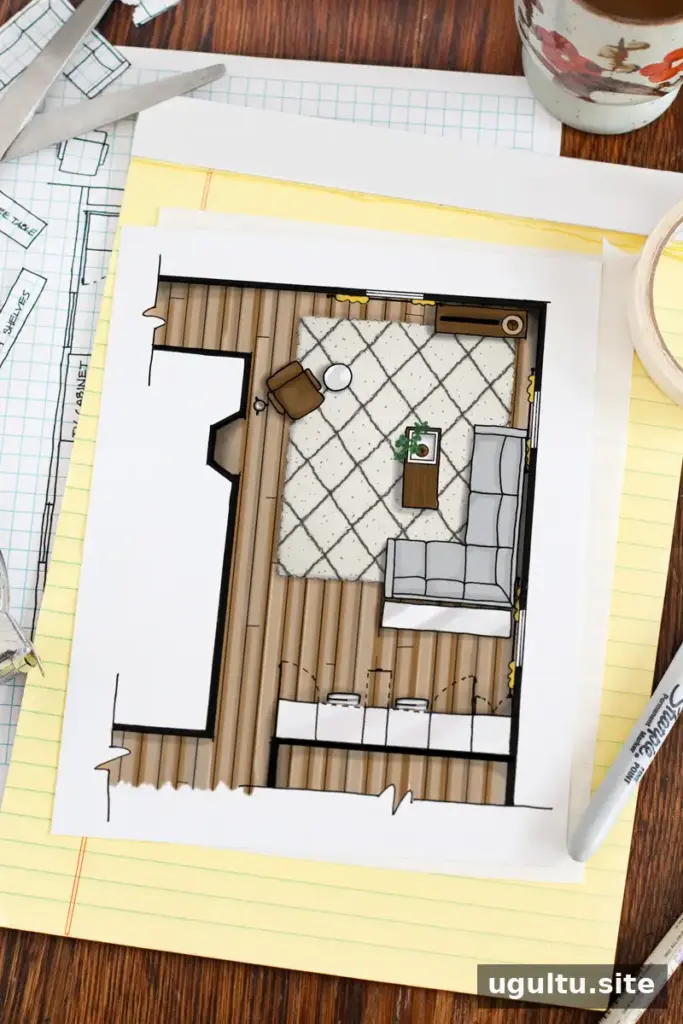
Planning a room on paper before moving furniture or buying new pieces can help you use the space more effectively. Learning how to draw a floor plan does not require design training or specialized software: careful measurements, graph paper, and a few scaled paper cut-outs are enough to explore different layouts.
A simple floor plan can also help you check whether furniture will fit, spot tight walkways, and compare possible arrangements before doing any heavy lifting. Follow these steps to create a practical plan for your room.
How to Draw a Floor Plan: Measure the Room
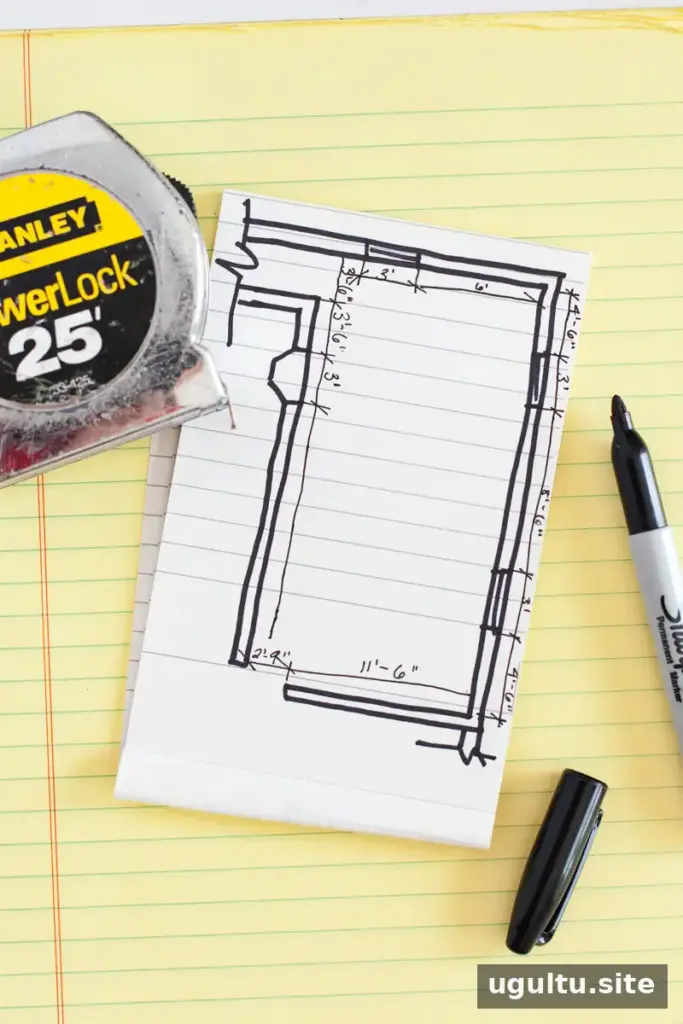
Start by making a rough sketch of the room. Mark the walls, doorways, windows, and other features that affect how the space can be used. Then measure each wall and note the dimensions directly on your sketch. Having another person hold the end of a tape measure can make it easier to measure long spans accurately.
Record measurements in feet and inches, and include the positions and widths of openings rather than noting only the overall wall length. Measure fixed features such as alcoves or built-in elements too. Double-check your figures before moving on; a small measurement error can affect the whole layout.
Transfer Your Measurements to Graph Paper
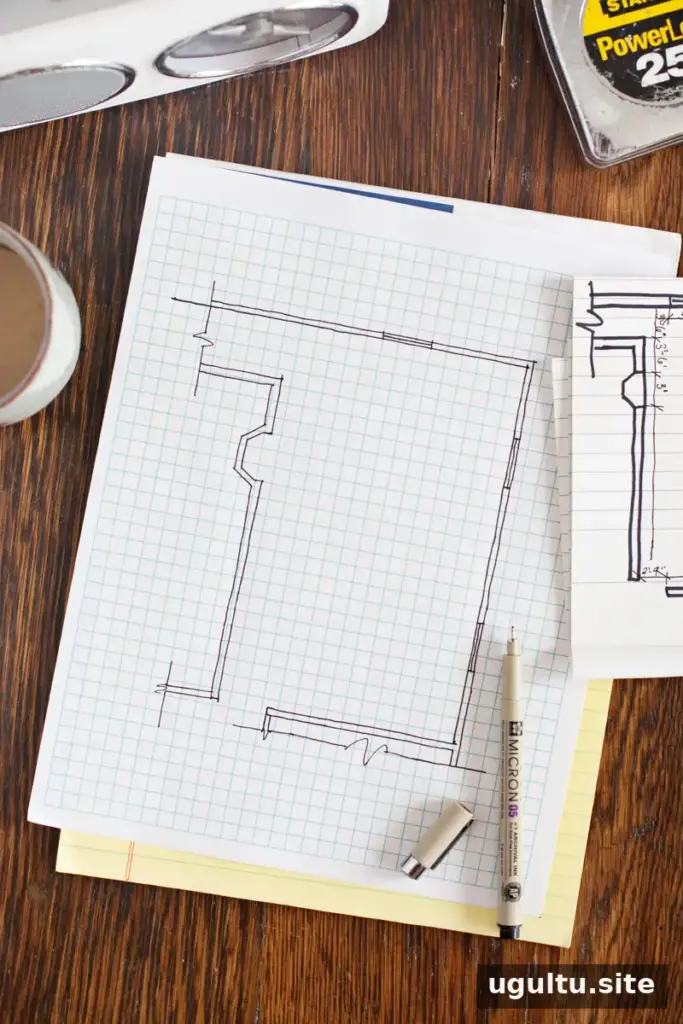
Use 1/4-inch graph paper to turn your rough sketch into a scaled plan. At a quarter-inch scale, 1/4 inch on the page represents 1 foot in the room. If your graph paper has 1/4-inch squares, each square equals 1 foot; half a square represents 6 inches, and half of that represents 3 inches.
Count the squares to mark each wall, and use the grid lines to keep the drawing straight. The scale depends on the size of the graph-paper squares, so check the paper before you begin. Include interior wall thickness; interior walls are usually about 5 inches thick.
Make Scaled Furniture Cut-Outs
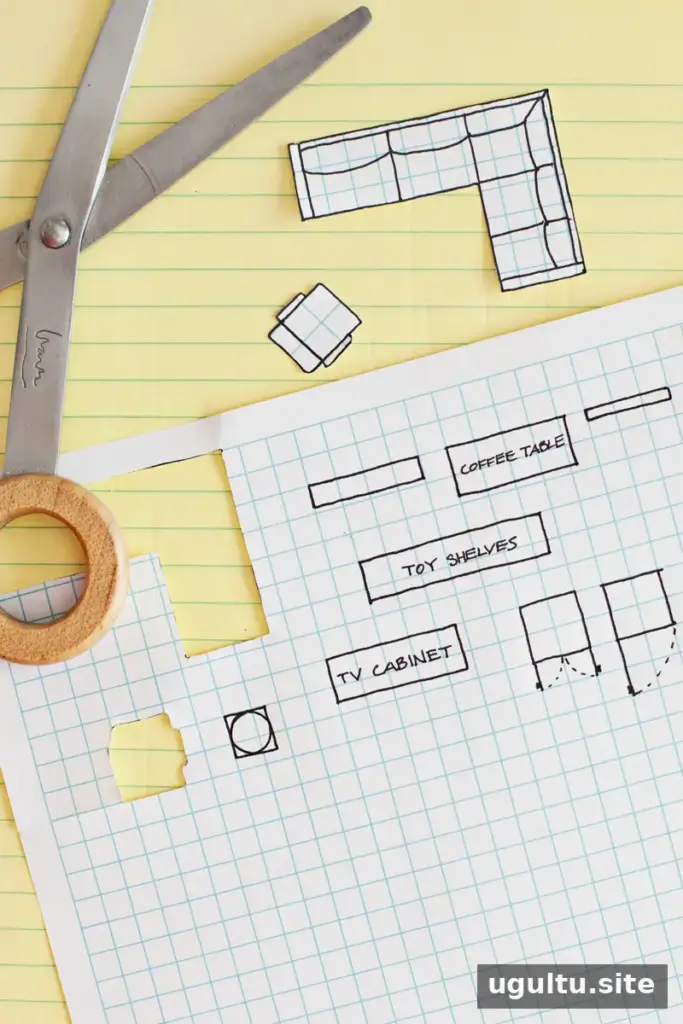
Once the room outline is ready, draw the furniture and fixtures you want to test in the space. For pieces you already own, measure their length and width. For items you are considering, use the dimensions listed in the product details. Convert each measurement using the same scale as your room plan, draw the shapes on graph paper, and cut them out while keeping the outlines intact.
It can help to label each cut-out with the item’s name and dimensions. That way, similar shapes are easier to tell apart while you test arrangements.
Arrange Furniture and Check Clearances
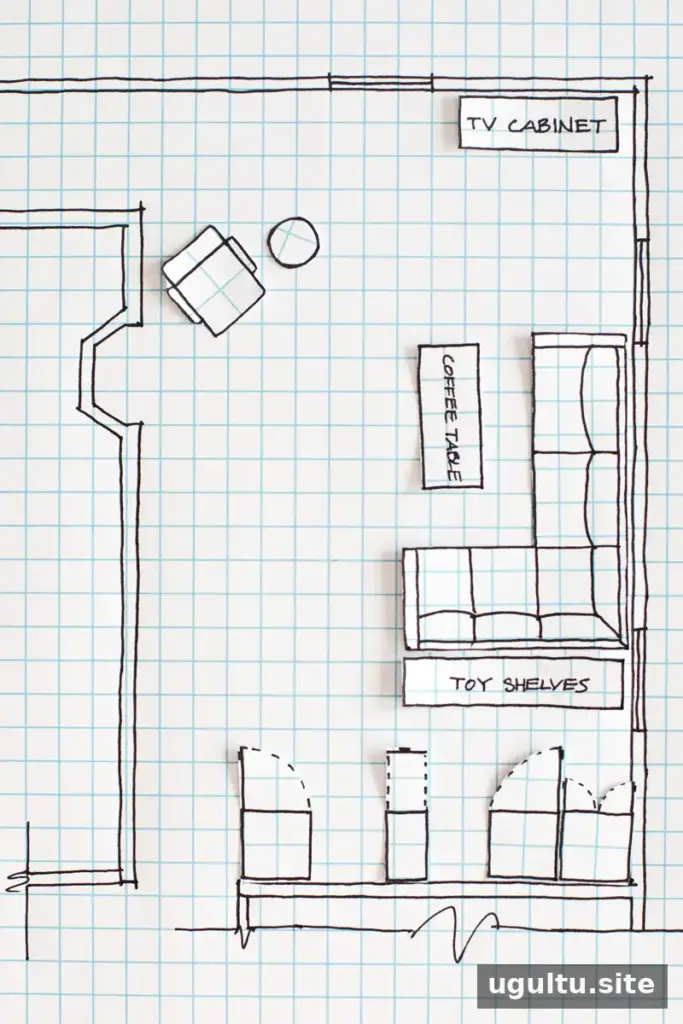
Move the paper cut-outs around the plan to compare layouts. Check that doors and windows remain usable, and consider how people will move between the room’s main areas. If a piece does not fit comfortably, try a different position or reconsider its size before buying it.
Use these spacing guidelines when planning pathways:
- Major pathways: Allow 30–48 inches where two people commonly use the pathway.
- Minor pathways: Allow 24–36 inches for routes used by one person, such as an entry to a seating area.
- Furniture spacing: Leave at least 18 inches where people need to pass between furnishings, such as between a sofa and coffee table. Less space can work where no passage is needed, such as between a chair and side table.
- Wheelchair access: Allow at least 36 inches for wheelchair pathways. A space where a wheelchair must make a U-turn requires 48 inches.
These figures are useful planning references, but requirements can vary by location and project. Check applicable accessibility and building standards when they apply.
Create a Presentation Floor Plan
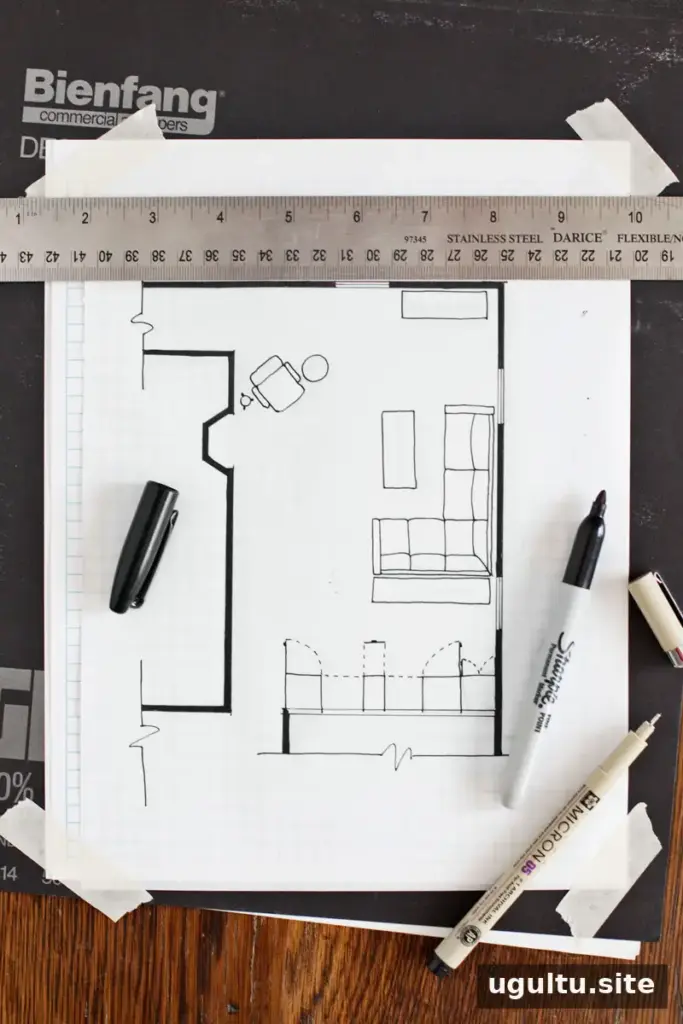
After settling on a layout, you can make a cleaner version to explore colors, rugs, and other design choices. Place translucent paper over the plan and trace the walls and furniture. A ruler helps keep lines straight, and a thicker marker can make the walls stand out.
Colored pencils or markers can add simple finishes. If you prefer to work digitally, an image-editing program can make it easier to correct mistakes, duplicate items, and test different colors or textures. A presentation plan is optional; the scaled layout alone is enough for basic space planning.
Use Your Floor Plan to Plan with Confidence
A floor plan gives you a chance to test ideas before moving heavy furniture or spending money on new pieces. Keep your measurements and scale consistent, and revisit the layout if a walkway feels cramped. Once you are comfortable drawing a floor plan, you can also explore room elevations to consider how the space may look vertically.
With a little measuring and a few paper cut-outs, learning how to draw a floor plan can make it easier to see what works for your room before making changes. —Mandi