admin
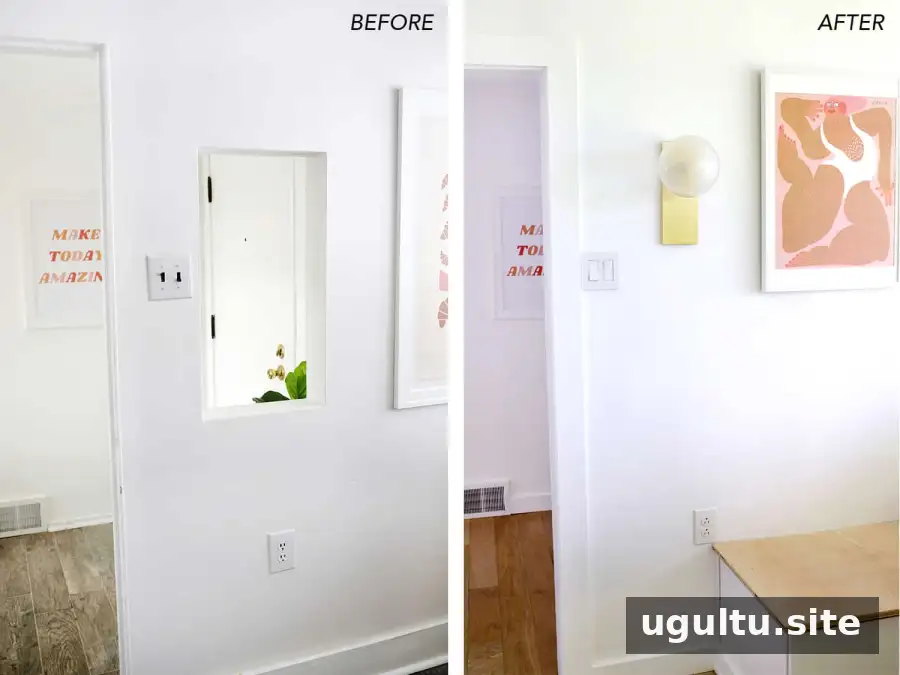
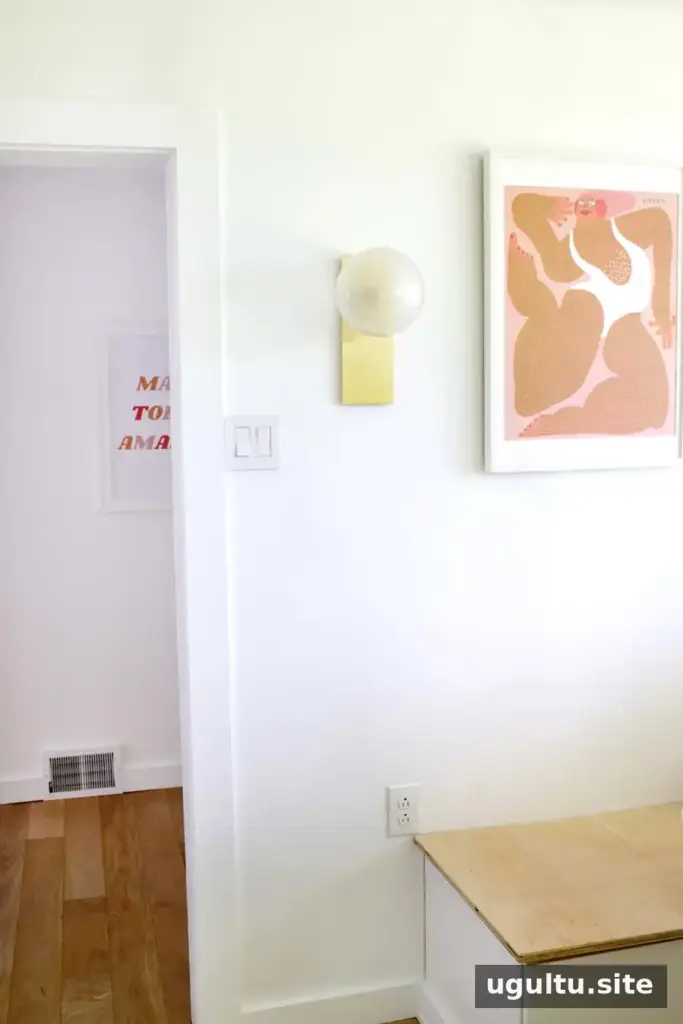
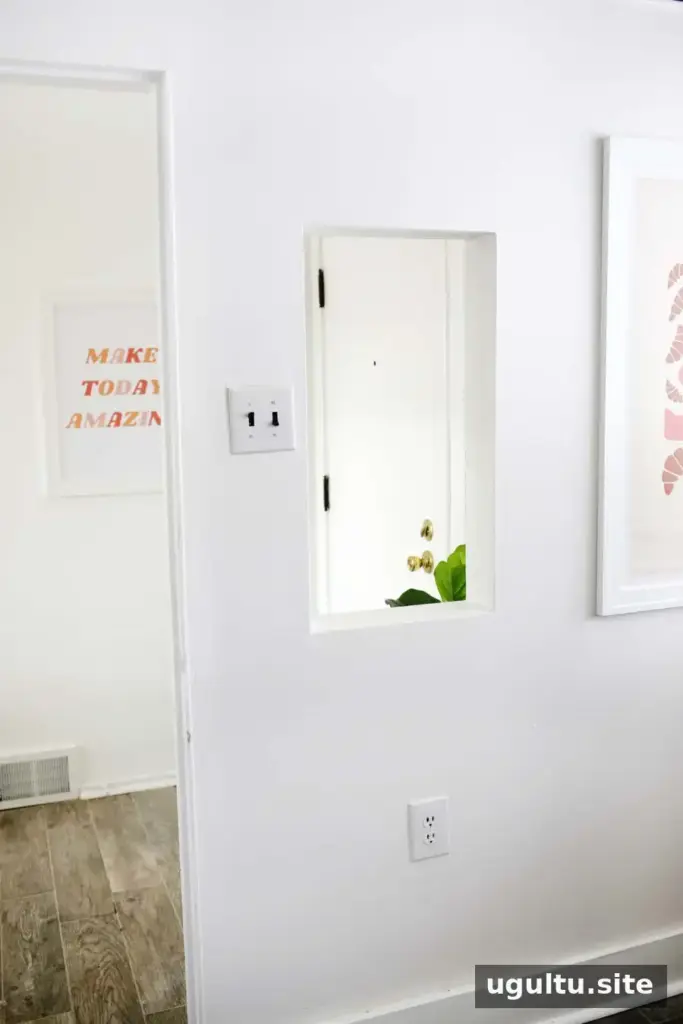
An unused pass-through or interior window can interrupt the look of a room. To fill in an interior window and create a smooth wall, install a support frame inside the opening, attach drywall on both sides, then tape, mud, sand, prime, and paint the surface. The exact frame dimensions depend on the opening and wall thickness, so measure carefully before cutting.
Materials and tools for filling in an interior window
Gather the supplies before starting. Having the pieces ready makes it easier to keep drywall supported while you build the frame.
- Utility knife and 1/2-inch drywall
- 2×4 lumber, a table saw if boards need to be ripped, and a drill
- Nail gun with brad nails or drywall screws
- 1-inch, 6-inch, 10-inch, and 12-inch drywall knives
- Paper joint tape, all-purpose drywall compound, and lightweight drywall compound
- Metal mud pan
- Pole or hand sander, fine-grit sandpaper, and sanding screens
- Optional vacuum attachment for sanding dust
- Drywall primer, paint roller with a thicker nap, dust mask, and eye protection
Before you begin, check that the opening has no wiring, plumbing, or other services in the area where you plan to fasten the frame. Also confirm that the wall can be altered safely; seek qualified advice if you are unsure whether it is structural.
Measure and cut the drywall panels
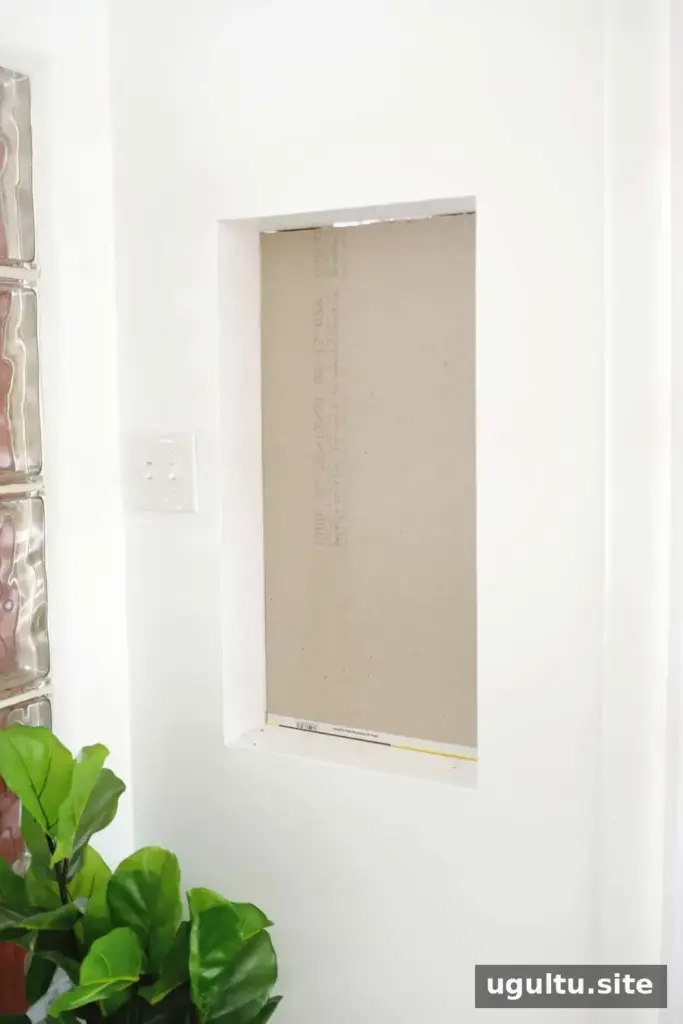
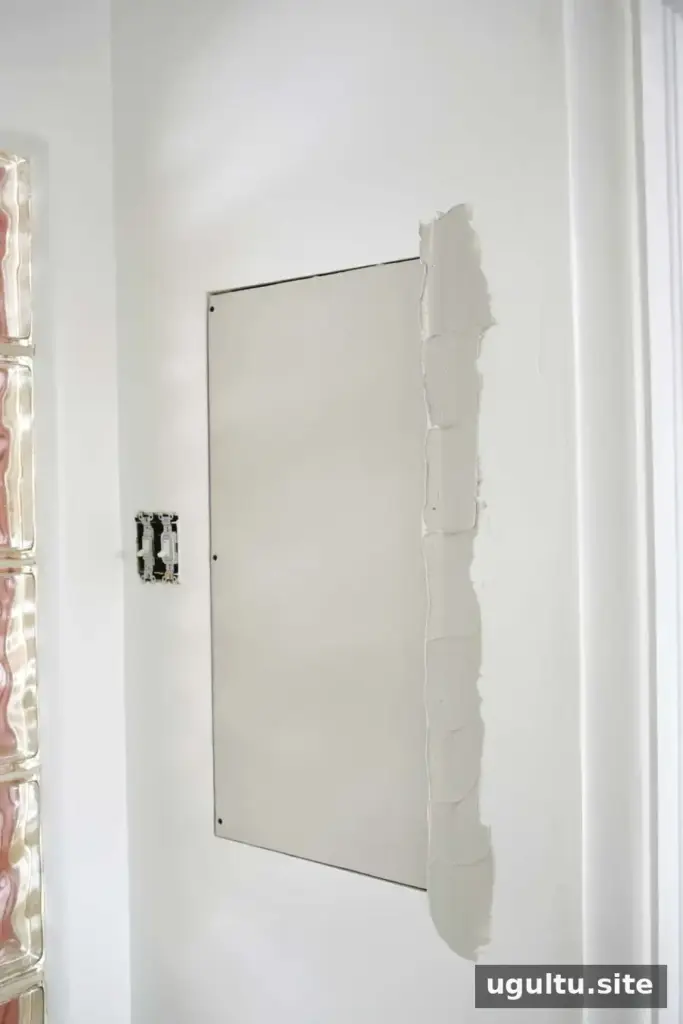
While the opening is still accessible, hold a drywall sheet against one side and trace the opening from the opposite side. Repeat from the other side, since the two openings may not be exactly the same size. Label each panel so it goes back on the correct side. Score the marked lines with a utility knife and snap the drywall along the cuts.
Install the first panel with its finished paper face outward. To hold it temporarily and keep it flush with the wall, fasten scrap boards or longer 2×4s across the opening as braces. These supports are temporary and will come off after the frame is ready.
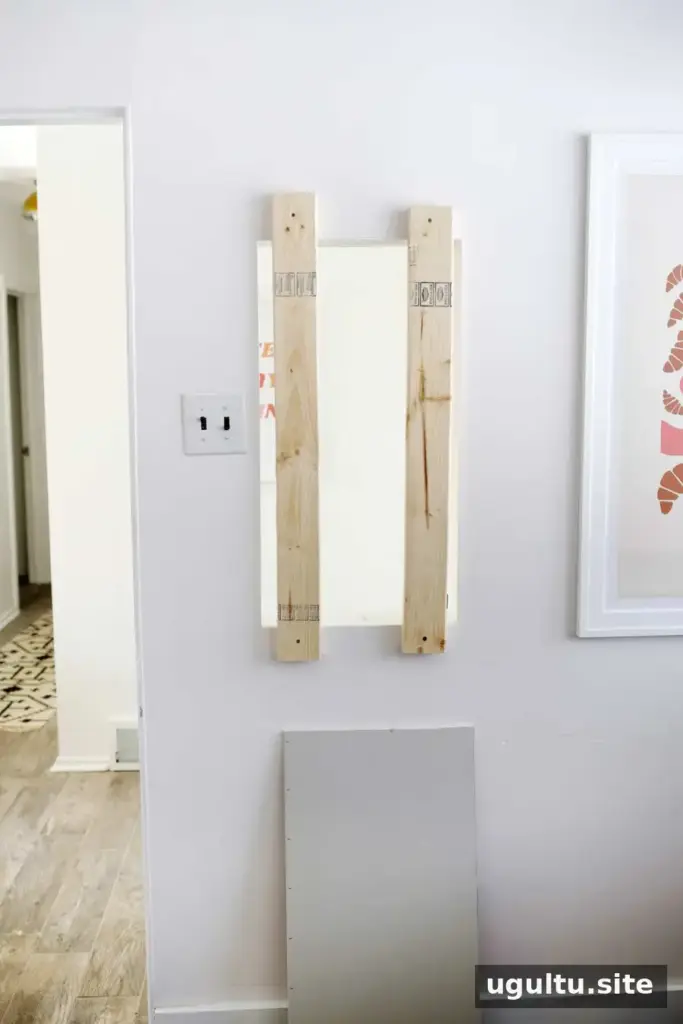
Build a frame inside the opening
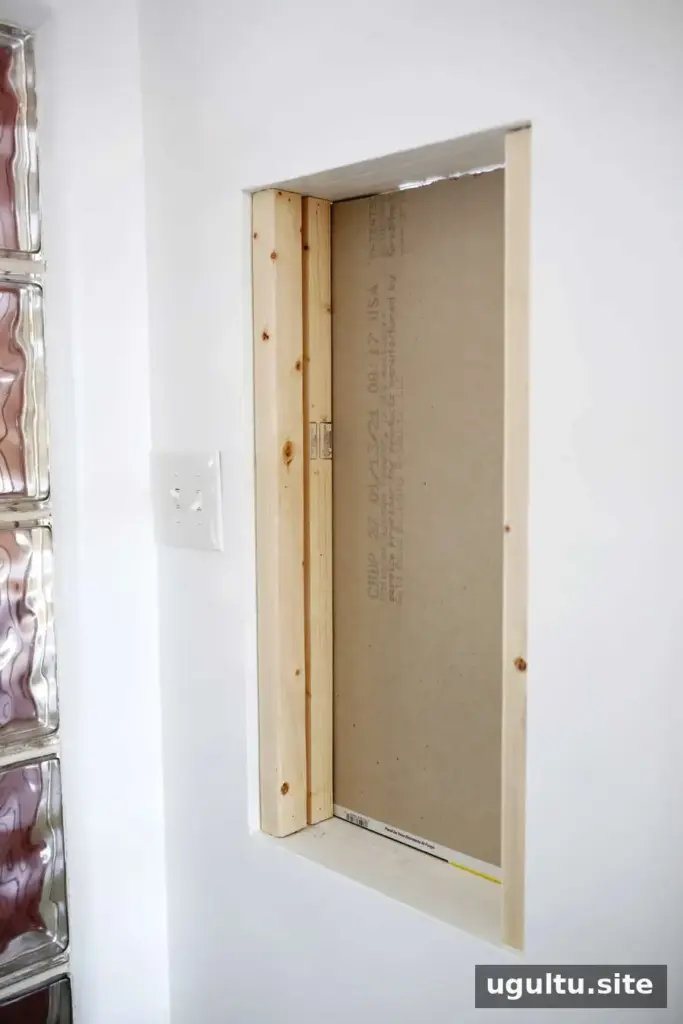
From the other side, fit lumber inside the opening to support both drywall panels. Set the frame back by the thickness of the drywall—in this example, 1/2 inch—so the finished faces align with the existing wall. If the window ledge is too narrow or wide for standard 2×4s, rip or reposition the lumber as needed. Measure the depth on both sides before fastening anything.
For a small opening, side supports may be enough. A wider opening needs a more complete frame, including top and bottom pieces, with vertical studs spaced every 18–24 inches to provide attachment points. Use screws for a sturdier connection on larger openings. Choose fasteners that suit the framing and avoid overdriving drywall screws, which can break the paper surface.
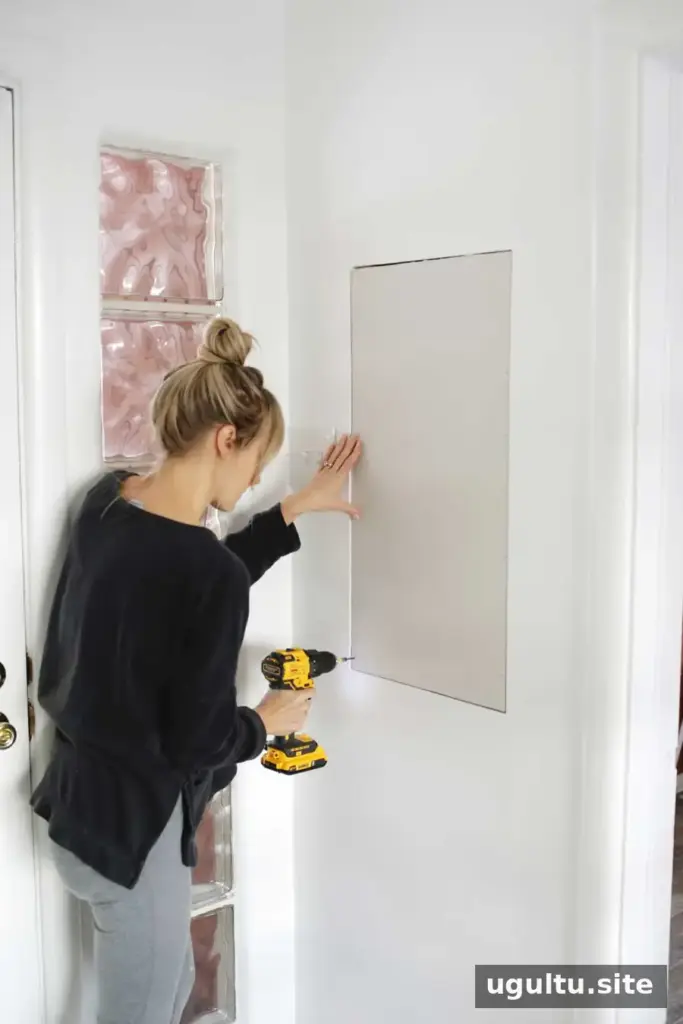
Once the frame is secure, fasten the first drywall panel to it with drywall screws. Remove the temporary braces from the opposite side, then attach the second panel to the frame as well.
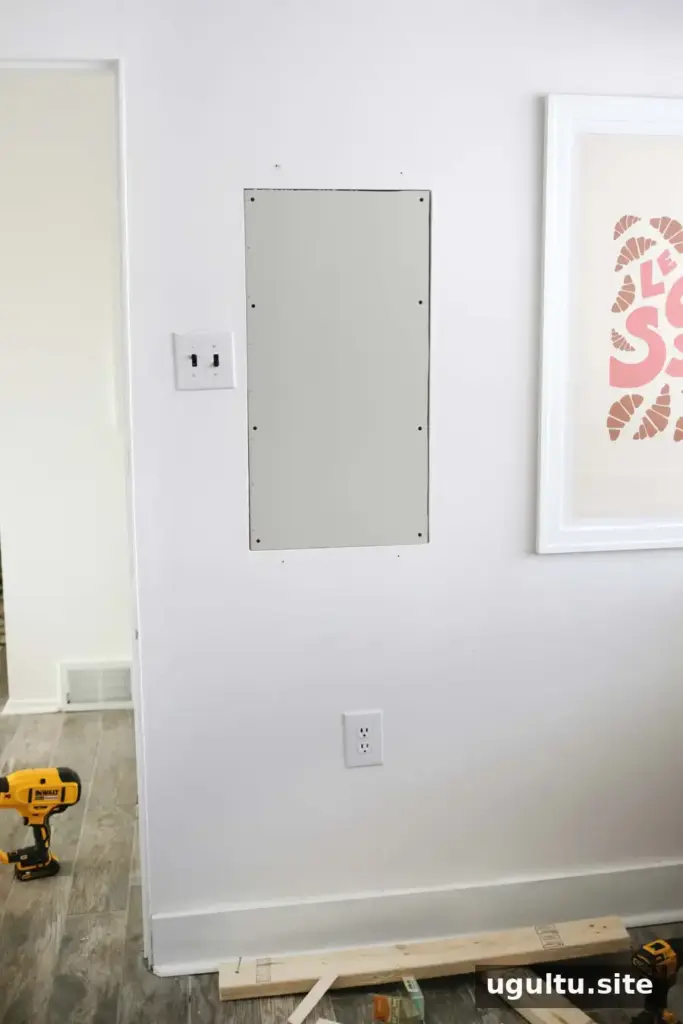
Tape and mud the drywall joints
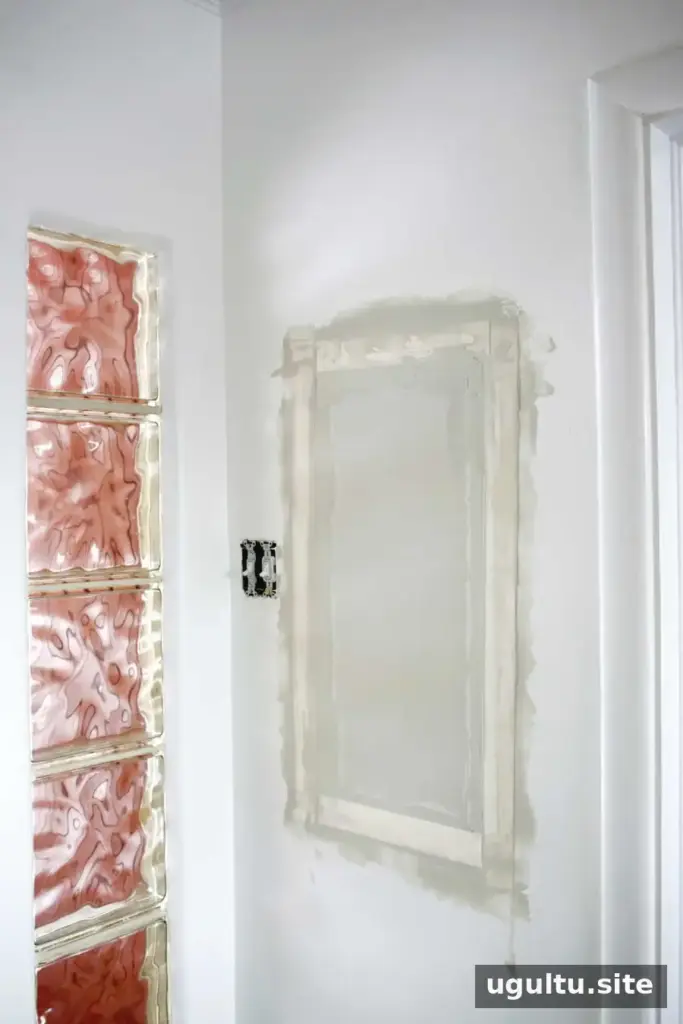
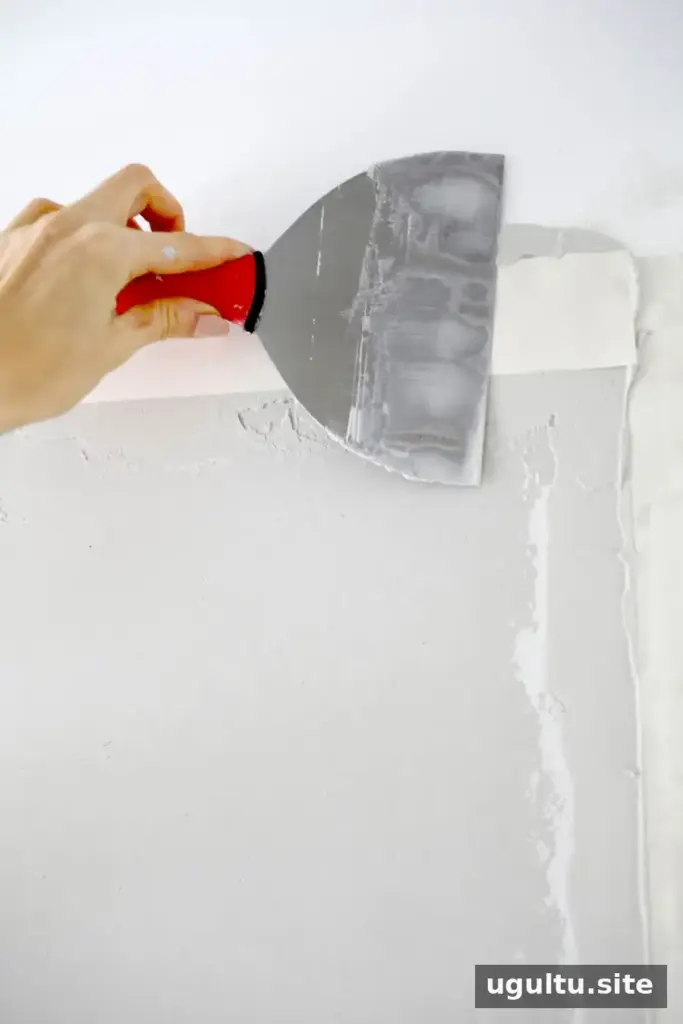
Mix a small amount of all-purpose compound with a little water until it spreads smoothly. Use a 6-inch knife to apply a thin layer over the seams, then press paper joint tape into the compound. Smooth the tape with the knife, working out wrinkles and excess compound without pulling the tape loose.
Let the first layer dry completely before applying another coat. Lightweight compound can be useful for wider finishing coats because it is easier to sand. Spread the second coat with a 10-inch knife, feathering it beyond the taped seam. After it dries, apply a final, wider skim coat with a 12-inch knife. Gradually extending each coat helps blend the repair into the surrounding wall and can reduce noticeable ridges.
Drying times vary by product and room conditions, so follow the compound instructions and allow each coat to dry fully. Thin coats are generally easier to smooth than one thick application. Minor unevenness can be corrected with another light coat or careful sanding.
Sand, prime, and paint
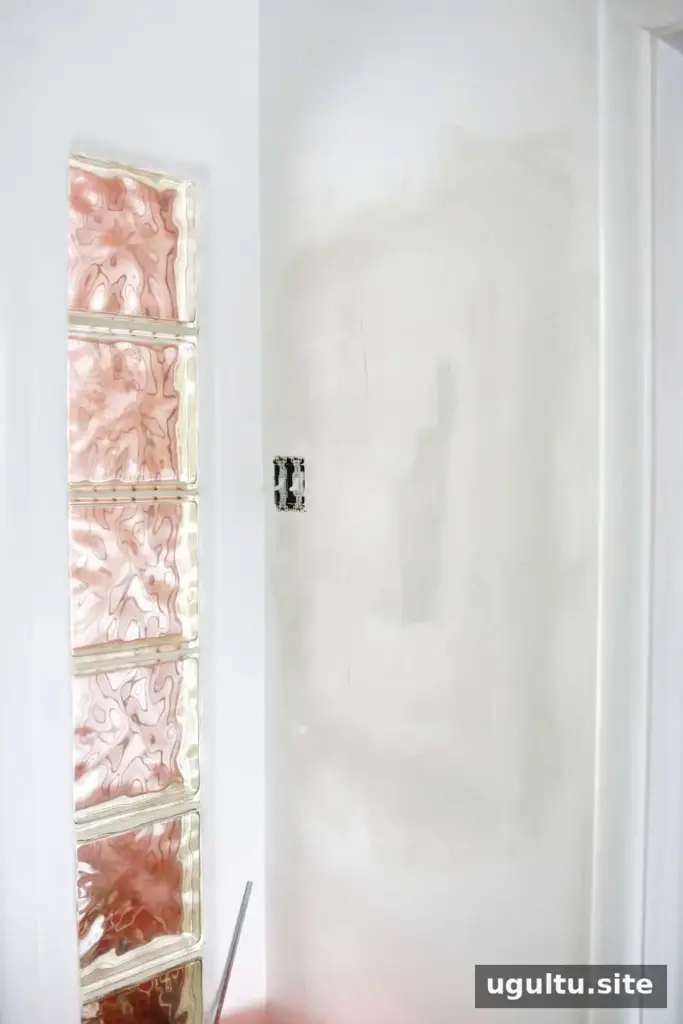
When the compound is dry, sand down raised areas and blend the edges. Wear a dust mask and eye protection, and ventilate the work area. A sanding screen or pole sander works well on broad surfaces; a hand sander or sanding sponge can offer more control around corners. A vacuum attachment or shop vacuum can help collect dust, but avoid pressing hard enough to damage the drywall paper.
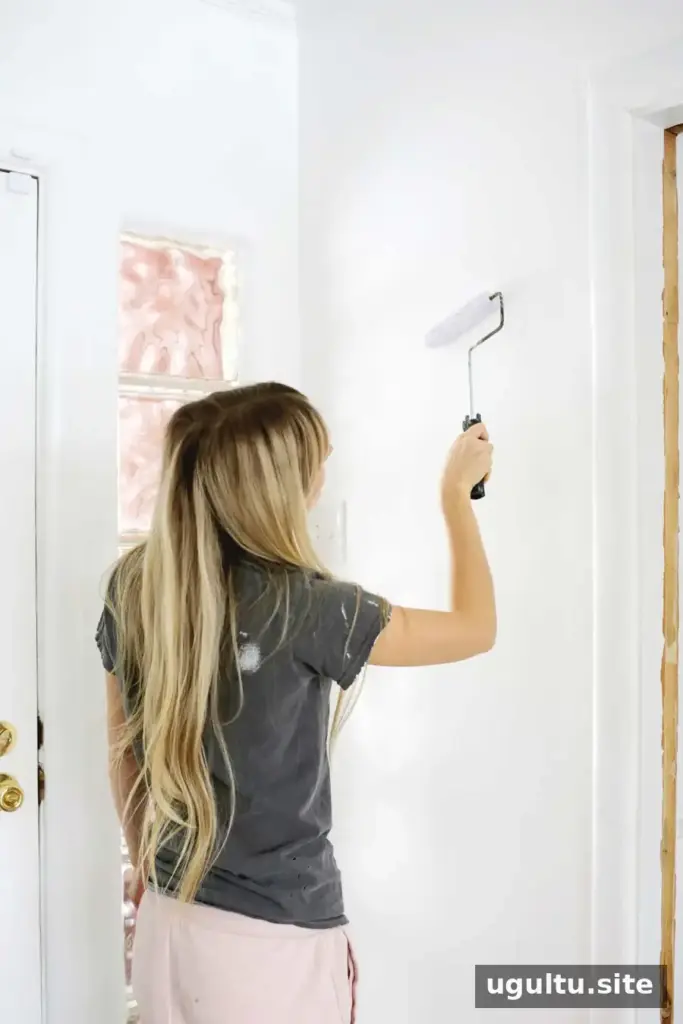
Remove sanding dust before applying drywall sealer primer. Once the primer is dry, paint the repaired area. A roller with a 1/2- to 3/4-inch nap can help create a surface texture closer to many painted walls. Check the paint label for drying and recoating instructions.
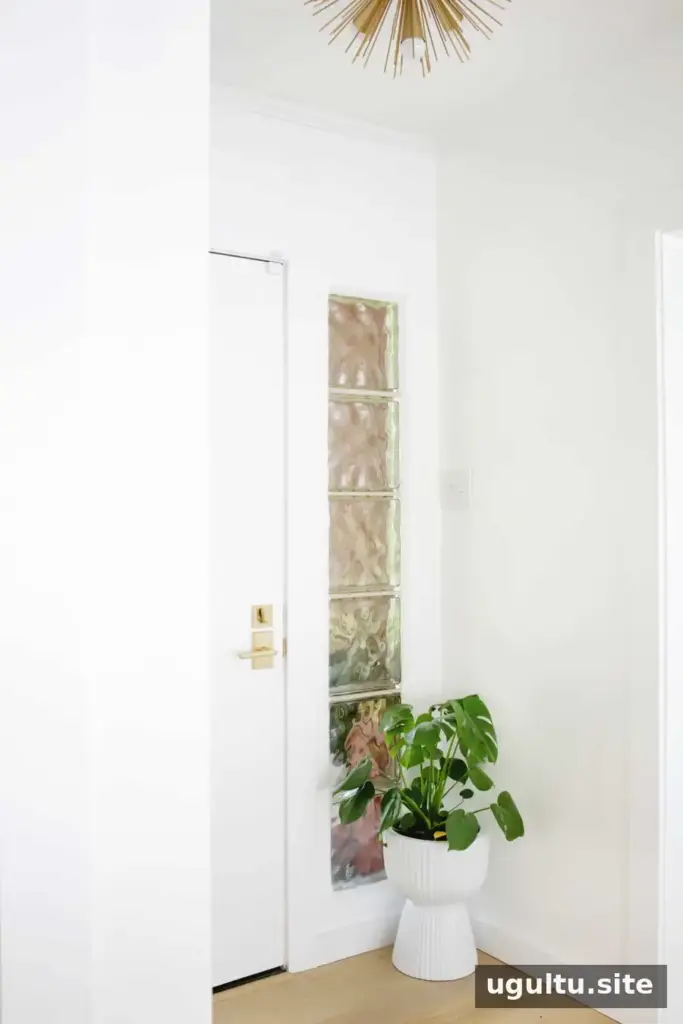
Finishing an interior window infill
Filling in an interior window takes careful measuring, a stable frame, and patience during the taping and drying stages. If you fill in an interior window with drywall panels aligned to the existing wall and build up the joint compound in thin, feathered coats, the finished surface can blend neatly after priming and painting. Laura