admin
A stairway gallery wall can turn a large, blank staircase into a personal display of art, photographs, and keepsakes. Planning the arrangement before making holes helps create a balanced look and makes the installation easier. This guide covers measuring, arranging, transferring the layout, and securing frames on a sloped stairwell wall.
Staircase walls can be challenging because they are tall, often angled, and viewed from different points. A simple paper template and a few basic tools help make the process more manageable while reducing unnecessary nail holes.
Supplies for a Stairway Gallery Wall
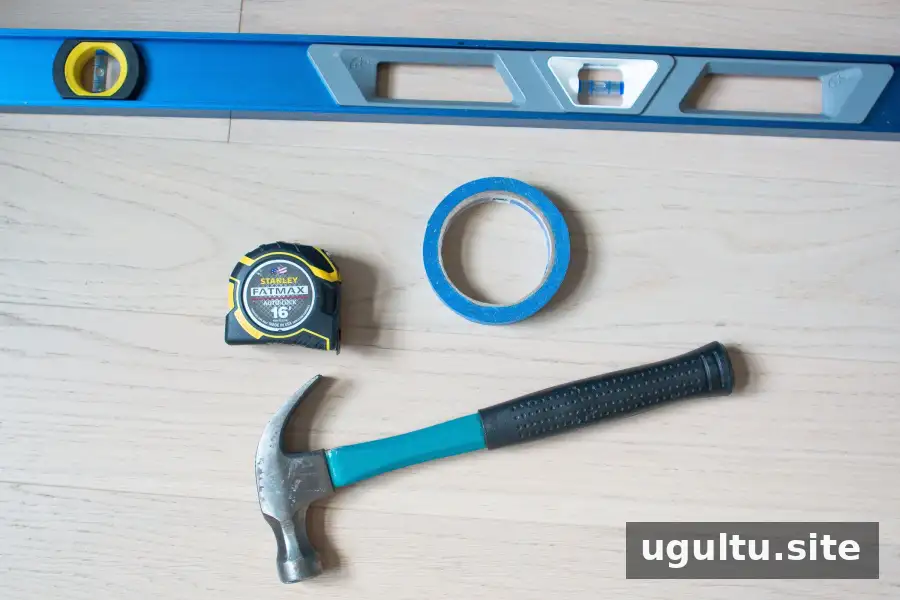
Gather the materials before you begin so you can plan the display and hang it without repeated trips up and down the stairs.
- Rosin paper or wrapping paper
- Painter’s tape
- Tape measure and pencil
- Hammer and suitable nails or picture hangers
- Removable picture-hanging strips, if appropriate for the frame and wall
- Museum wax for stabilizing suitable objects
- Step ladder and level
Check the weight limits and surface requirements for any hanging hardware before using it. For a tall stairwell, take care when working from a ladder and avoid leaning or reaching beyond a stable position.
Measure the Wall and Choose the Display Area
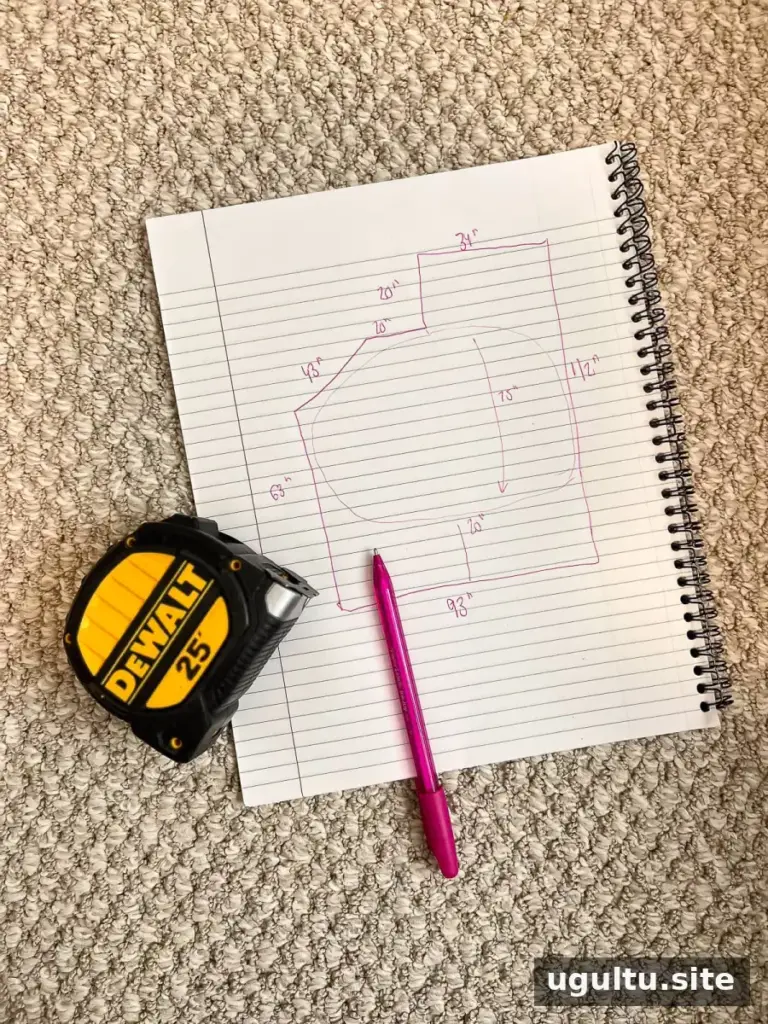
Measure the wall from top to bottom, then decide how much of it the gallery should cover. Leave a few inches between the arrangement and the side walls, and allow a few feet between the display and the ceiling and floor, as appropriate for the space.
Write down the measurements and use them to define the gallery’s outer boundaries. A clear boundary makes it easier to judge whether the collection has enough pieces and whether the arrangement will feel balanced against the staircase.
Mark the Layout on the Floor
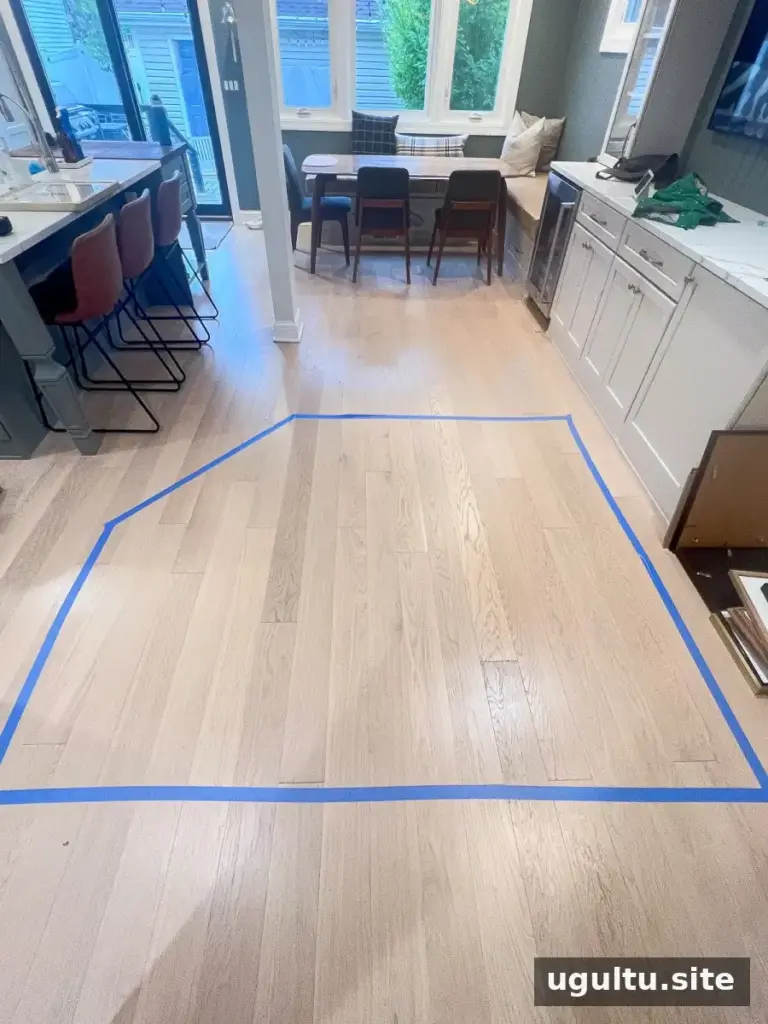
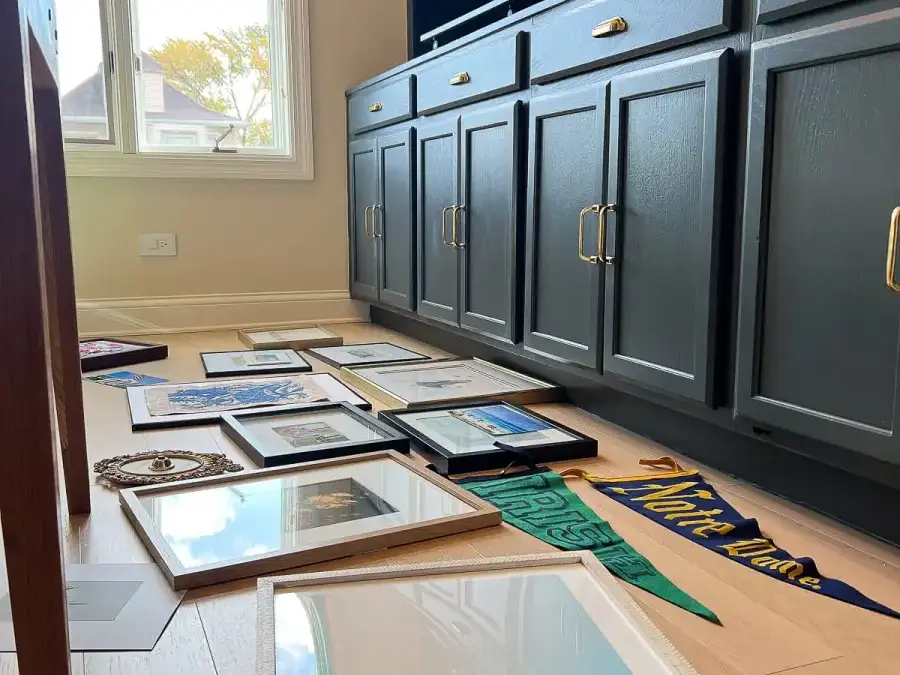
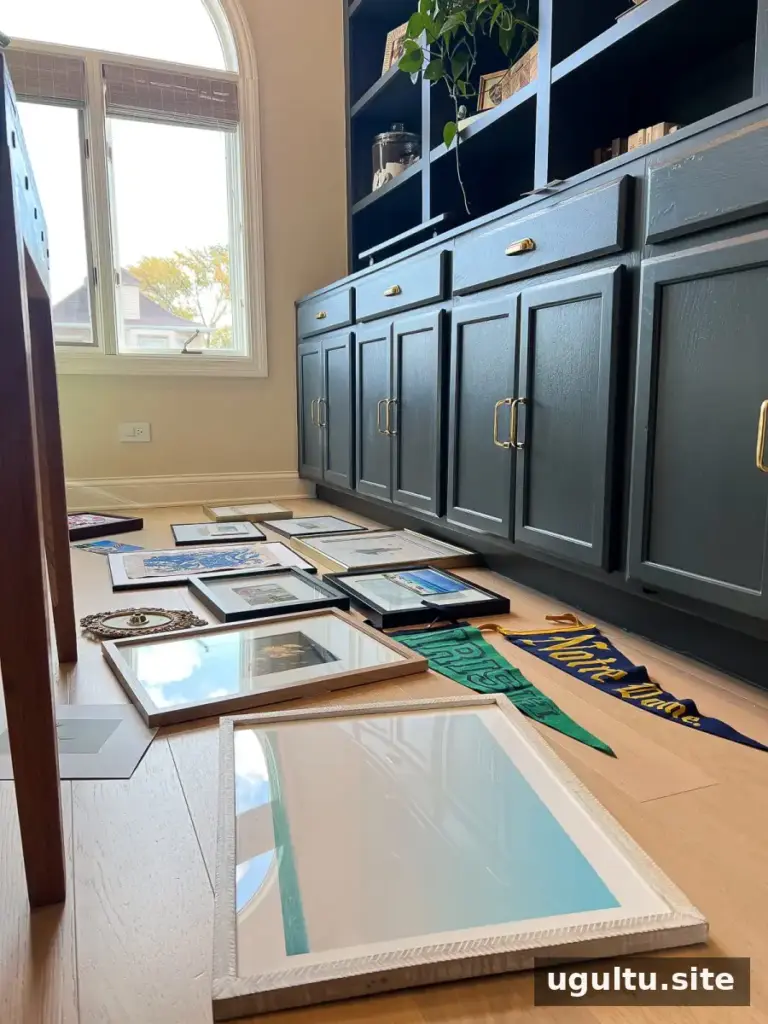
Use painter’s tape on the floor to represent the dimensions of the area you plan to fill. Arrange the frames and artwork inside this outline before hanging anything. This lets you see whether the collection fills the available space and helps prevent avoidable holes in the wall.
If the arrangement looks sparse, consider adding more pieces or adjusting the overall display area. If it feels crowded, remove a few items or increase the gaps between them.
Plan a Balanced Gallery Wall Layout
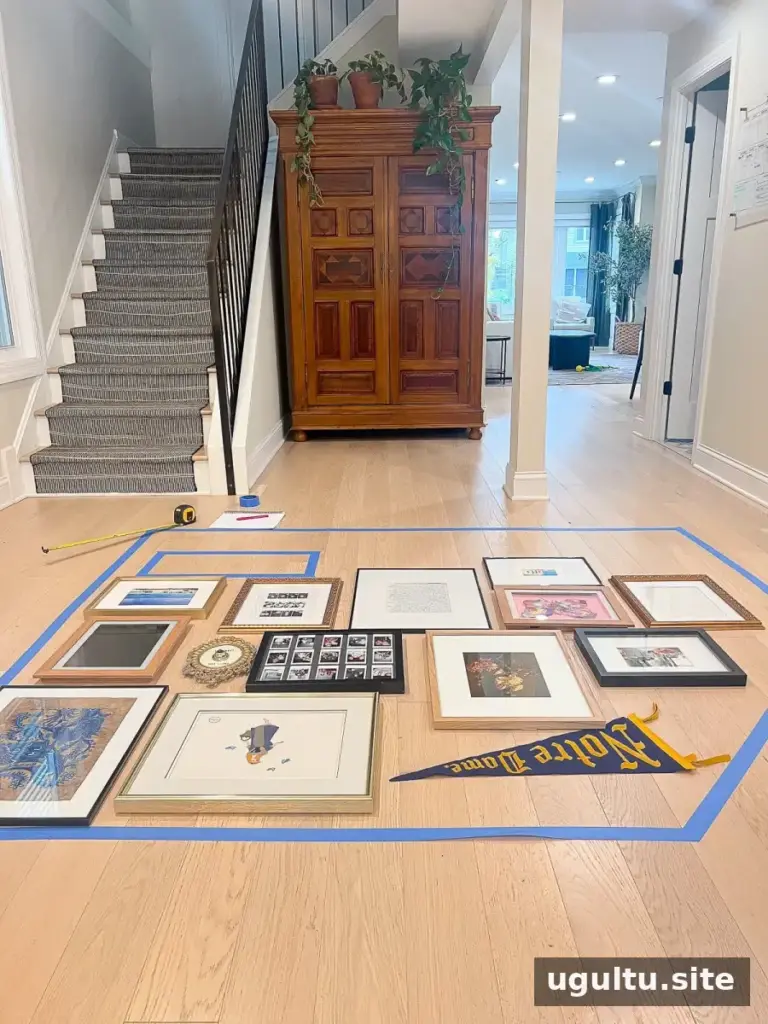
Move the frames around until the composition feels cohesive. These practical guidelines can help create an intentional, collected look:
- Keep most frames about 2–3 inches apart so the pieces feel connected without touching.
- Distribute frame finishes, such as black, wood, and gold, throughout the arrangement rather than grouping each finish in one area.
- Vary the sizes, colors, and types of artwork. Avoid placing several similar pieces directly beside one another.
- Mix framed work with suitable objects, such as a pennant or sign, and spread these pieces across the display.
- Use some larger frames, including sizes of 8×10 inches or bigger, to give a large wall visual weight.
Take a photograph of the layout once you are happy with it. The image provides a useful reference if pieces shift while you prepare the template.
Trace the Arrangement onto Paper
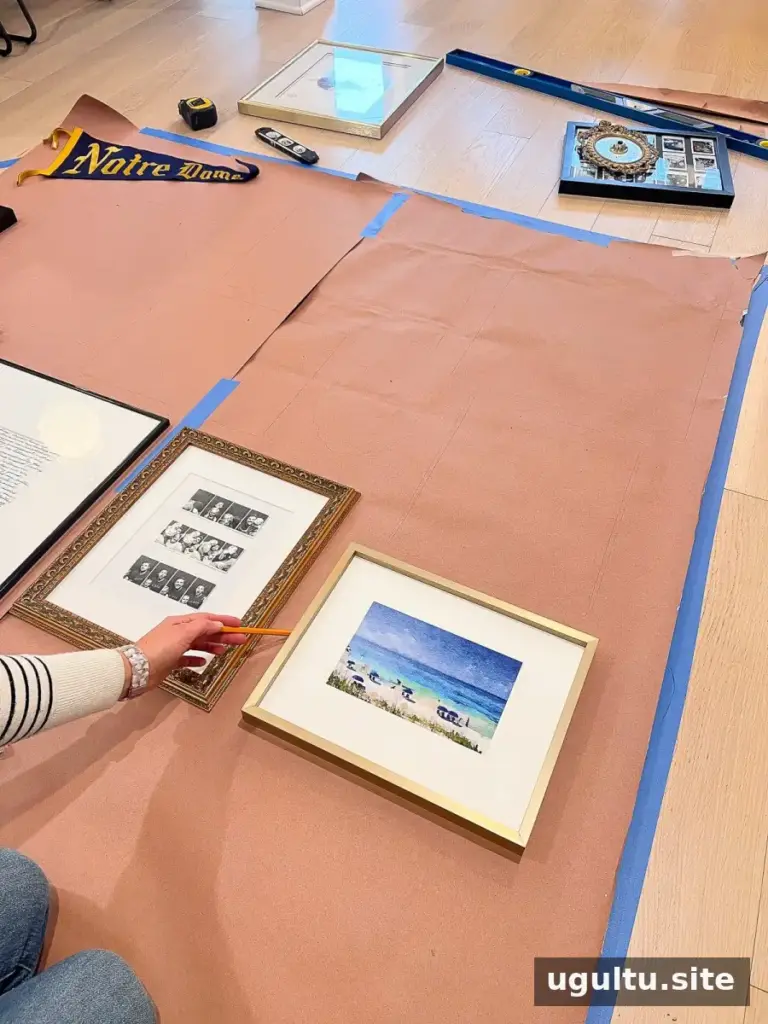
Cut a large piece of rosin paper to match the taped layout on the floor. Place the frames back in position and trace around each one. Mark the location of each frame hanger on the paper as well. A single large template can be easier to manage than cutting and placing separate paper outlines for every frame.
Before moving the template, double-check that each hanger mark corresponds to the correct frame. This small check can prevent misplaced holes and make installation more efficient.
Attach and Level the Template
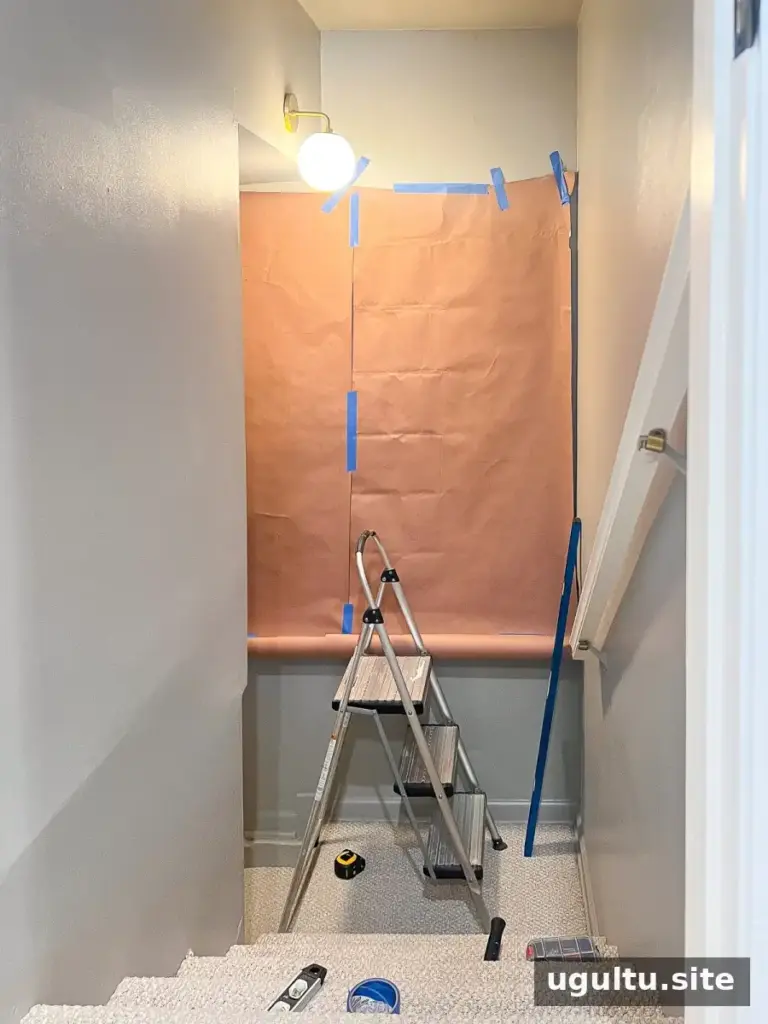
Secure the marked paper to the wall with painter’s tape. Use a level to check that the template is straight and positioned correctly. Since the wall follows a staircase, use the planned arrangement as a guide rather than assuming that every frame should line up horizontally.
Hang the Frames
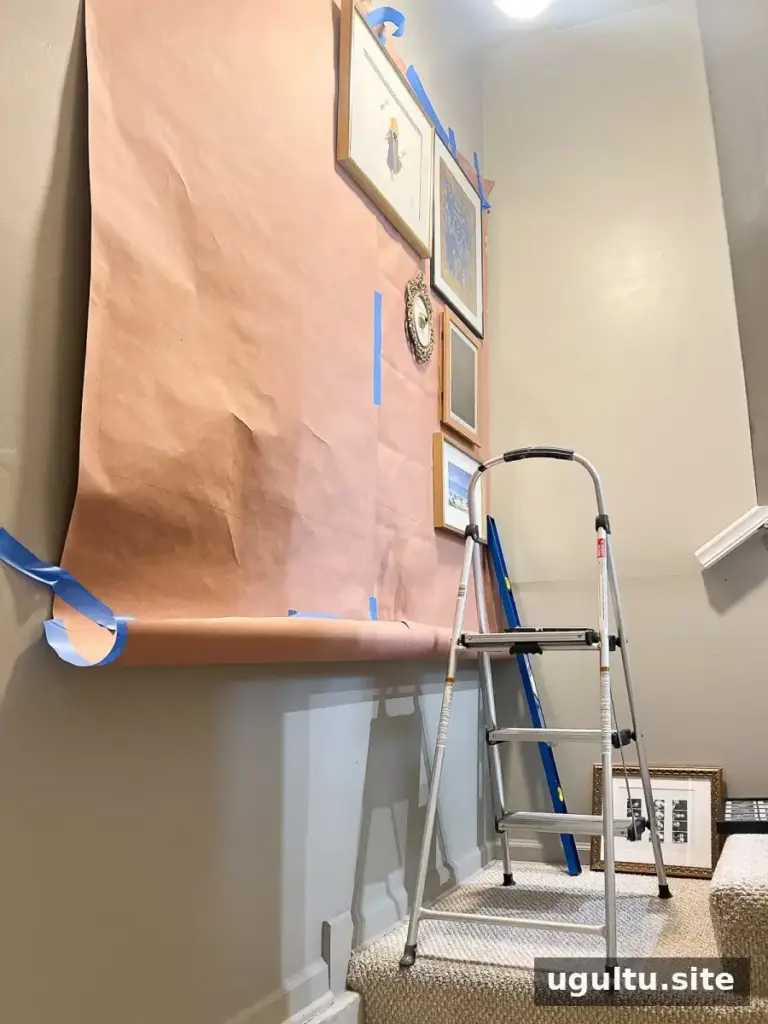
Follow the hanger marks on the template, working through the arrangement one frame at a time. Pause occasionally to compare the installed pieces with the plan. Use hanging hardware suited to each frame’s weight and the wall type, and make sure each frame is firmly supported.
Remove the Template and Rehang the Art
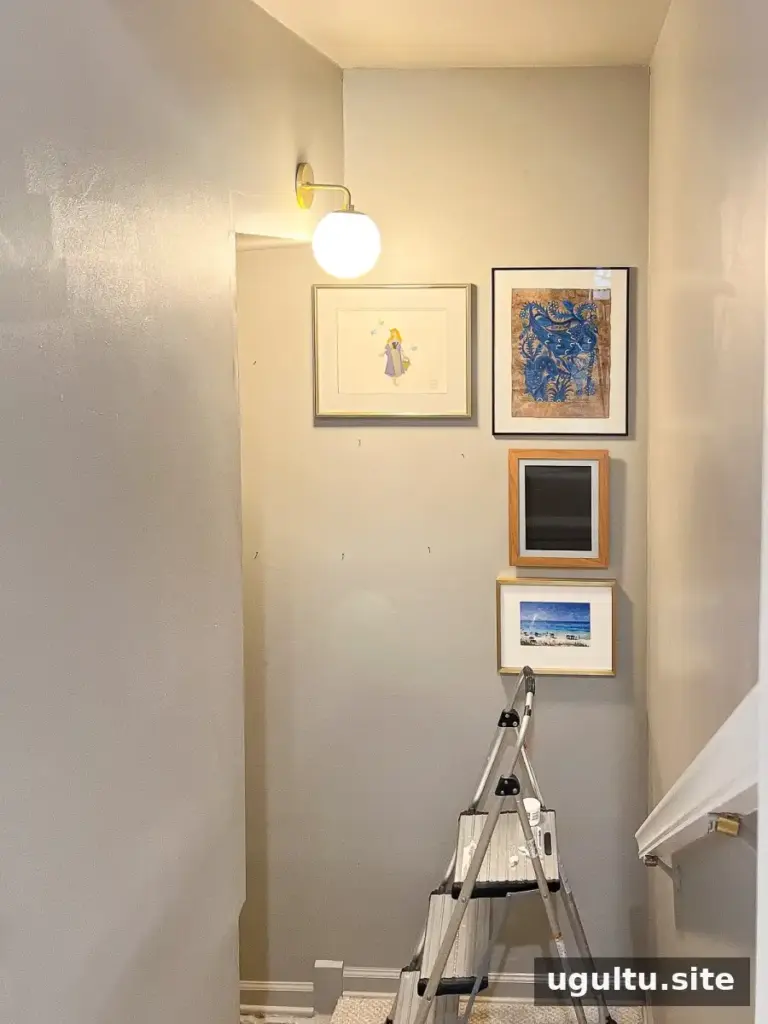
Once the nails or other supports are in place, take down the frames and carefully remove the paper template. Rehang each piece in its marked position, then step back and check the display from both the top and bottom of the stairs.
Stabilize Frames and Decorative Objects
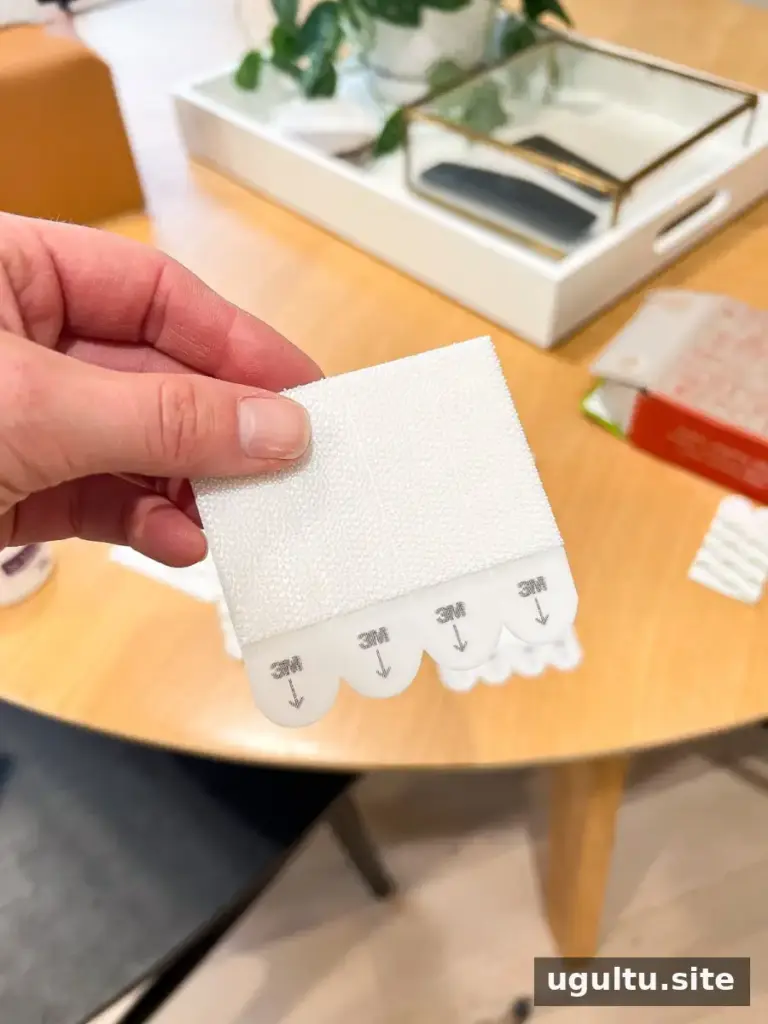

On a busy staircase, frames may shift when people pass or brush against the wall. Removable picture-hanging strips can help keep compatible frames straight, including some frames with a single hanging point. Follow the product instructions, including surface preparation and weight limits. Adhesive products are not suitable for every wall finish or frame.
Museum wax can help stabilize certain lightweight decorative objects. Use it only where appropriate, following the product directions and checking that it will not mark the object or surface. For heavier frames or fragile pieces, rely on properly rated hanging hardware rather than wax or adhesive alone. Check the display periodically, especially in a high-traffic area.
Ideas for Personalizing a Stairway Gallery Wall
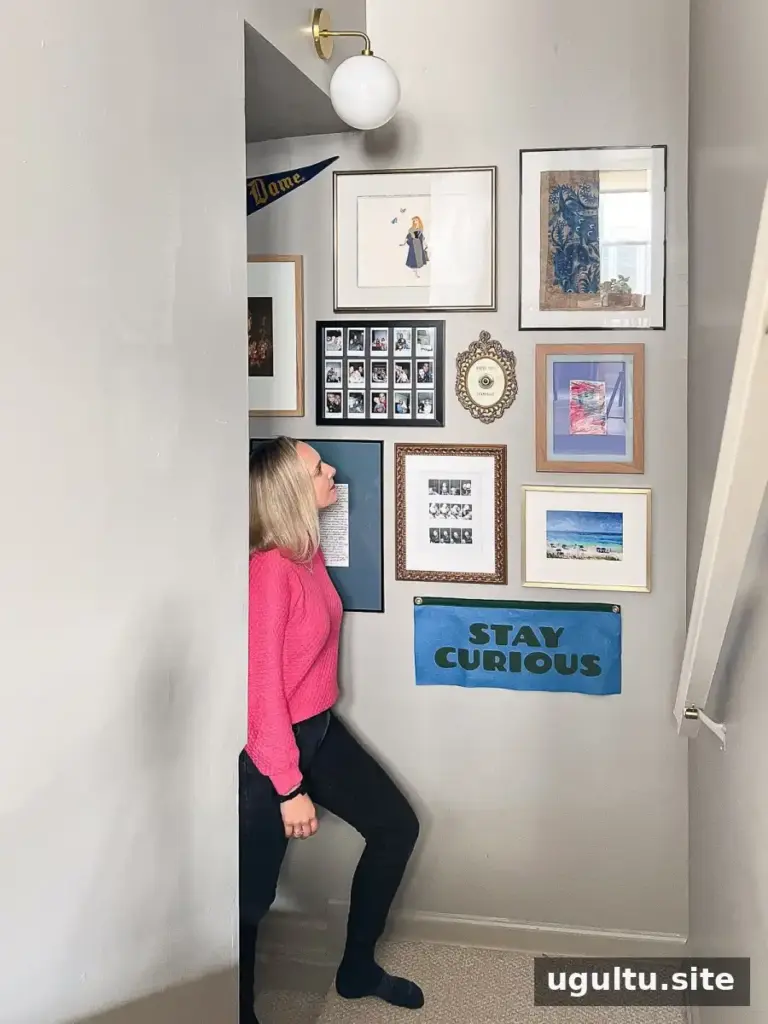
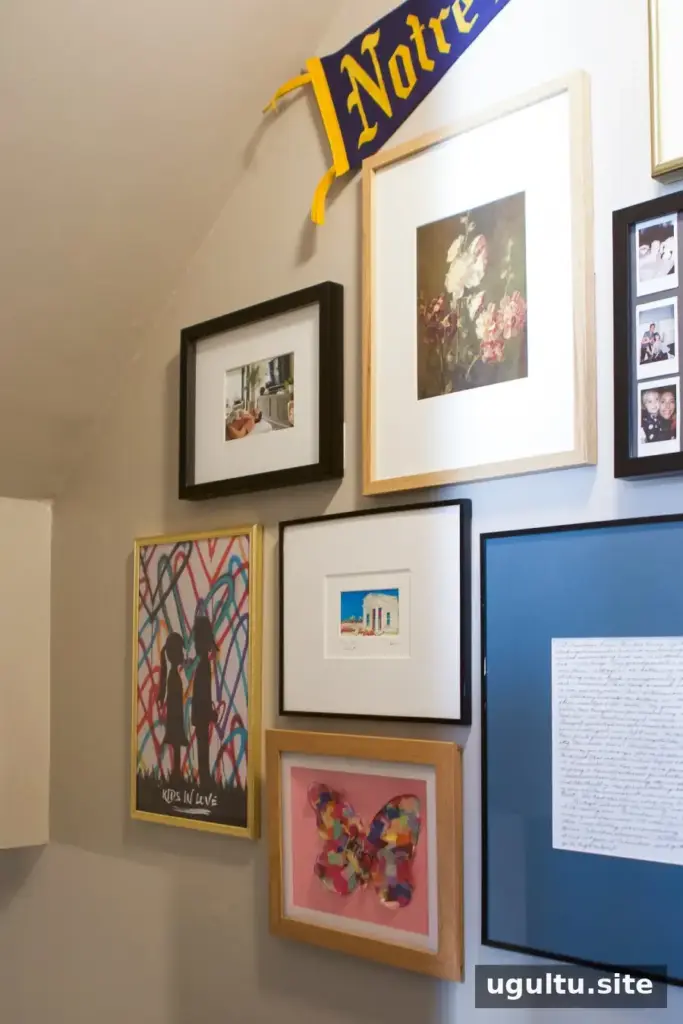
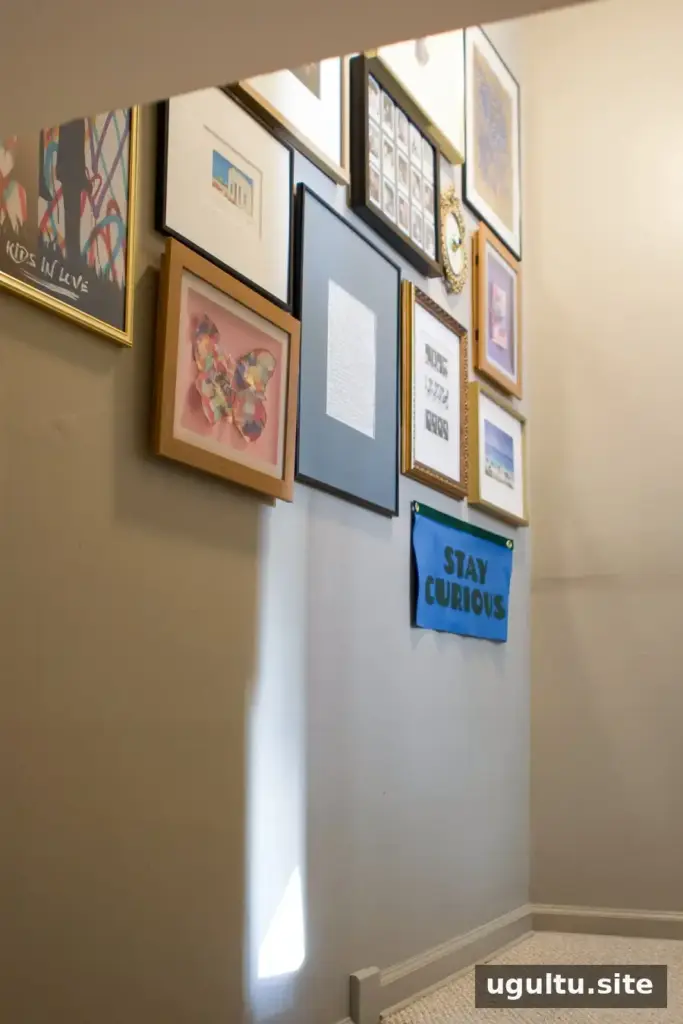
A varied gallery can combine family photographs, children’s artwork, prints, signs, and meaningful keepsakes. Repeating a few frame finishes or colors helps the collection feel connected, while differences in scale and subject keep it from looking overly uniform.
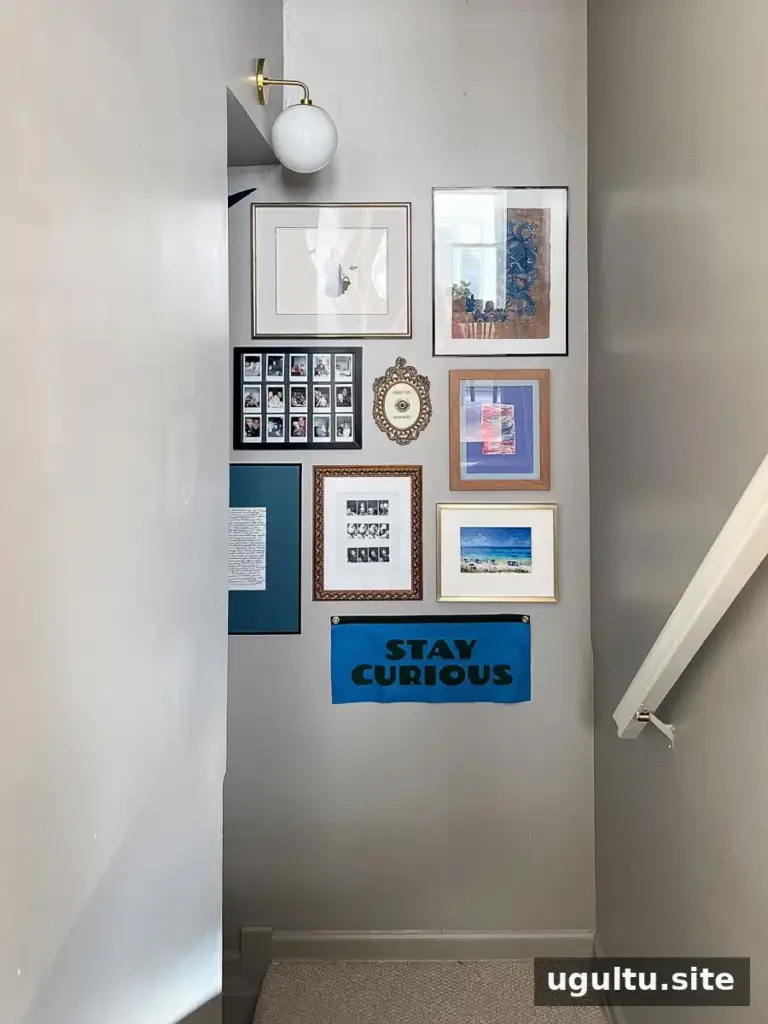
Consider how the wall looks from the entrance to the staircase as well as while walking up and down. This is often the first view visitors get, so place a favorite or visually strong piece where it can be seen clearly.
Mix Art, Photos, and Keepsakes

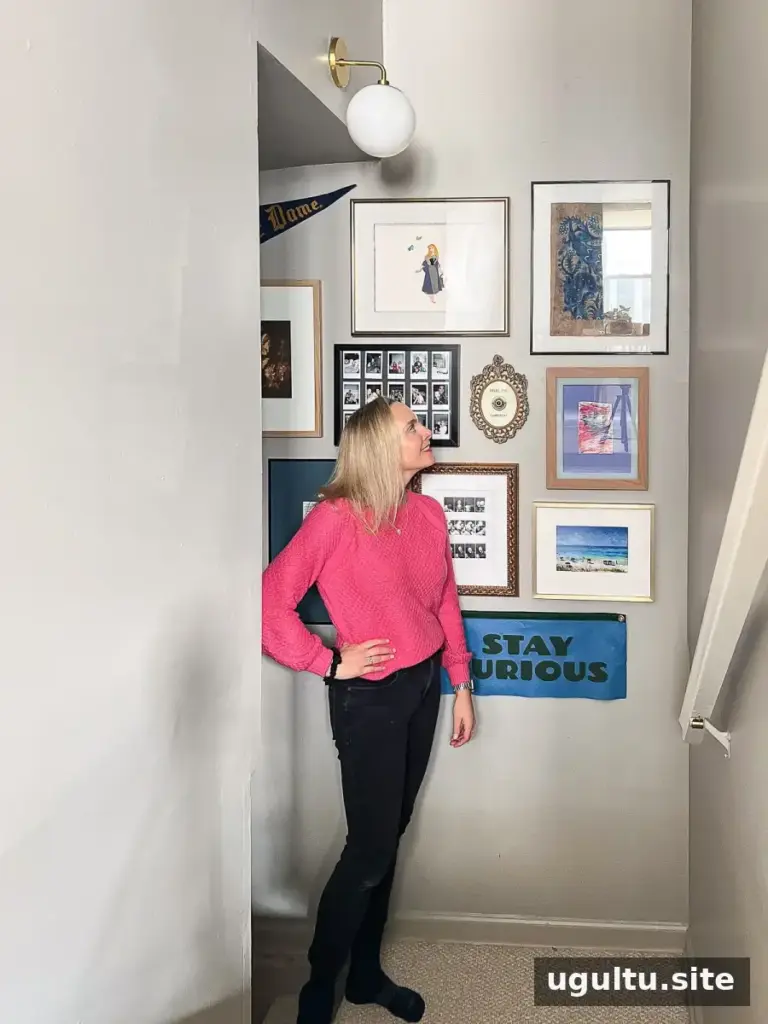
A pennant with the words “Stay Curious” adds a different shape and texture among framed artwork. A short phrase or banner can also introduce a theme without making every piece in the display match.
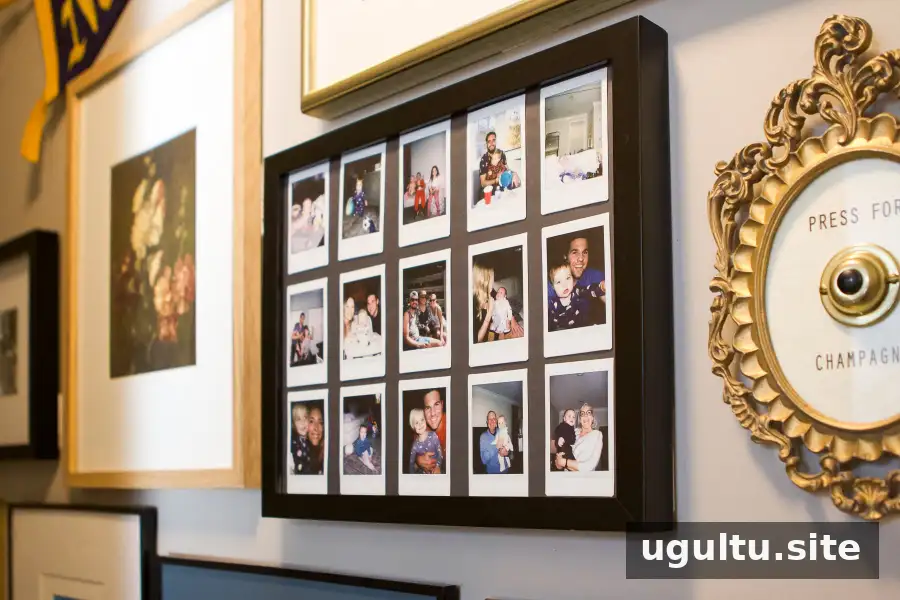
Instant photographs taken at family gatherings can bring everyday memories into the arrangement. Choose images that are easy to recognize at a glance and consider grouping related photos together.
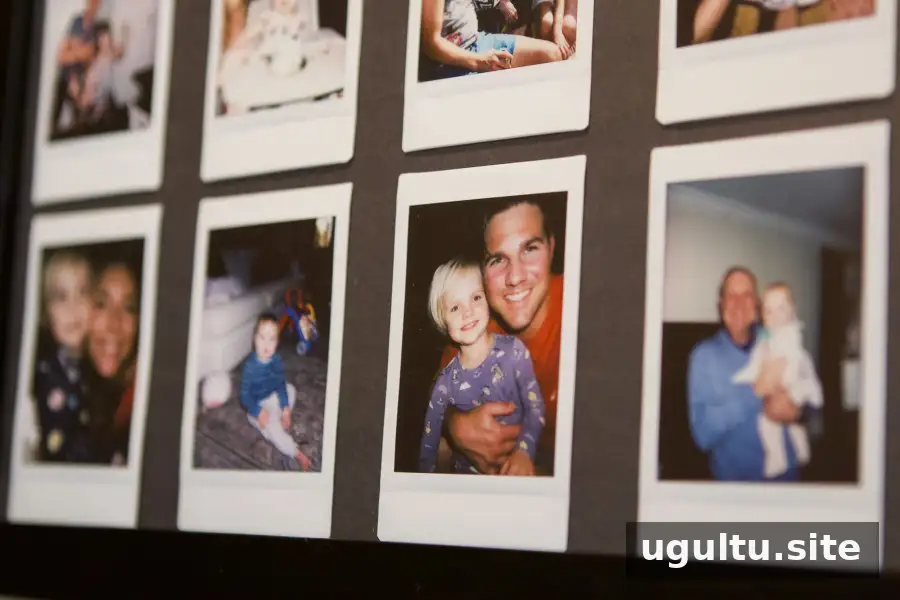
Several family photographs can be arranged in a grid within a larger frame. A grid creates a more structured element that balances a collection of mixed frame sizes.
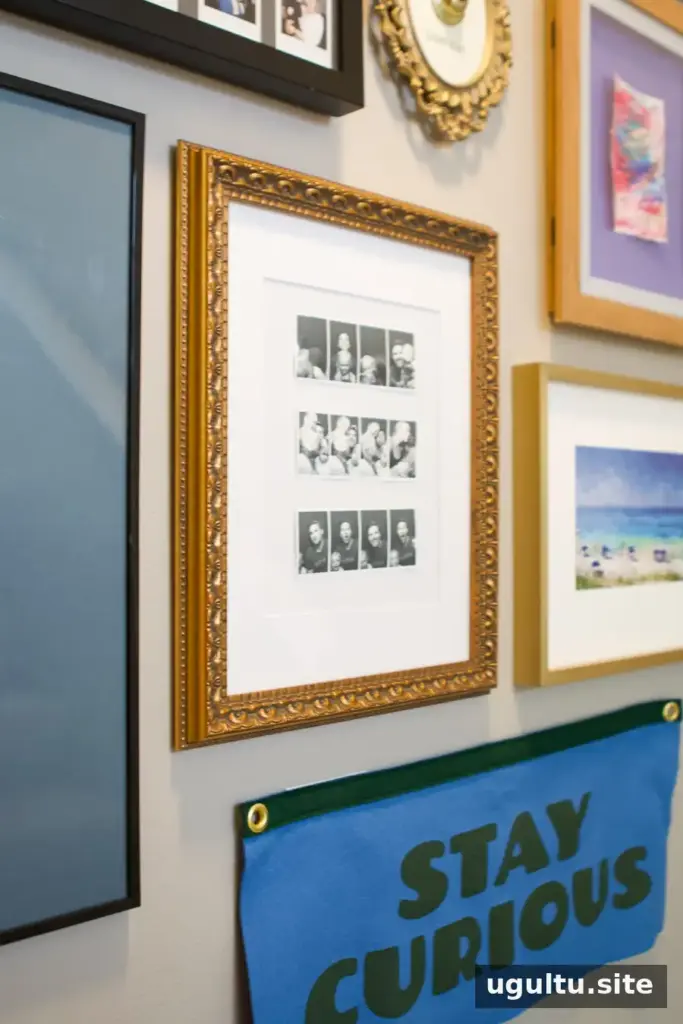
Photo booth pictures can be displayed in a frame with a wide mat. A mat adds space around small images and can help them stand out among larger, colorful photographs.
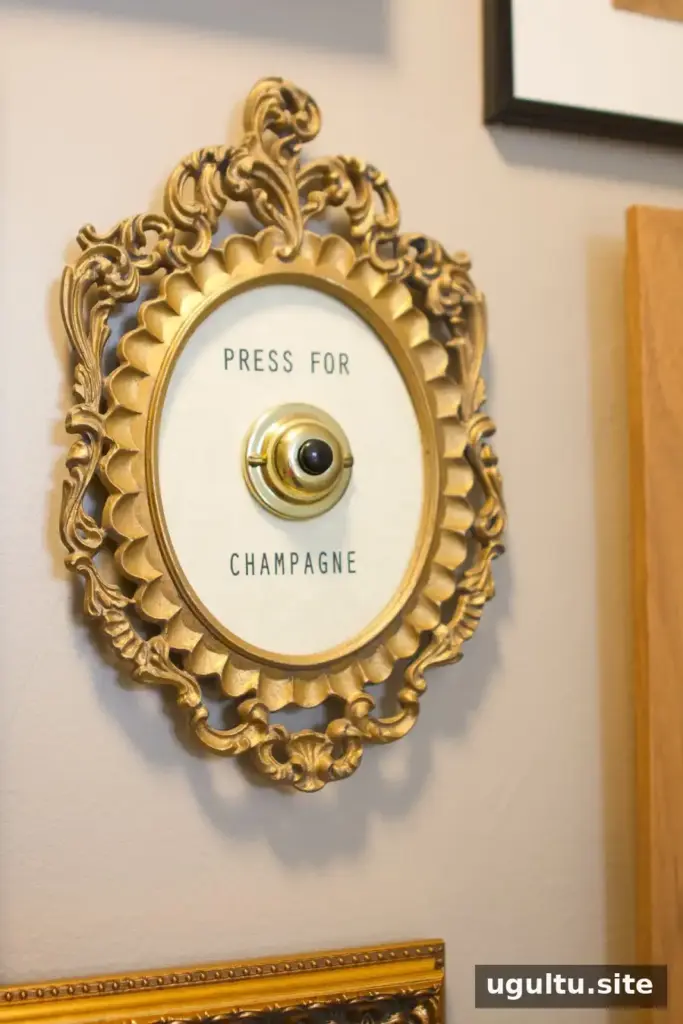
A sign, such as “Press for Champagne,” can add a playful note. Before hanging a functional or moving object, check that it is secure and will not become a hazard on the stairs.
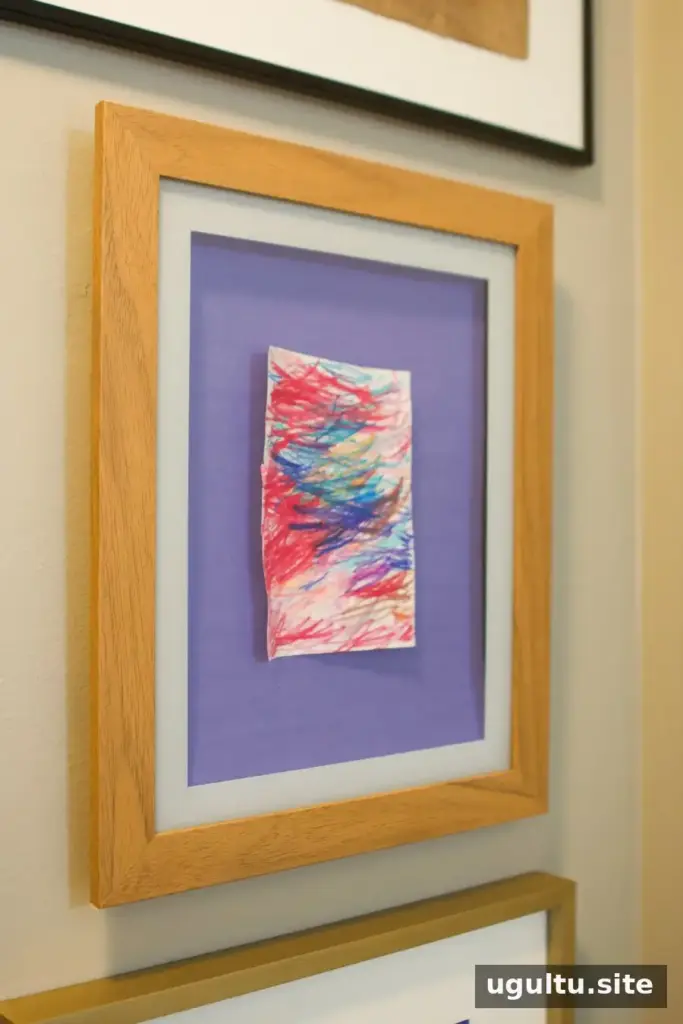
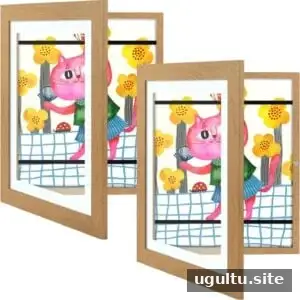
Front-opening display frames make it easier to rotate children’s artwork. Some hold dozens of prints, allowing new pieces to be added without taking the frame off the wall.
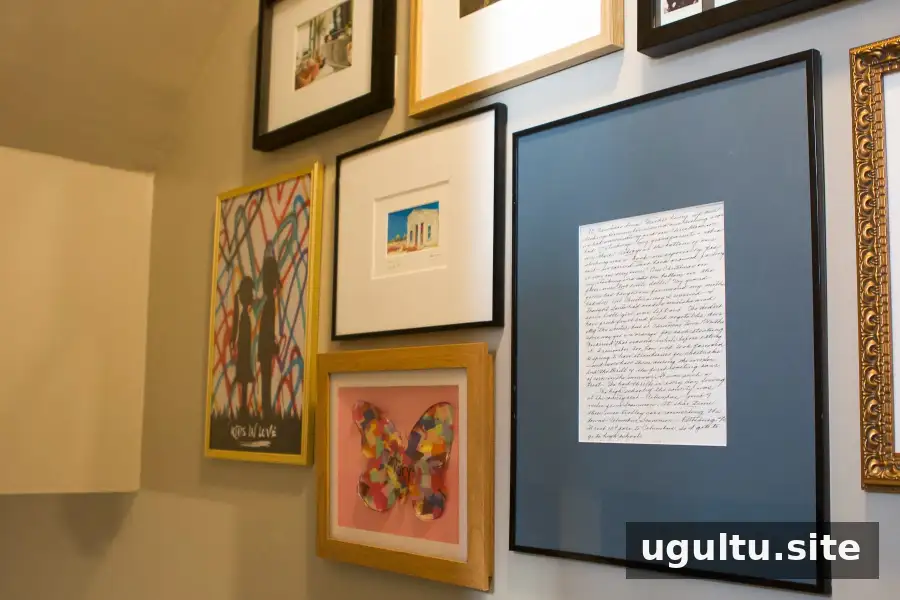
Using one art-display frame vertically and another horizontally can accommodate artwork in different orientations. Confirm that each frame is installed according to its intended hanging direction.
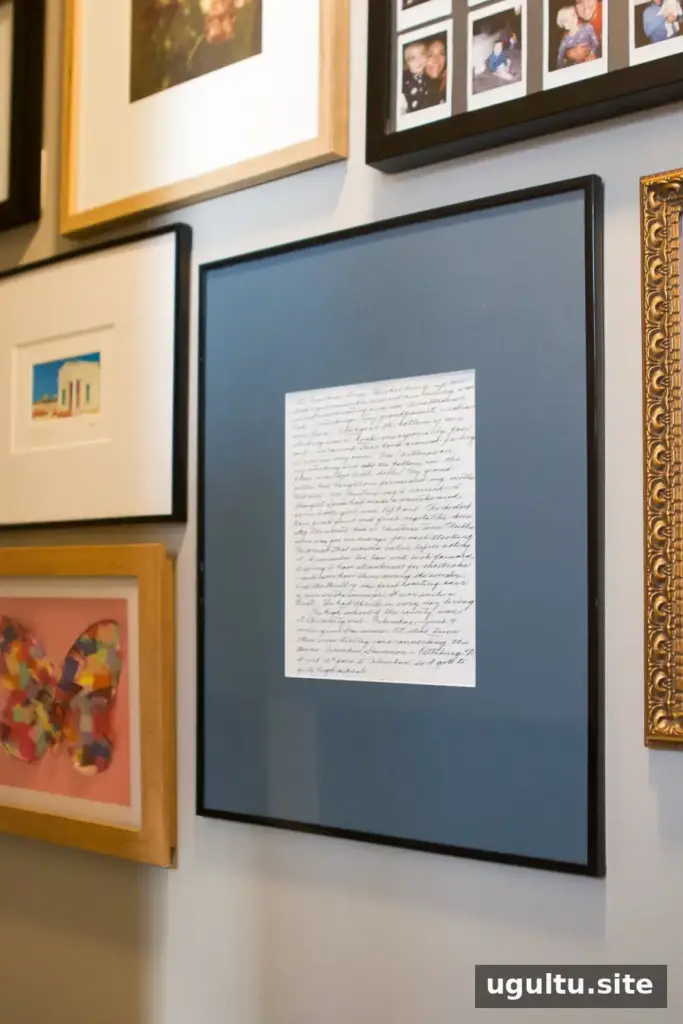
A handwritten family letter can serve as a meaningful focal point. If the paper is delicate, consider using a mat and glazing that help protect it from dust and handling.
A mat color can also change how a piece looks within the collection. Compare the mat with nearby artwork and frame finishes before making a final choice.
A vintage print can add another subject and style to the wall. Place it where its details are visible, and use a frame and hanging method suited to its size and condition.
Artwork and Frame Details
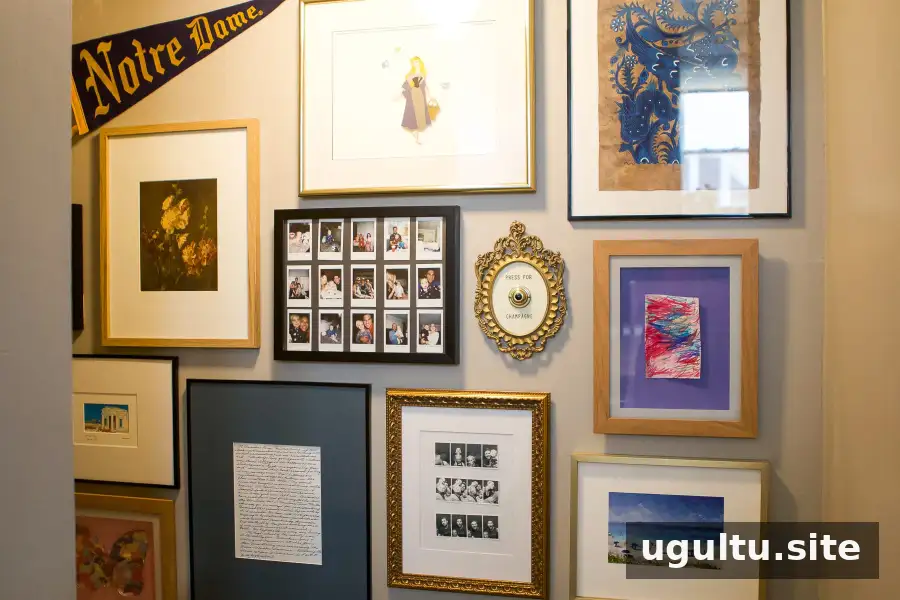
The display includes pieces in a range of sizes and finishes, such as:
- Blue art from San Miguel de Allende in an 11×14 thin black frame
- Children’s artwork in wood art-display frames
- A Seaside, Florida watercolor in an 8×10 gold frame
- A Seaside, Florida postcard in an 8×10 thin frame
- A family photo in an 8×10 black frame
- A “Kids in Love” poster in a 12×18 gold frame
- A great-grandmother’s letter in an 11×14 thin black frame
- Photo booth strips in a vintage-style gold frame
- Instant photographs in black frames
- Floral artwork in an 11×14 wood frame
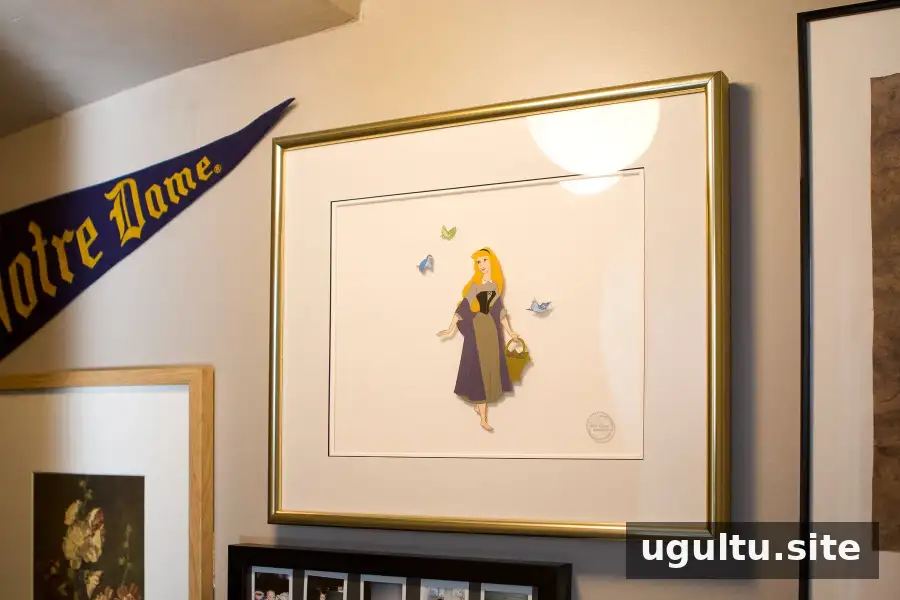
- A “Stay Curious” pennant, a Notre Dame pennant, a “Press for Champagne” sign, and a Princess Aurora print
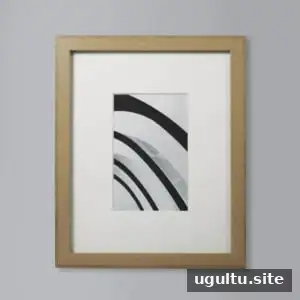
When choosing frames for your own wall, use sizes that suit the artwork and vary them to create visual interest. Keep the overall spacing consistent, even when the frame shapes and finishes differ.

Conclusion: Finish Your Stairway Gallery Wall
A stairway gallery wall is a practical way to add personality to an often-overlooked space. Measuring the wall, arranging the pieces on the floor, and transferring the plan with a paper template can make hanging more accurate and reduce unnecessary adjustments. Finish by checking that every frame is secure and that the collection looks balanced from different points on the stairs. Leave a little room for future photographs or artwork if you expect the display to grow.