
 admin
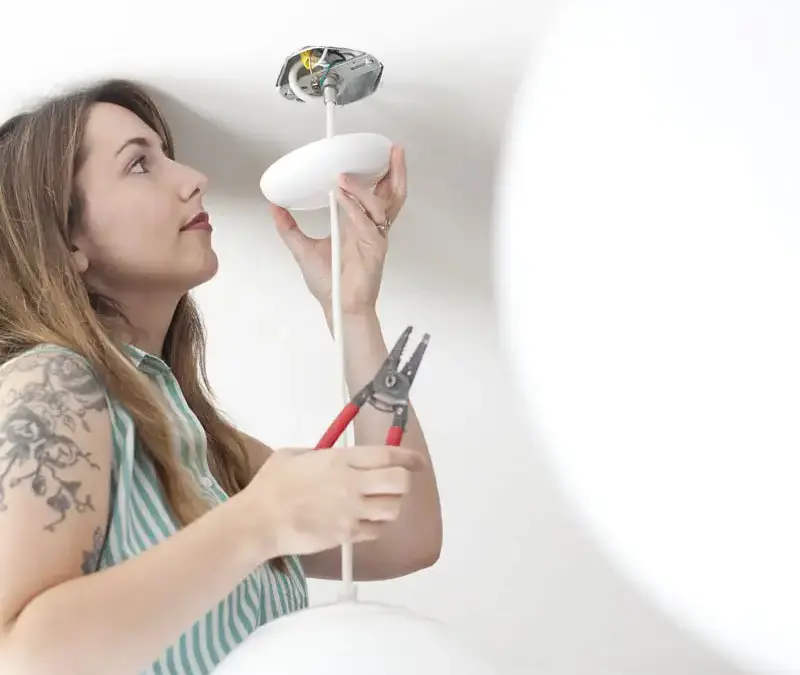
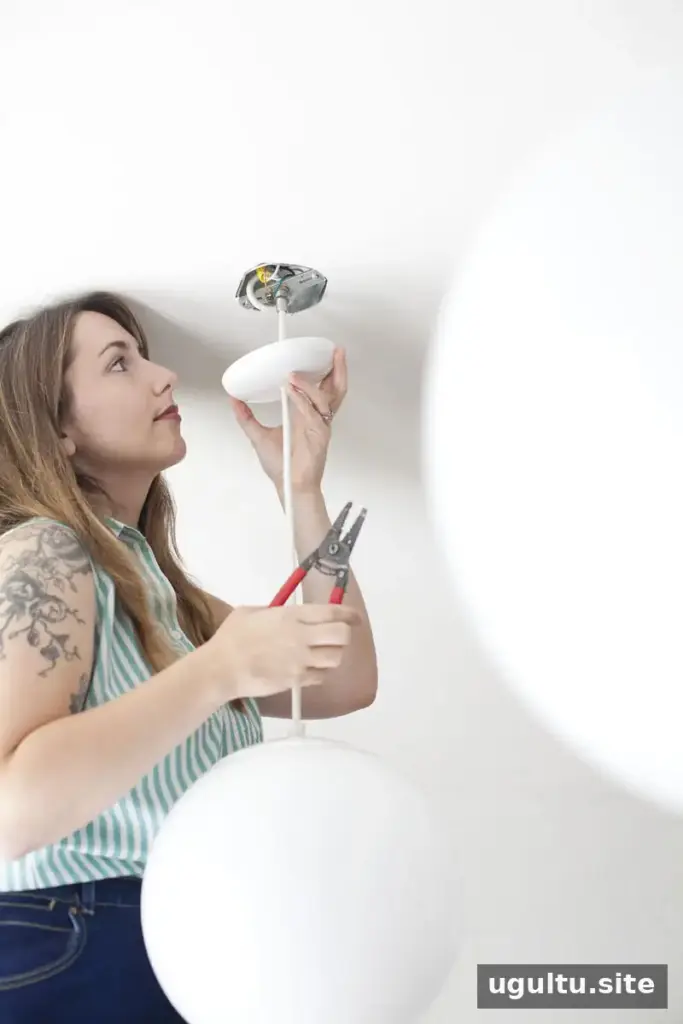
Knowing how to hardwire a light fixture can help you plan a lighting update, but electrical work needs careful preparation. The right approach depends on the fixture, the existing wiring, and local electrical rules. If the wires are damaged, unidentified, or do not match the fixture instructions, stop and contact a licensed electrician rather than guessing.
Replacing an existing fixture generally involves switching off the correct circuit, removing the old light, securing the mounting hardware, and connecting the fixture wires correctly. Use the following guide as general information—not a substitute for the manufacturer’s instructions or professional advice.
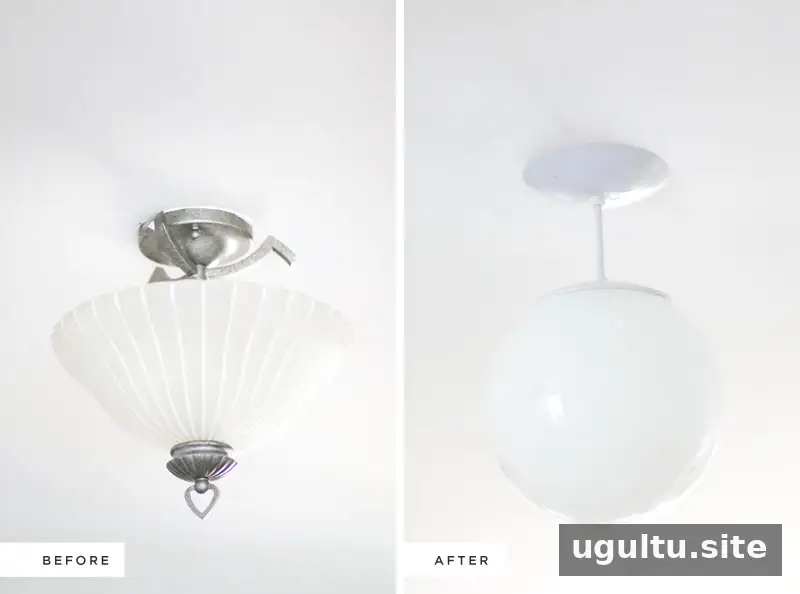
How to Hardwire a Light Fixture: Tools and Safety
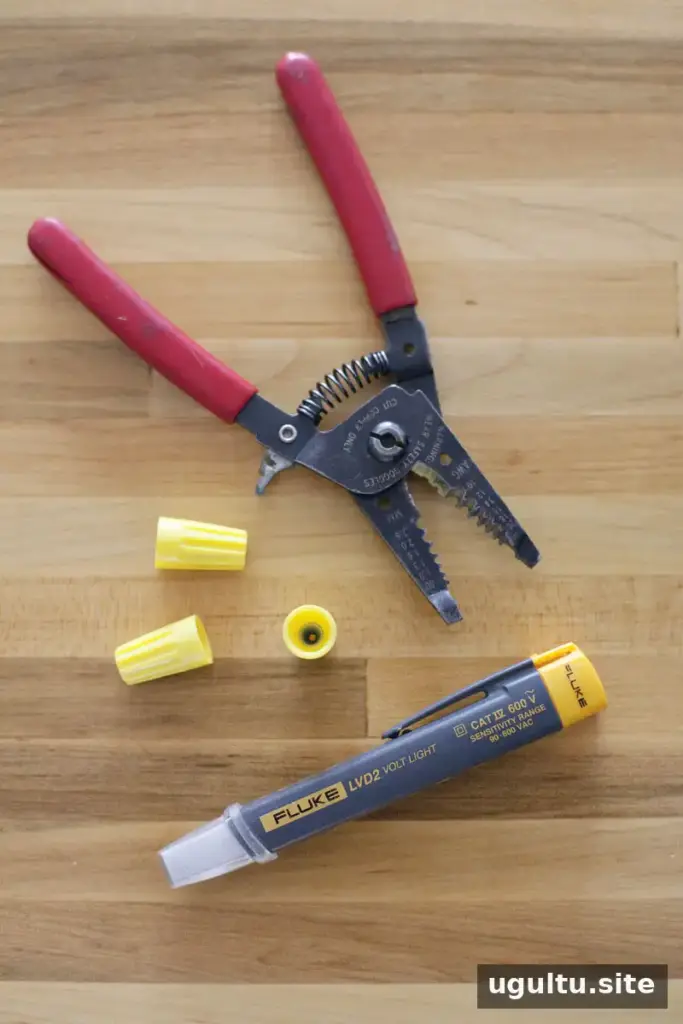
Before starting, check that the new fixture is suitable for the location and the existing electrical box. Gather a screwdriver, wire stripper, wire connectors rated for the wires being joined, and a voltage tester. A voltage tester is useful for checking that conductors are de-energized, but it must be used according to its instructions.
- Turn off the circuit at the breaker and keep others from switching it back on.
- Verify that power is off at the fixture wires with an appropriate tester before touching them. If you cannot confirm this, do not proceed.
- Use wire connectors that are approved for the wire type, gauge, and number of conductors. Connector ratings vary; follow the package instructions.
- Do not rely on wire color alone to identify a conductor. Older or altered wiring may not follow expected color conventions.
Wire size and circuit rating matter. In typical U.S. residential wiring, 15-amp circuits generally use 14-gauge copper wire, while 20-amp circuits generally require 12-gauge copper wire. Do not assume the wire gauge based only on the breaker, and never change a breaker rating to accommodate wiring without a qualified professional’s assessment and compliance with local code.
Steps for Installing a Light Fixture
1. Switch off and verify the circuit
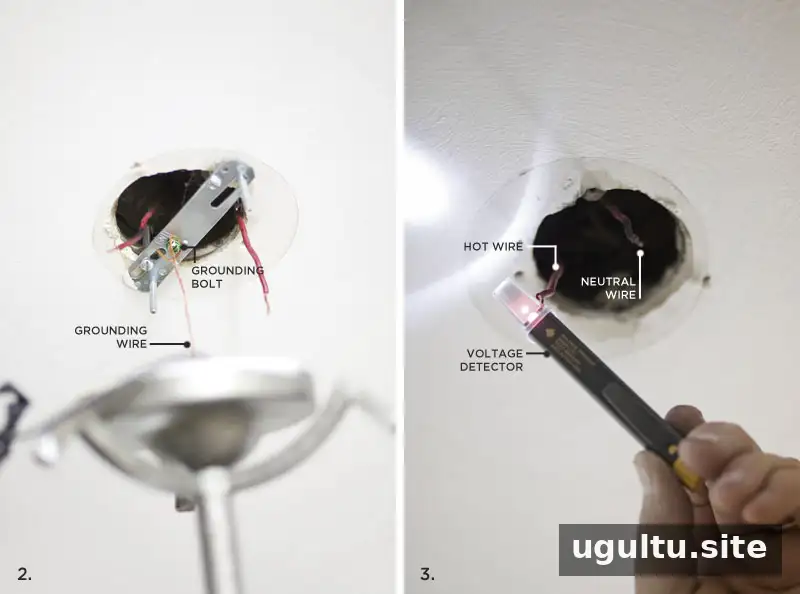
Turn off the breaker that supplies the light. Check that the fixture no longer operates, then use a suitable voltage tester to verify the wires are not energized before handling them. A light switch being off does not, by itself, prove the wires are safe.
2. Remove the old fixture
Support the existing fixture as you loosen its fasteners so it does not fall. Remove the wire connectors and separate the conductors only after confirming the circuit is de-energized. Note how the fixture was mounted, but do not assume its old wiring connections were correct. If you find damaged insulation, loose connections, or unfamiliar wiring, stop and call an electrician.
3. Prepare the new fixture and mounting plate
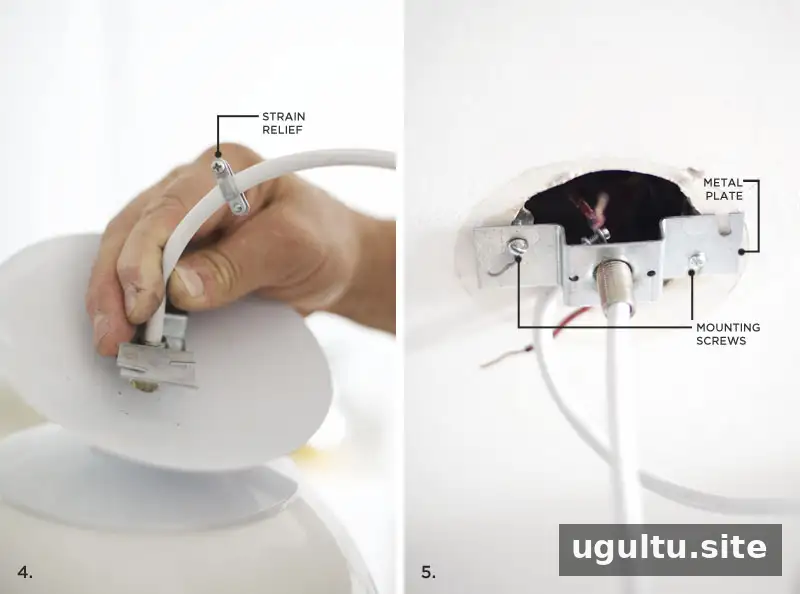
Follow the fixture instructions to set the cord length on a pendant light, if applicable. Install the supplied mounting bracket or plate using the hardware intended for the electrical box. Make sure the box is secure and rated to support the fixture’s weight. Do not let the conductors become pinched between the bracket and the box.
4. Connect the fixture wires
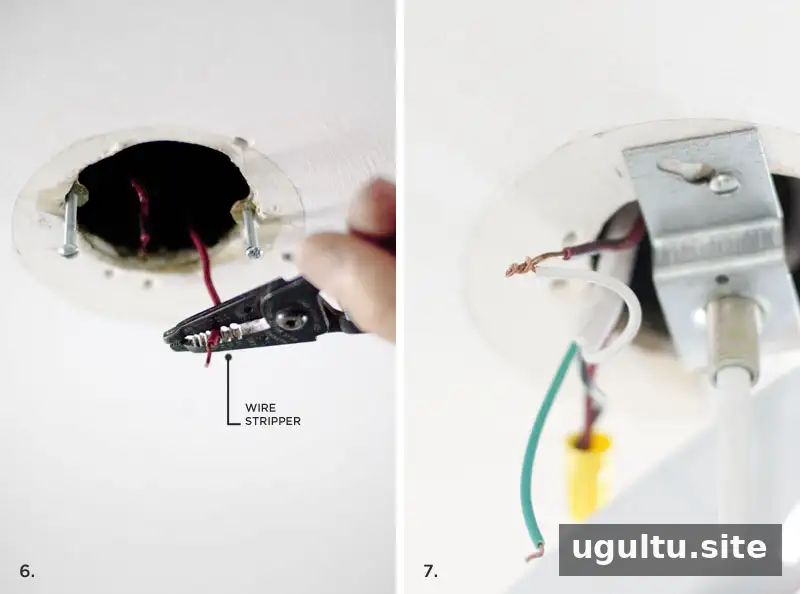
Strip insulation only to the length specified by the fixture and connector instructions, taking care not to nick the copper. Connect the fixture’s hot and neutral conductors to the corresponding supply conductors as identified by the fixture labeling and wiring instructions—not color alone. If the conductors cannot be identified confidently, stop and get professional help.
Connect the fixture’s grounding conductor to the grounding conductor or approved grounding point as specified by the instructions. If the electrical box has no grounding conductor or the grounding arrangement is unclear, do not improvise; have an electrician assess the installation.
5. Secure the connections and attach the fixture
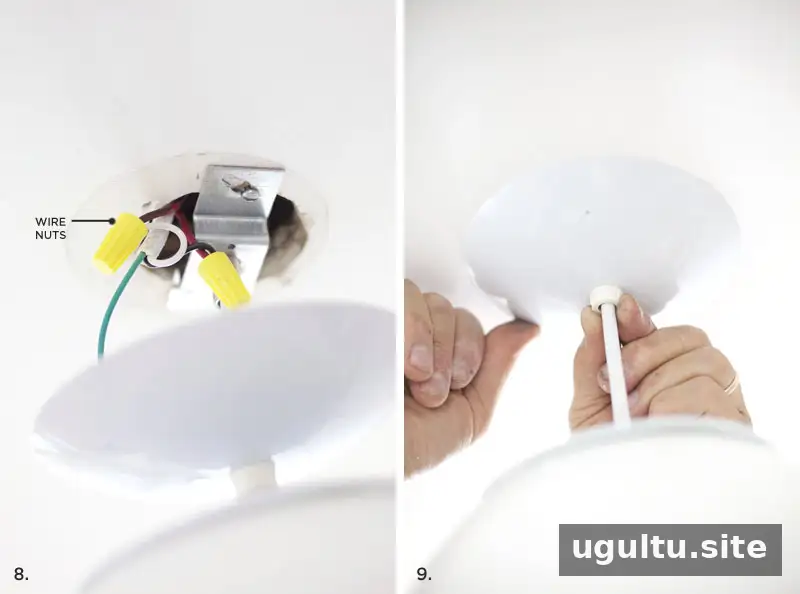
Fit the correct connectors firmly, following their instructions, and check that no bare copper is exposed beyond what the connector permits. Carefully arrange the wires inside the box without forcing or crushing them. Attach the fixture to the mounting hardware and confirm it is stable before restoring power.
When to Call an Electrician
Hire a licensed electrician if the wiring is ungrounded, damaged, aluminum, unusually configured, or difficult to identify; if the electrical box is loose or unsuitable; or if the fixture instructions do not match the wiring. Electrical codes vary by location, and a professional can check that the installation is safe and compliant.
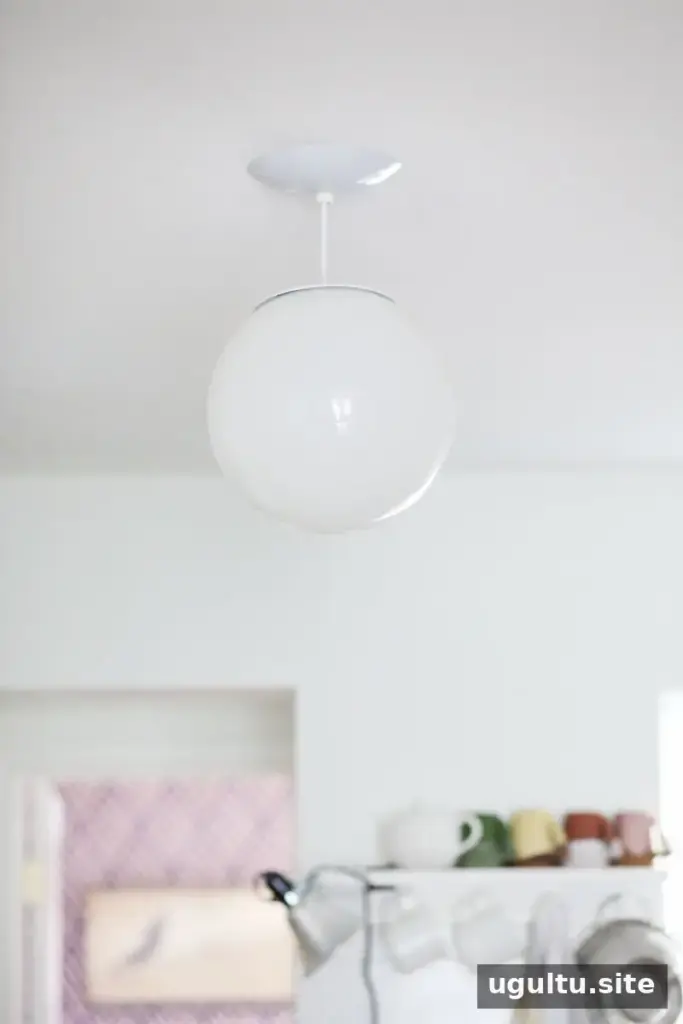
Final Safety Check
Before switching the breaker back on, make sure the fixture is fully secured, the wiring is enclosed, and no tools or loose parts remain. Restore power only when the installation is complete. If the light flickers, trips the breaker, smells hot, or behaves unexpectedly, switch the circuit off and contact an electrician.
Learning how to hardwire a light fixture starts with knowing when not to proceed. Careful verification, compatible parts, and following the fixture instructions can help prevent mistakes; when anything is uncertain, professional help is the safest choice.
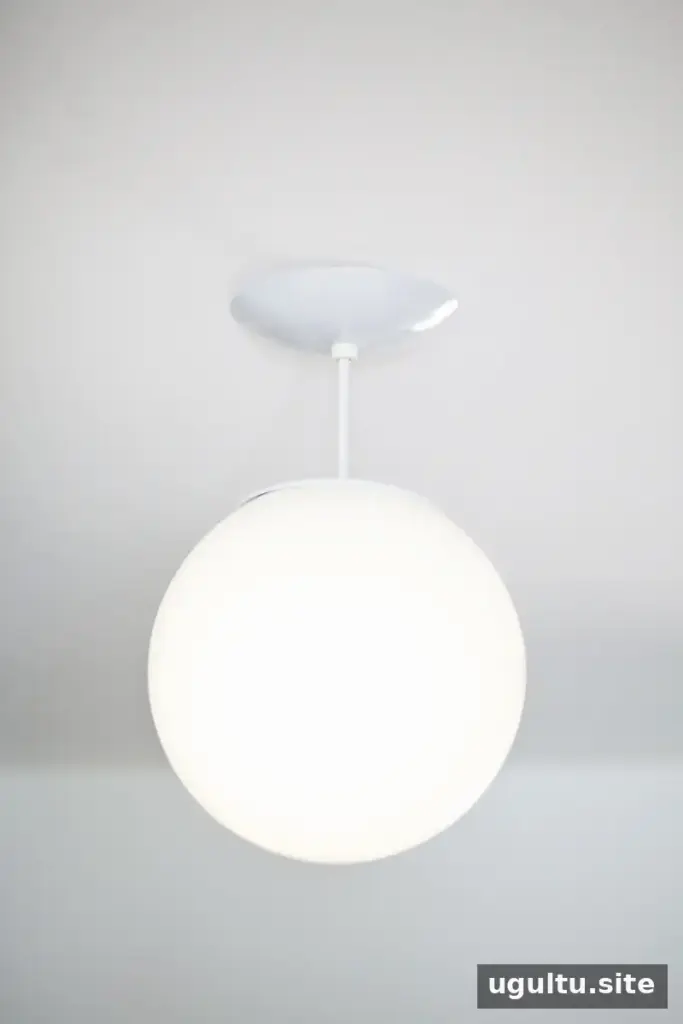
—Mandi


