admin
Beadboard bathroom installation can add texture and a finished look to a bathroom wall, often as wainscoting along the lower portion of the room. With careful measuring, secure panel attachment, and well-finished seams, this project can be completed with basic woodworking tools. Bathrooms have more moisture than many other rooms, so choose materials and finishes rated for the conditions and follow the product instructions.
Why Use Beadboard in a Bathroom?
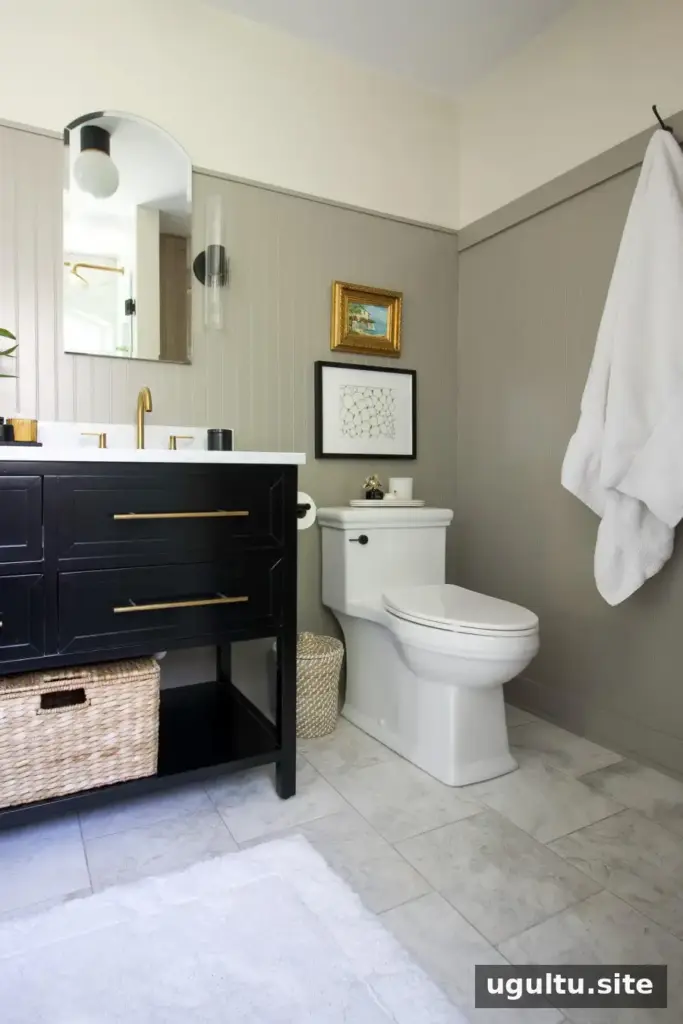
Beadboard traditionally consisted of narrow tongue-and-groove planks, while many modern versions are sold as larger panels. It is commonly installed over the lower one-third of a wall, although the finished height can vary by room and design.
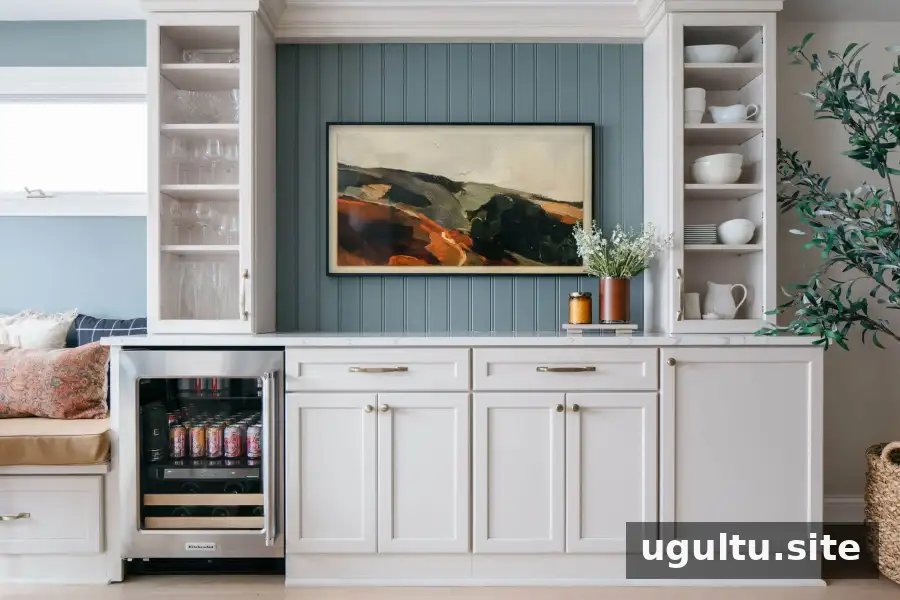
Panels can add visual detail without covering an entire wall in complex trim. Before buying, check whether the panel product is suitable for bathrooms, and plan how its edges and cut surfaces will be sealed and painted.
Beadboard Bathroom Installation Supplies
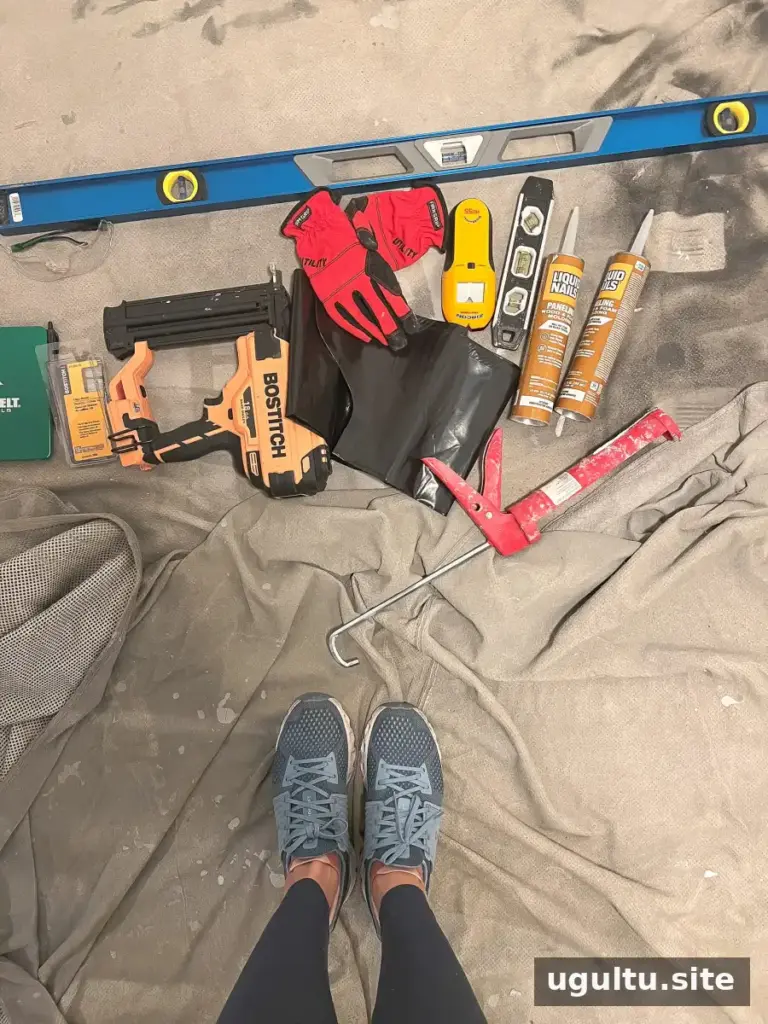
Gathering materials ahead of time makes installation easier. The project described here used 4×8 beadboard panels cut to 62 inches in height, along with trim and standard woodworking tools.
- Beadboard panels
- Chair rail
- Baseboard and shoe molding
- Circular saw and compound miter saw
- Paintable construction adhesive
- Brad nailer and brad nails
- Paintable caulk and caulk gun
- Painter’s putty
- Tape measure, spirit level, and stud finder
- Oscillating multi-tool
- Clamps and a straightedge
- Safety gear
- Outlet box extender, if needed
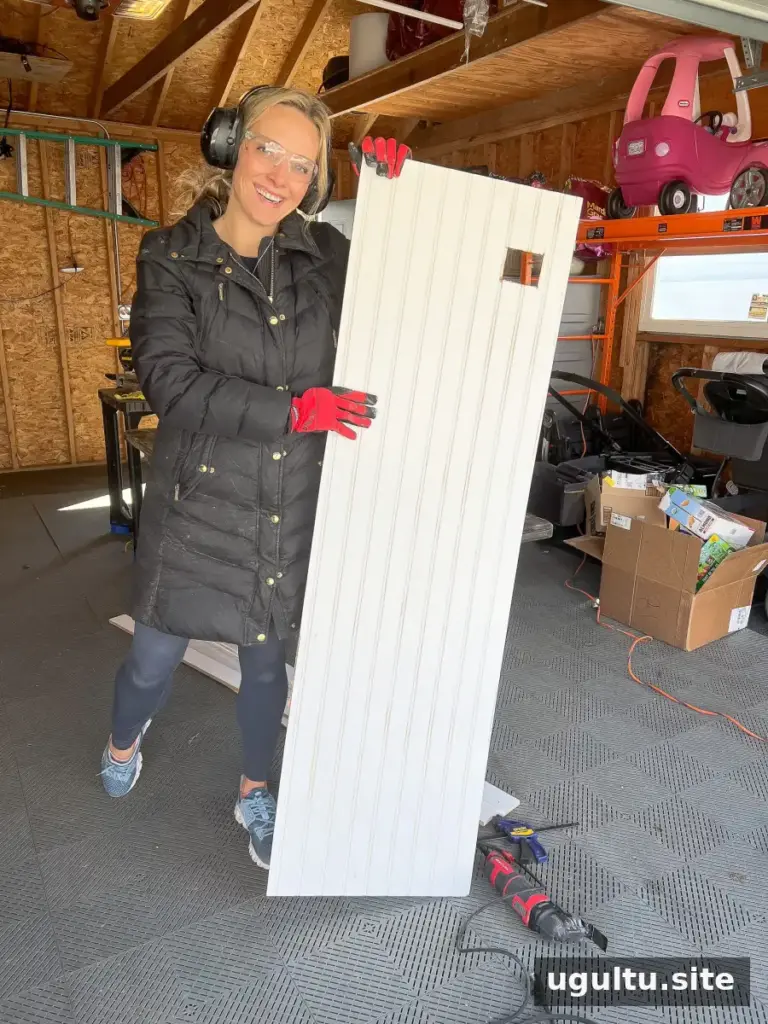
Large panels can be awkward to carry and position. Arrange help if possible, and make sure there is a stable work surface before cutting.
Prepare the Walls and Mark the Studs
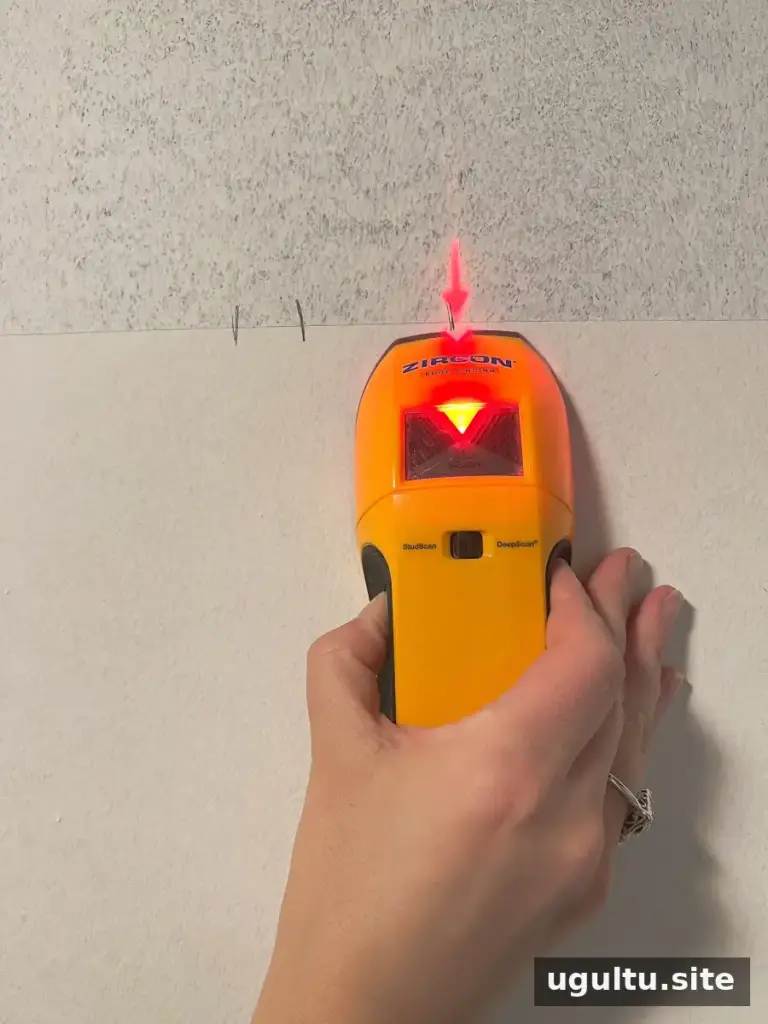
Use a stud finder to locate the wall studs, then mark their positions around the room. Marking them before lifting the panels helps you place fasteners accurately and reduces the time a heavy sheet must be held in position.
Establish a Level Installation Line
The panels for this project were 62 inches tall. Because floors may not be level, the installer measured 62 inches from the lowest floor area and used a spirit level to draw a consistent line around the room. Measuring the same distance from the floor at every point could create a visibly uneven top edge.
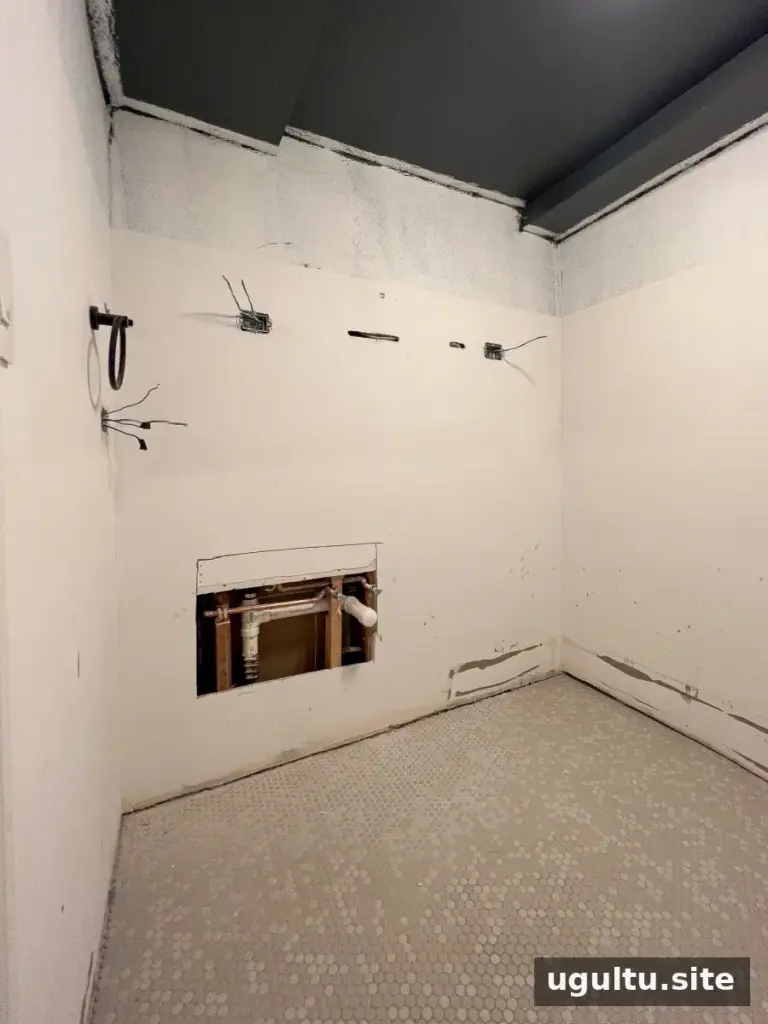
The lower panel edges were intended to sit behind the baseboard, so a small gap near the floor would be concealed. If you are not using baseboards, measure and cut the lower edges more precisely.
Attach Panels with Adhesive and Brad Nails
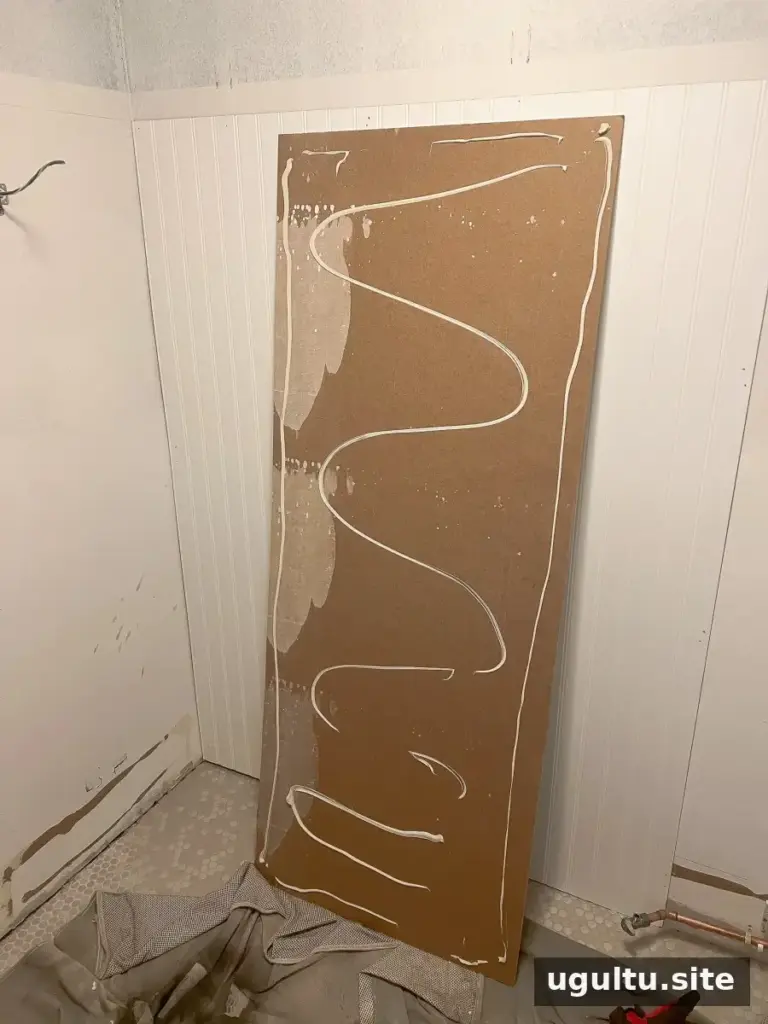
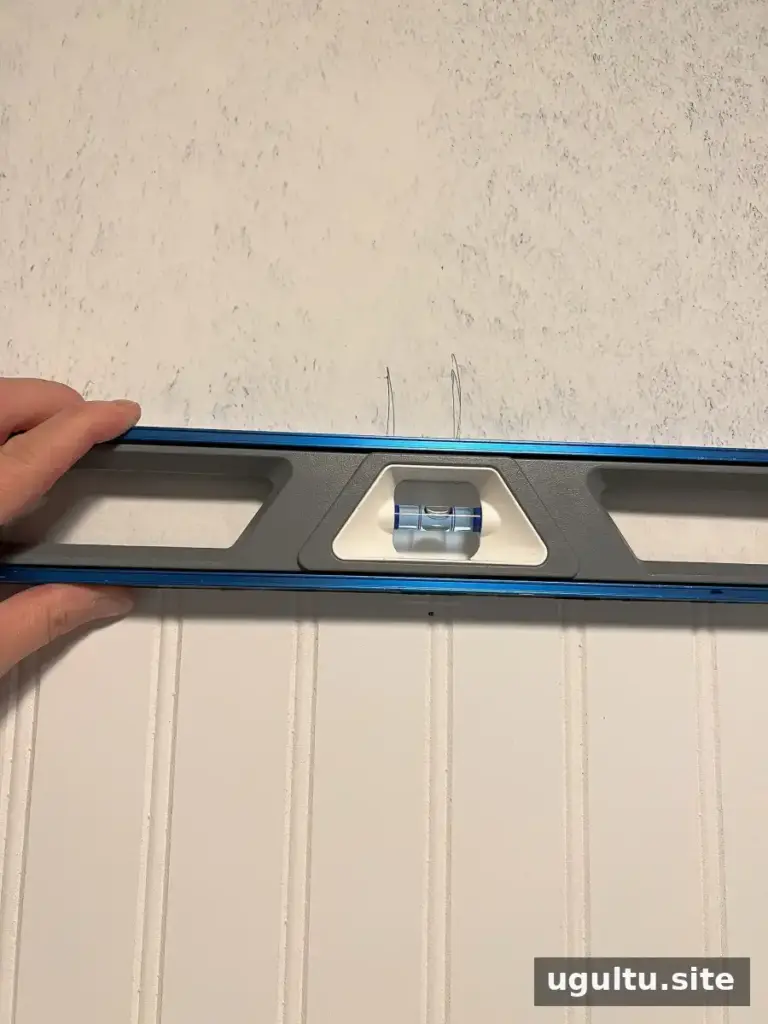
Apply construction adhesive to the back of the first panel according to the adhesive manufacturer’s directions. Position the panel against the level line, then fasten it at the marked studs with a brad nailer. A second person can help hold a large panel steady while it is aligned and attached.
Check the panel’s level as you work. Follow the fastener and panel manufacturers’ guidance for nail placement, and avoid relying on fasteners that do not have a suitable backing. Continue checking alignment as additional panels are installed.
Cut Panels Carefully with a Circular Saw
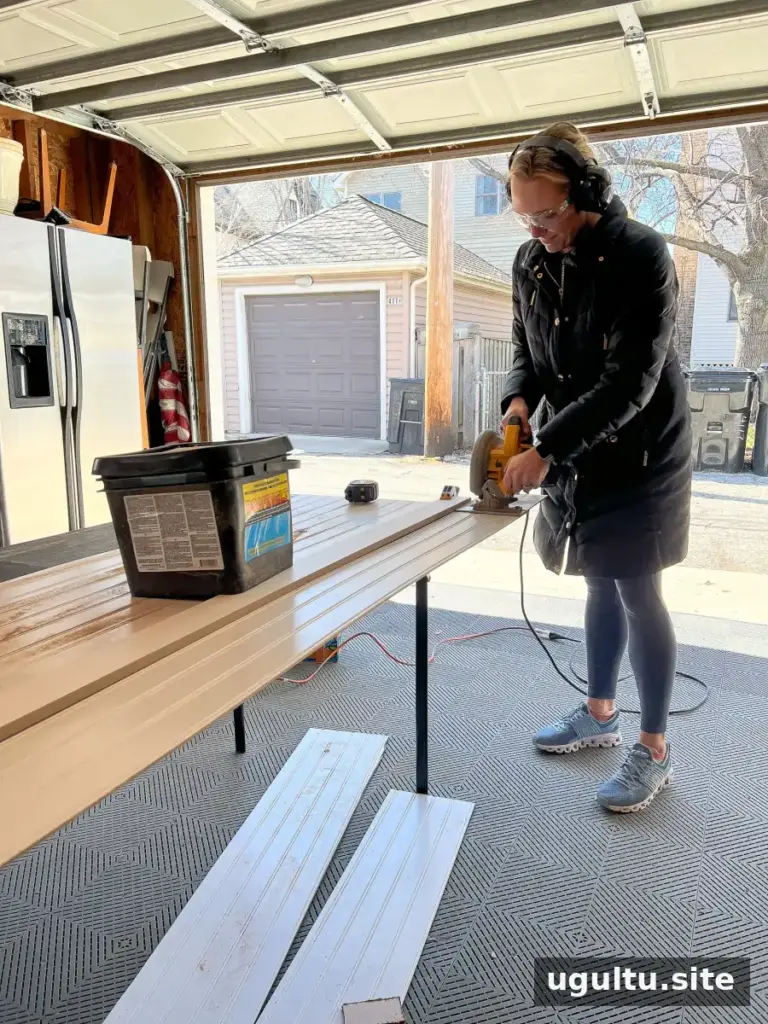
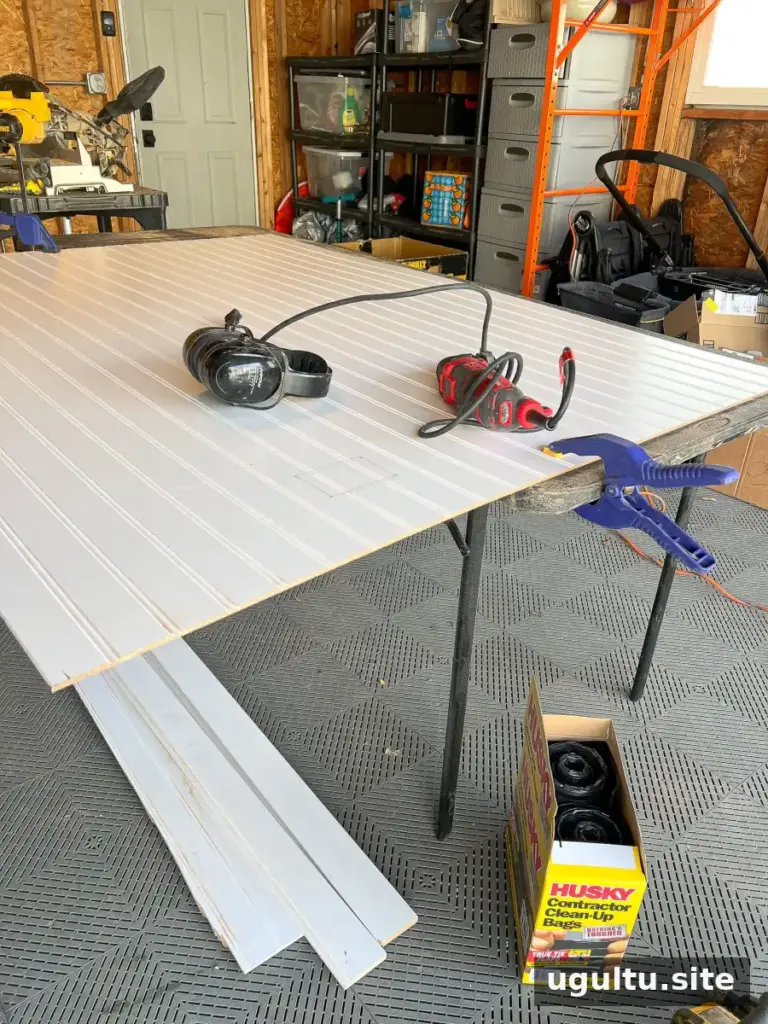
A circular saw can be used to trim panels to width. Support the panel on a stable surface and clamp a straightedge in place to guide the saw. Measure the distance between the saw’s base edge and blade; in this project, that distance was 1.5 inches. Account for that offset when positioning the guide.
Set the blade depth according to the panel thickness and the tool’s instructions. Wear appropriate eye and hearing protection, keep hands clear of the blade path, and make sure the panel and guide cannot shift. Read the saw manual before use and do not force the tool through the material.
Make Cutouts for Fixtures and Plumbing
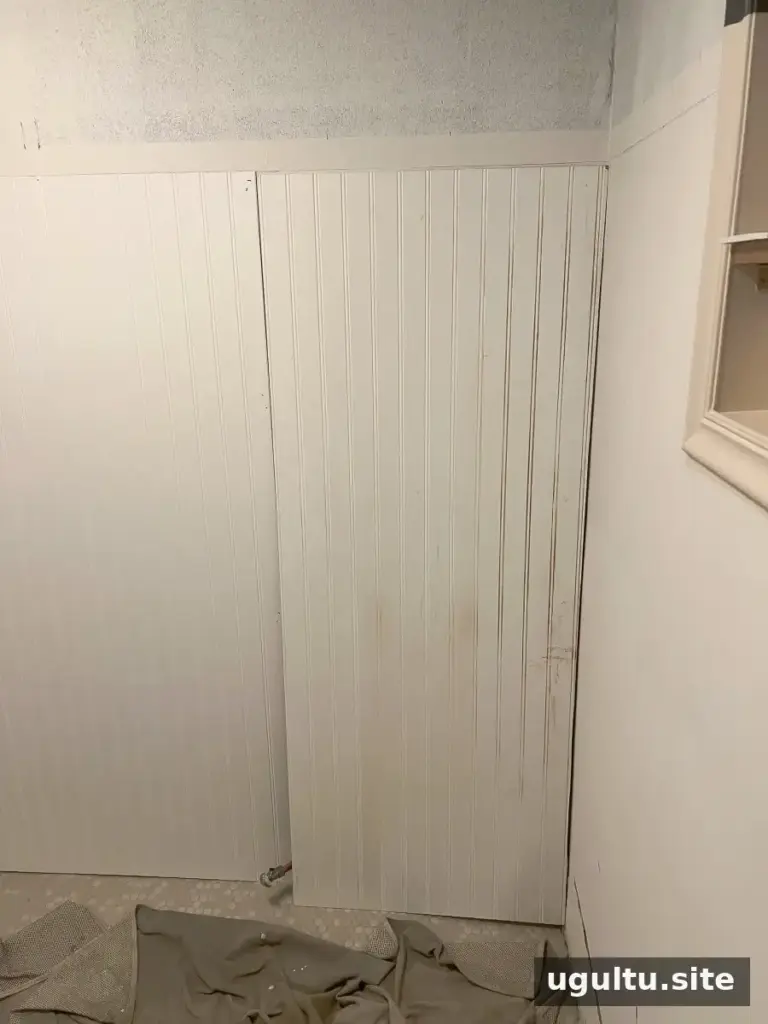
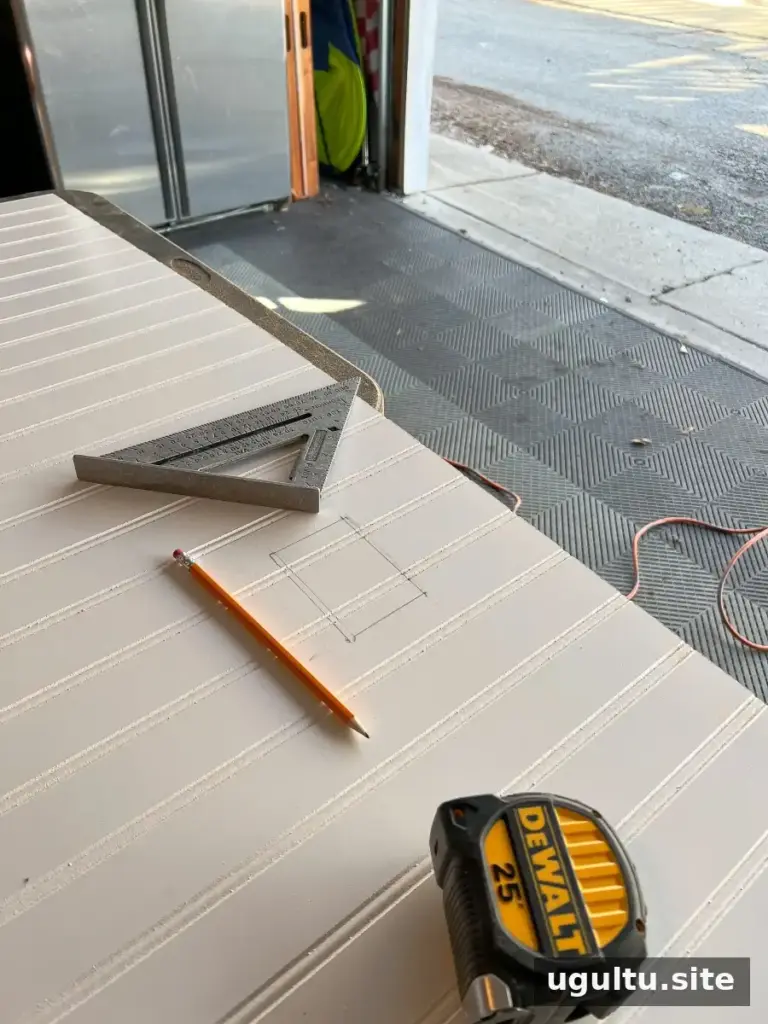
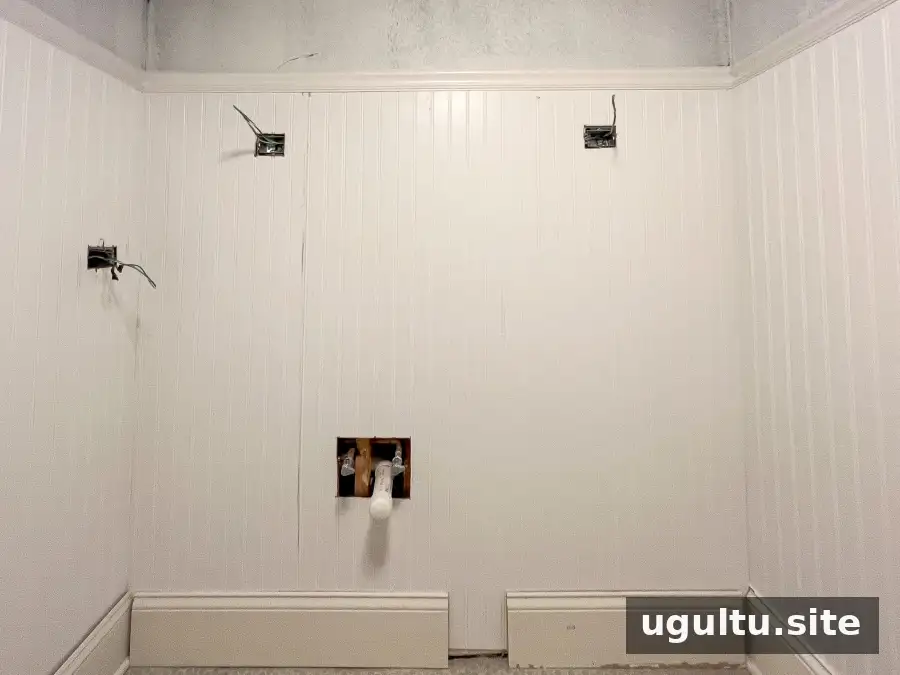
Areas around sconces, plumbing, and other obstacles require careful measurement. An oscillating multi-tool can help make detailed cuts, but mark the locations on the panel and verify the measurements before cutting.
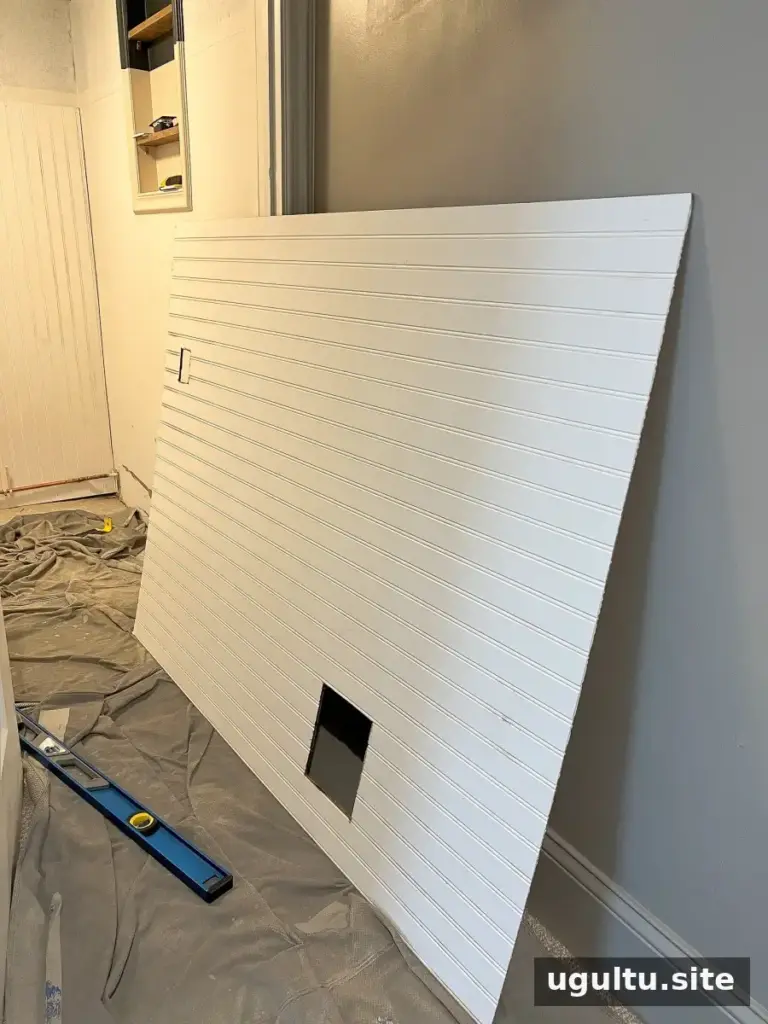
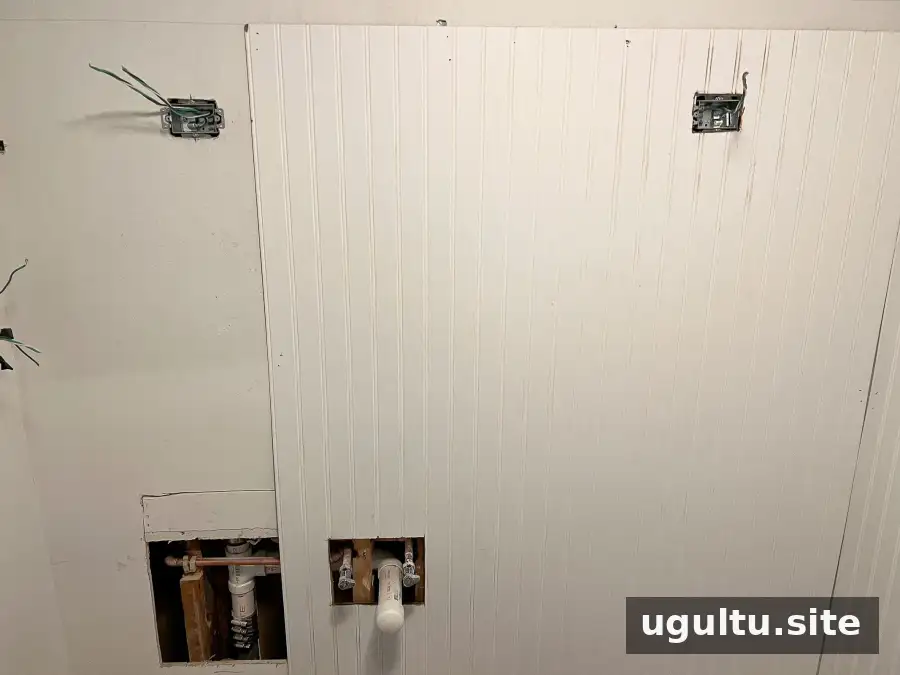
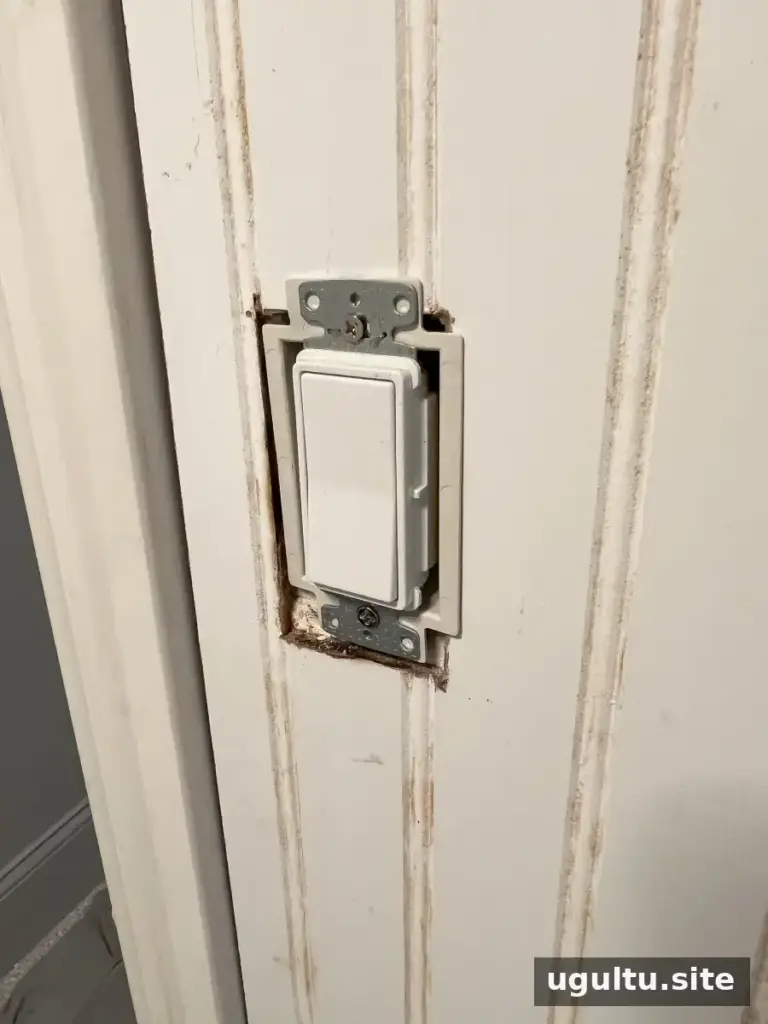
Test the panel’s fit before fastening it permanently. For wall outlets, an appropriate outlet box extender may be needed so the electrical box remains correctly positioned relative to the new wall surface. Turn off the circuit before working near an outlet, and consult a qualified electrician if you are unsure about the installation or applicable requirements.
Install Chair Rail and Baseboards
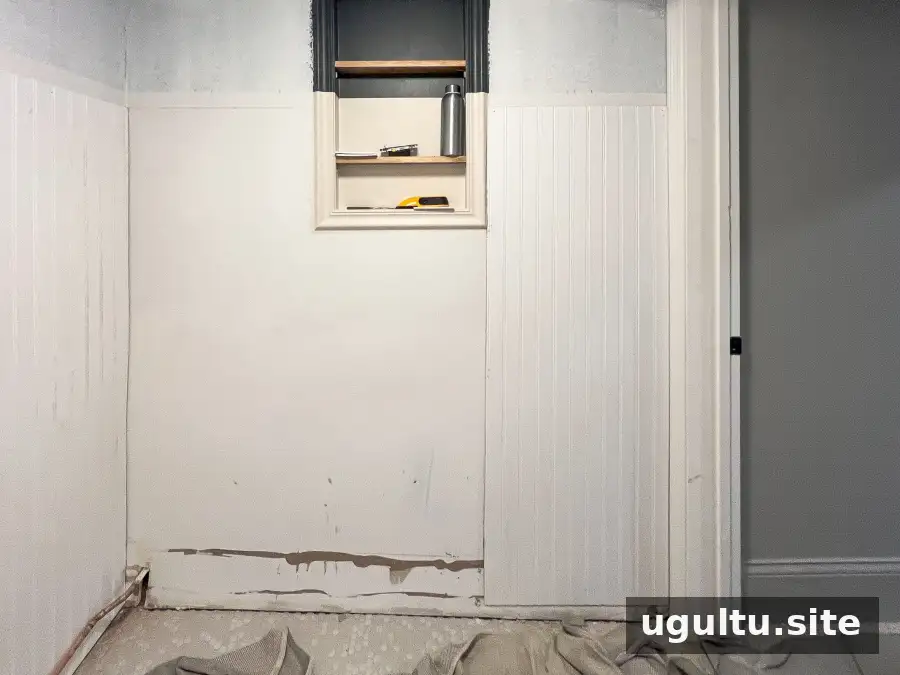
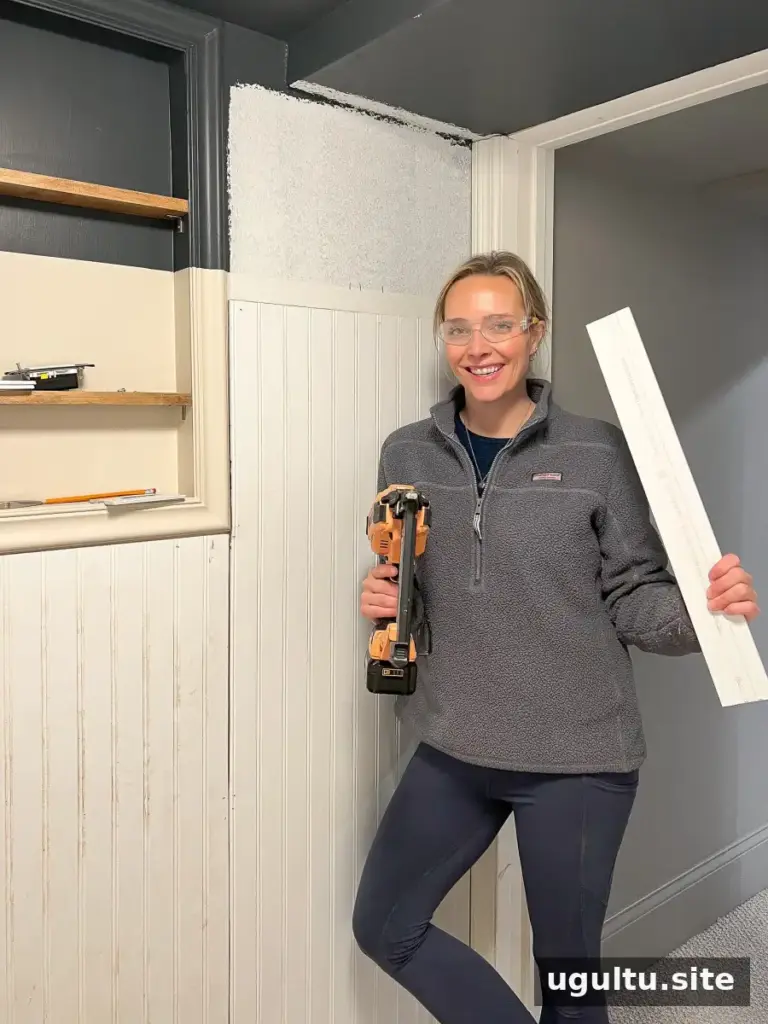
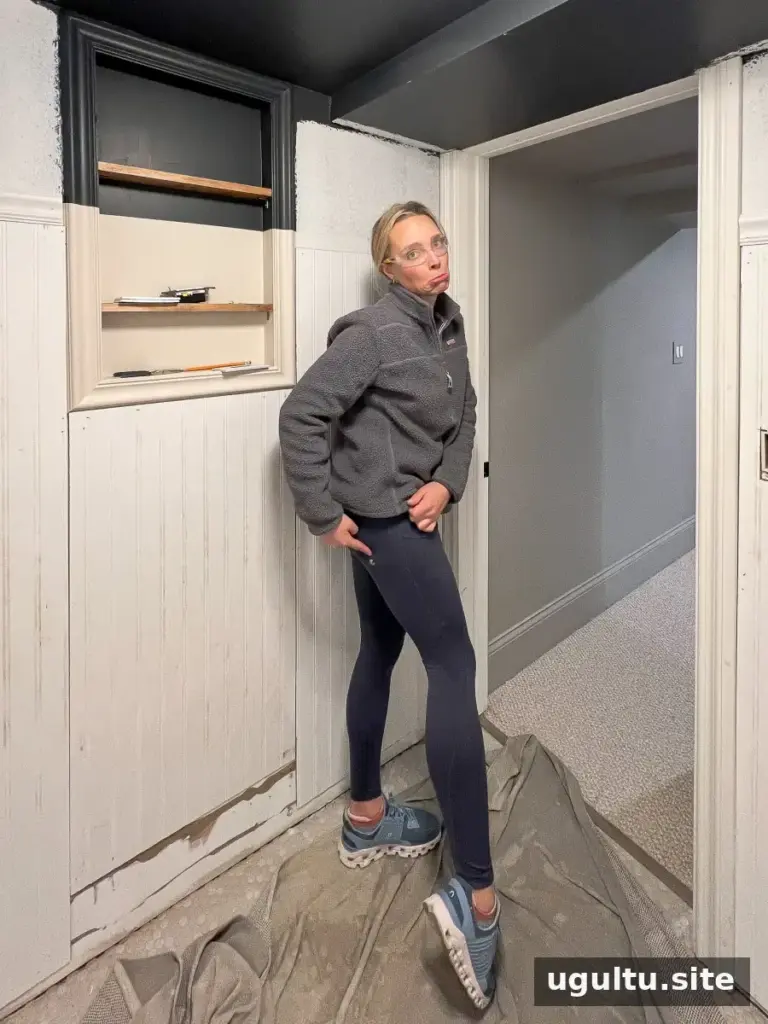
Installing the beadboard panels took about 4–5 hours in this project. Allow extra time if you are new to the tools, working alone, or making several detailed cutouts.
Chair rail covers and finishes the panel’s top edge. Measure each section, then use a compound miter saw to cut corner joints. The pieces in this project were cut at 45-degree angles. Dry-fit the trim first to confirm that the corners meet cleanly, then attach it with suitable adhesive and brad nails.
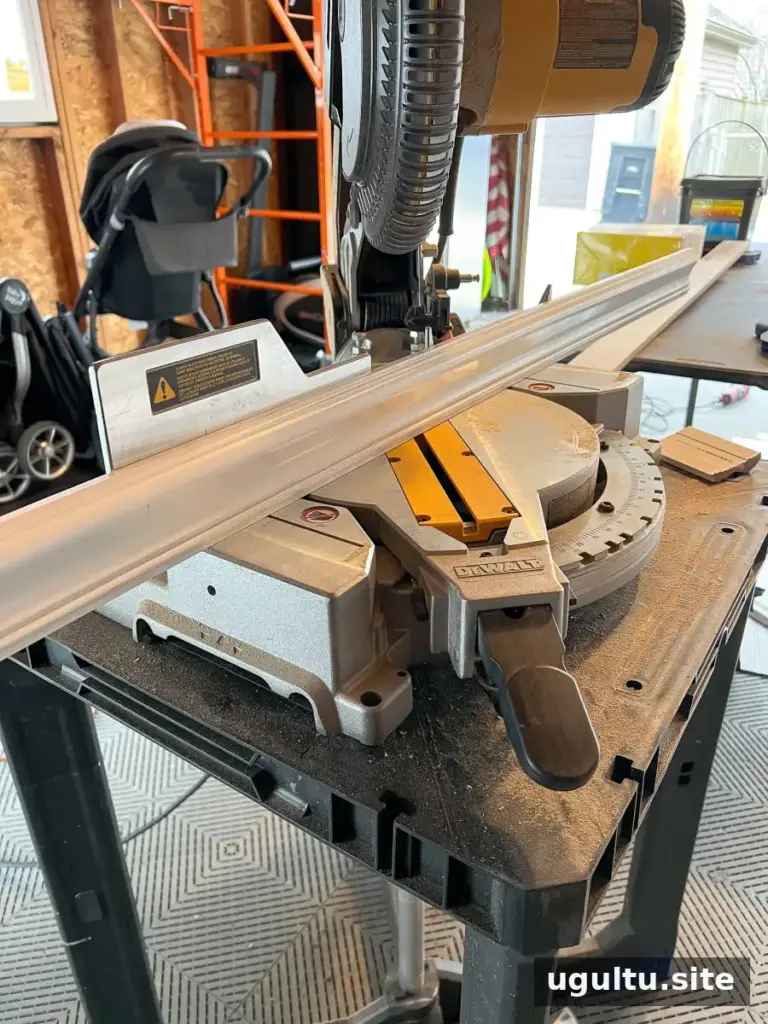
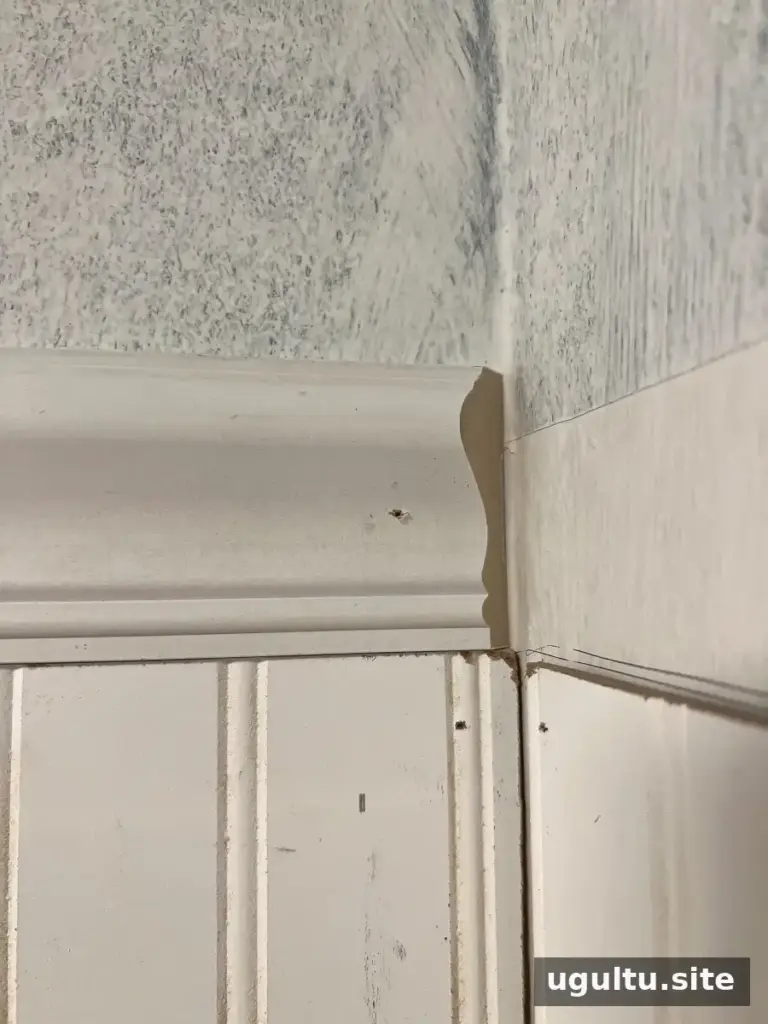
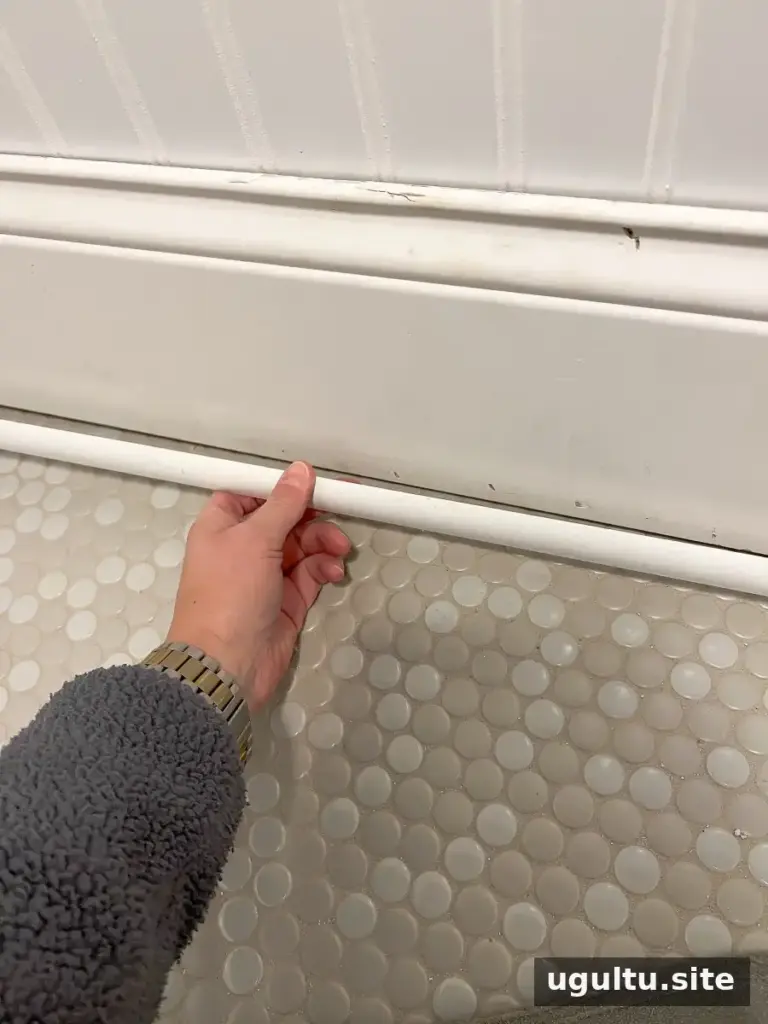
Baseboards and shoe molding can be reinstalled after the panels and upper trim are in place. If a vanity is being added, wait to fit the adjacent baseboard until the vanity position is established so the trim meets it neatly.
Fill Nail Holes and Caulk the Seams
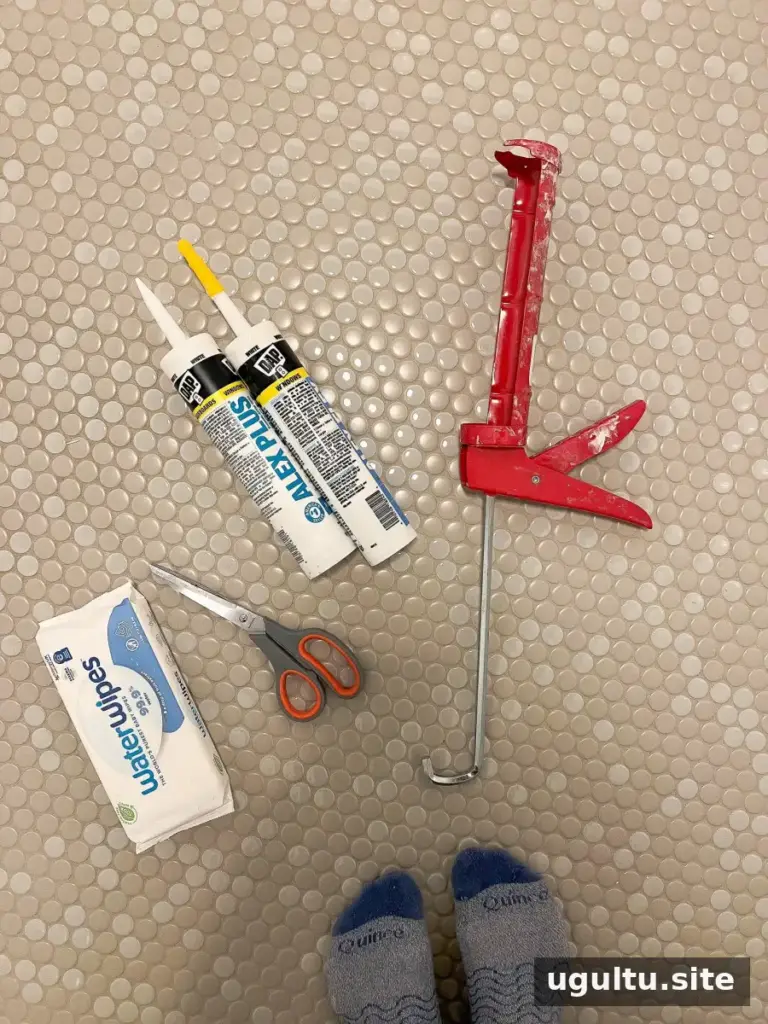

Fill nail holes with painter’s putty and apply paintable caulk to seams where appropriate. Smooth the caulk according to its label and allow it to cure before painting. In a bathroom, pay particular attention to exposed edges and areas that may encounter moisture; use compatible products and follow their instructions.
Final Checks for Beadboard Bathroom Installation
Once the panels, chair rail, and baseboards are fitted, check that the top line is level, cutouts are clean, and trim joints are secure. Allow adhesive, putty, and caulk to dry or cure as directed before applying paint. A bathroom-rated finish and good room ventilation help protect the completed surface.
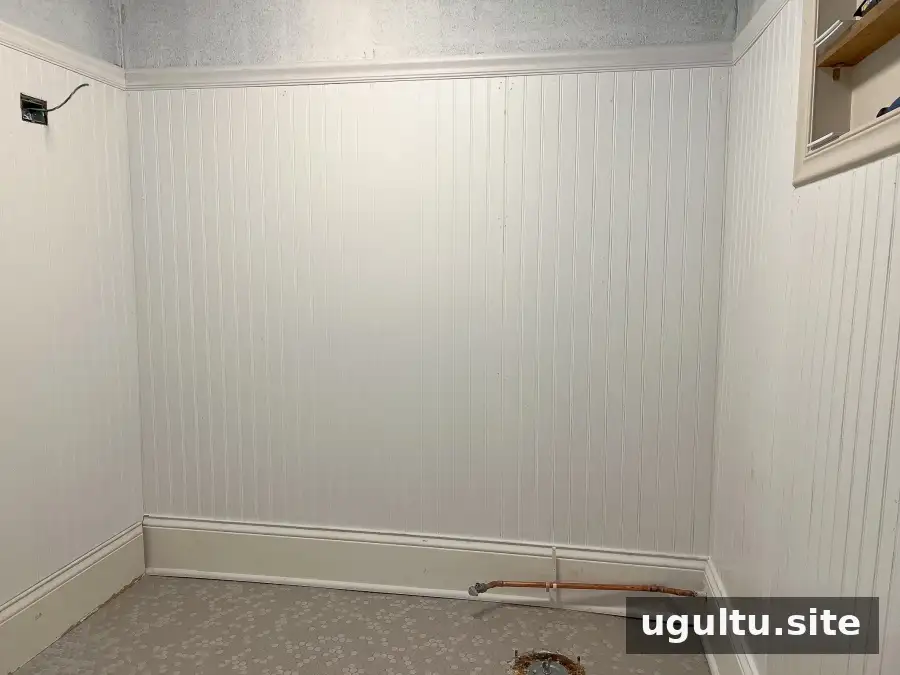
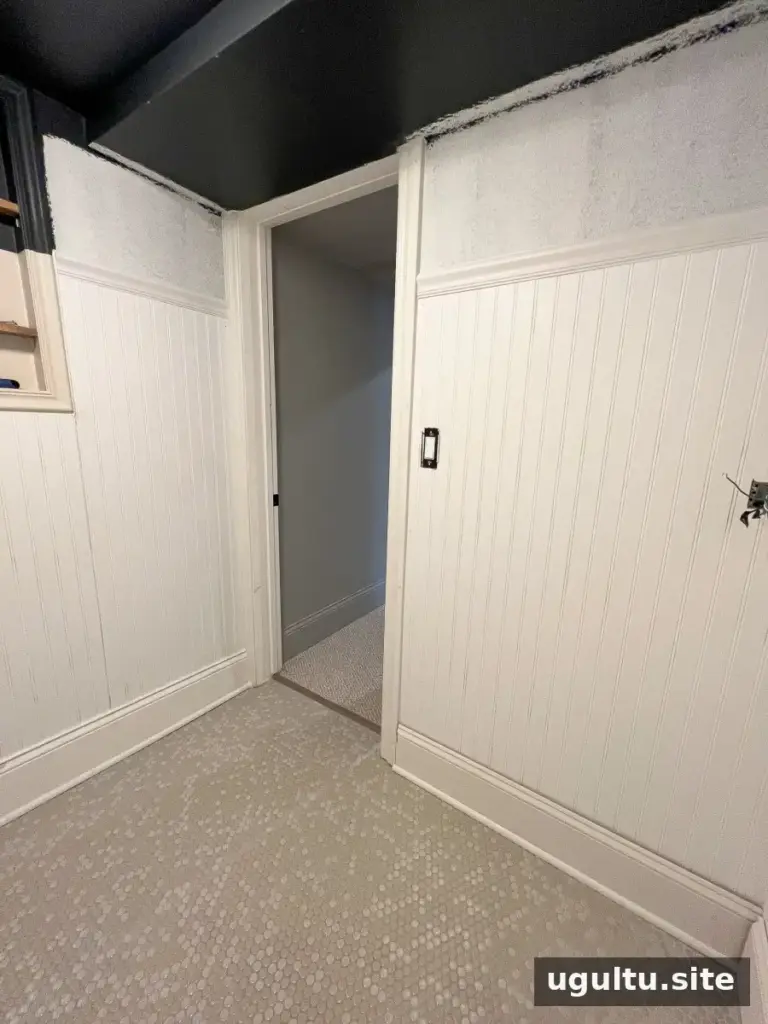
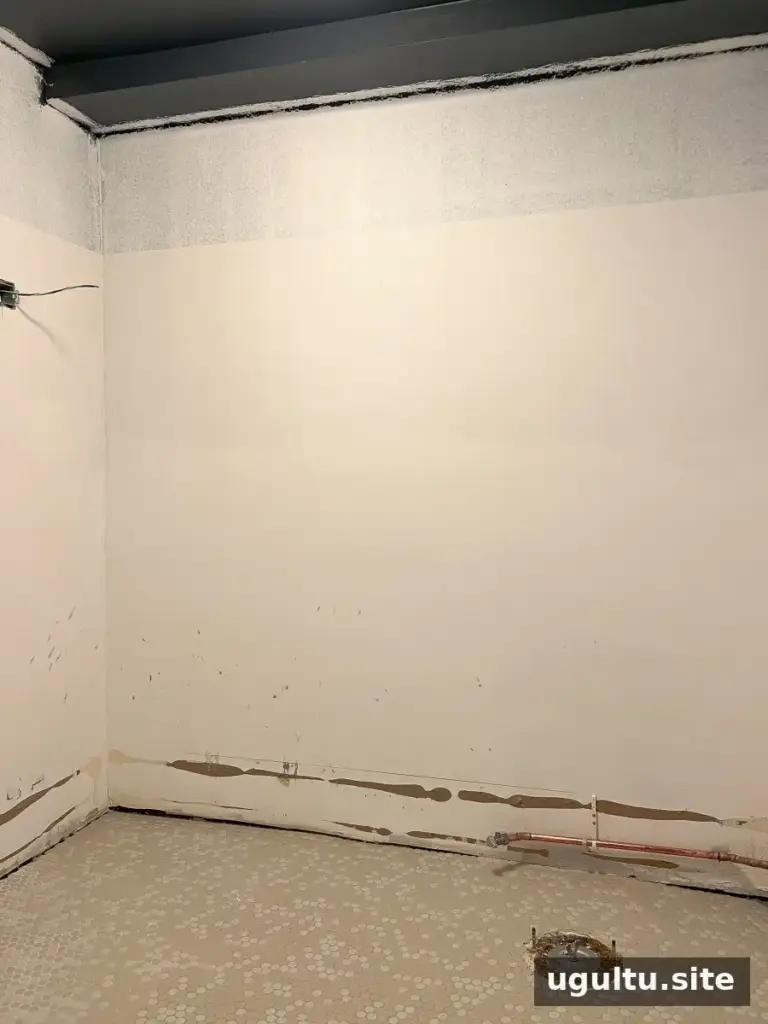
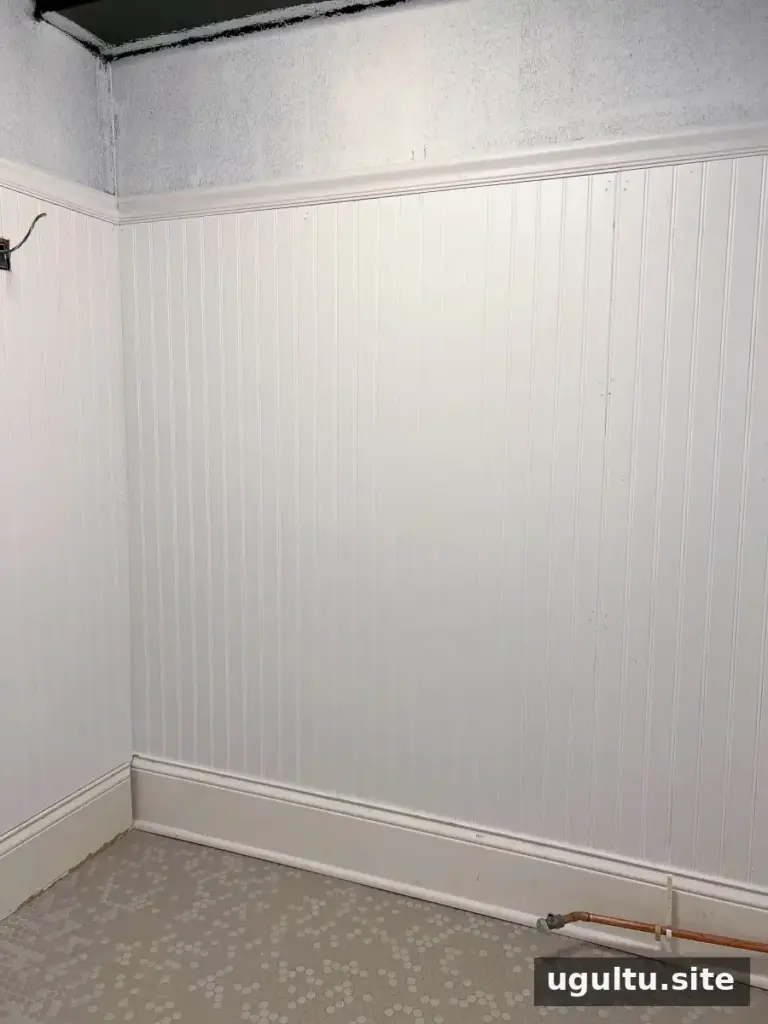
Next Step: Paint
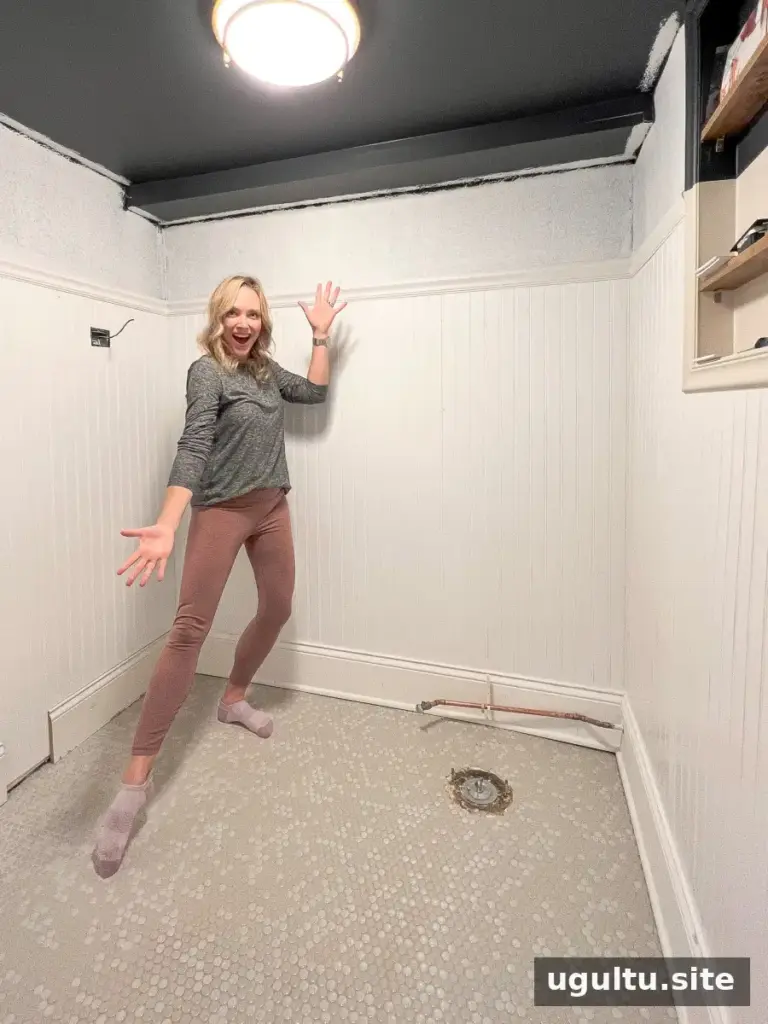
Painting completes the project and helps create a consistent finish across the panels and trim. Use a paint compatible with the beadboard material, and follow the manufacturer’s preparation and drying recommendations. For a successful beadboard bathroom installation, careful layout, safe cutting, secure fastening, and thorough finishing are all important.