admin
Vertical shiplap is a practical way to add texture and visual height to a room. With careful planning, the right tools, and attention to safety, you can install it as an accent wall in a basement or another interior space. This step-by-step guide covers board layout, cutting, fitting around outlets, and finishing the edges.
Why Choose Vertical Shiplap?
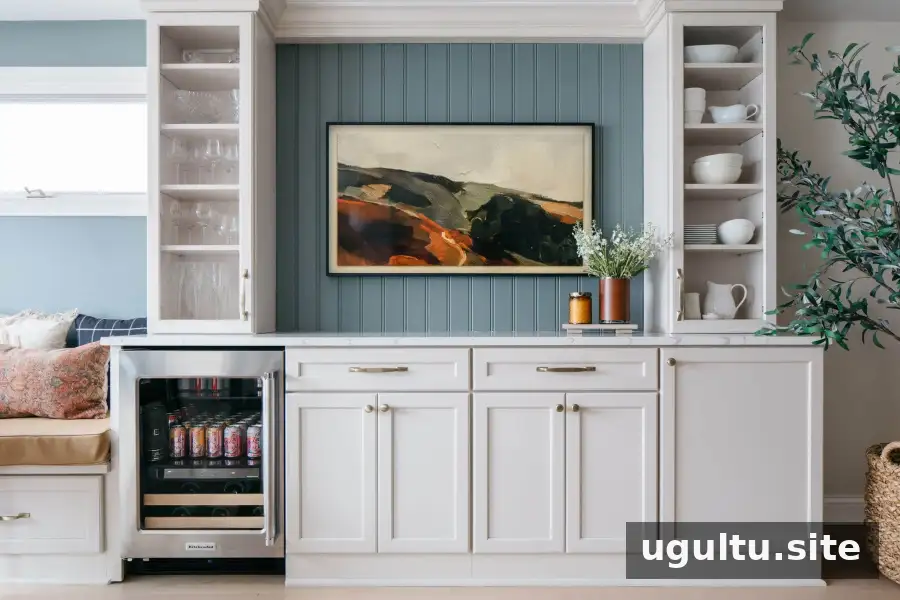
An accent wall can give a room more character without changing its layout. Vertical boards draw the eye upward, which may help a room with low ceilings feel taller. Narrower boards, such as the 5 1/2-inch boards used for this project, can also create a more contemporary look.
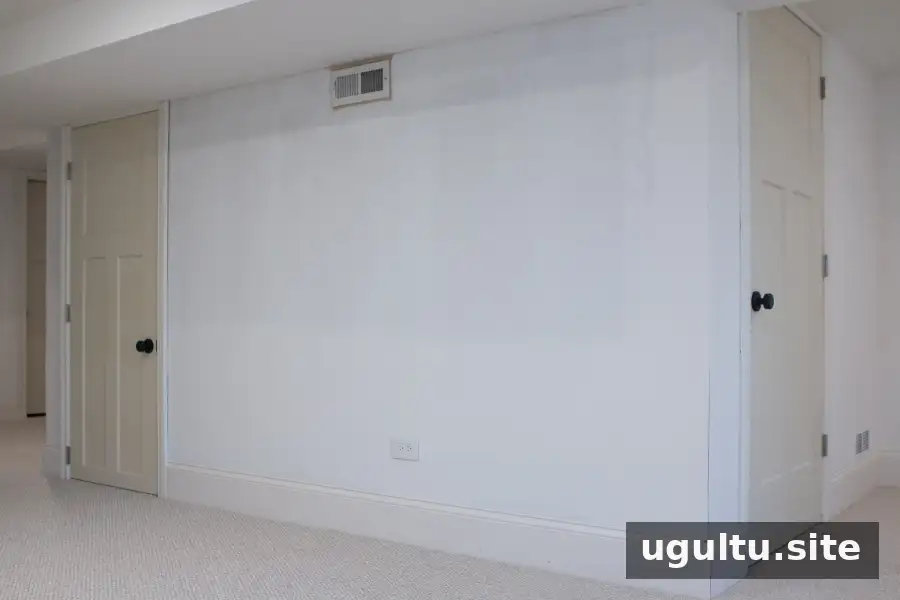
Tongue-and-groove boards help create consistent joints, but accurate measuring and a level starting point are still important. Decide in advance whether the cladding will cover one wall or continue around a corner so the finished layout looks intentional.

Shiplap in a former office.
Materials and Tools for Vertical Shiplap
Gather the tools and supplies before starting. The original project used 5 1/2-inch shiplap boards, including boards measuring 16 feet in length.
- Shiplap boards
- Tape measure, spirit level, and stud finder
- Crowbar and rubber mallet
- Miter saw and oscillating multi-tool
- Clamps and a table saw for ripping boards to width
- Brad nailer and brad nails
- Construction adhesive, such as liquid nails
- Caulk, painter’s putty, and paint
- Outlet box extender, if required
- Appropriate safety equipment
Check the board and adhesive manufacturers’ instructions before installation. Confirm that the wall is suitable for the materials and that the added board thickness will not interfere with outlets, switches, doors, or trim.
How to Install Vertical Shiplap
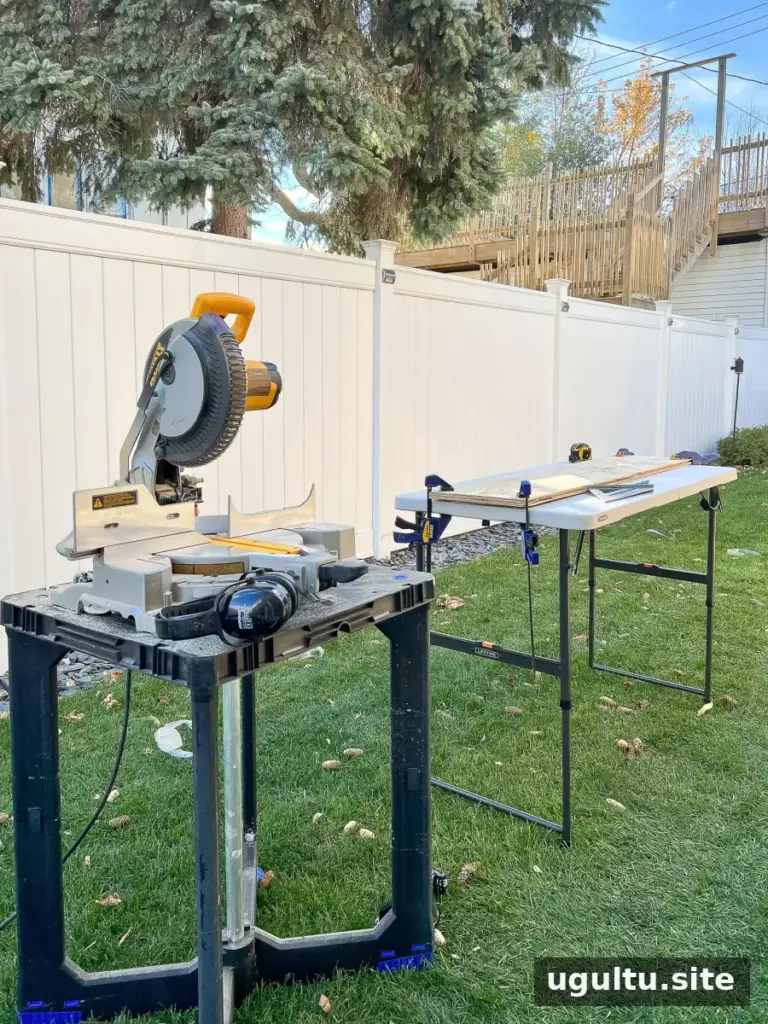
Allow enough time for measuring, cutting, installation, and finishing. A weekend may be suitable for a straightforward accent wall, although obstacles and detailed cuts can add time. Having another person help support long boards can also make handling easier.
Plan the Layout and Baseboard
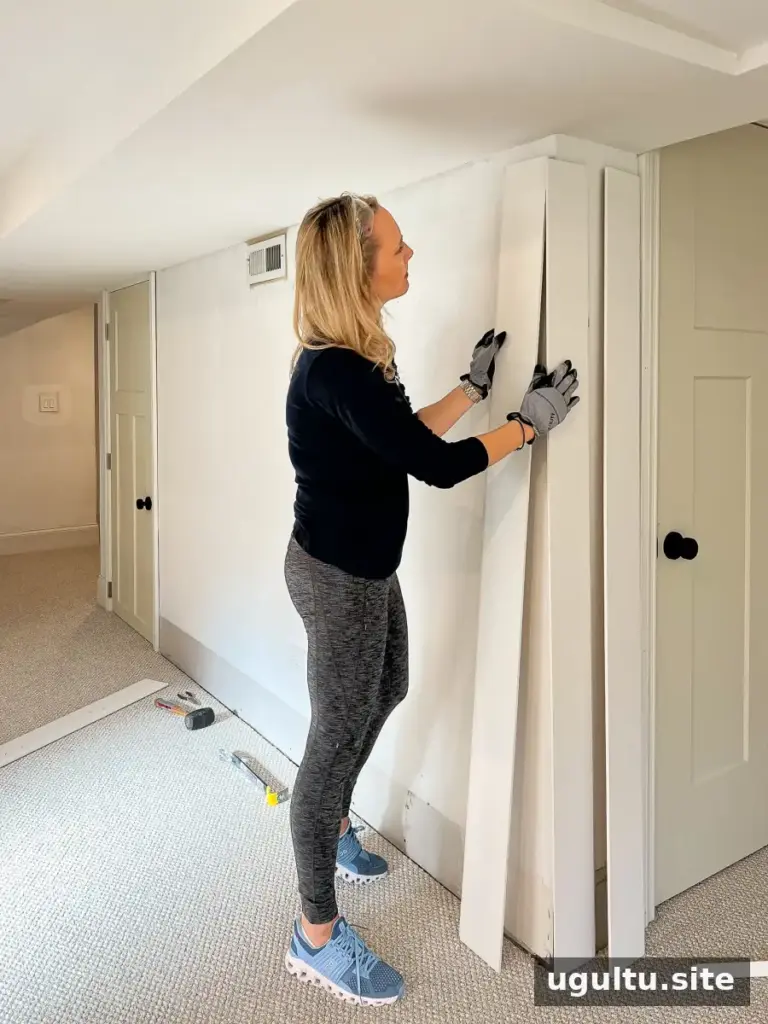
Before cutting, work out where the first board will go and how the final board will fit. Measure the wall and account for the board width and tongue-and-groove joints. A balanced layout helps avoid ending with a very narrow strip at one edge.
Choose how the boards will meet the baseboard. You can leave the existing baseboard in place, remove it and reinstall it over the boards, or install new trim afterward. In this project, the baseboard was removed first and reinstalled over the shiplap. Decide whether the boards will cover one wall or continue around a corner as well.
Mark the planned edges and check for studs, outlets, vents, and other obstacles. Spending a little time on this layout can prevent unnecessary cuts and help the finished wall look consistent.
Remove the Baseboard
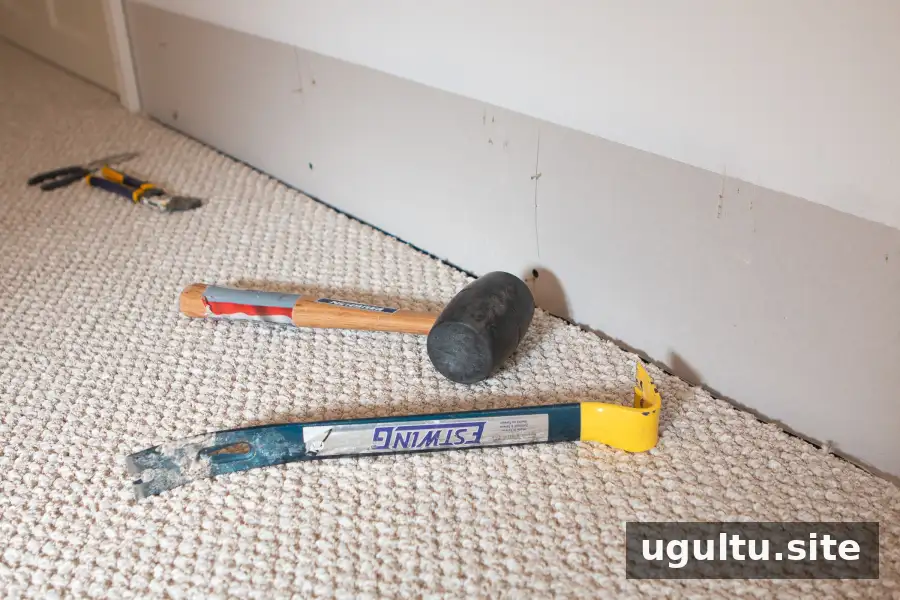
If you plan to reinstall the baseboard over the boards, carefully loosen it with a crowbar and rubber mallet. Work gradually along its length rather than pulling hard at one point, which can split the trim or damage the wall. Set the pieces aside and label them if you will be reusing more than one section.
Measure and Cut the Boards
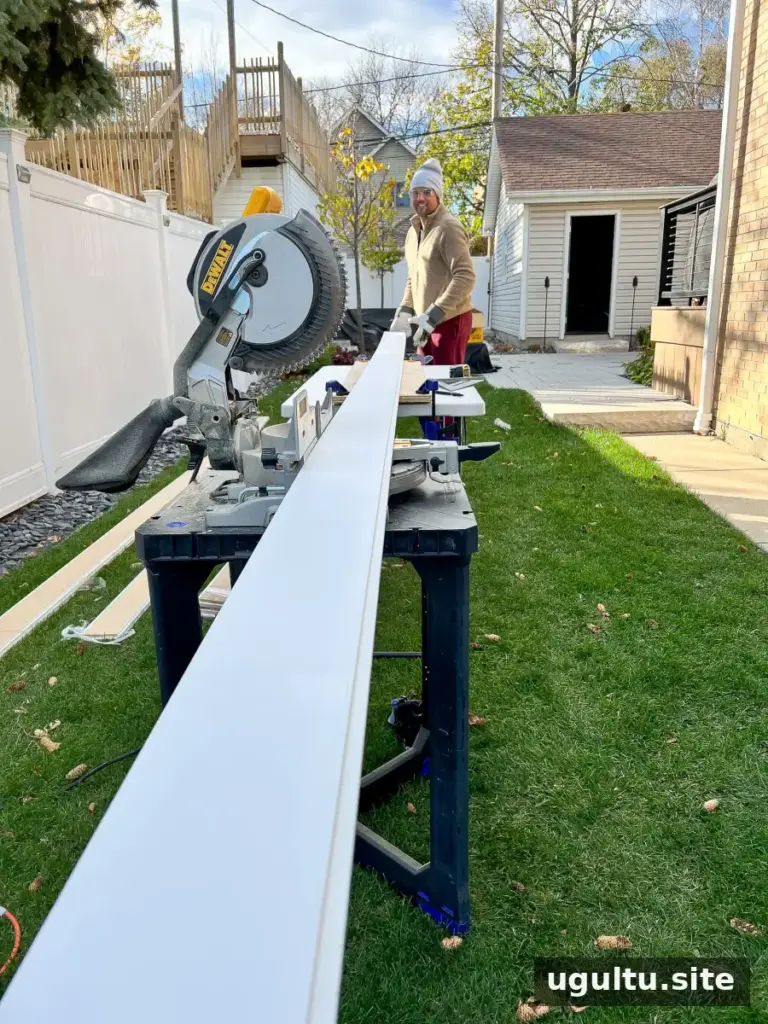
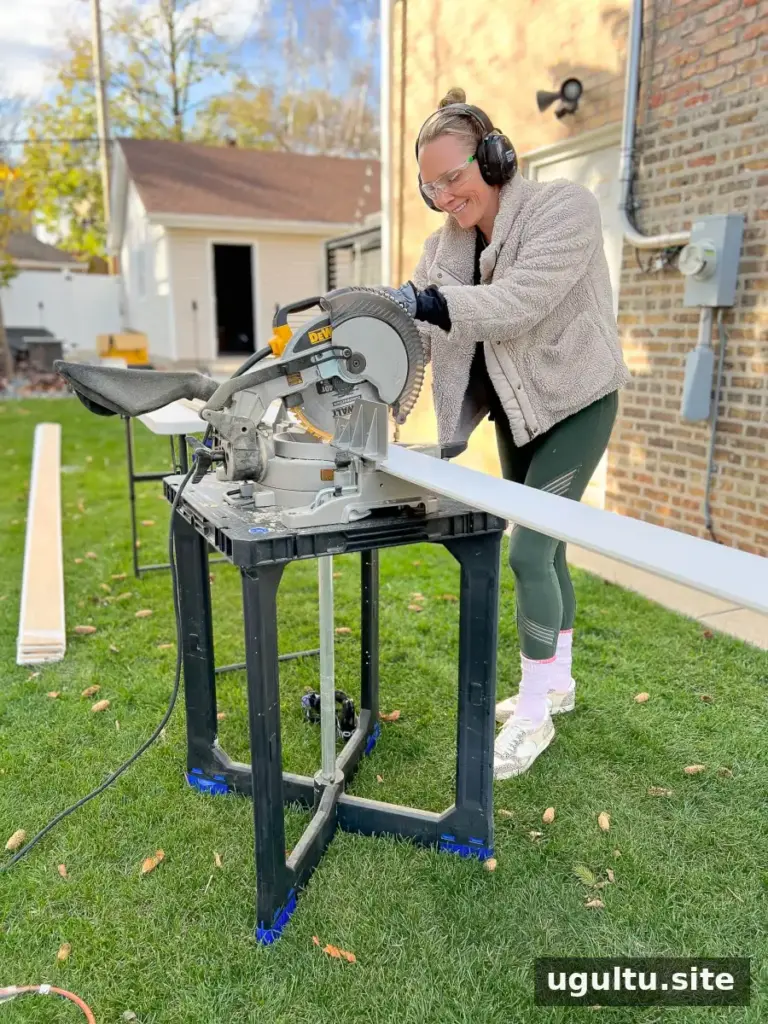
Measure from the floor to the ceiling at several points, since ceilings and floors may not be perfectly level. The boards in this project were cut to 72 inches after measuring the wall and allowing room for fitting. Check your own wall measurements before using that length; it is not a universal measurement.
Long boards need support while being cut so they do not bend or fall. A miter saw is suitable for shortening boards. Use stable supports at the same height as the saw where possible, and follow the tool’s safety instructions.
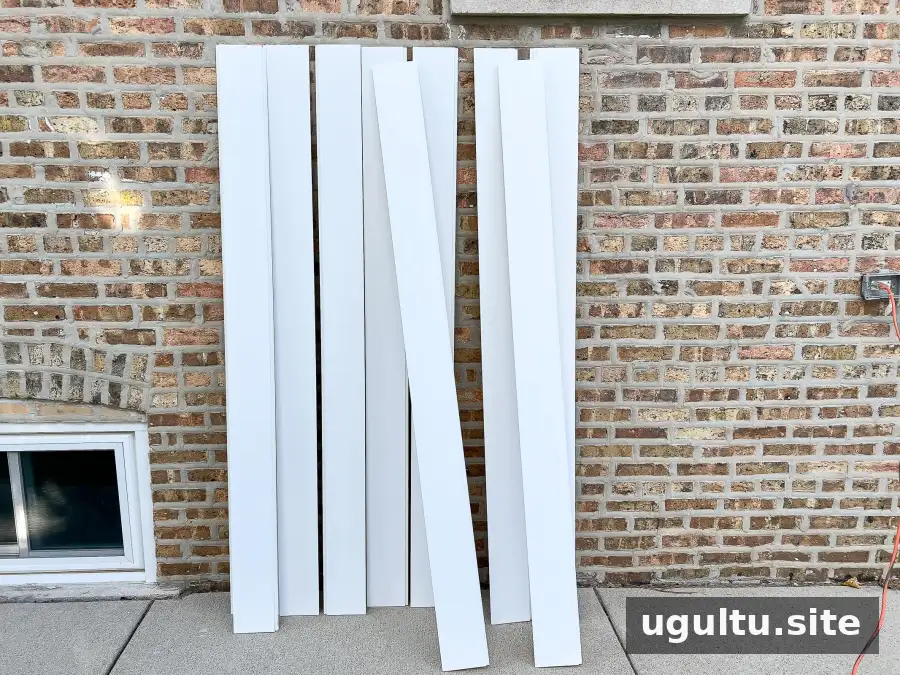
The boards for this project were cut in about 30 minutes with a miter saw. Dry-fit a few pieces before installing them to confirm the length and joint fit.
Install the First Boards
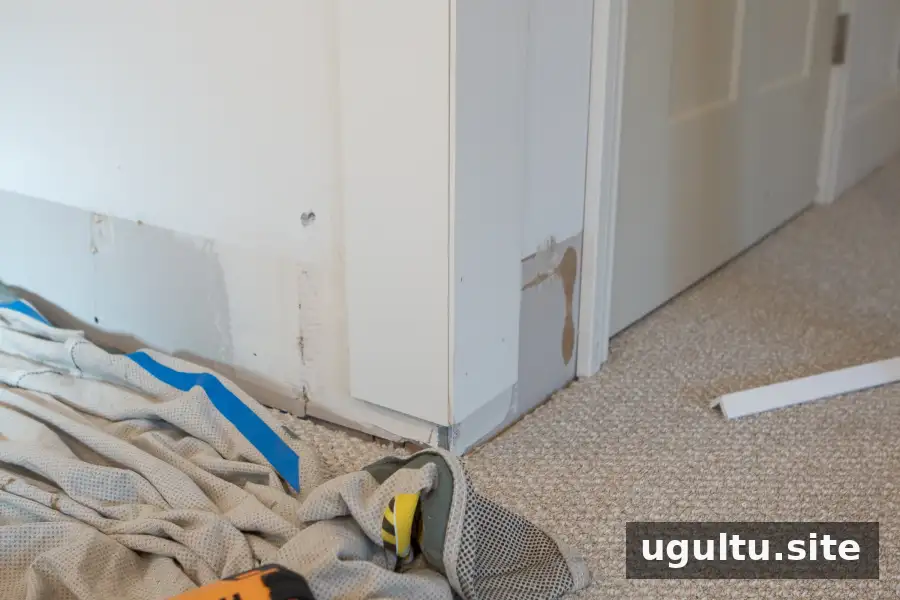
Mark the wall studs before you begin. Construction adhesive can be used as a supplement to mechanical fastening when appropriate for the wall and product instructions, but it should not replace required fasteners. Use the brad nailer to secure boards, aiming for studs where possible.
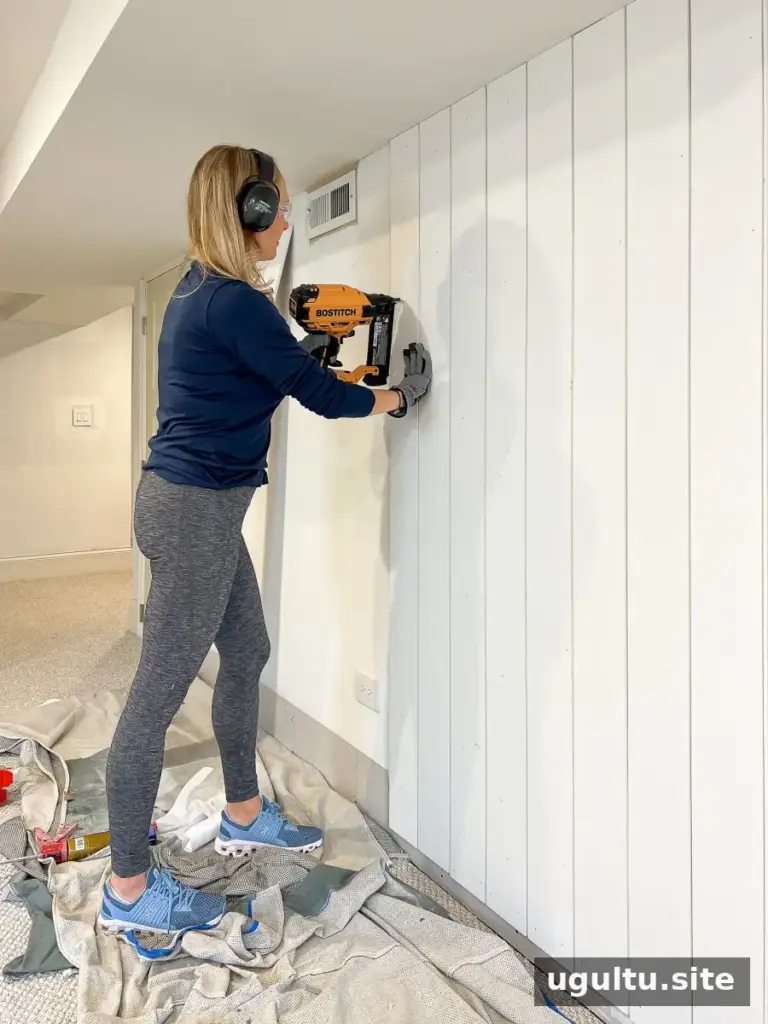
Take extra care to level the first board. Every board that follows will align with it, so a small error at the start can become more noticeable across the wall. Use a long spirit level, then check the alignment periodically as you continue.
Install several boards and inspect the joints before moving on. The first obstacles in this project were an outlet and a vent, which required careful measuring and individual cuts.
Cut Around Outlets and Vents
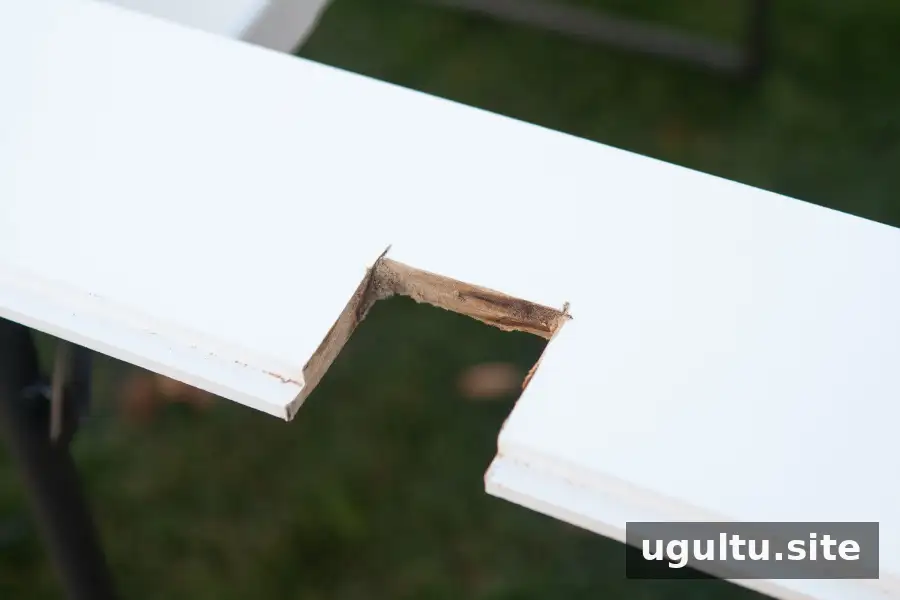
Measure the location of each outlet or vent from the floor and from the edge of the previous board. Transfer those measurements to the board and check them against the wall before cutting. Measure twice and make small adjustments rather than removing too much material at once.
An oscillating multi-tool can make cutouts, provided the board is firmly secured with clamps and the tool is used according to its instructions. Wear eye and hearing protection, keep hands clear of the blade, and work slowly. Stop if the tool or material becomes too hot.
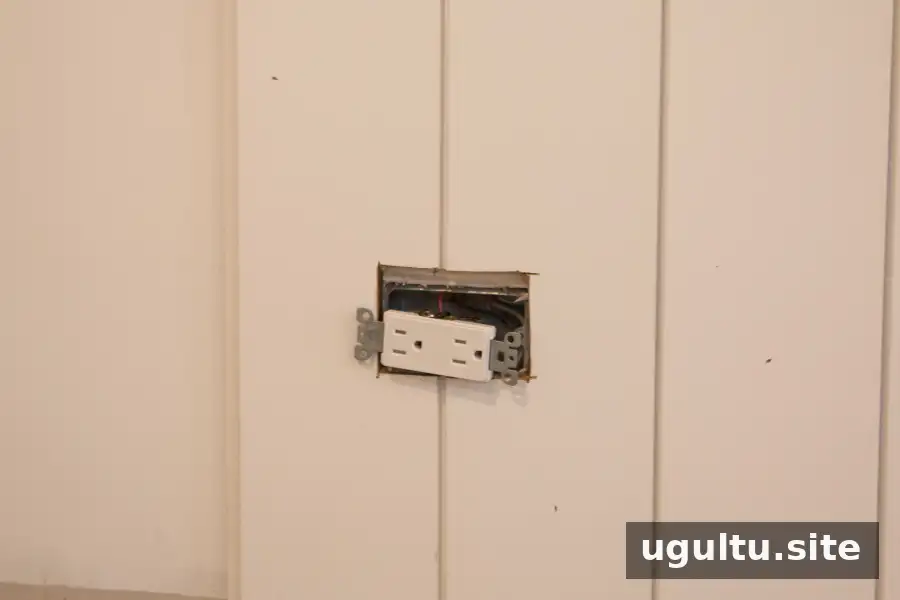
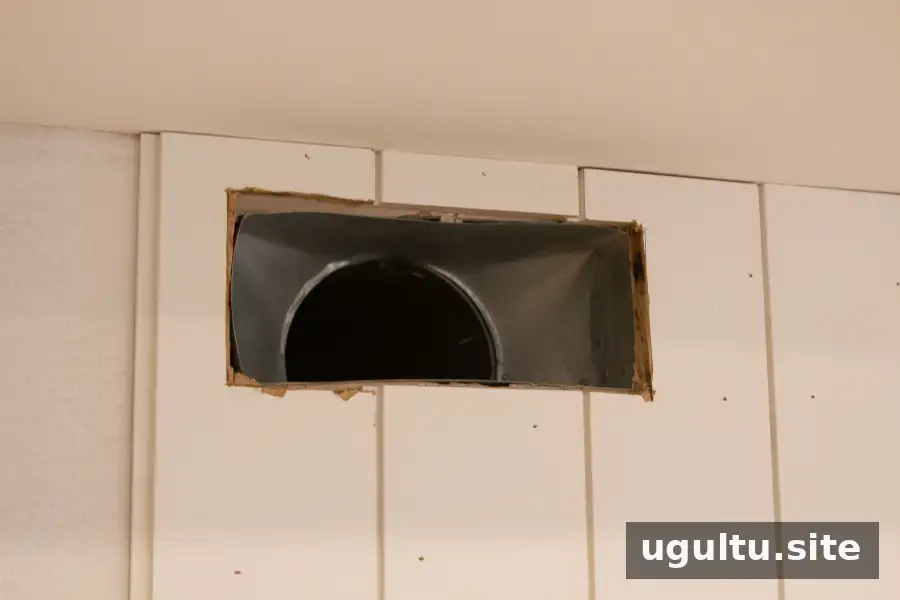
About four to five boards in this project needed special cuts for the vent and outlet. Expect this part to take longer than installing uninterrupted boards, and test-fit each cut piece before fastening it.
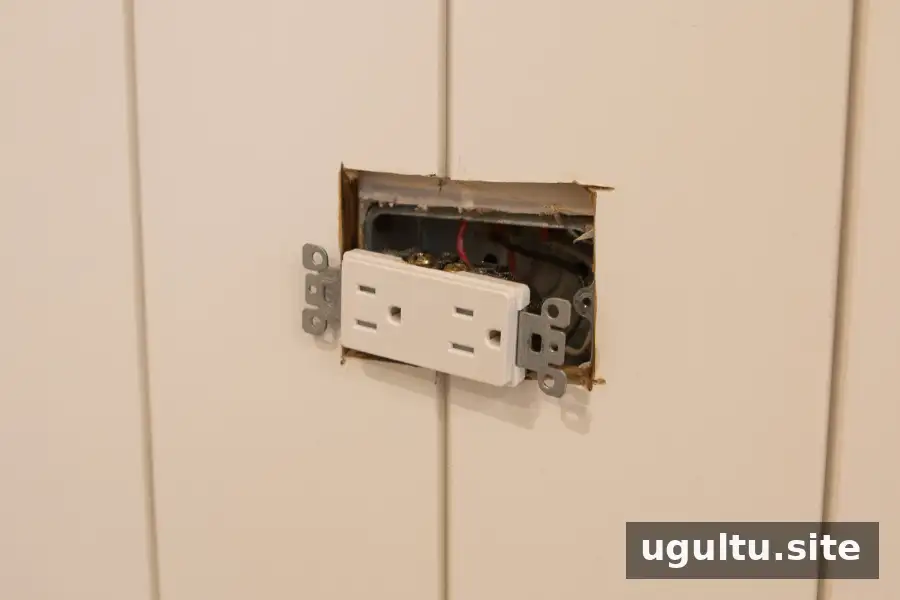
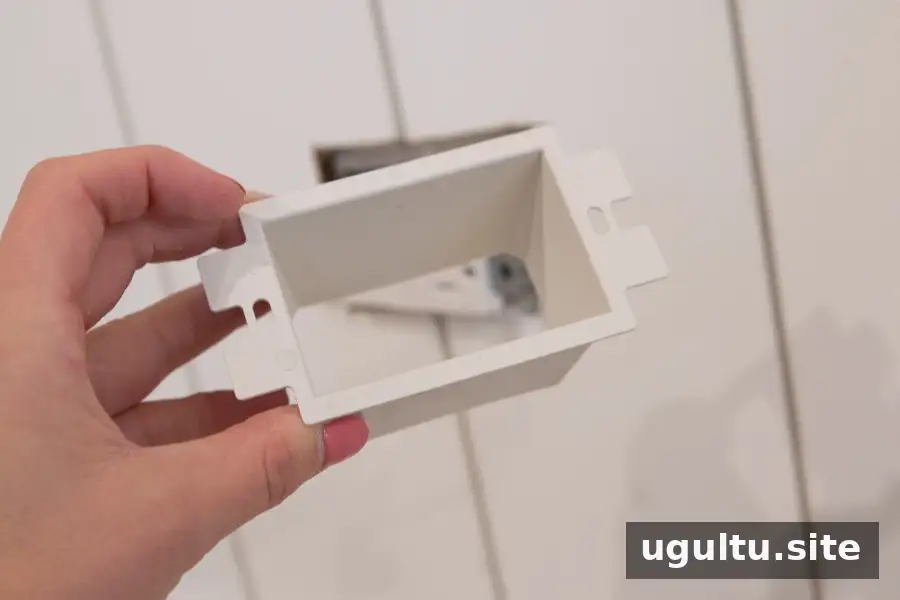
An outlet box extender may be needed to bring an electrical box forward so it sits correctly with the new wall surface. Turn off power at the breaker and verify that the circuit is de-energized before working near wiring. If you are unsure how to install an extender or handle the electrical components, contact a qualified electrician.
Rip the Final Board to Width
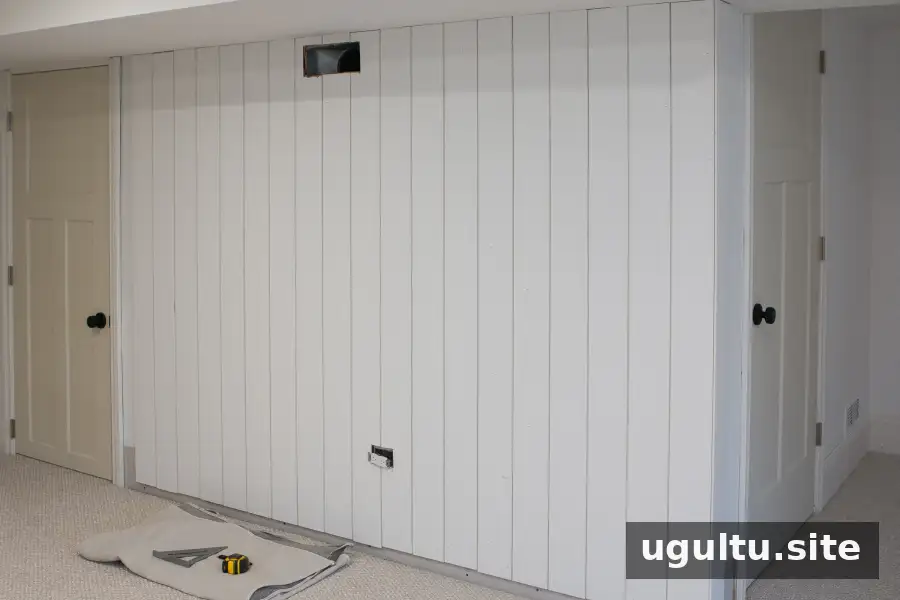
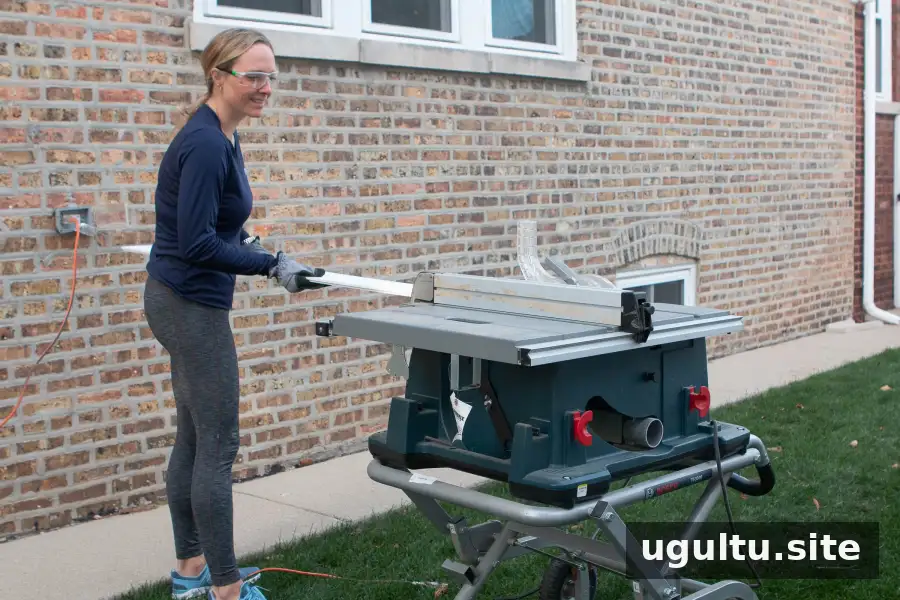
A miter saw shortens a board; it does not reduce its width. When the last board is wider than the remaining space, it needs to be ripped lengthwise with a table saw.
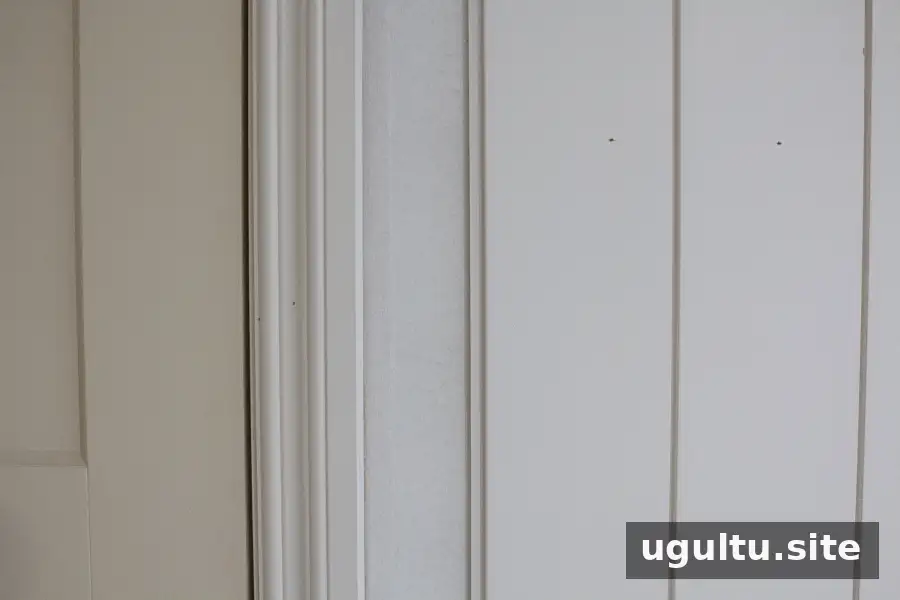
Measure the remaining width at more than one point if the wall edge is uneven. Mark the cut line and check that the board will still fit neatly with the neighboring piece.
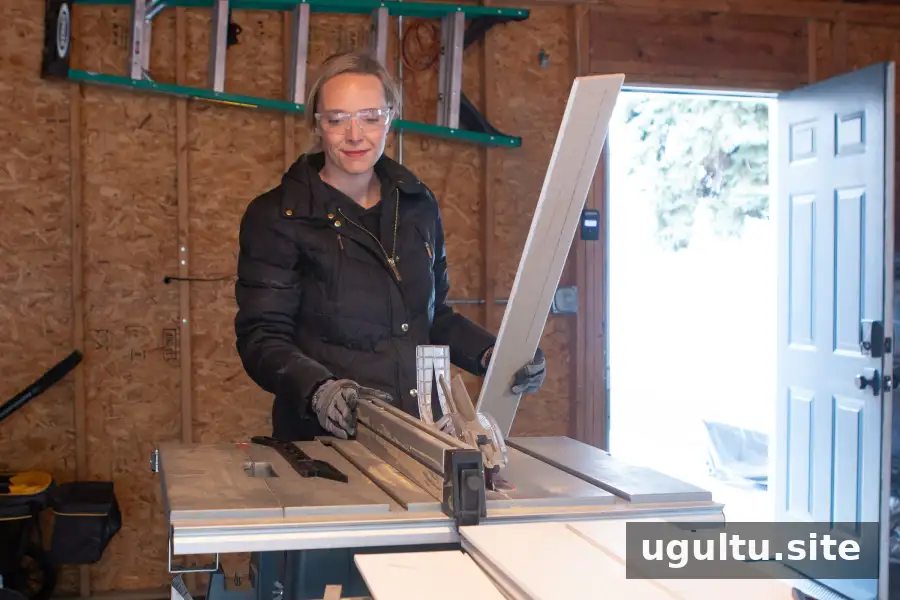
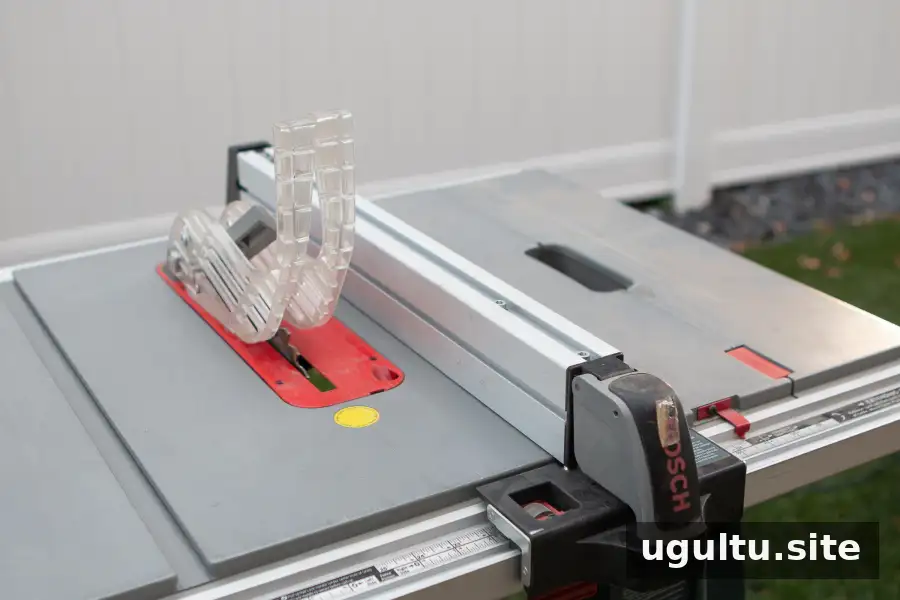
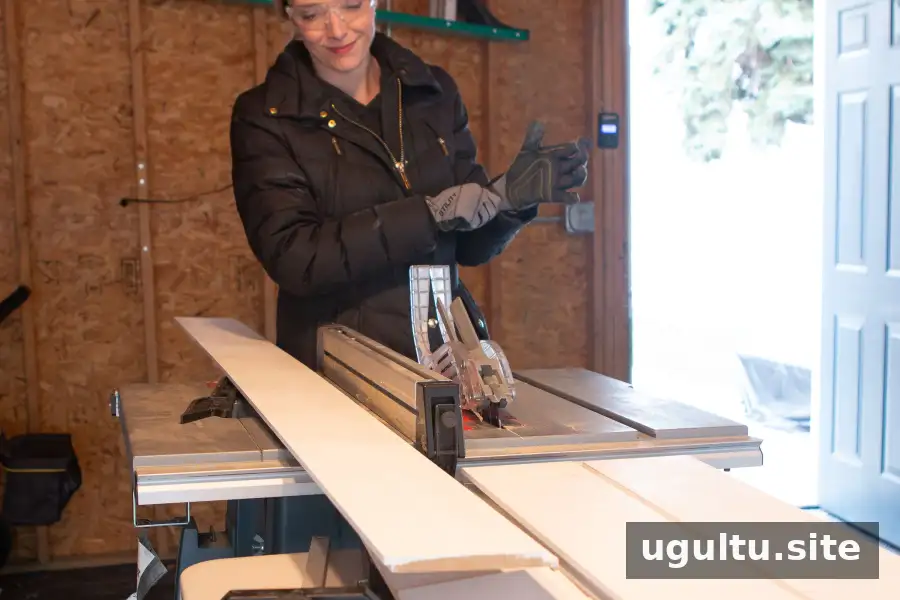
Table saws can make long, straight cuts, but they require careful setup and safe handling. If you have not used one before, read the manual and get instruction from someone qualified before making a cut.
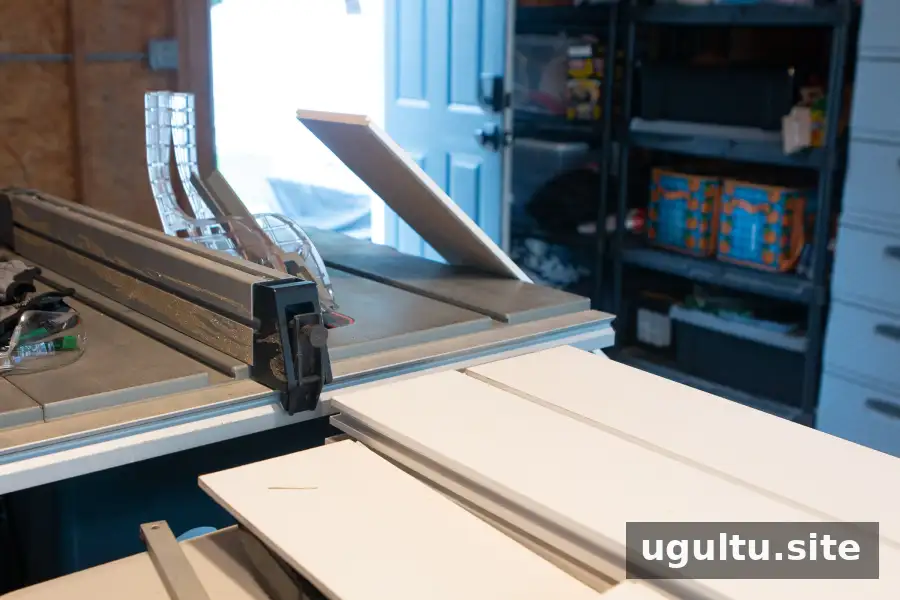
- Wear eye and hearing protection, and avoid loose clothing or jewelry.
- Set up stable infeed and outfeed support at the saw’s height.
- Use the blade guard, riving knife, and push stick as directed by the saw manufacturer.
- Keep hands away from the blade and never reach over or behind a moving blade.
- Start with the board clear of the blade and feed it steadily according to the tool’s instructions.
- Wait for the blade to stop completely before removing offcuts or making adjustments.
Do not wear gloves near a rotating table-saw blade; they can catch in moving parts. If a cut feels unstable or you are uncertain about the setup, stop and ask an experienced operator for help.
Reinstall the Baseboard
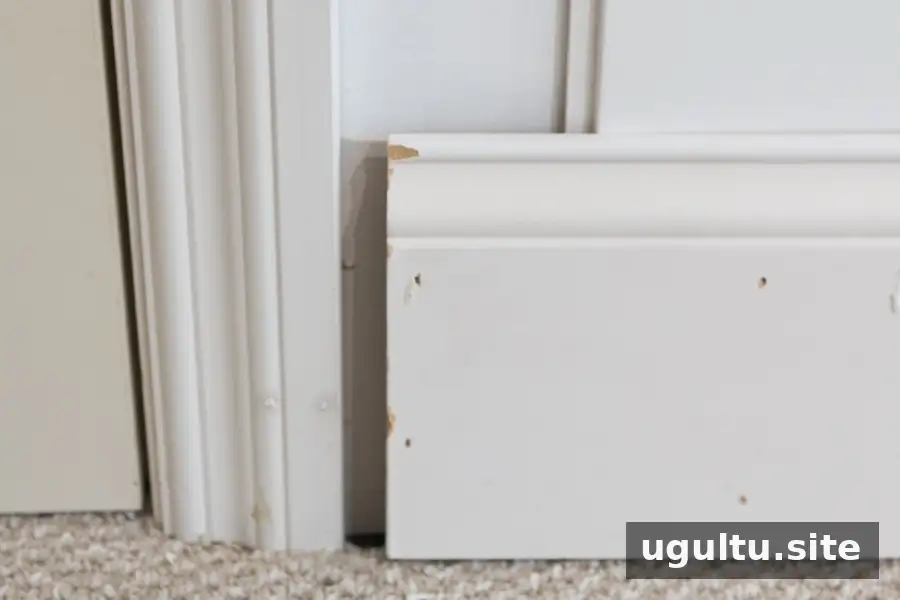
Once the boards are in place, reinstall the baseboard. Adding shiplap moves the finished wall surface outward, so the existing trim may no longer reach the wall edge or cover the gap. In this project, the baseboard was short by about an inch or two on each wall.
Quarter-round trim was used to cover the exposed side profile and fill the gap. Measure the trim carefully and test the fit before fastening it. Choose a finishing detail that covers the gap without obstructing doors or creating an uneven transition.
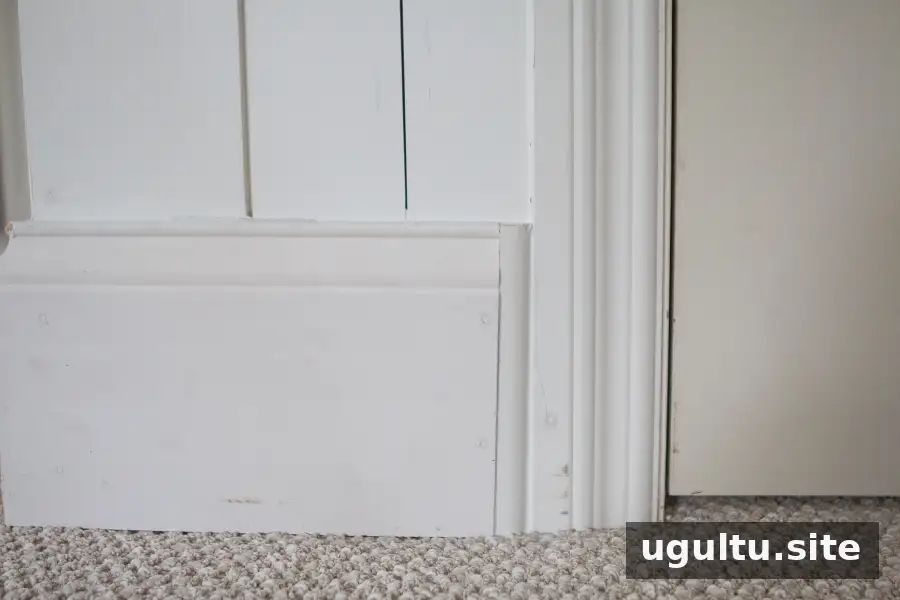
Caulk the Edges and Fill Nail Holes
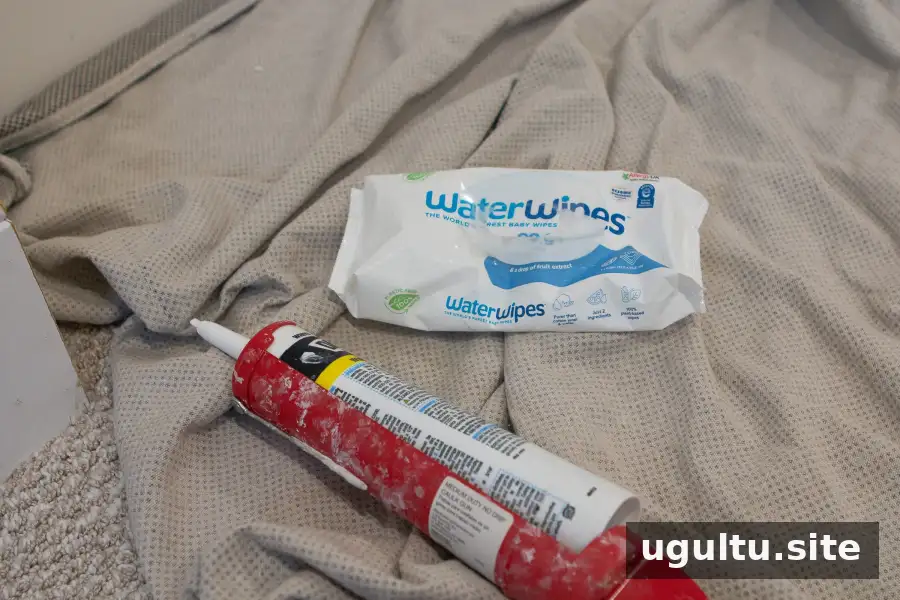
After the boards and trim are installed, caulk the joints along the ceiling, wall edges, and baseboard. Fill nail holes with painter’s putty, then allow the products to dry as directed. Smooth the filled areas and prepare the surface before painting. Use paintable caulk where a painted finish is planned.
Review the Finished Vertical Shiplap
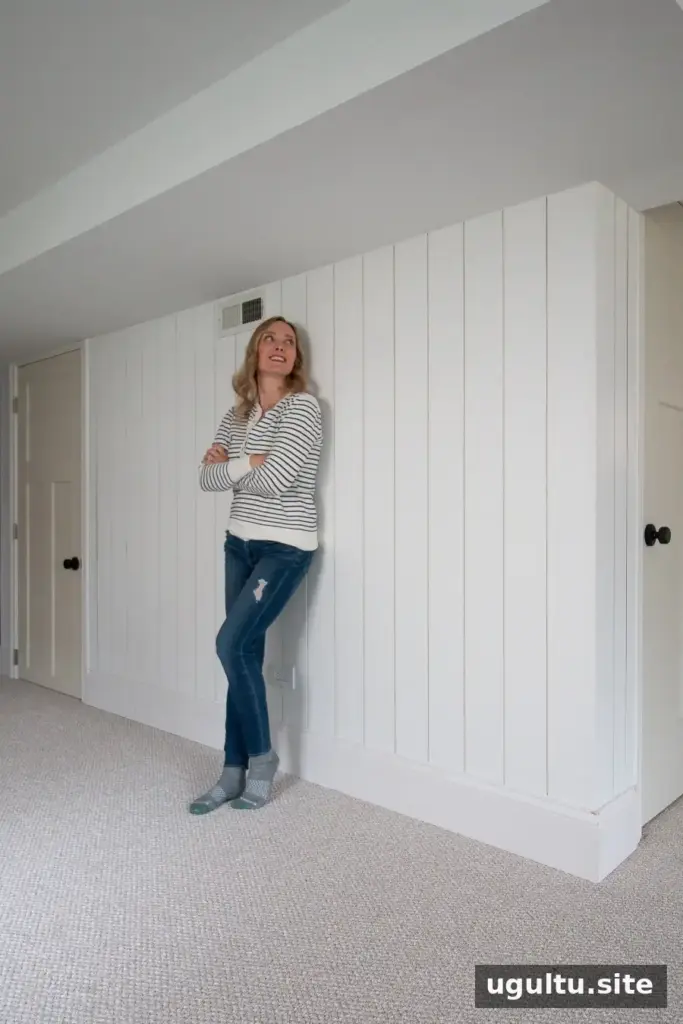
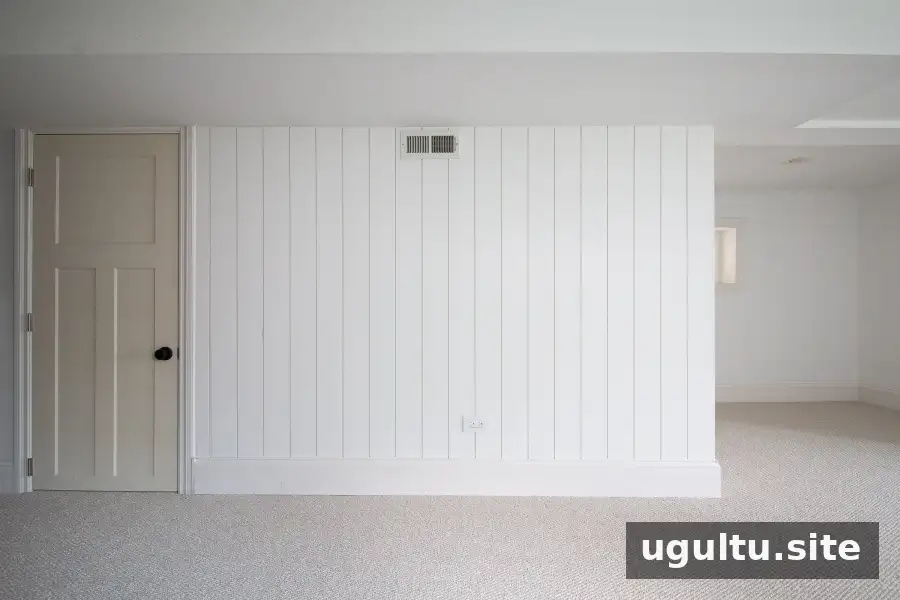
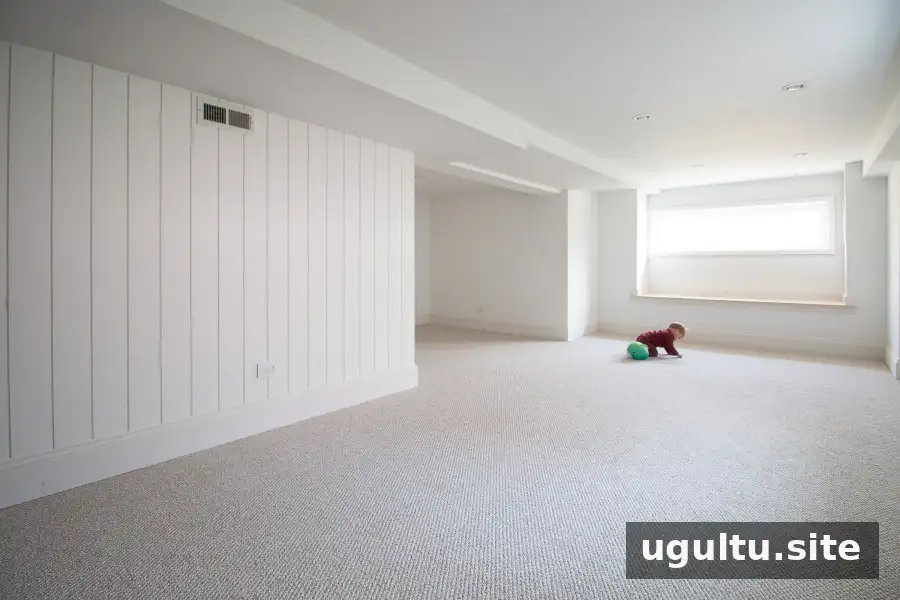
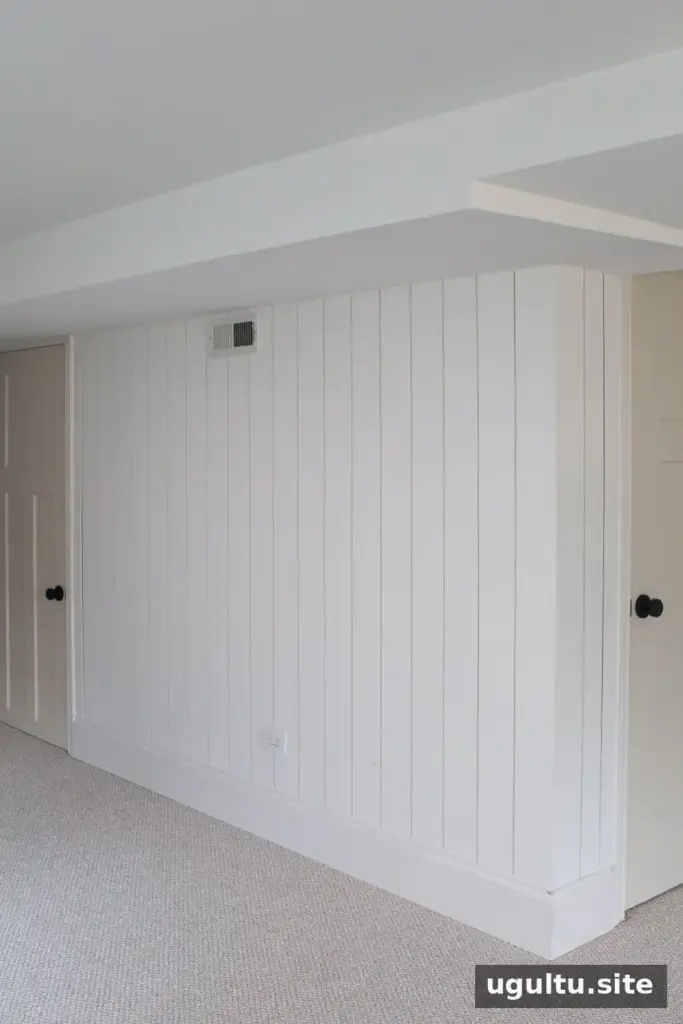
Vertical shiplap adds texture and a clear visual feature to a basement wall. Before painting, check that the boards are secure, the trim is fitted, and gaps and fastener holes have been finished. A planned warm, medium-toned greige paint color can help the wall coordinate with a range of furnishings.
Painting and Final Checks
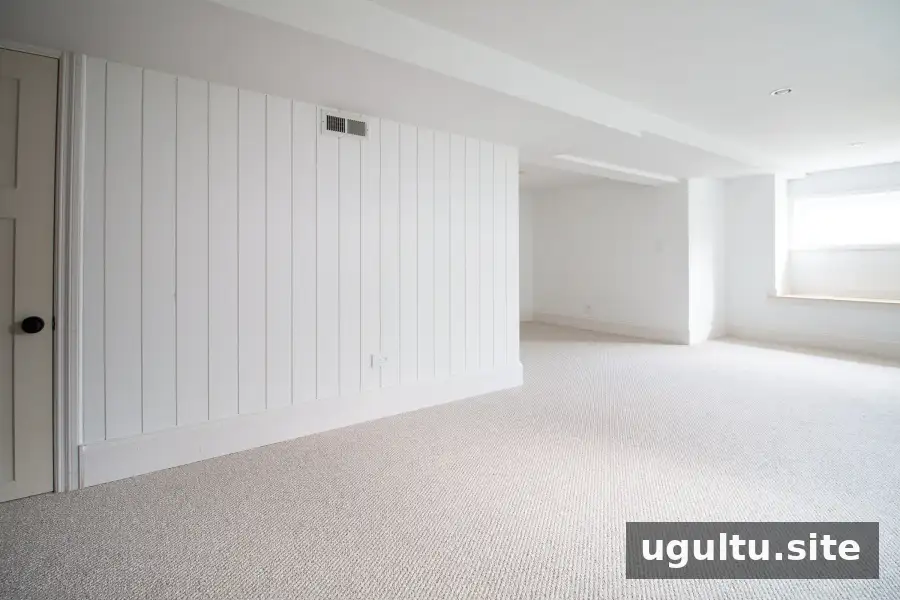
Paint the shiplap only after caulk and filler have cured and the surface is ready. Follow the paint label for preparation and drying times, and protect nearby floors, outlets, and trim. Painting the surrounding room at the same time can help create a consistent finish.

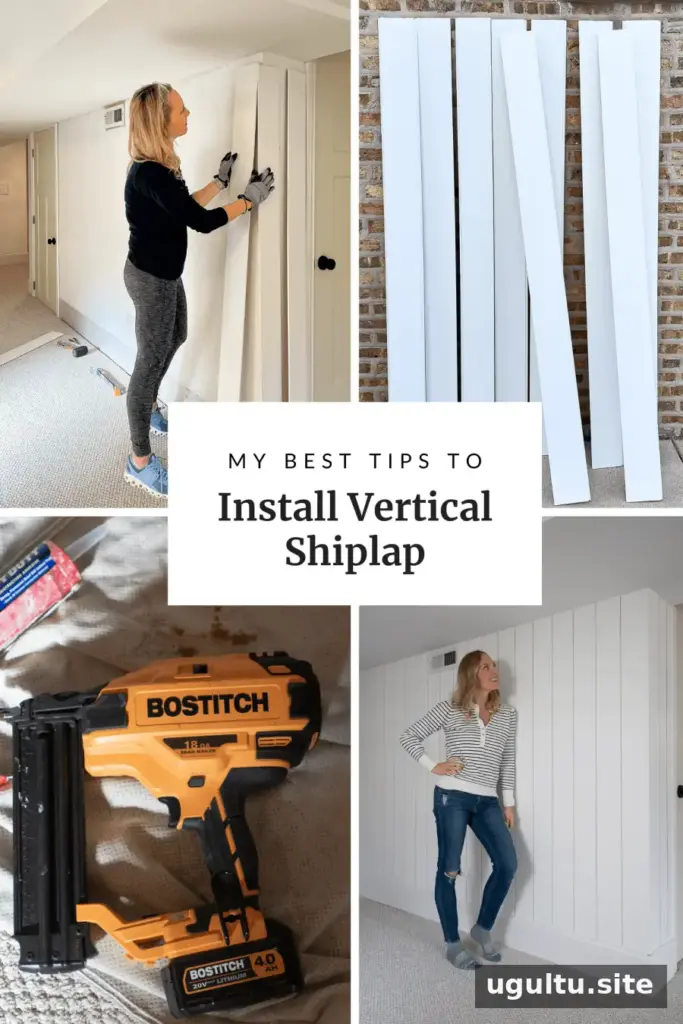
Conclusion: Plan Your Vertical Shiplap Project
A successful vertical shiplap installation depends on a balanced board layout, a level first piece, accurate cutouts, and safe tool use. Plan the baseboard and outlet details before cutting, support long boards properly, and finish the edges before painting. With those steps in place, vertical shiplap can add lasting character and a taller visual line to an accent wall.
Related Basement Planning Topics
- Basement design planning
- Understanding basement flooding
- Ways to reduce the risk of future flooding
- Basement remodeling progress
- Choosing a paint color