
 admin

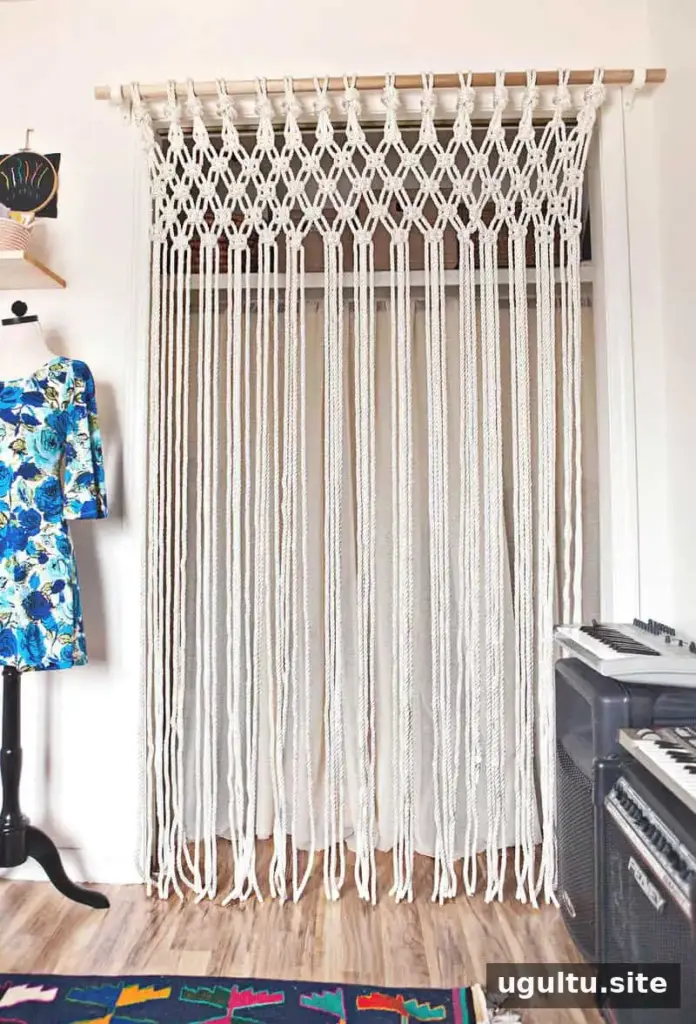
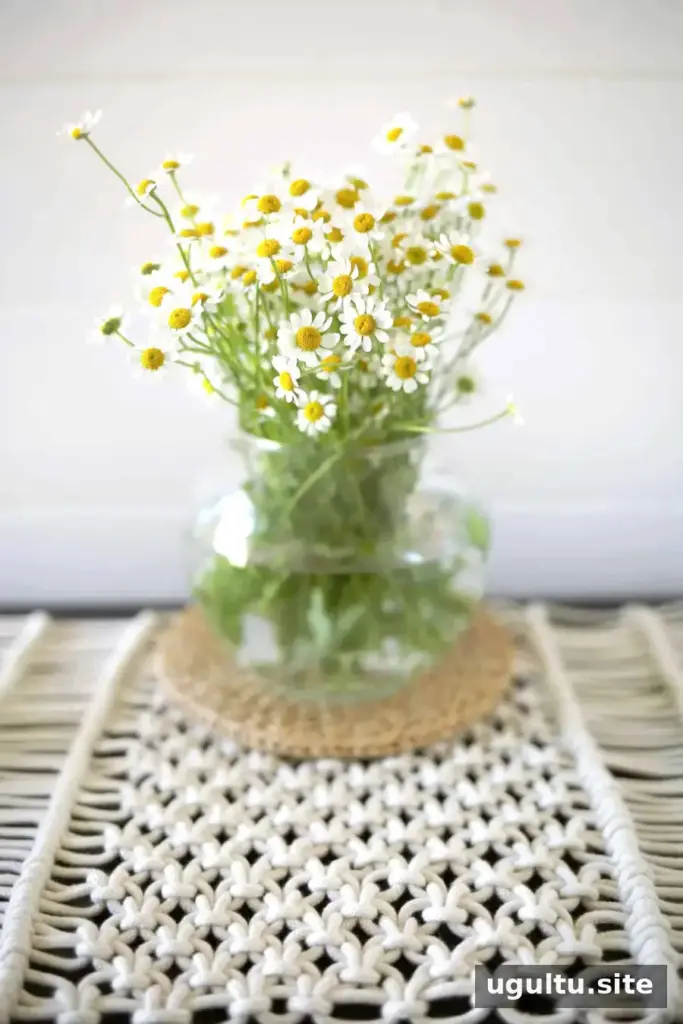
Macrame for beginners can be an easy way to explore a satisfying craft: it uses hand-tied knots to turn cord, rope, or yarn into useful and decorative pieces. Once you learn a few foundational knots, you can make items such as plant hangers, bags, wall hangings, bracelets, and table runners. Start with a small project so you can practise keeping your knots even before tackling a larger design.
What Is Macrame?
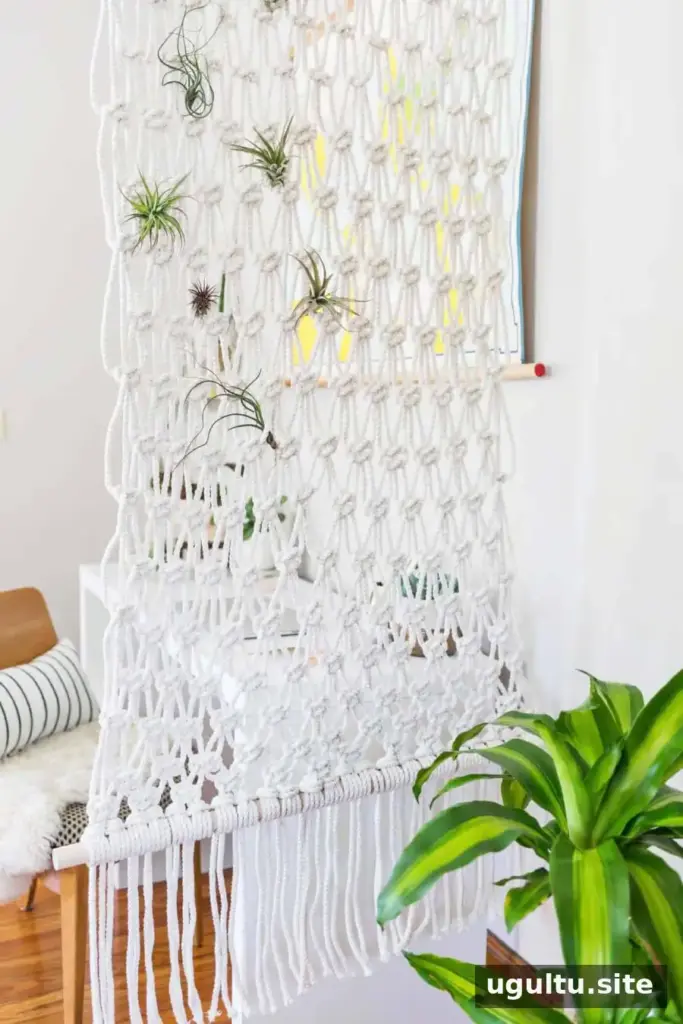
Macrame is a textile-making technique based on arranging cords into patterns with knots and loops. To begin a project, cords are usually attached to a support such as a dowel, stick, or metal ring. The design is then formed by tying the cords by hand.
Some projects combine macrame with weaving or knitting. In a traditional macrame piece, the pattern is made primarily from hand-tied knots. For your first attempt, choose a straightforward pattern and a cord that is comfortable to handle.
A Brief History of Macrame
Knotting traditions similar to macrame may date back to ancient Persia and Babylonia. The craft that became known in the West is associated with Arabic knotting techniques used to finish fringed items, including rugs and shawls, around the 13th century. It later became a pastime in England and spread further through the work of sailors, who made and traded knotted objects such as belts and hammocks.
Macrame was popular during the 17th and 18th centuries, became less fashionable with the rise of machine-made textiles, and returned to prominence during the handmade movement of the 1960s and 1970s. The origin of the word is uncertain; it may relate to the Arabic word migramah, meaning ornamental fringe, or the Turkish word makrama, referring to a towel or napkin.
Is Macrame Easy to Learn?
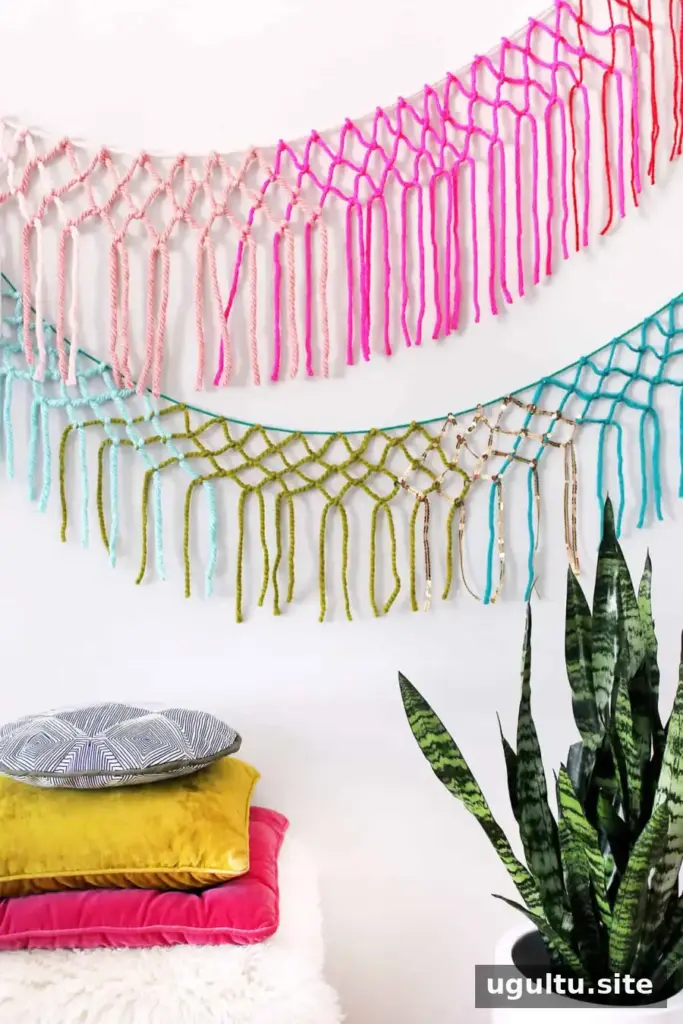
Macrame is approachable for beginners because many designs rely on a small number of repeated knots. The movements can feel familiar if you have made friendship bracelets. Take time to practise on spare cord first: a short practice sample makes it easier to spot uneven tension before you begin a finished piece.
How Long Does a Macrame Project Take?
Project time depends on your experience, the material, the finished size, and the complexity of the pattern. A small, simple item may be completed in an afternoon, while a large wall hanging can take several hours spread across a few days. Work in a well-lit space and pause occasionally to check that the pattern and tension remain consistent.
Choosing Cord for Macrame
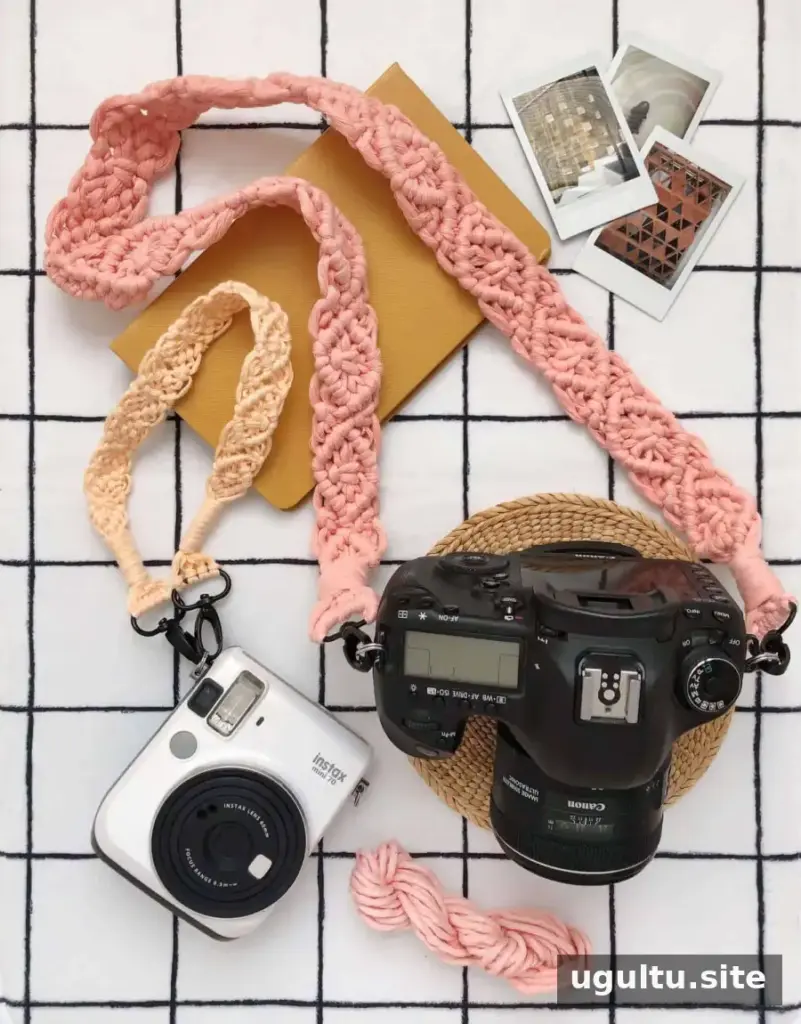
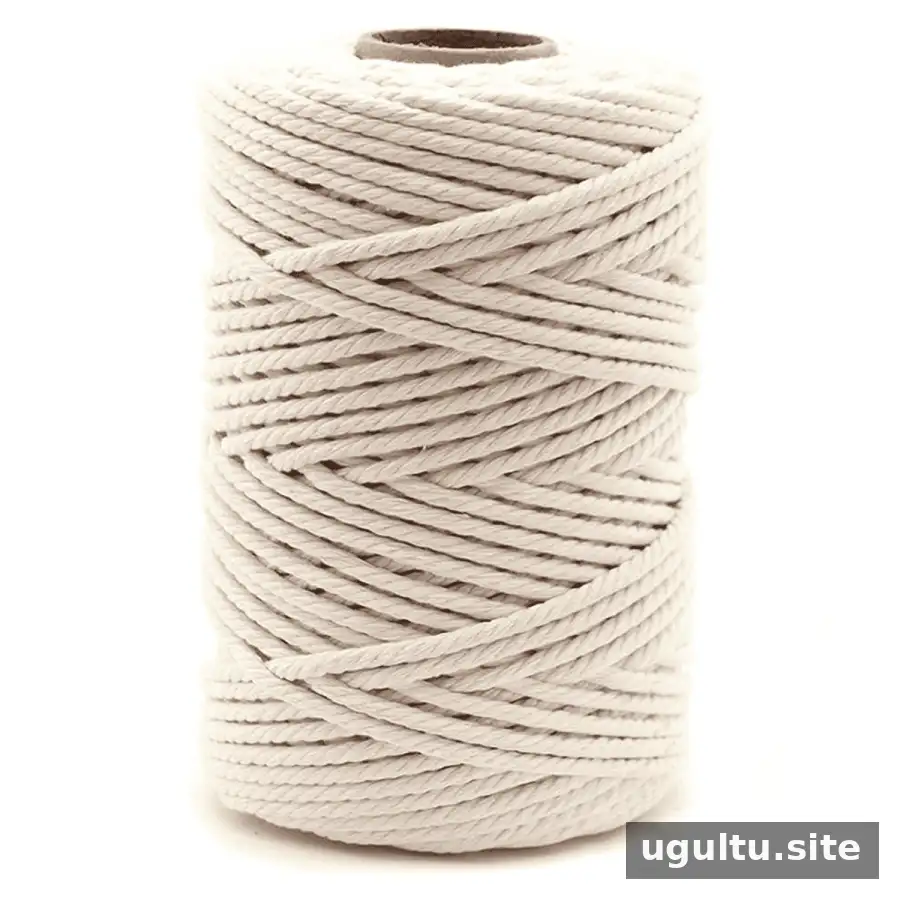
The cord you choose affects the texture, size, and appearance of your knots. Consider the scale of your project and how much definition or softness you want.
- Rope: Twisted cotton rope creates durable, clearly defined knots. Common options include three-ply twisted and six-ply braided rope, with different thicknesses available for different projects.
- String: A finer twisted string makes smaller, softer knots and can suit delicate designs.
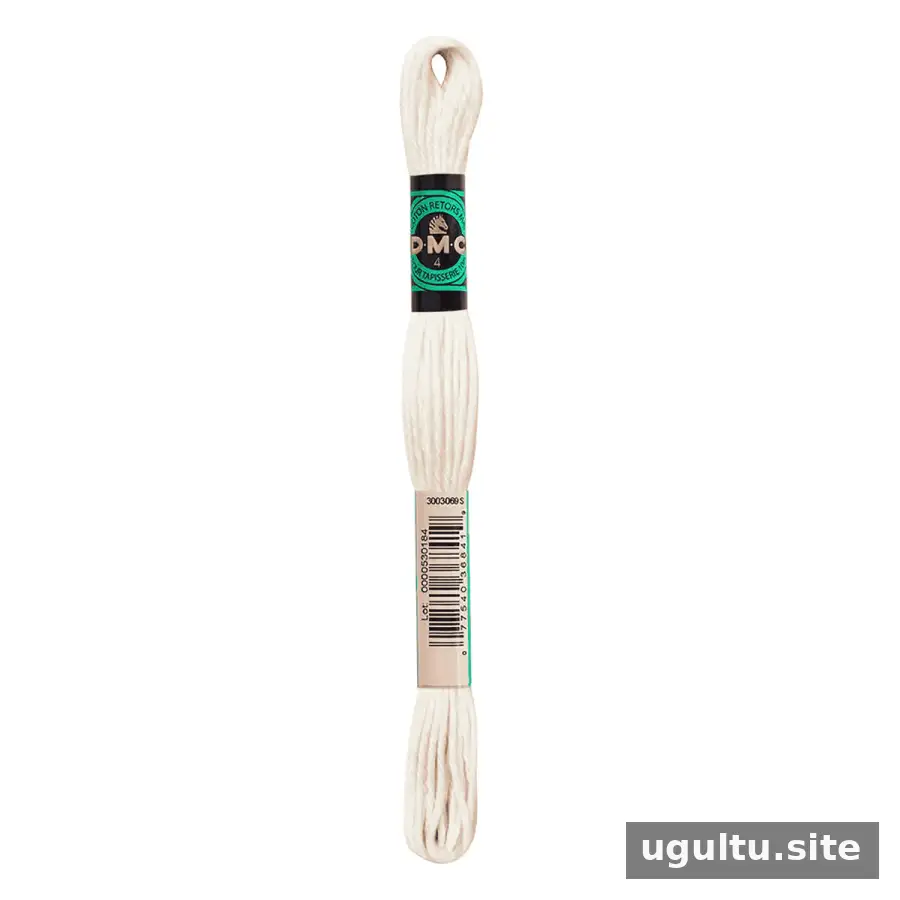
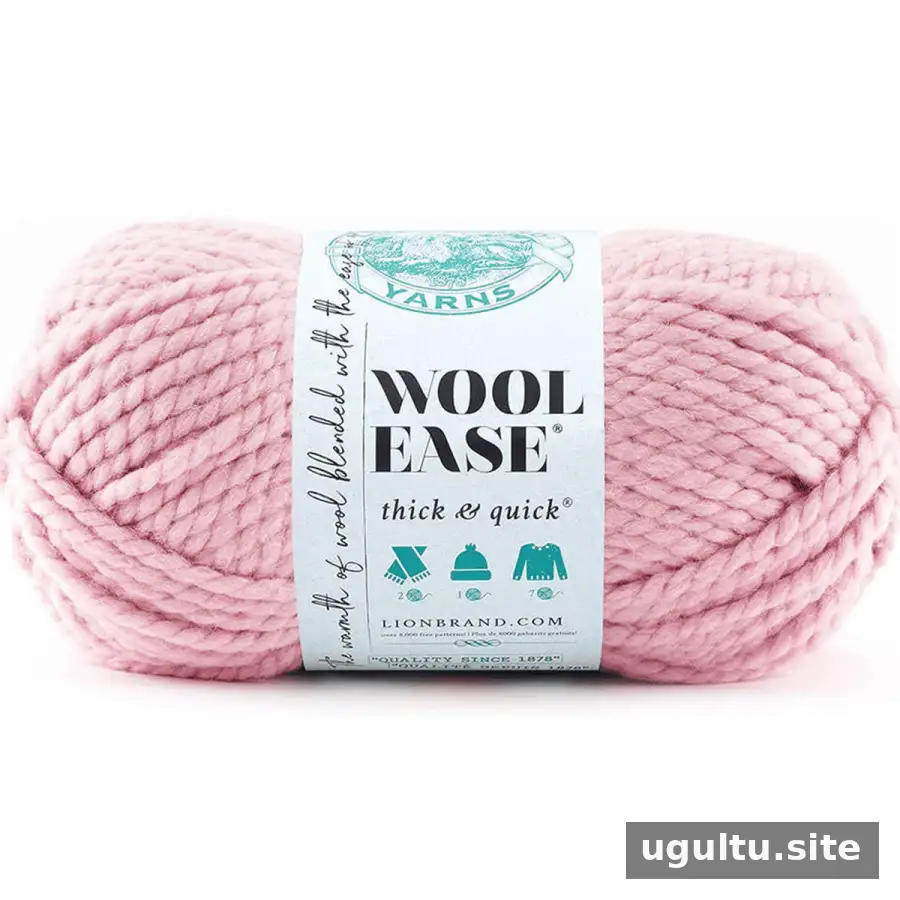
- Yarn: Wool, acrylic, and hemp yarn can all be used for macrame. Yarn offers a wide range of colours and can create a softer-looking finish.
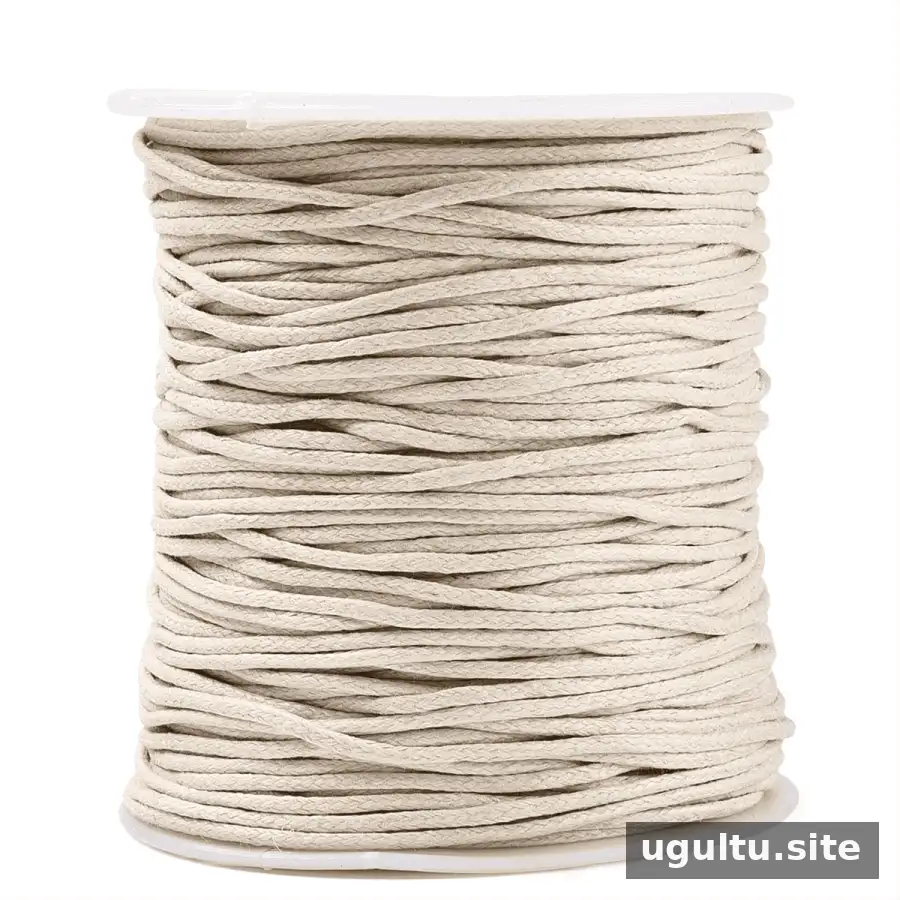
- Waxed cord: Waxed cord is usually narrower than rope. Its beeswax coating can help make it more water-resistant and strengthen the cord for firm knots.
For a first project, choose a cord that is easy to see and handle. Very fine materials may make learning knot placement more challenging.
How Much Macrame Cord Do You Need?
As a starting estimate, cut each cord to about four times the length of the finished project. If a cord will be folded in half, allow about eight times the finished length. Knots, fringe, and pattern details can affect the amount required, so check the pattern instructions when available and leave extra length if you are unsure.
Supplies for a First Macrame Project
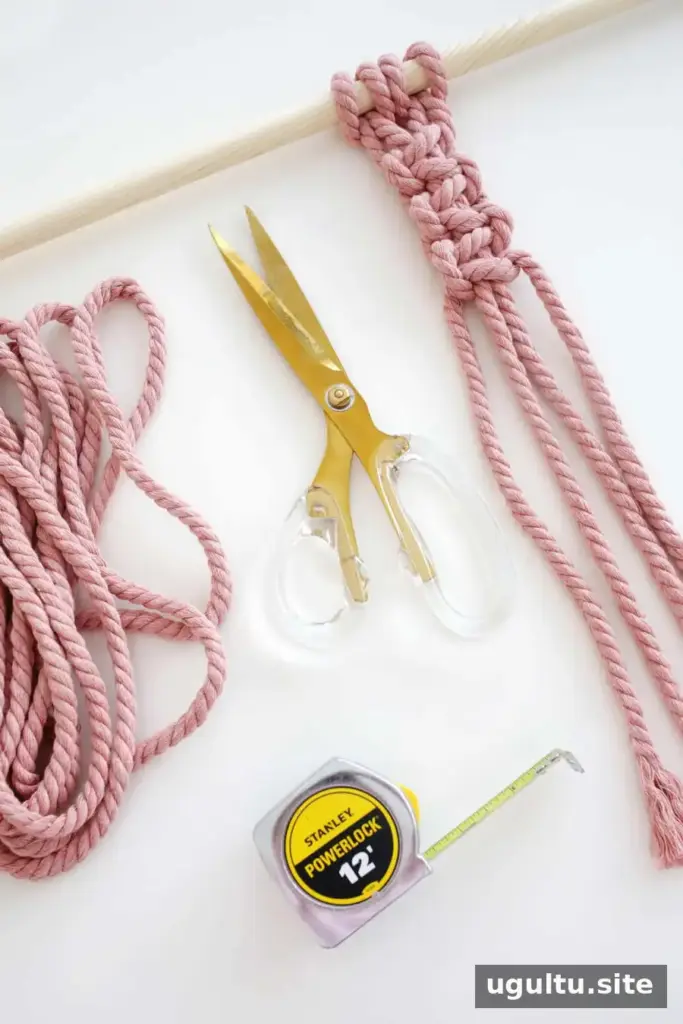
Gather your materials before you start so you can measure and tie the cords without interruption:
- Macrame cord
- Scissors
- Measuring tape
- A stick, rod, or metal mounting ring
- Wooden or other decorative beads, if desired
Tip: If you are using yarn or rope that may unravel, wrap masking tape around the area before cutting. This can help keep the end tidy while you work.
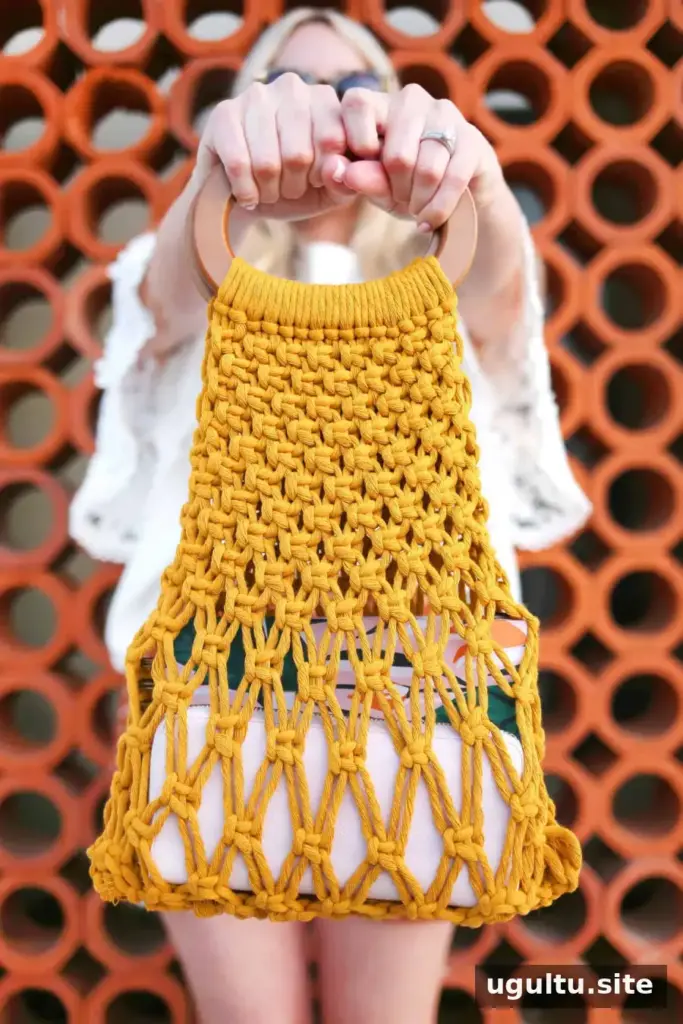
5 Basic Macrame Knots
These five knots provide a useful starting point for many beginner patterns. Keep your working cords organised and aim for consistent tension. If the material becomes difficult to manage, pause and straighten the strands before continuing.
1. Lark’s Head Knot
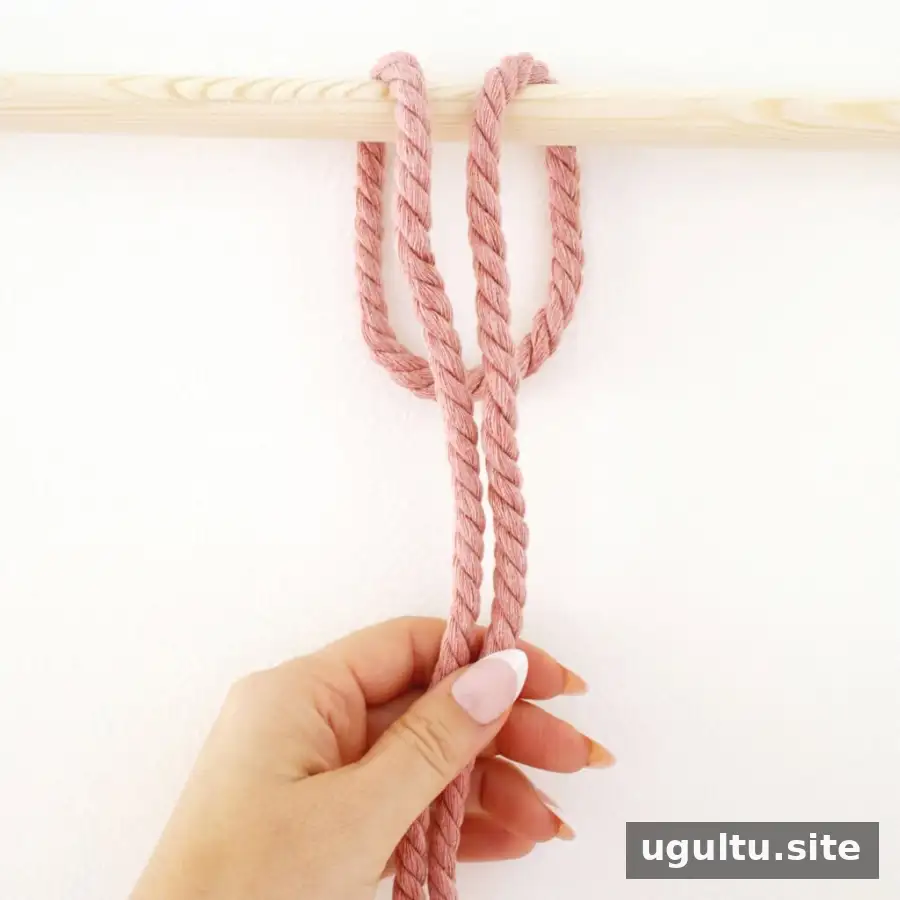
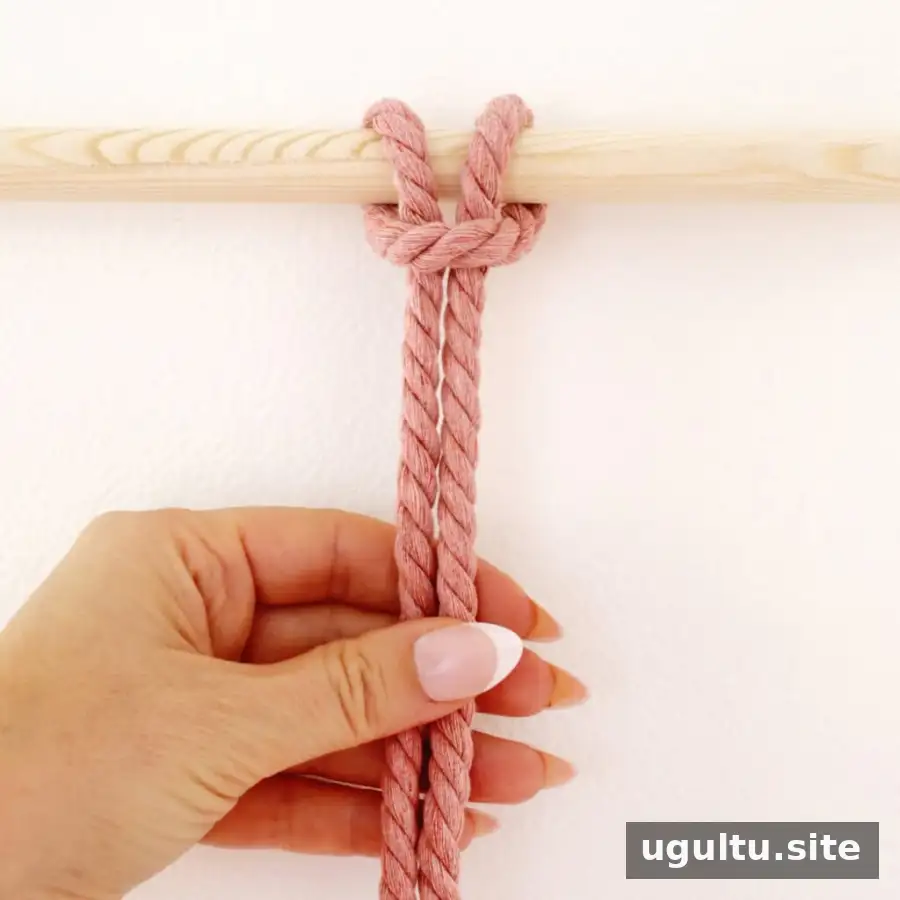
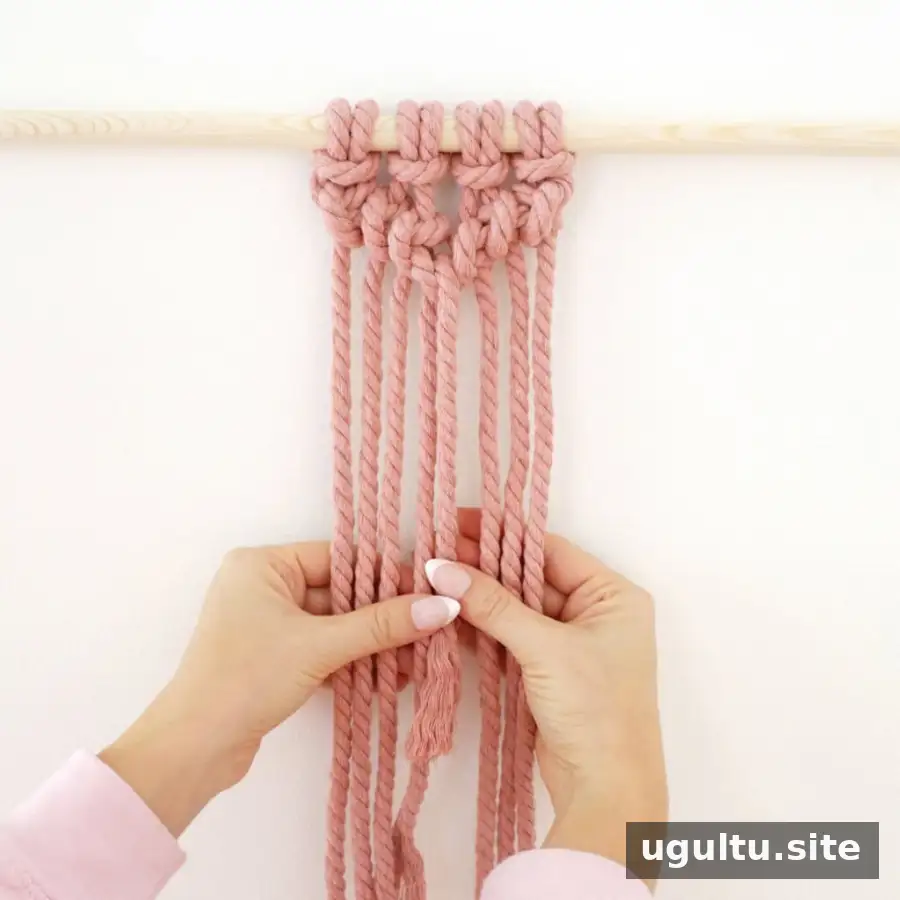
Fold a cord in half and place the loop behind your hanging rod. Bring the two loose ends over the rod and through the loop, then pull gently to secure the cord. This knot is commonly used to attach cords to a support.
2. Square Knot
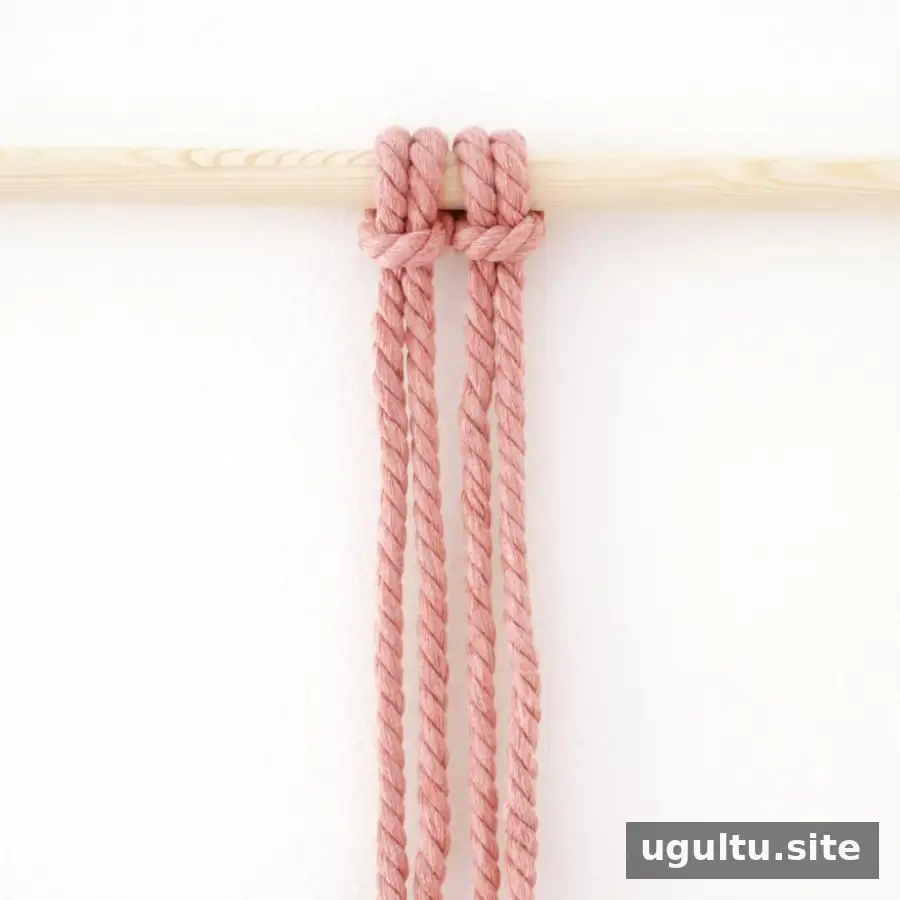
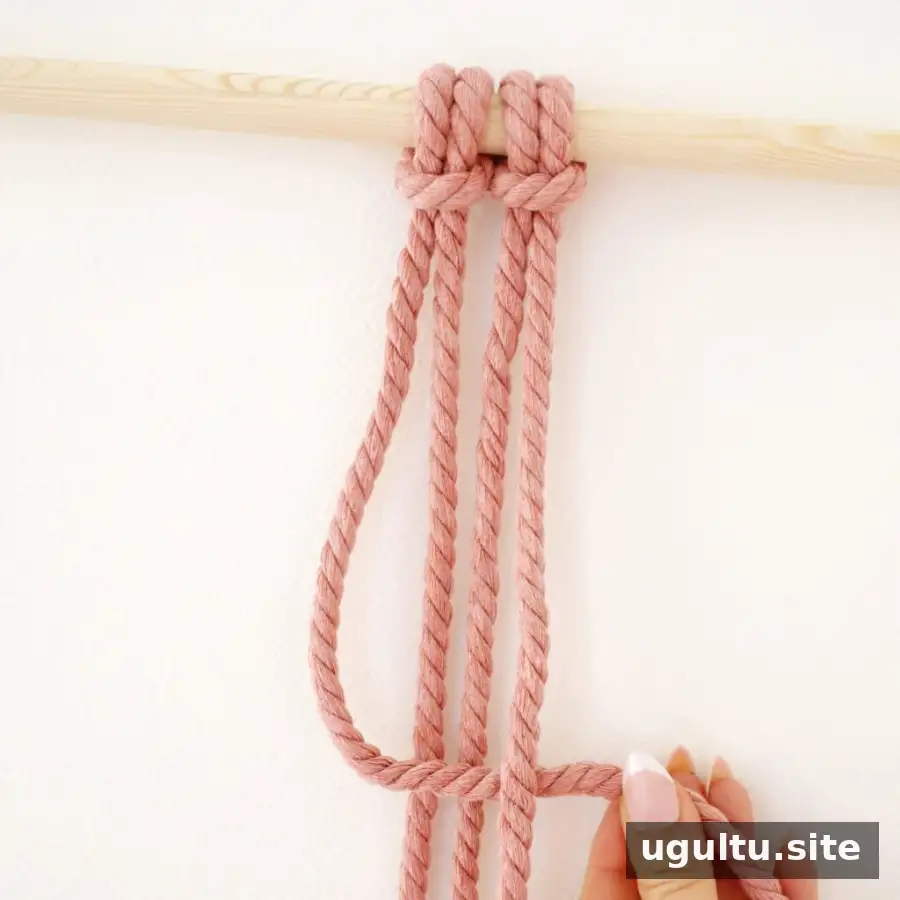
Use four strands, with the two outer strands working around the two centre strands. Cross the left working strand over the middle strands and behind the right working strand. Bring the right strand behind the centre strands and through the loop on the left, then tighten.
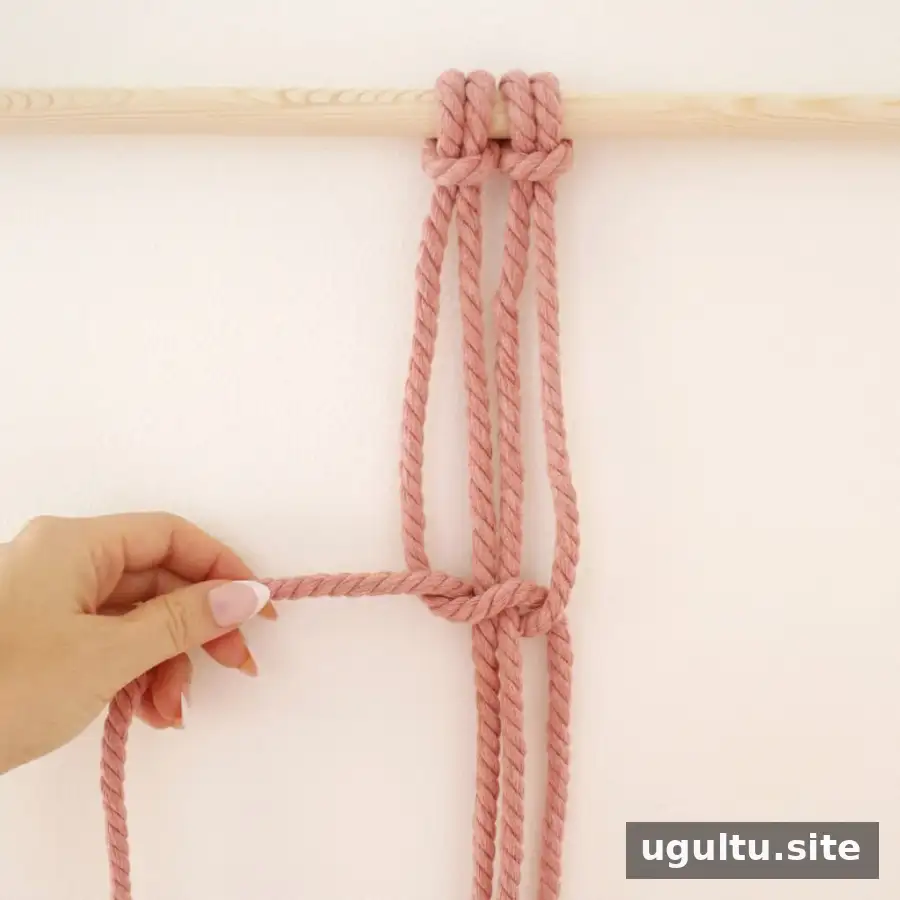
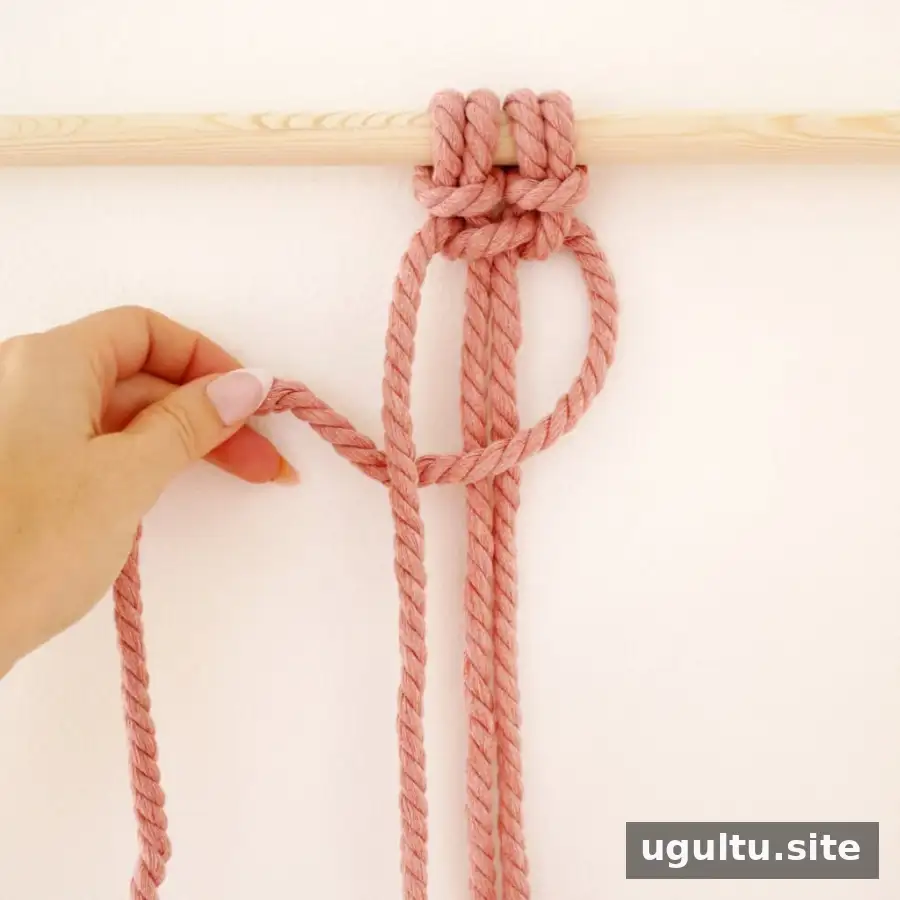
To complete the square knot, reverse the direction: cross the right working strand over the middle strands and behind the left working strand. Bring the left strand behind the centre strands and through the loop on the right. Pull the two working strands evenly. Practise keeping the knot snug without pulling so hard that the work curls.
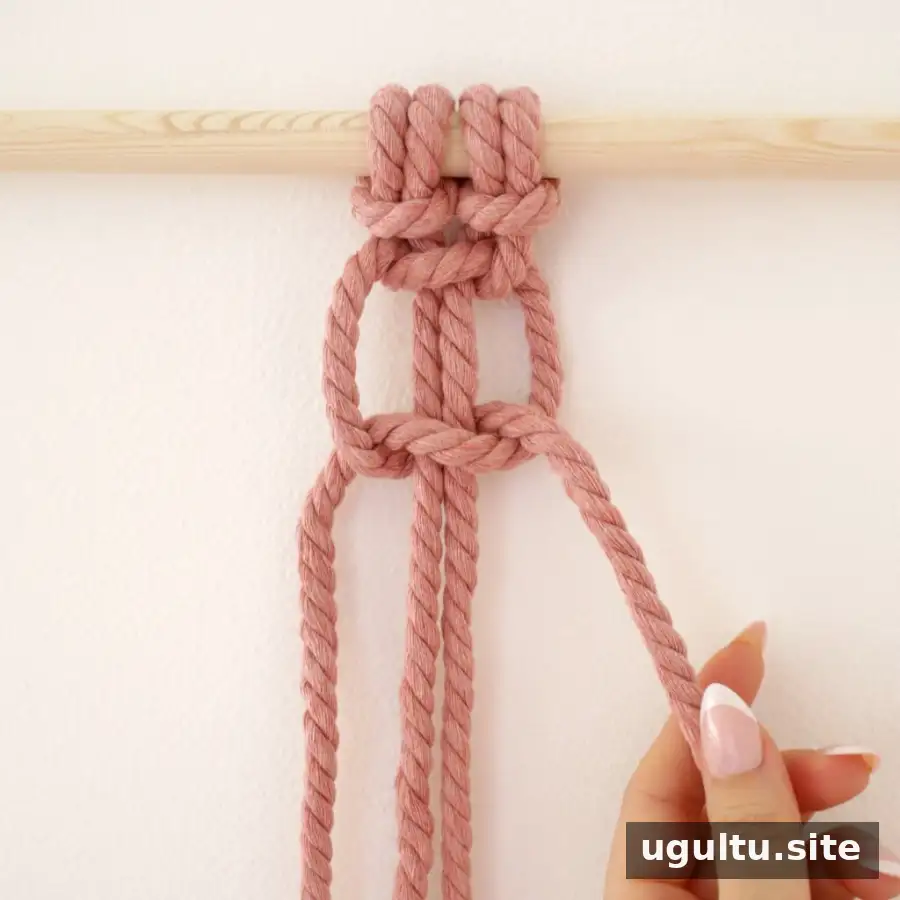
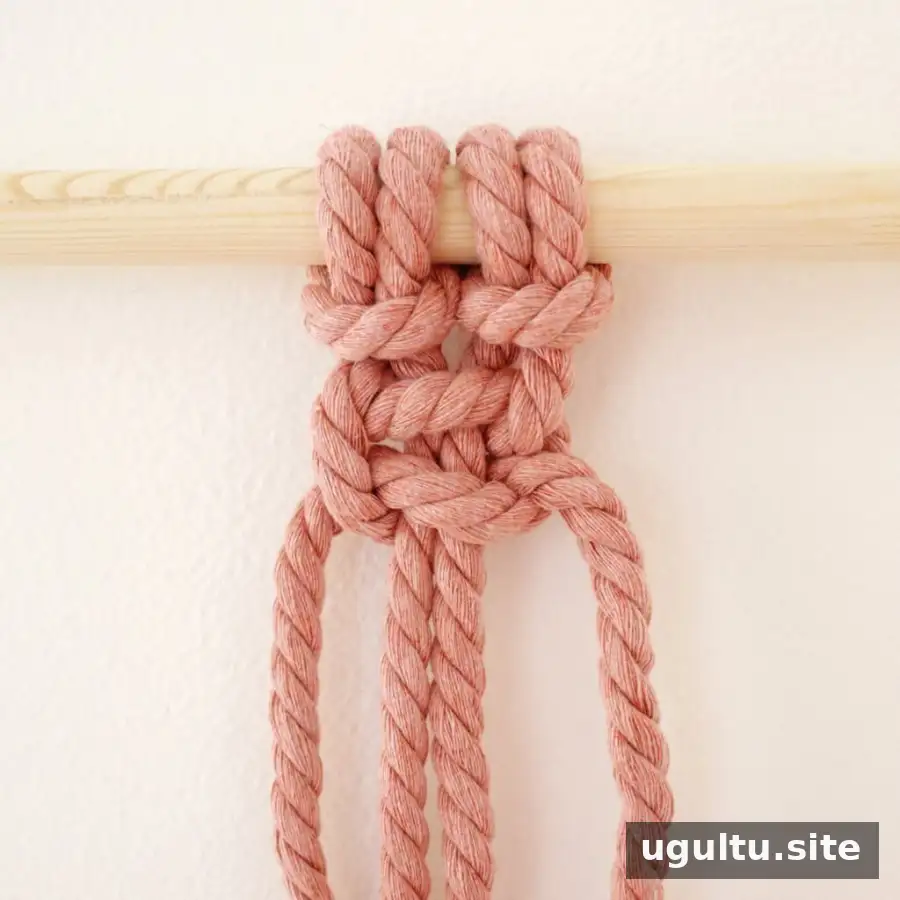
3. Spiral Knot
A spiral knot uses the same basic movement as a square knot, but you continue tying in the same direction instead of alternating sides. Attach cords to the rod with two Lark’s Head knots and begin the first half of a square knot.
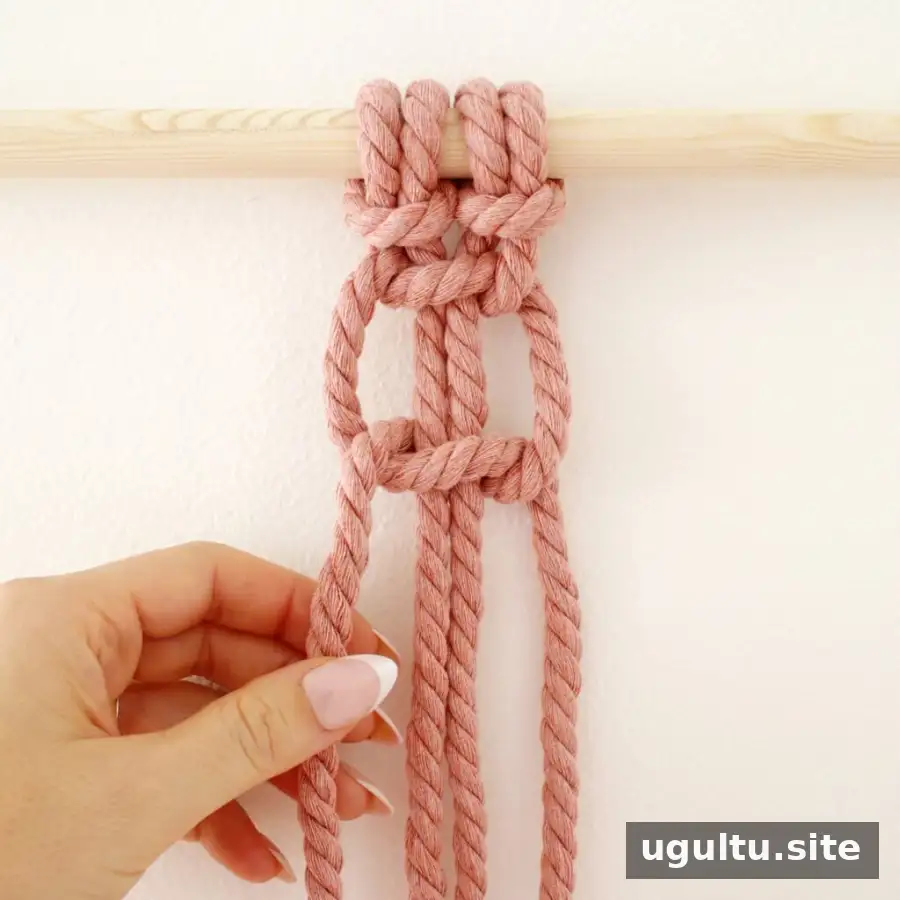
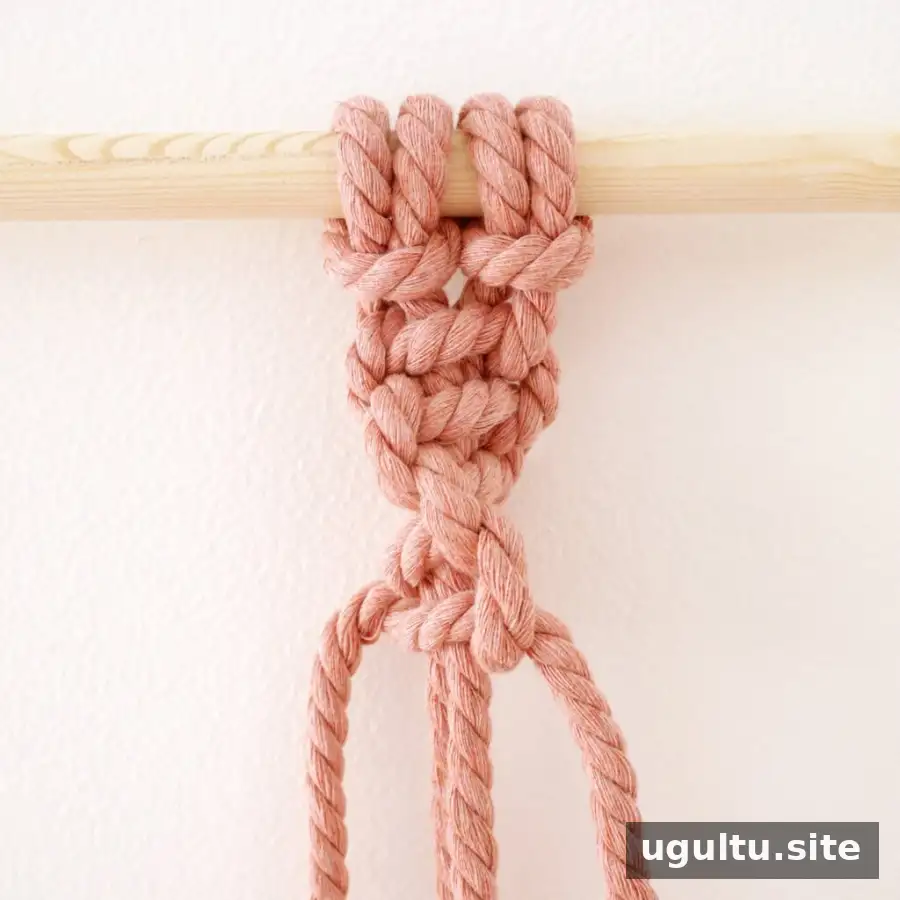
Rather than reversing direction to finish a square knot, repeat the same movement and tighten each knot gently. The repeated knots will begin to twist into a spiral. Check the direction as you work so the spiral develops consistently.
4. Berry Knot
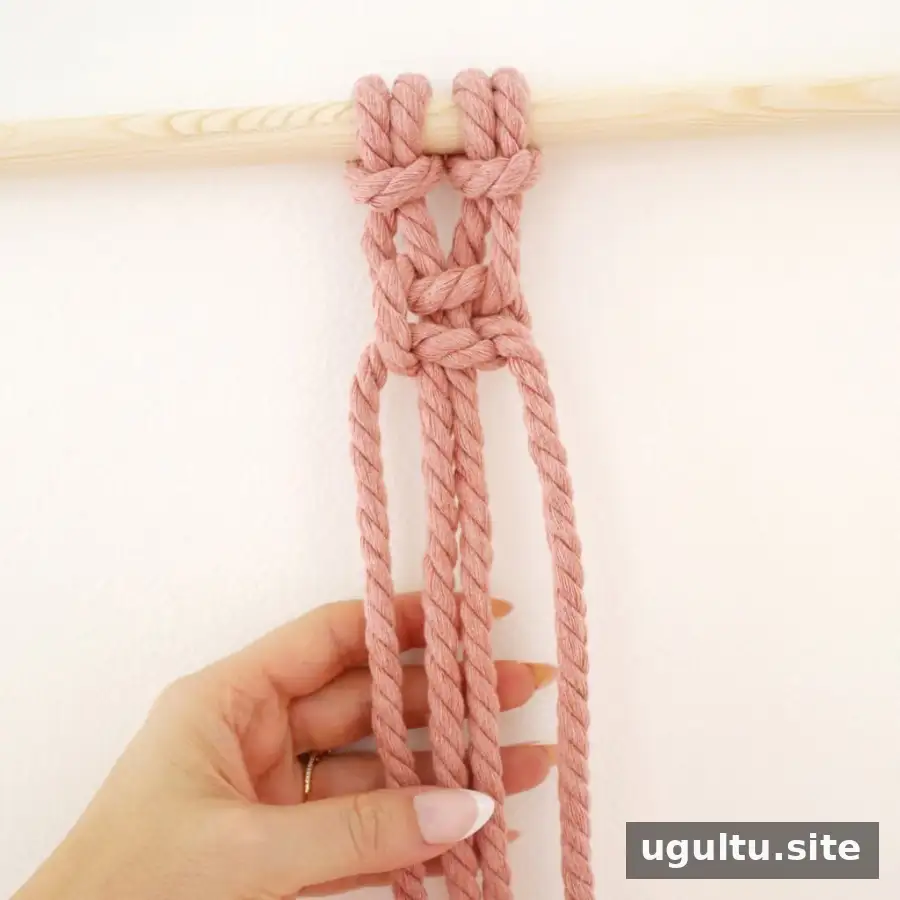
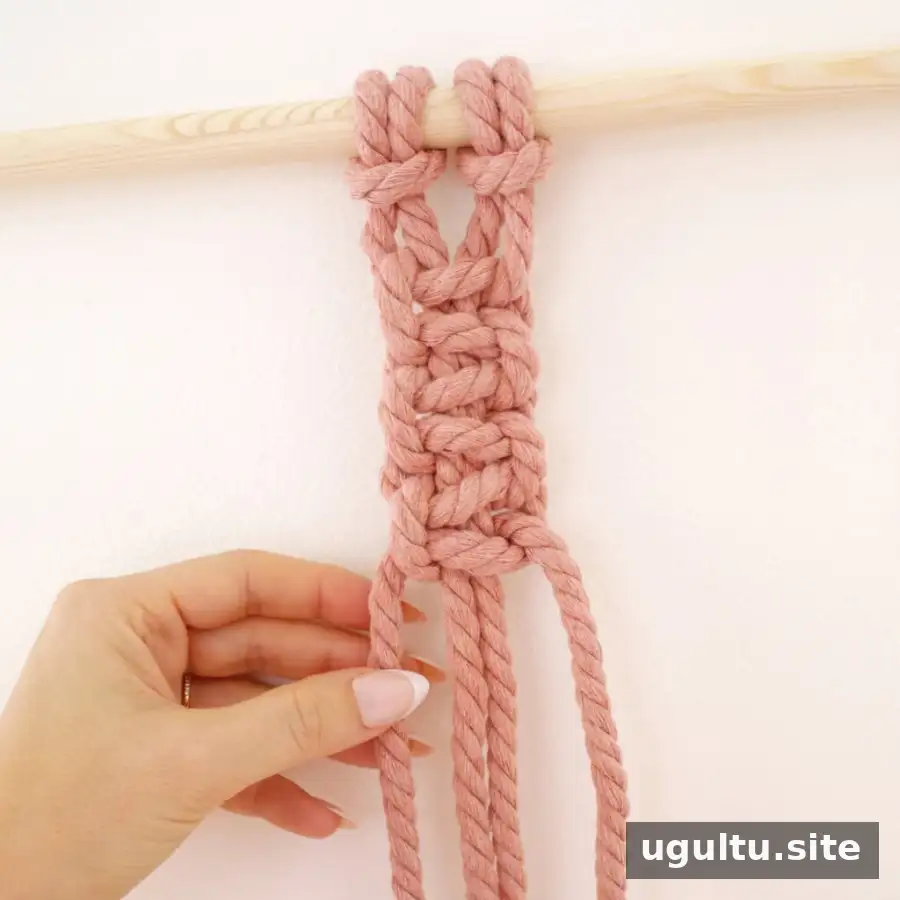
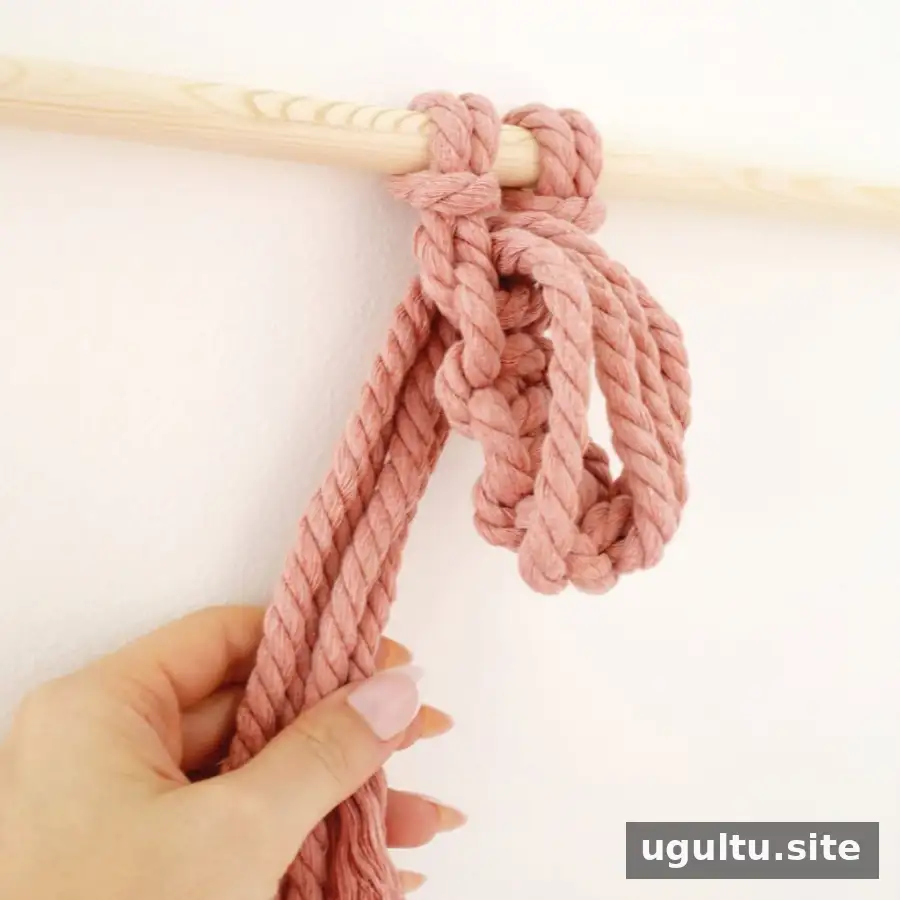
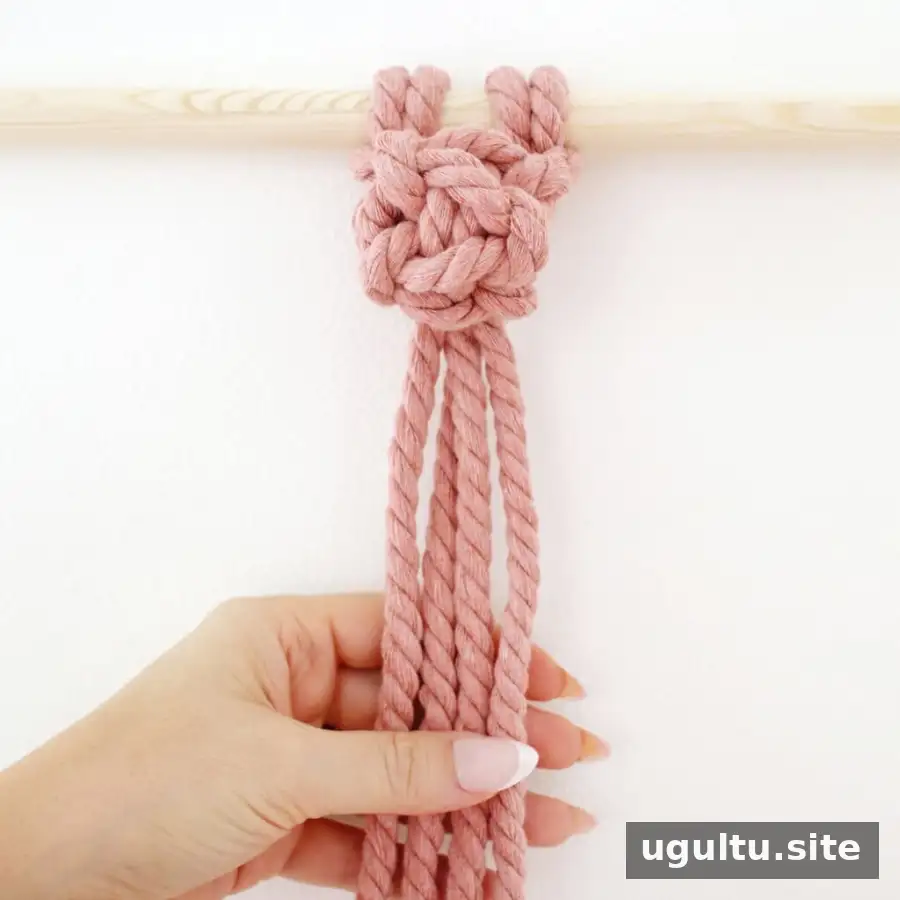
Begin with a square knot, leaving a small gap above it. Make two more square knots beneath the first. Pass the loose cord ends through the gap you left above the first knot, then pull them through carefully. The grouped knots form a rounded, berry-like shape.
5. Double Half-Hitch Knot
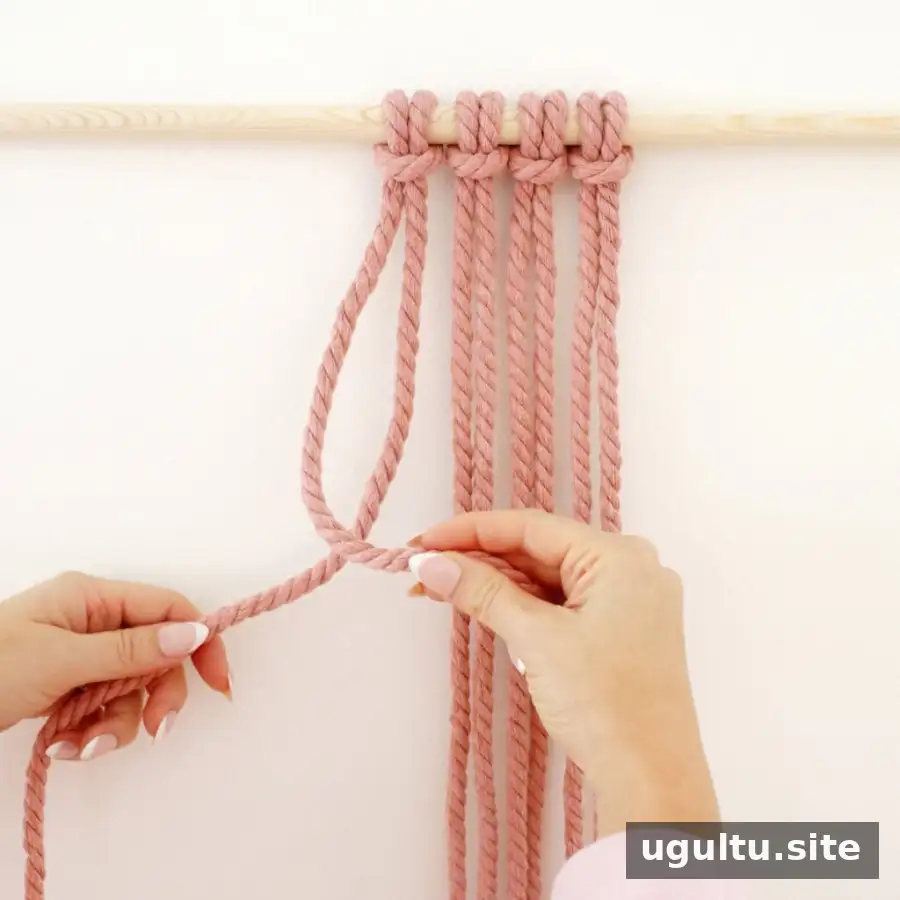
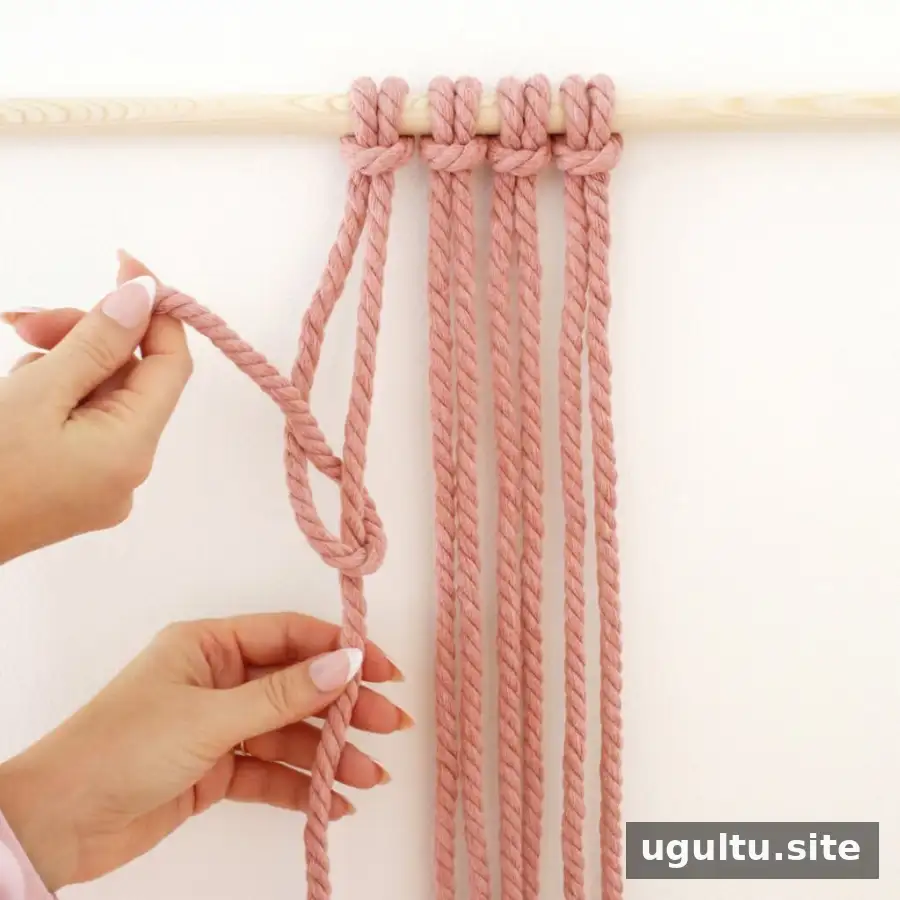
This knot can create lines and angled details in a design. Begin with at least four cords attached side by side. Use the outer-left cord as the working cord and the next three cords as holding cords. Loop the working cord around the first holding cord and tighten the loop toward the top.
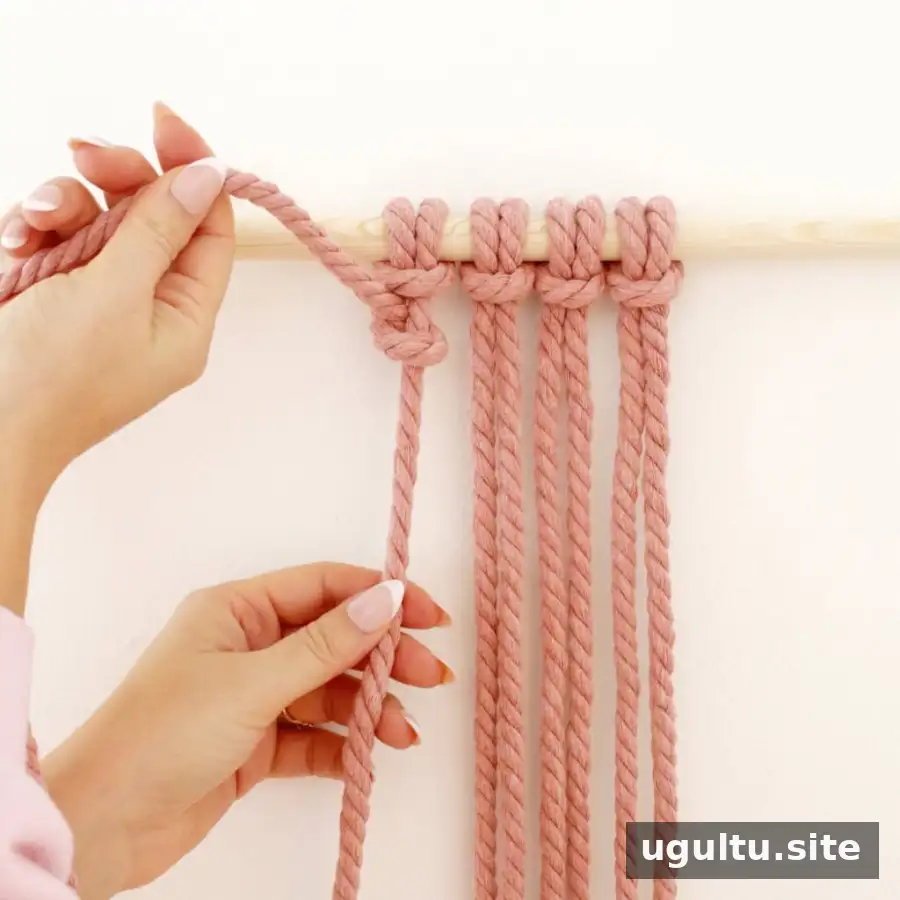
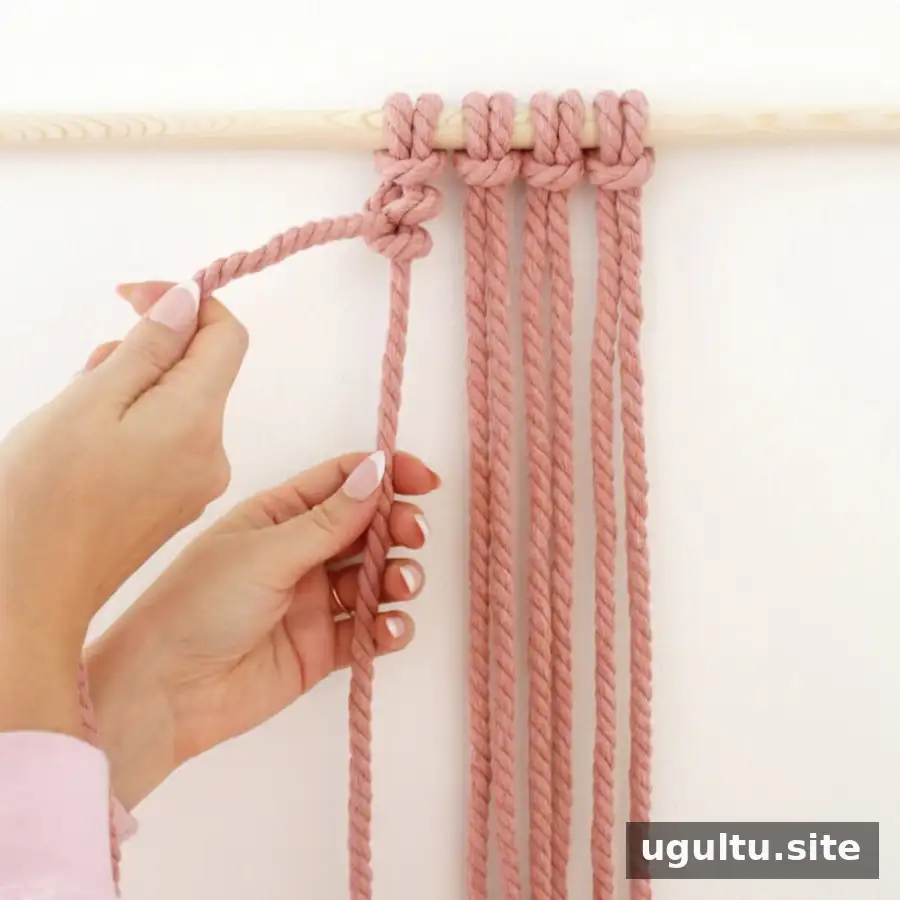
Make a second loop around the same holding cord. Then use the working cord to make two loops around each of the next two holding cords. Keep the loops aligned and apply similar tension to each one.
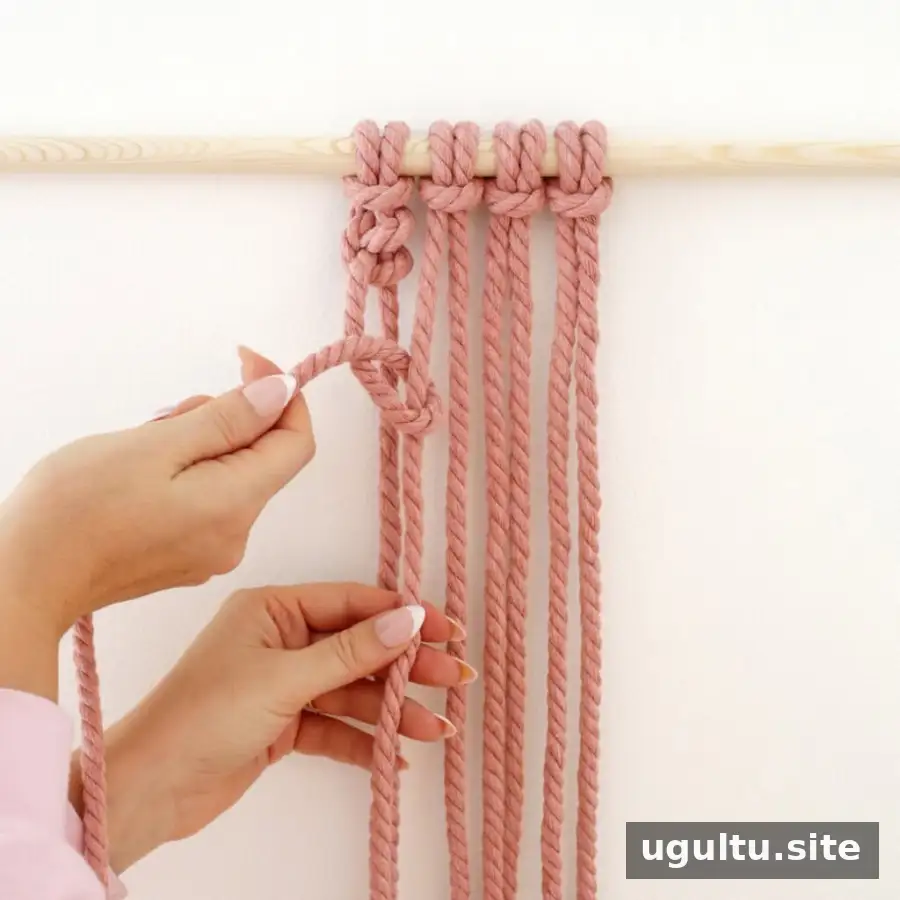
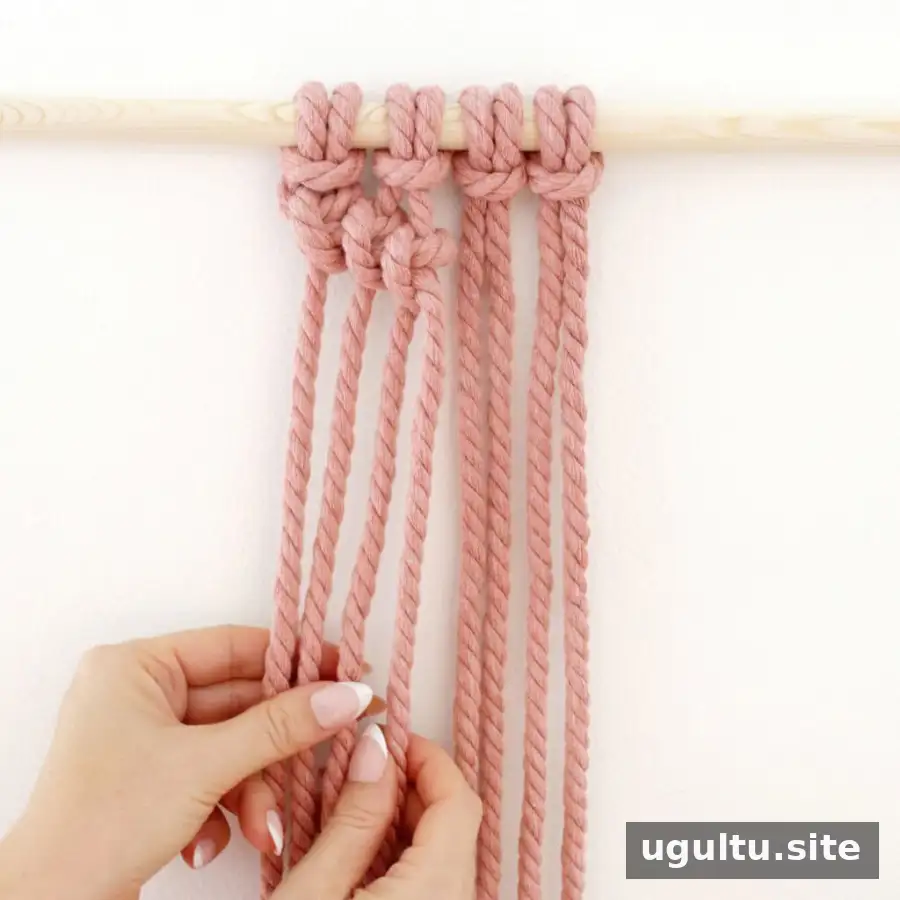
Repeat the process from the opposite side, using the outer-right cord as the working cord and tying two loops around each of the next three cords. The two working cords should meet near the middle.
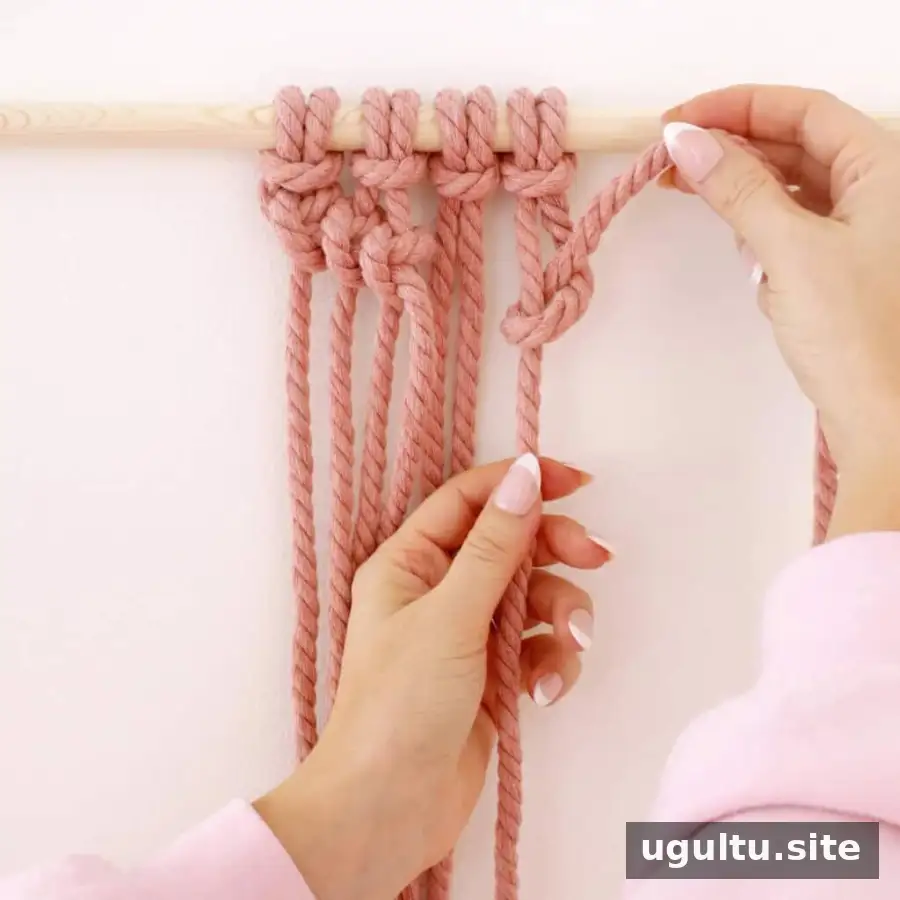
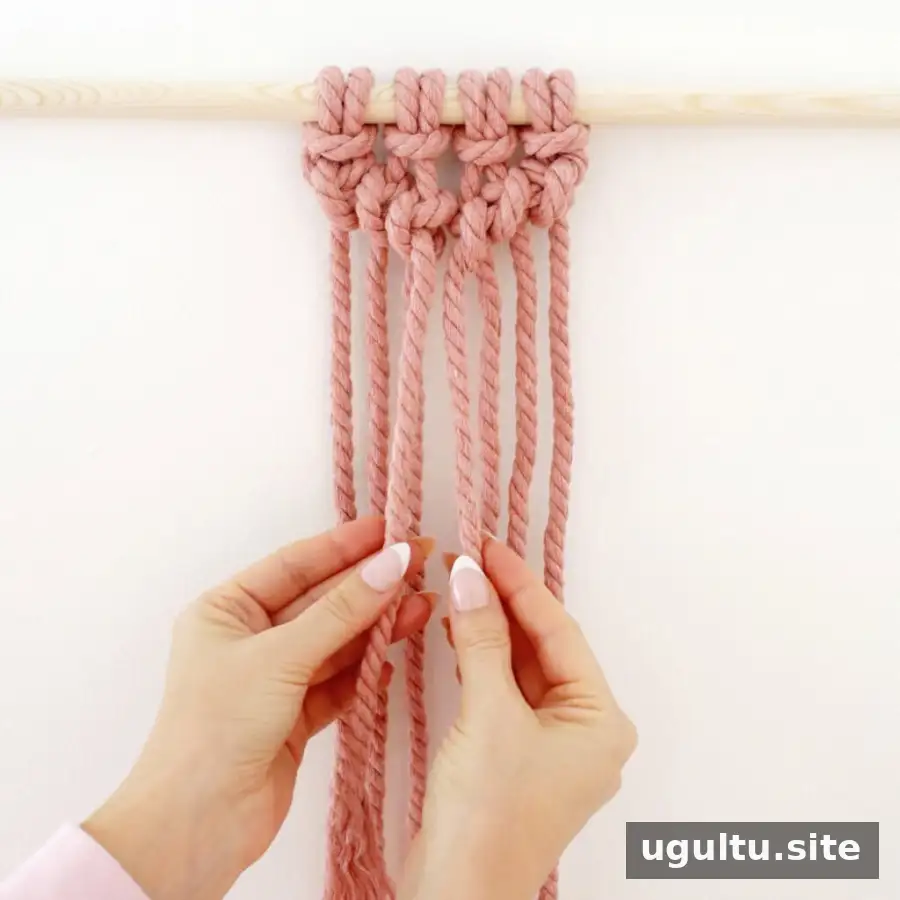
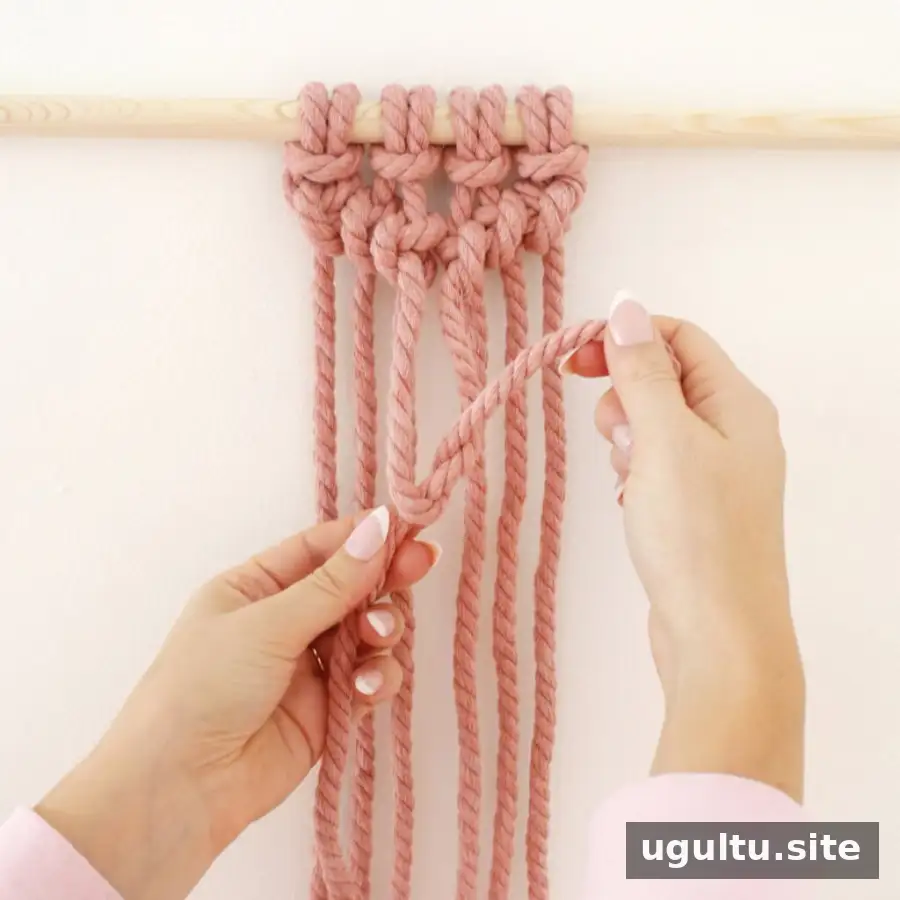
Finish by using the left working cord to tie a loop around the right working cord. Tighten it gently and check that the resulting line sits evenly with the rest of your work.
Common Macrame Mistakes to Avoid
- Cutting cords too short: Measure rather than estimating by eye. Four times the finished length is a useful starting point, or eight times if the cord will be folded in half. Some patterns need additional length for knots and fringe.
- Pulling knots too tightly: Excessive tension can distort knots and make a project twist or curl. Pull each knot snugly and aim to use similar tension throughout.
- Skipping practice: It takes time to build confidence and consistency. Practise the knots on spare cord before moving on to a larger or more complex design.
Getting Started with Macrame for Beginners
Macrame for beginners is easiest when you have the right materials, measure your cords carefully, and practise the basic knots before starting a full project. Begin with a simple design, keep your tension even, and adjust your cord length to suit the pattern. With patience and practice, these foundational techniques can help you create both practical items and decorative pieces.


