admin
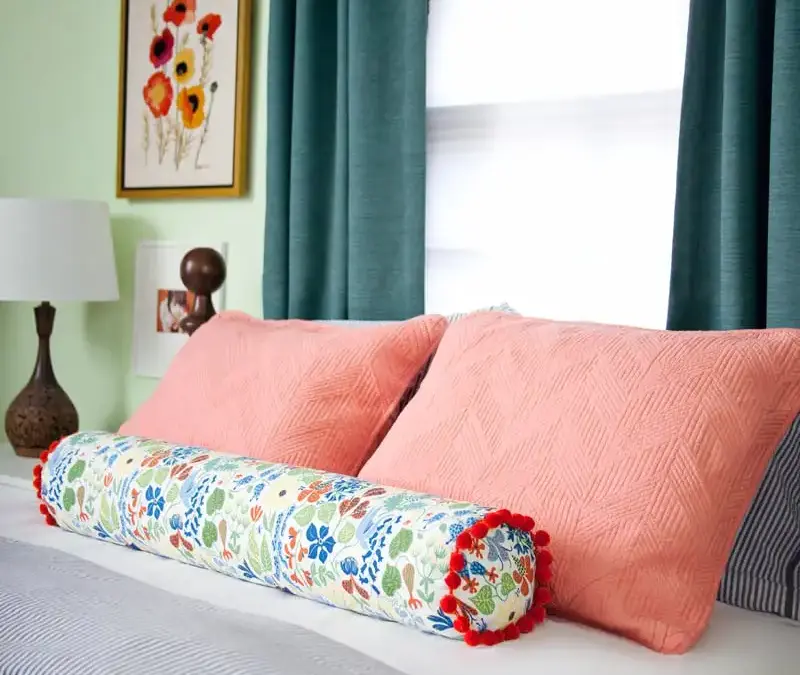
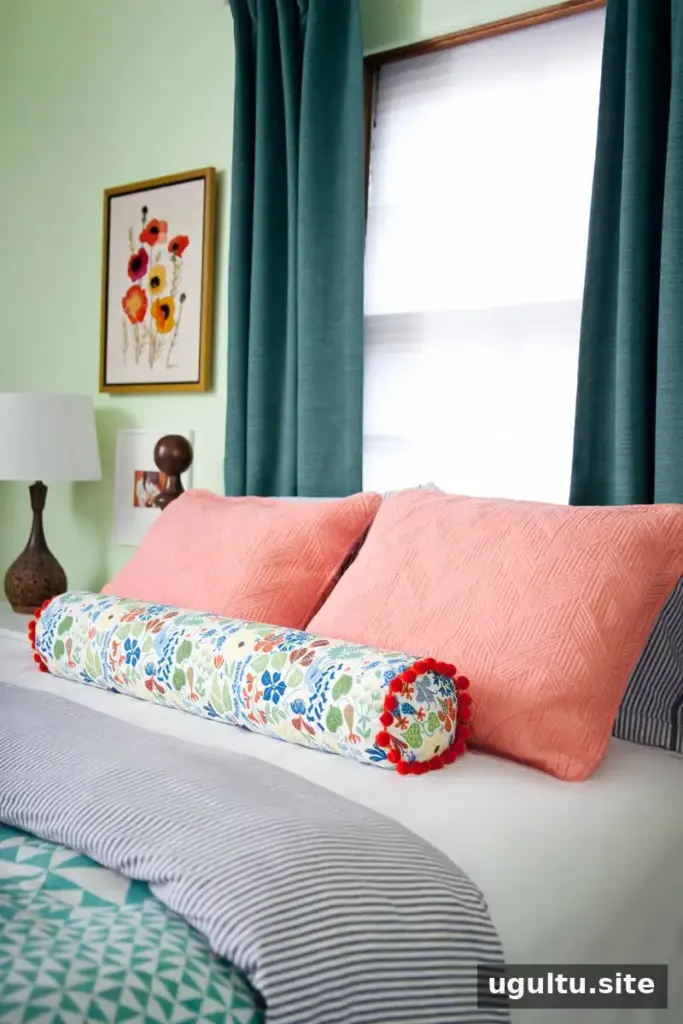
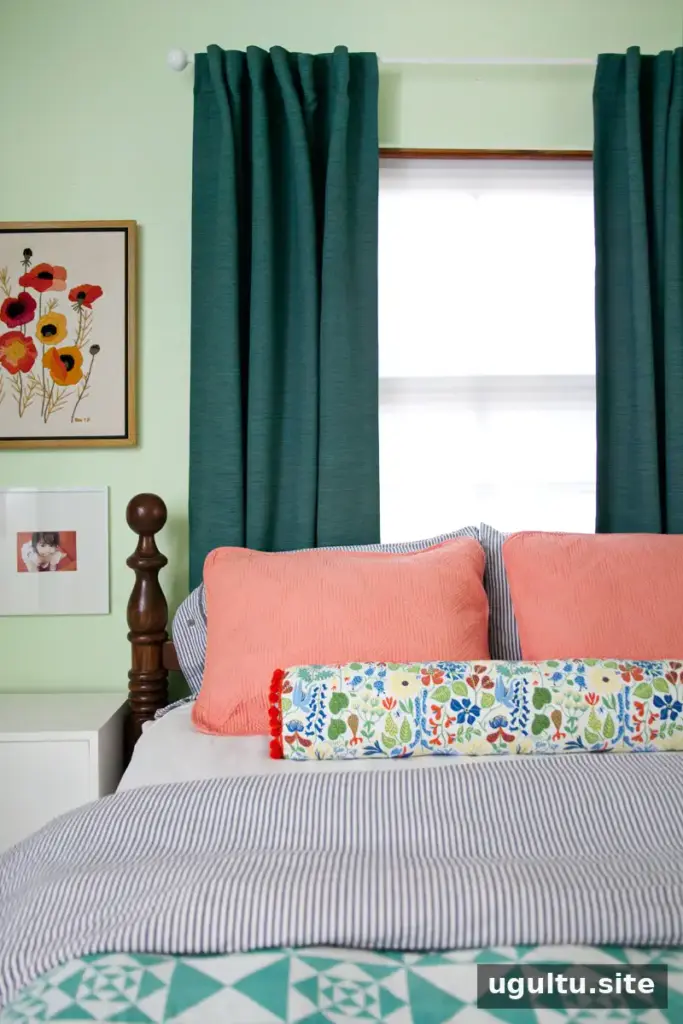
A bolster pillow can add shape and color to a bed, sofa, or chair. Making one at home lets you choose the fabric, trim, length, and filling to suit your space. This guide explains how to make a bolster pillow with a sewn fabric tube, circular end pieces, and a hand-stitched opening.
Before cutting, decide where the pillow will sit and measure the space available. A pillow placed beside the arms of a sofa may need different proportions from a longer one made for a bed.
Materials for a Bolster Pillow
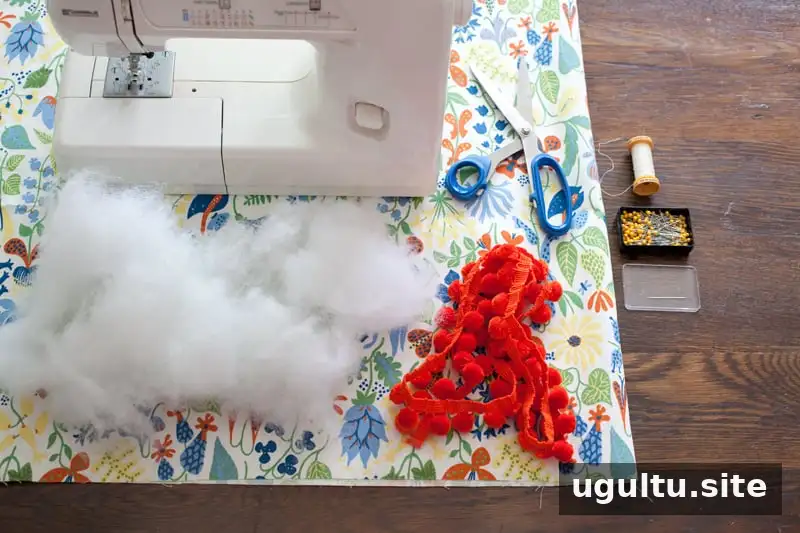
- Fabric
- Trim, such as pom-poms, if desired
- Loose batting or Poly-fil
- Straight pins
- Darning needle
- Thread that matches the main color in the fabric
- Sewing machine
Choose a fabric that is suitable for the pillow’s intended use. If you plan to add trim, check that its finished edge will sit neatly along the pillow ends before sewing it in place.
How to Make a Bolster Pillow
Step 1: Measure and cut the main fabric
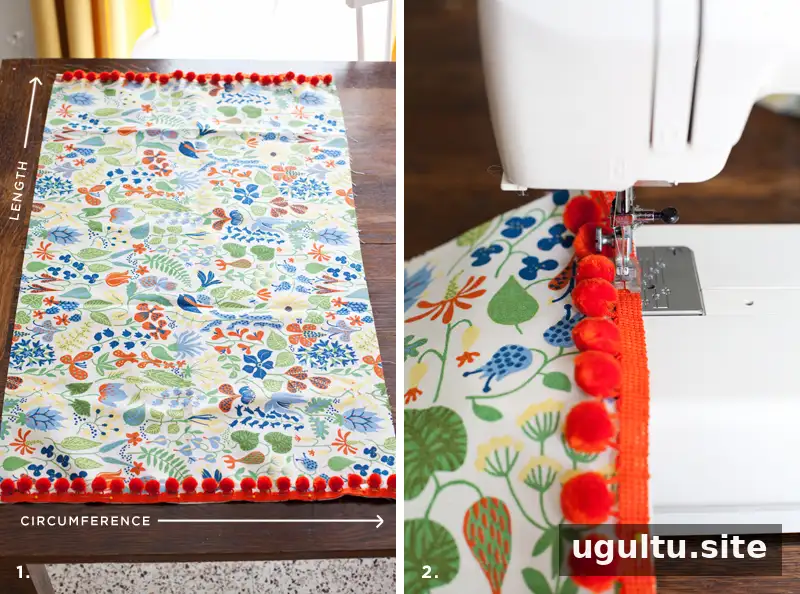
Decide on the circumference of the pillow and add 1 inch to that measurement. Cut the fabric to this measurement. The long side of the bolster will run across the width of the fabric; add 1 inch to this measurement for the hem allowance. Check your measurements before cutting, as the fabric will form the pillow’s main sleeve.
Step 2: Attach the trim
If you are using trim, pin it to the ends of the fabric with its finished edge facing inward. Stitch it in place, keeping the seam away from the visible finished edge so that the thread is less likely to show on the completed pillow.
Step 3: Sew the fabric into a sleeve
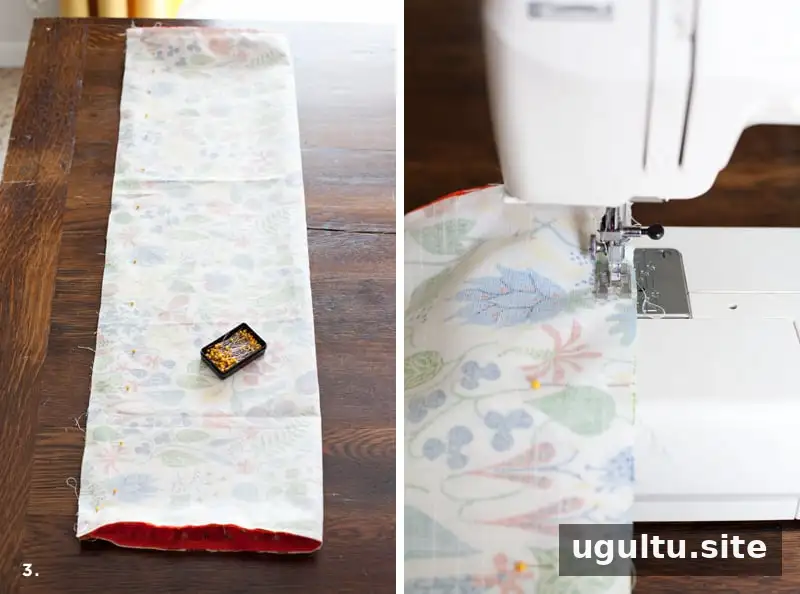
Fold the fabric in half with the right sides facing inward. Pin the raw edges together, then sew along the pinned edge about 1/2 inch from the edge. Keep the seam allowance consistent along the length for an even tube.
Step 4: Work out the end-cap size
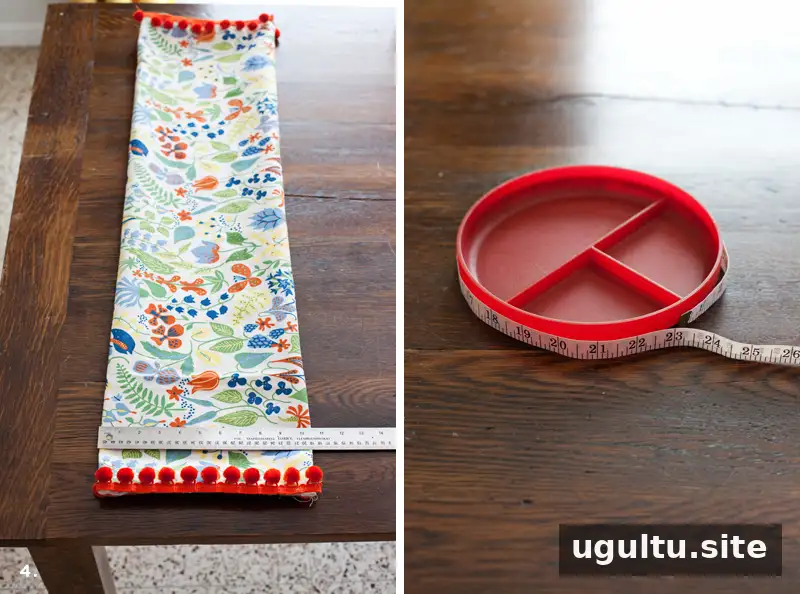
Turn the sewn sleeve right-side out and measure its height. Multiply that measurement by two to find the circumference for the pillow’s end caps. A dish that is slightly larger than the measurement can serve as a template for marking the circles.
Step 5: Cut the circular end pieces
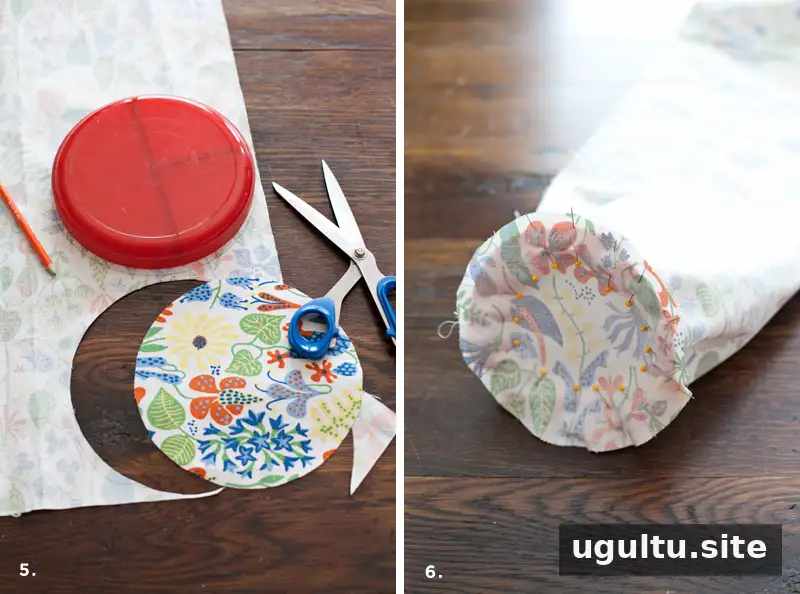
Use a round object as a stencil to mark and cut out two fabric circles, adjusting the template size as needed to match the circumference. Check both pieces before attaching them so the ends are as similar in size as possible.
Step 6: Pin and sew the end caps
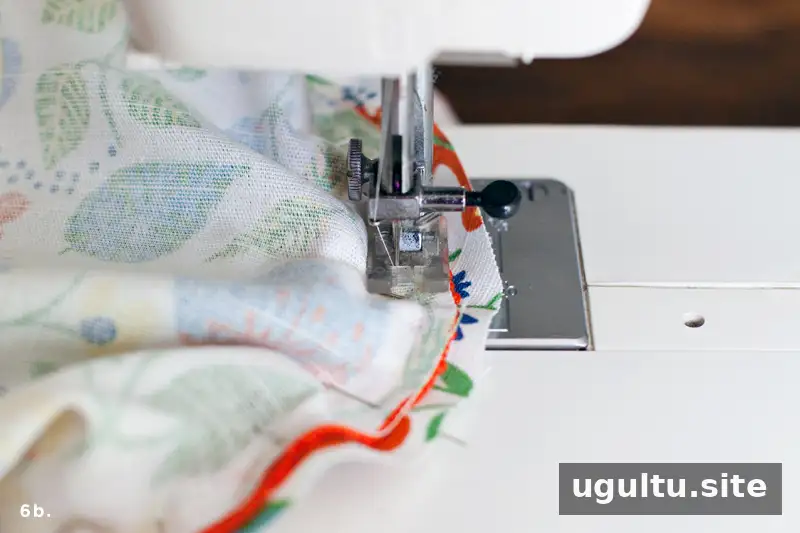
With the wrong sides facing outward and the right sides together, pin an end piece to each end of the sleeve. Follow the curve of the circles as you pin. If the edges do not align smoothly, remove a few pins and reposition the fabric before sewing.
Once the end pieces are securely pinned, stitch close to the edge of the trim. A zipper foot can help guide the seam close to the trim if needed. Leave one end only halfway stitched so there is an opening for the filling.
Step 7: Turn and fill the pillow
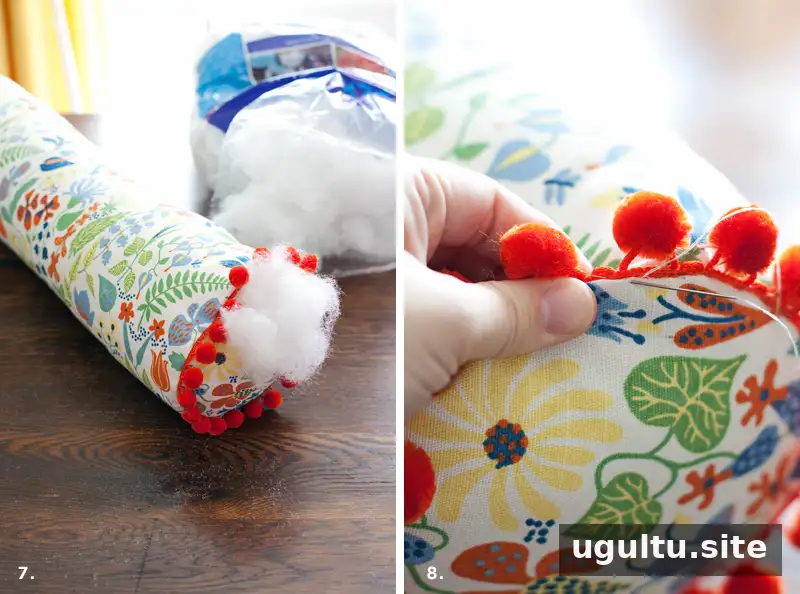
Turn the pillow right-side out through the open end. Add batting or Poly-fil gradually, spreading it evenly along the tube. Smooth out lumps from the inside and keep the filling evenly distributed for a consistent shape.
Step 8: Close the opening
Use a darning needle and a slip stitch to sew the remaining opening closed. Take small, even stitches along the folded edges so the closure is neat and secure. Check the pillow’s shape before finishing the seam, and adjust the filling through the opening if necessary.
Finishing and Placement
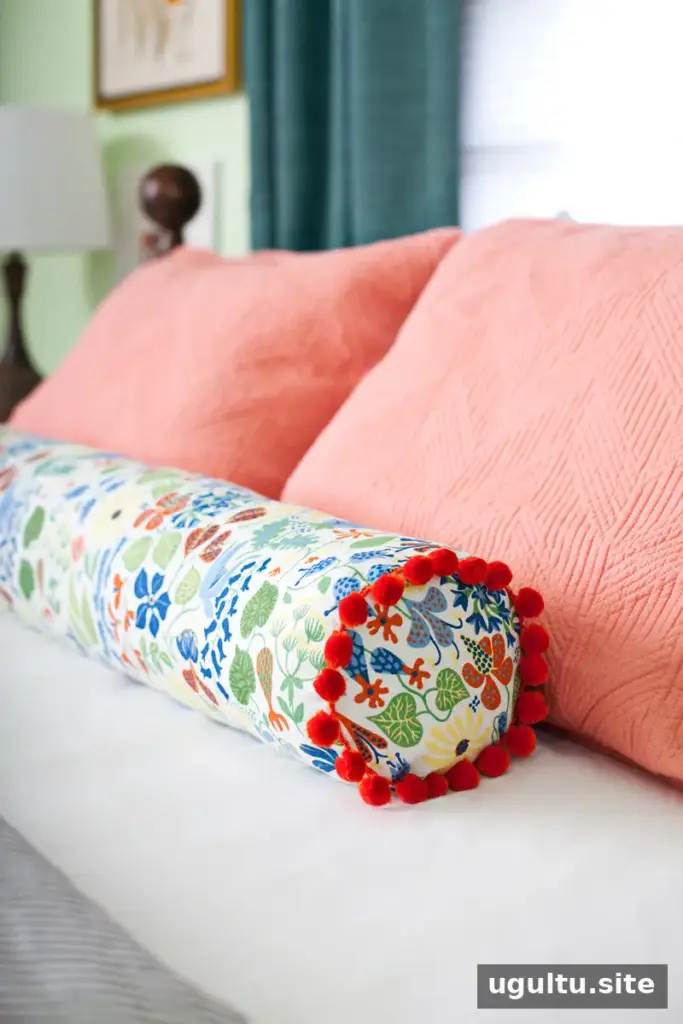
After sewing, arrange the bolster alongside the arms of a sofa or chair, or place it on a bed as a decorative accent. Coordinate the fabric and trim with nearby textiles, or use a contrasting color to make the pillow stand out. For everyday use, consider how easily the fabric can be cleaned before choosing its final spot.
With careful measuring, even filling, and a tidy closing seam, this project offers a straightforward way to make a bolster pillow that suits your room. — Mandi