
 admin

Learning how to make a bow tie is a simple sewing project that can turn small pieces of fabric into a wearable accessory. This clip-on version uses one larger rectangle for the bow, a smaller piece for the center band, fusible interfacing, and bow tie clips. Once you have the pieces prepared, the folds create the bow shape without needing a complicated pattern.
How to Make a Bow Tie: Materials and Measurements
Prepare the following materials before you begin:
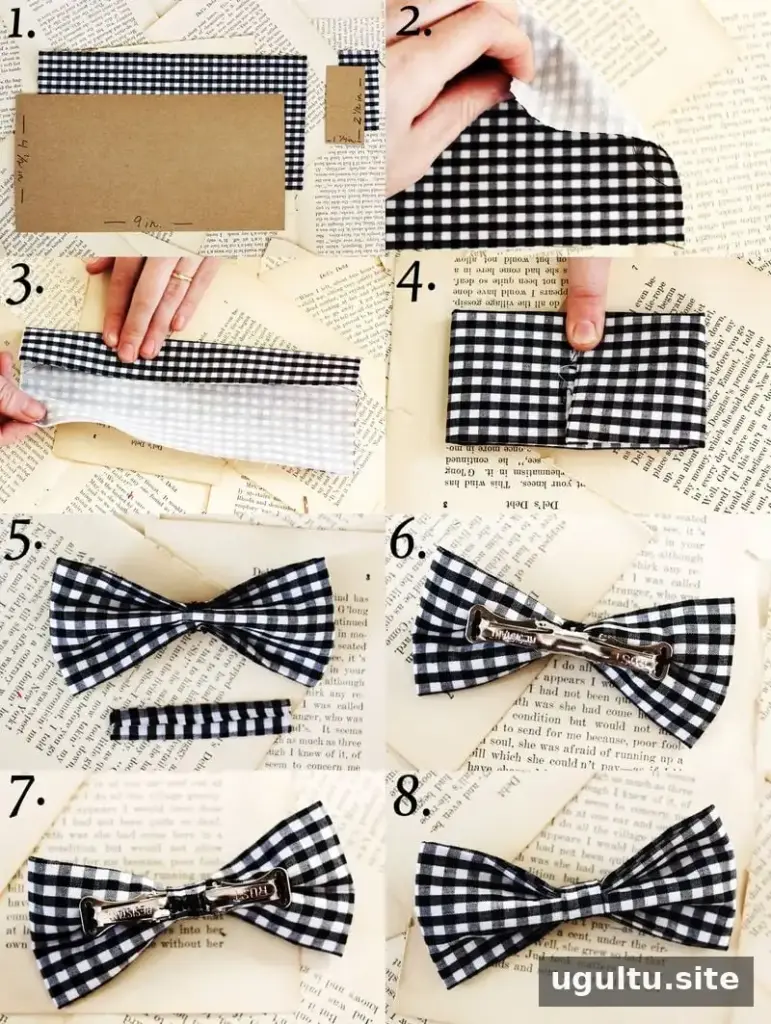
- Fabric for the bow: one piece measuring 9 inches by 4.5 inches
- Matching fabric for the center: one piece measuring 1.25 inches by 2.5 inches
- Fusible interfacing for the larger piece
- Two bow tie clips
- Thread, pins, an iron, and a sewing machine or hand-sewing supplies
You can make a paper pattern from the two measurements if you plan to repeat the project. Keep the pattern with your sewing supplies so you can cut consistent pieces for future bow ties. Before cutting, check that the fabric is large enough for both pieces and that the pattern is positioned as you want it.
Step-by-Step Instructions
- Cut the fabric. Cut one large rectangle measuring 9 inches by 4.5 inches and one smaller rectangle measuring 1.25 inches by 2.5 inches. Cut the fusible interfacing for the large piece according to its instructions.
- Apply the interfacing. Iron the fusible interfacing onto the back of the large fabric piece. Follow the product’s pressing directions and use a heat setting suitable for your fabric. Trim any excess interfacing from the edges if needed.
- Fold the large rectangle. Bring the two long edges toward the middle so they meet. Press the folds with an iron to help the fabric stay in place.
- Fold the ends inward. Bring both open ends toward the center. Press these folds as well; crisp edges can make the finished bow look neater.
- Shape and stitch the bow. Pinch the rectangle at its center to form a bow shape. Stitch through the folds to secure the shape. Check that the fabric is gathered evenly on both sides before sewing.
- Attach the clips. Sew one bow tie clip to each side on the back of the bow. Position them so they can be used to attach the finished accessory, and secure the stitches firmly.
- Make the center band. Fold the smaller fabric piece in the same way as the long edges of the large piece, then press it. Wrap it around the center of the bow and stitch it in place on the back.
Finishing and Fabric Ideas
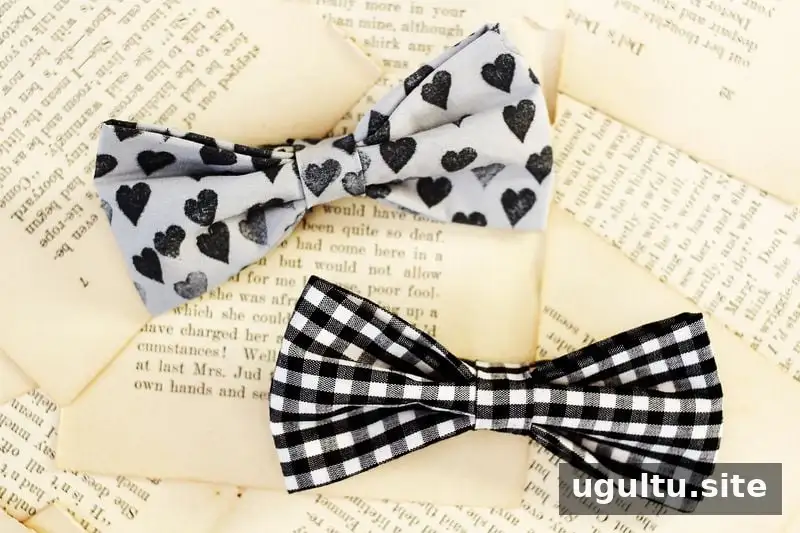
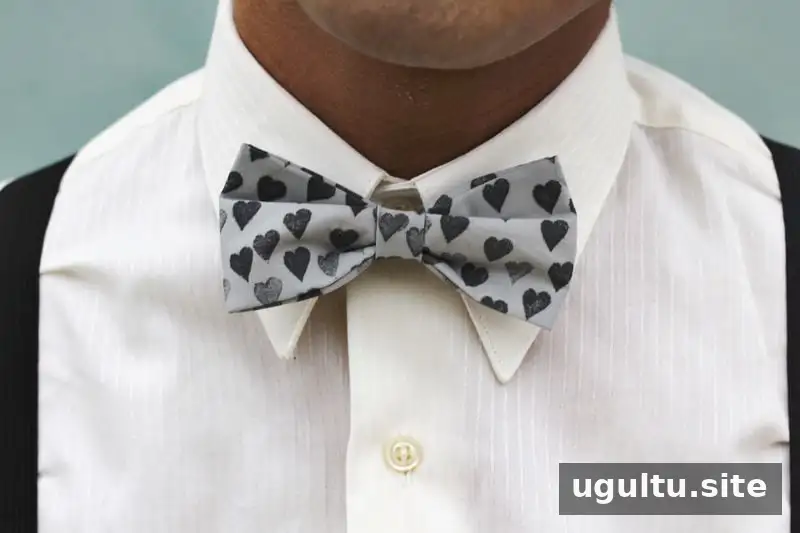
Before wearing the bow tie, check that the center band is secure and that both clips are firmly attached. If you are making several, repeat the same measurements and folding sequence for each one. Different fabrics can give the finished bow a distinct look; the project examples include mini gingham fabric and hand-stamped fabric.
Final Tips for How to Make a Bow Tie
Pressing each fold as you work helps keep the shape tidy, while checking the bow from the front before stitching can help you adjust the gathers. Always follow the interfacing instructions for pressing, since suitable heat and application methods can vary. With the pieces cut to size and the clips attached securely, how to make a bow tie becomes a repeatable project for creating different fabric versions.
Project credit: Elsie + Kinsey


