
 admin

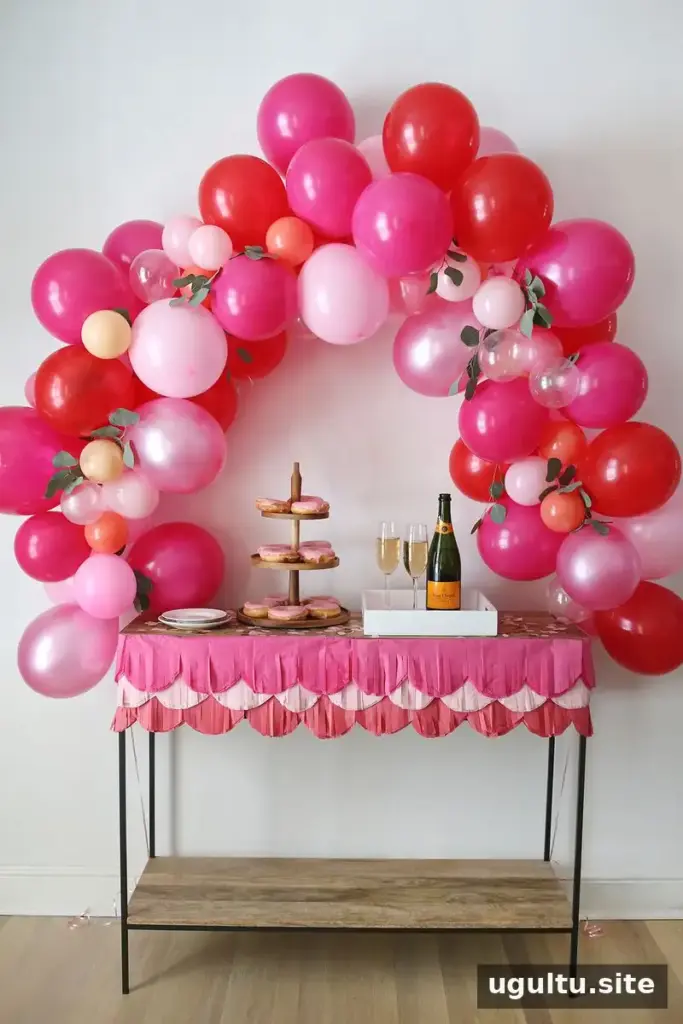
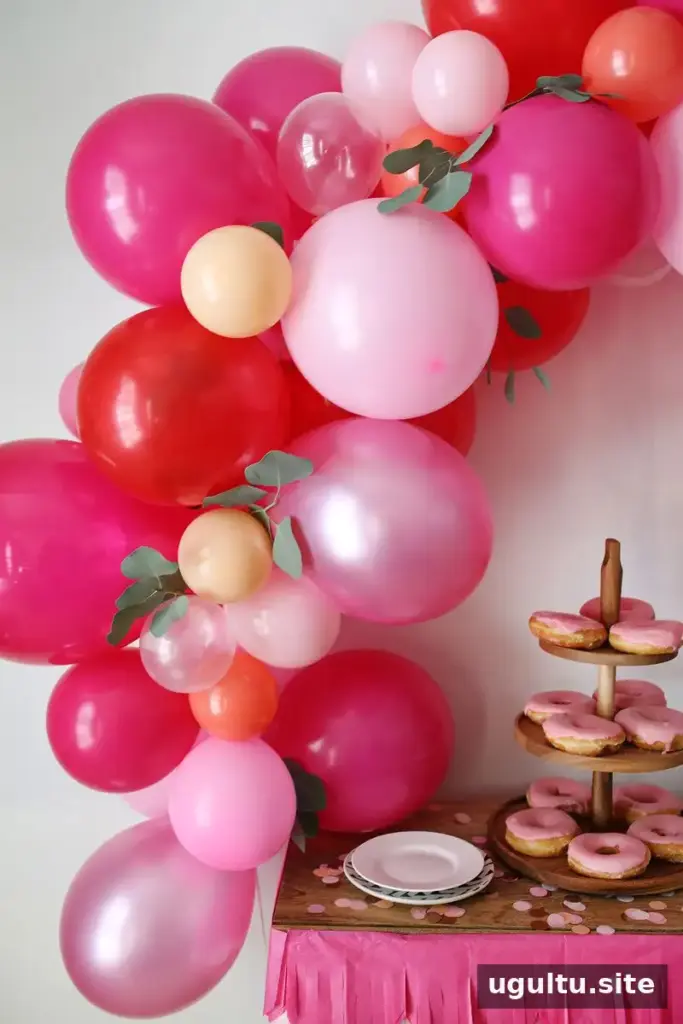
A balloon arch can turn a buffet, console table, or party backdrop into a colorful focal point. This version uses a decorating strip and a mix of standard and mini balloons, so you can build the shape first and fill in gaps afterward. Change the balloon colors to suit a baby shower, Valentine’s Day, New Year’s Eve, or another celebration.

Supplies for a Balloon Arch
Gather the materials before you start. Having the balloons, strip, and attachment ties ready makes assembly easier and helps you keep the arch’s shape consistent.
- Electric balloon pump
- Balloon decorating strip
- 30 mini balloons
- 40–45 standard-size balloons in your chosen colors
- Glue dots or tape
- Balloon ribbon or twine
- Greenery, optional
How to Make a Balloon Arch
1. Inflate the balloons
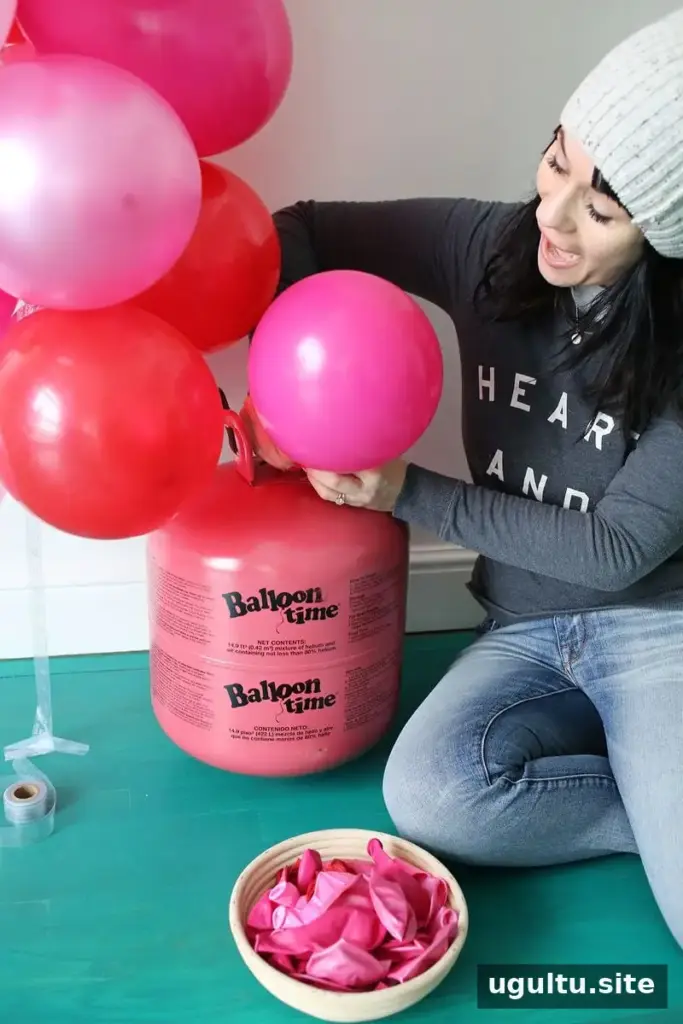
Use an electric pump to inflate the balloons, then tie each one securely. If you plan to inflate them all before assembly, place them in large garbage bags as you work to keep them from drifting around. Alternatively, inflate them in a room with a low ceiling so they are easy to reach.
2. Attach the standard balloons to the strip
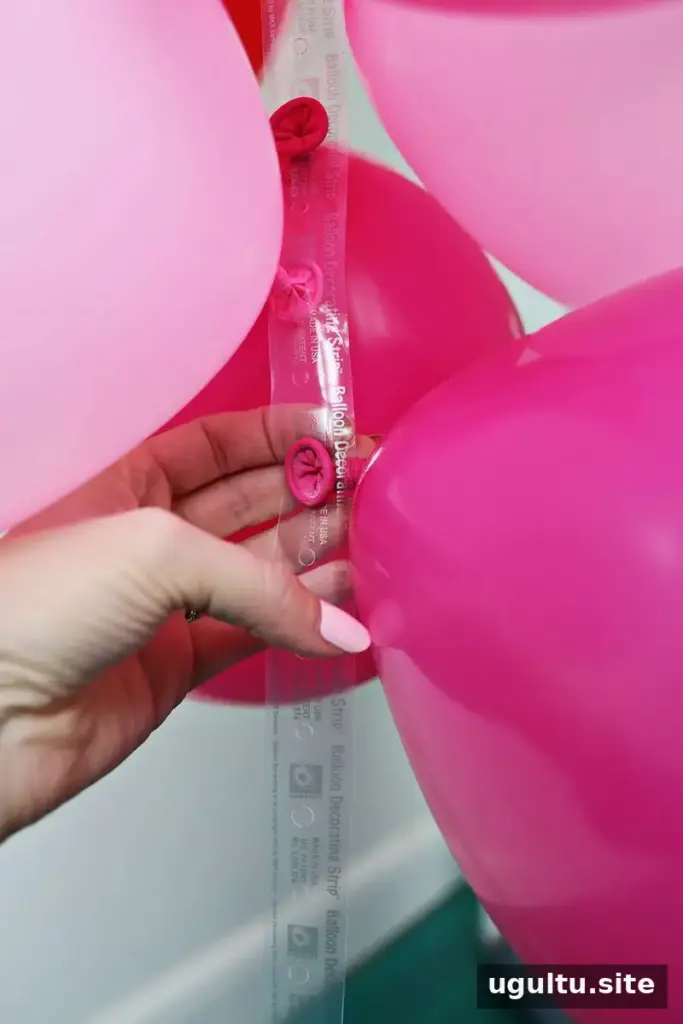
Push a balloon knot through one of the holes in the decorating strip. Leave a few holes open, then add another balloon facing the opposite direction. Continue alternating the sides and colors until the strip reaches the length you want for your arch.
Step back occasionally to check the fullness and color balance. Add balloons to some of the open holes if the arrangement looks sparse, but leave space for the mini balloons that will cover gaps later.
The video below shows the assembly process for this style of arch.
3. Secure the arch
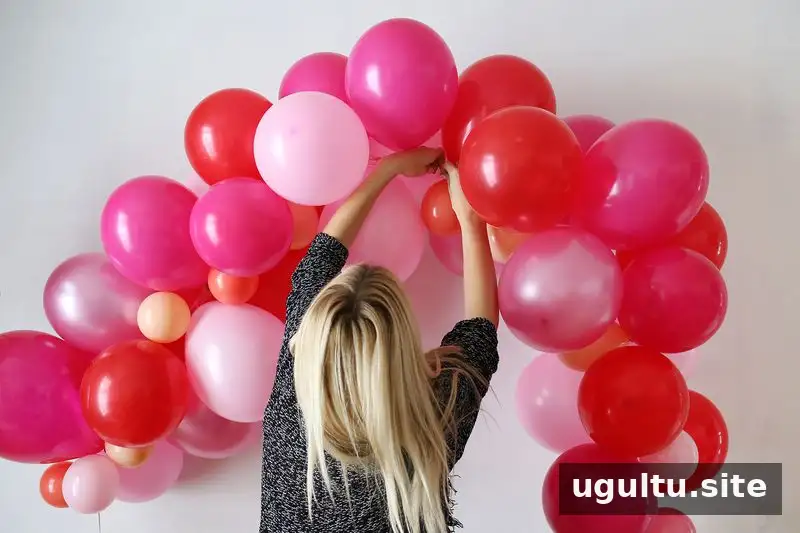
When the main balloons are in place, cut the decorating strip just beyond the balloons at both ends. Tie ribbon or twine to each end. Attach the ties to a suitable piece of furniture, or run them down to the floor and secure them with balloon weights. Check that the attachment points are stable before adding the smaller balloons.
4. Fill the gaps
Use glue dots to attach mini balloons in the spaces and crevices between the larger ones. Add them a few at a time, turning the arch as needed to check how it looks from the front. This final layer gives the arrangement a fuller appearance.
Finishing Touches and Styling Ideas
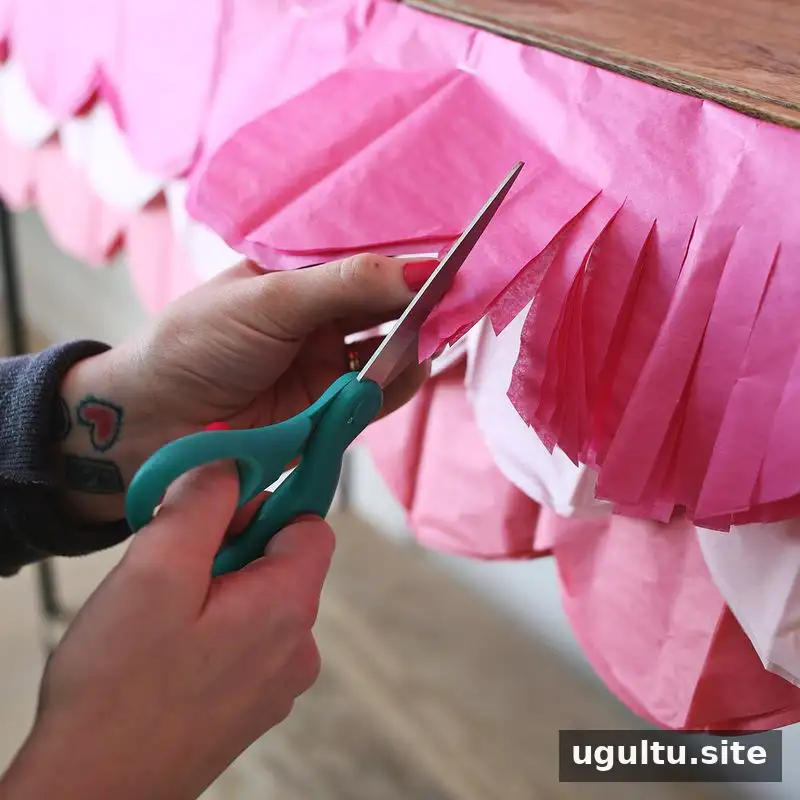
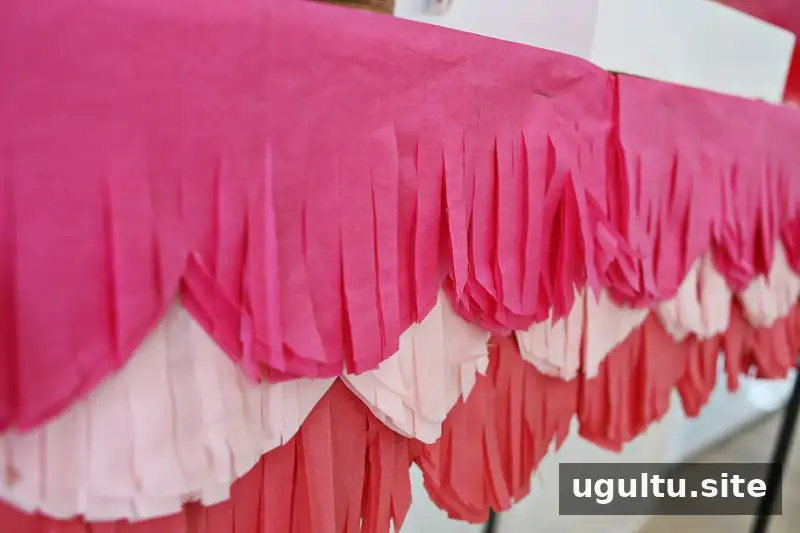
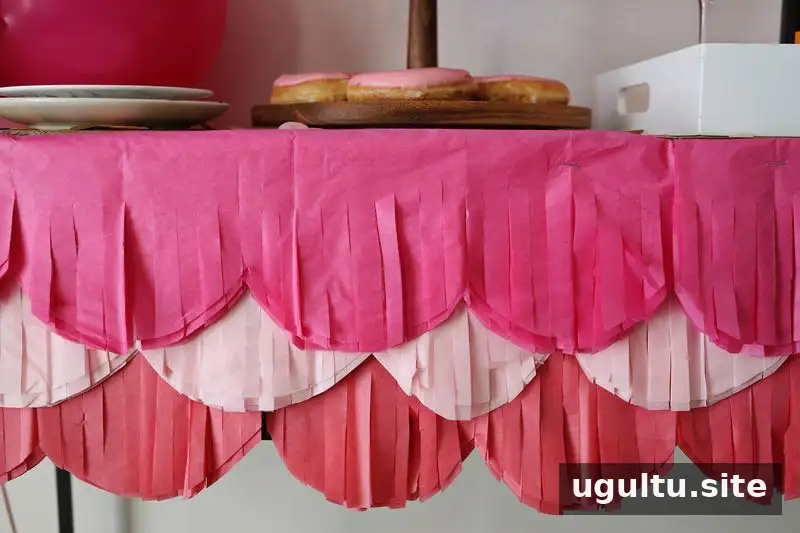
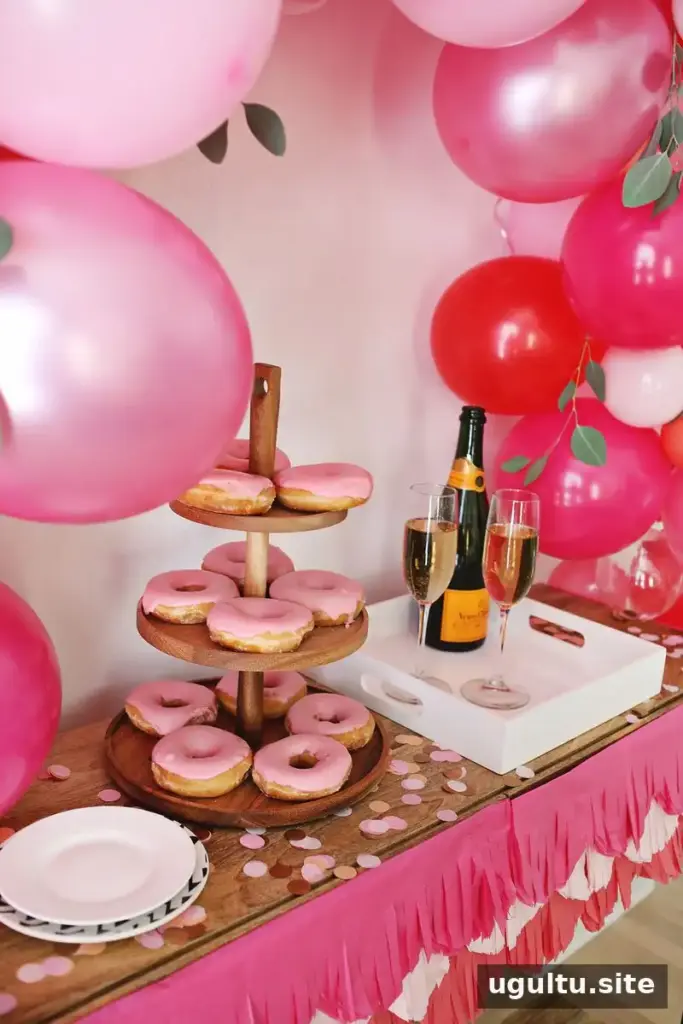
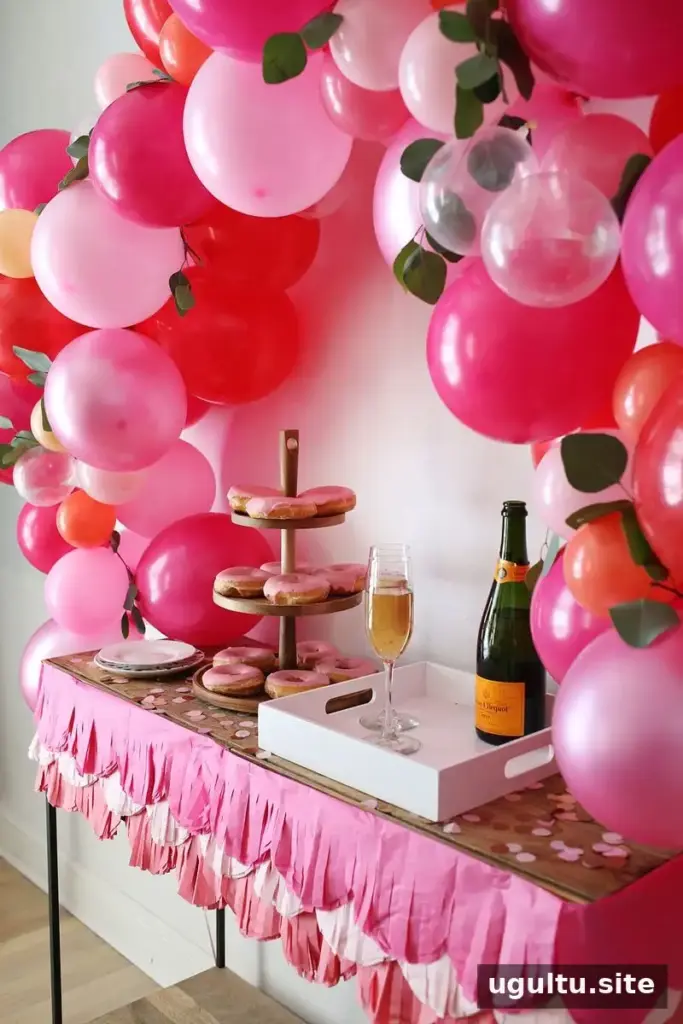
For a textured table display, make a scalloped border from folded tissue paper and use scissors to fringe each layer. Coordinate its colors with the balloons for a cohesive party setup.
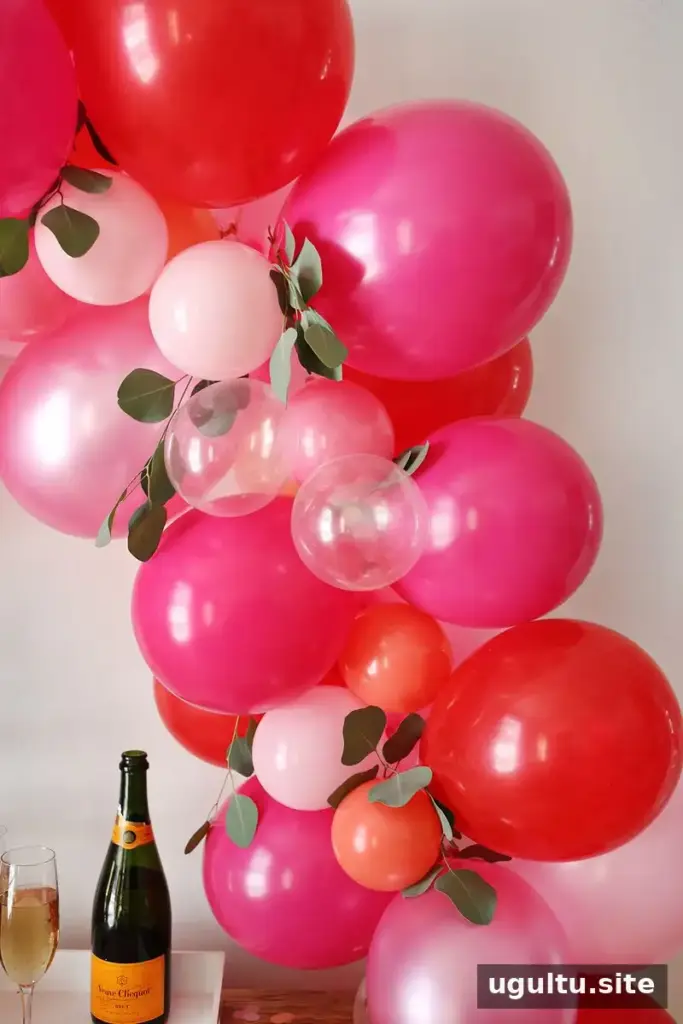
Greenery is optional. Tuck sprigs into dense areas of the arch, or use tape to secure the stems in a hidden spot. Keep the greenery clear of the ribbon or twine holding the arch in place.
Make the Balloon Arch Your Own
Place the finished arch above a buffet or console table, and style the surface with serving trays or cake stands. You can also use the same general approach to create a balloon garland for a front door. Choose colors that work with the setting, and measure the space before assembling so the finished display fits where you plan to hang it.
— Elsie
Quick Instructions
- Inflate and tie 30 mini balloons and 40–45 standard balloons.
- Attach standard balloons to the decorating strip, alternating sides and colors.
- Trim the strip, tie ribbon or twine to both ends, and secure the arch in place.
- Use glue dots to add mini balloons and fill visible gaps.
- Add greenery or a coordinated tissue-paper table border if desired.
With a decorating strip and a little planning, a balloon arch is a flexible party decoration that can be adapted to different colors, spaces, and occasions.


