admin
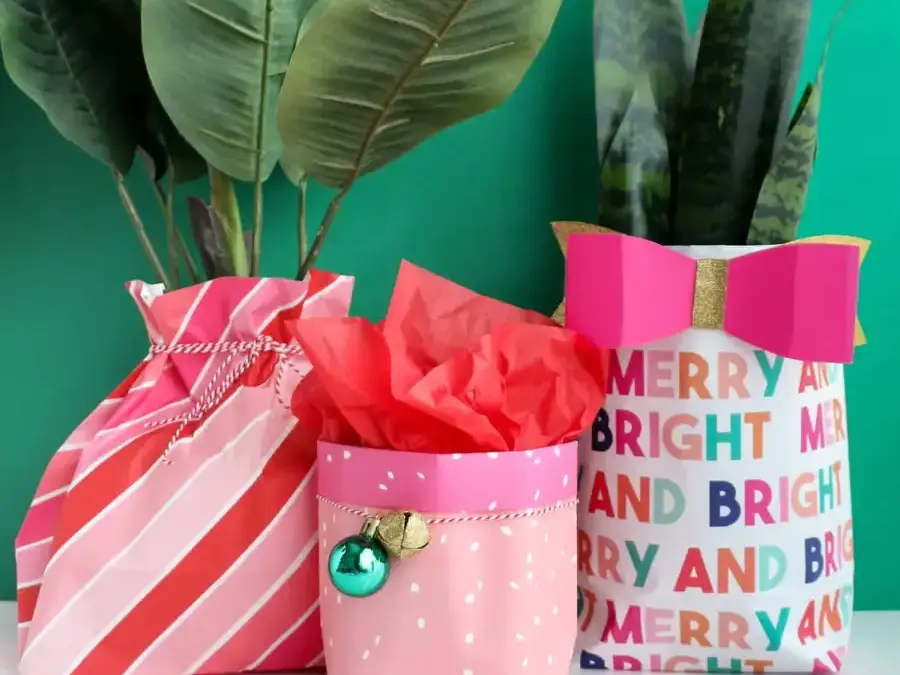
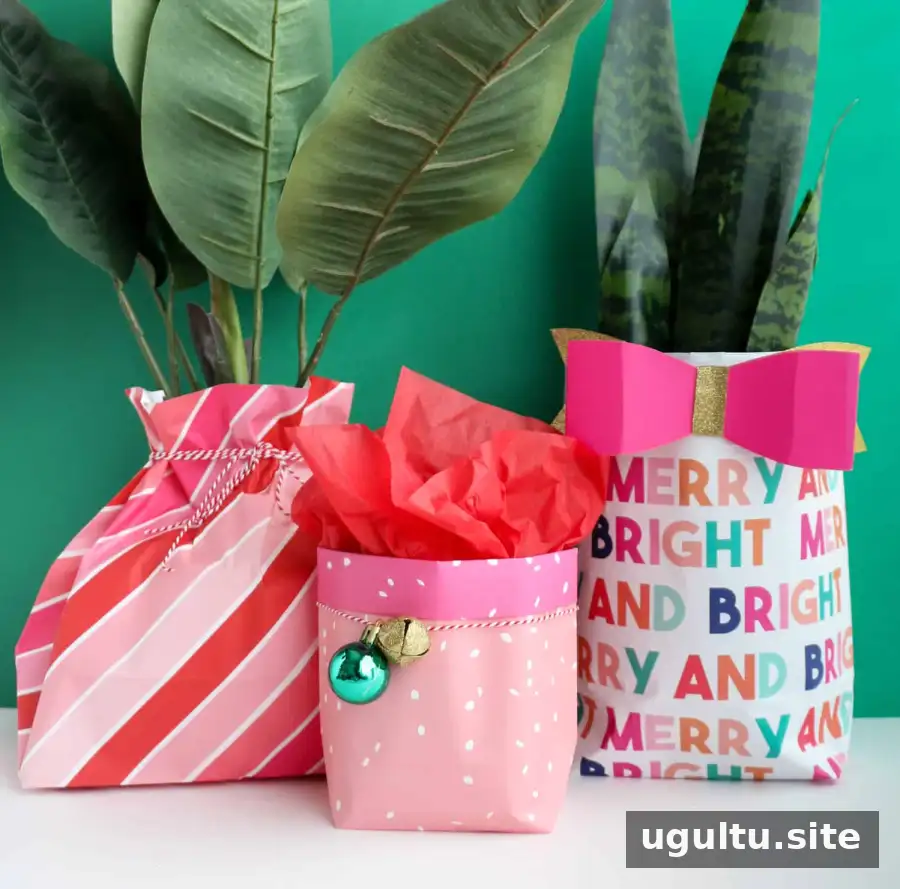
Oddly shaped gifts can be tricky to wrap neatly. Learning how to make a gift bag out of wrapping paper offers a simple alternative to wrestling with paper around a bottle, a potted plant, or another unusual item. With a few folds and some tape, you can create a bag sized to suit your gift and finish it with tissue paper or a bow.
Supplies for a Wrapping Paper Gift Bag
- Wrapping paper
- Tape
- Scissors
- Optional: baker’s twine, ribbon, bows, or tissue paper
Choose paper that is large enough to wrap around your item with some overlap. If the gift is heavier than a typical small present, use sturdy paper and reinforce the bottom seam with extra tape. This folded design does not include handles.
How to Make a Gift Bag Out of Wrapping Paper
1. Cut the paper to size
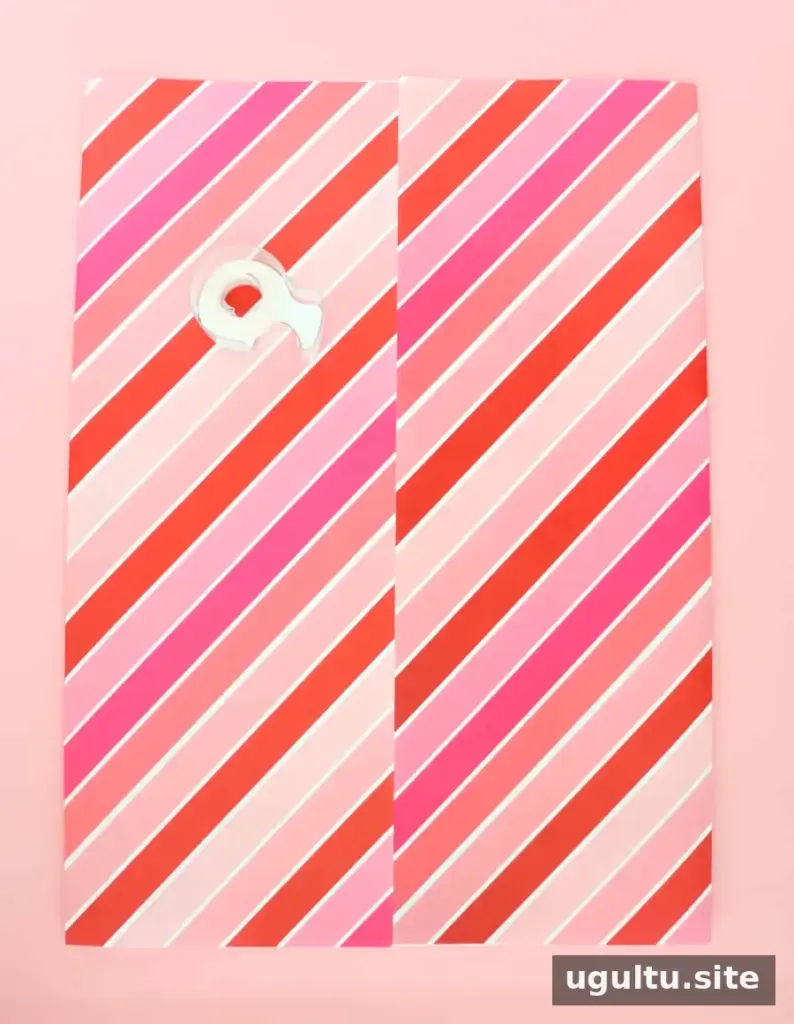
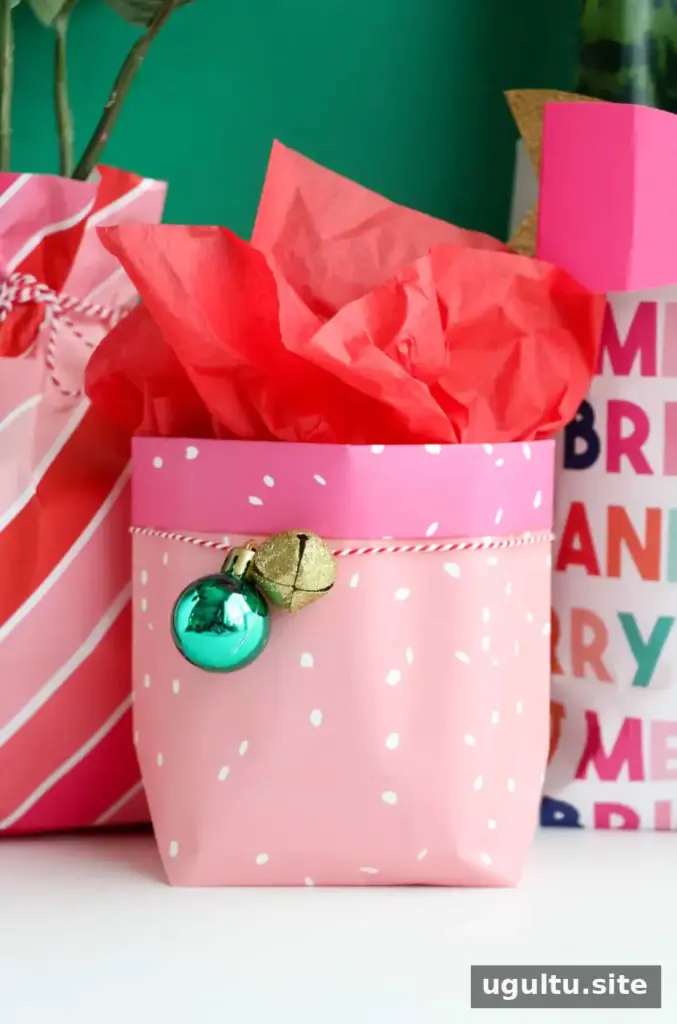
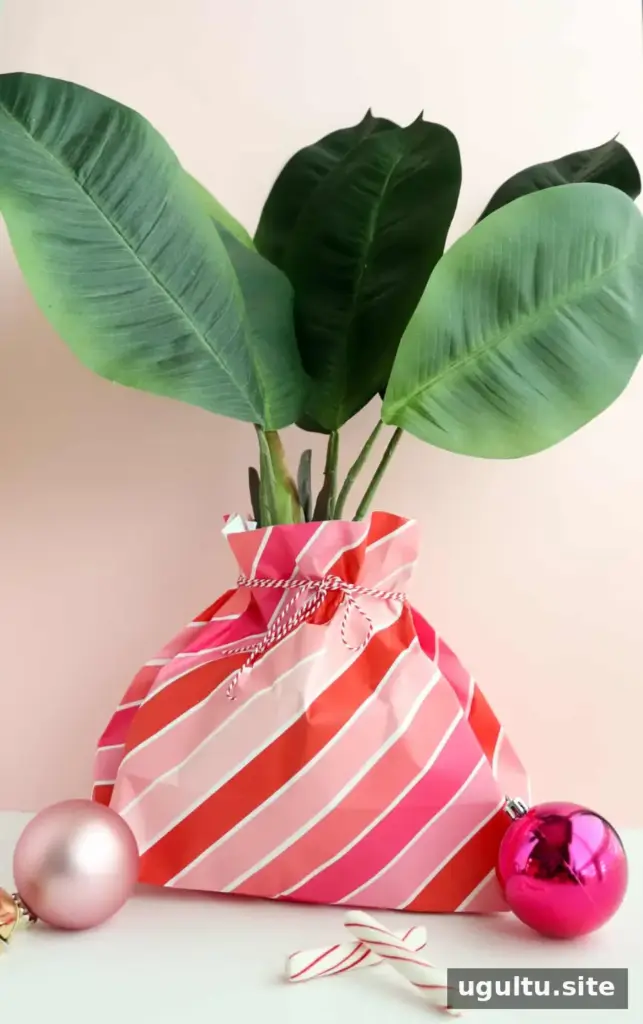
Cut a rectangle of wrapping paper. These sample sizes show how the dimensions can vary: the red stripe bag used a 10″ by 29″ piece, the Merry and Bright bag used a 10″ by 20″ piece, and the small Pink Snow bag used a 10″ by 6″ piece. The right size depends on the gift, so check that the paper can wrap around it and leave enough material at the bottom for the base.
2. Fold and tape the side seam
Place the paper with its longest edge running horizontally. Bring the two sides toward the center so they overlap slightly, then tape along the overlap to form a tube. Keep the seam straight; this helps the bag sit more evenly once its base is folded.
3. Create the bottom of the bag

Fold the lower edge upward by about 3–4″, then open that fold to make a crease. Gently open the bottom of the paper tube and press the sides inward. The opened section should form two triangular flaps, creating a flat diamond shape at the base.
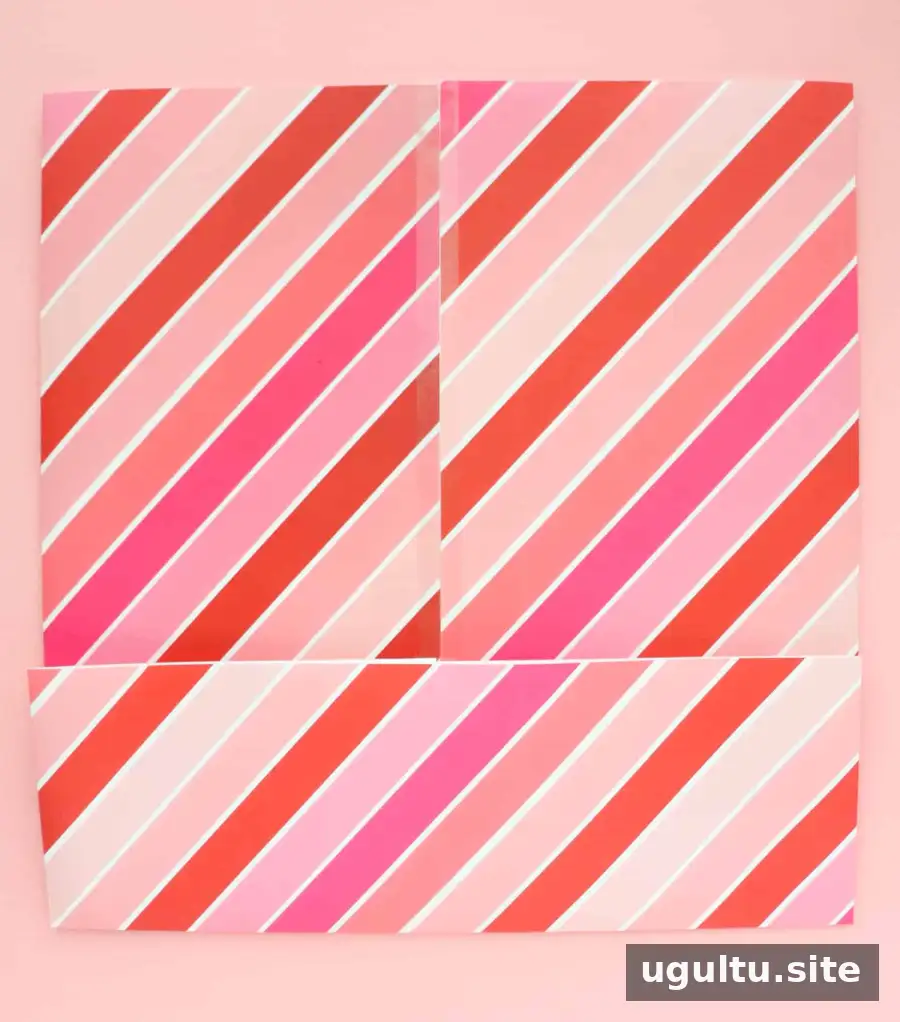
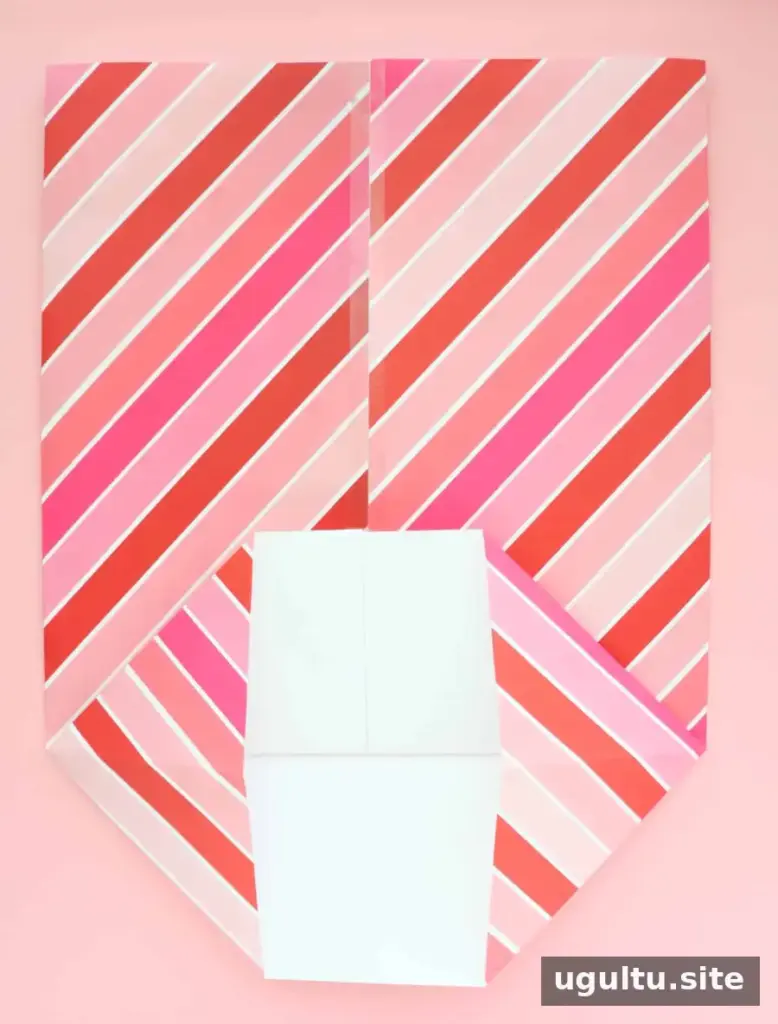
Fold the top and bottom points of the diamond toward the center until they meet. Tape across the joined edges to secure the base. For a neater finish, press the folds firmly and check that the tape covers the seam.
4. Add the gift and decorate
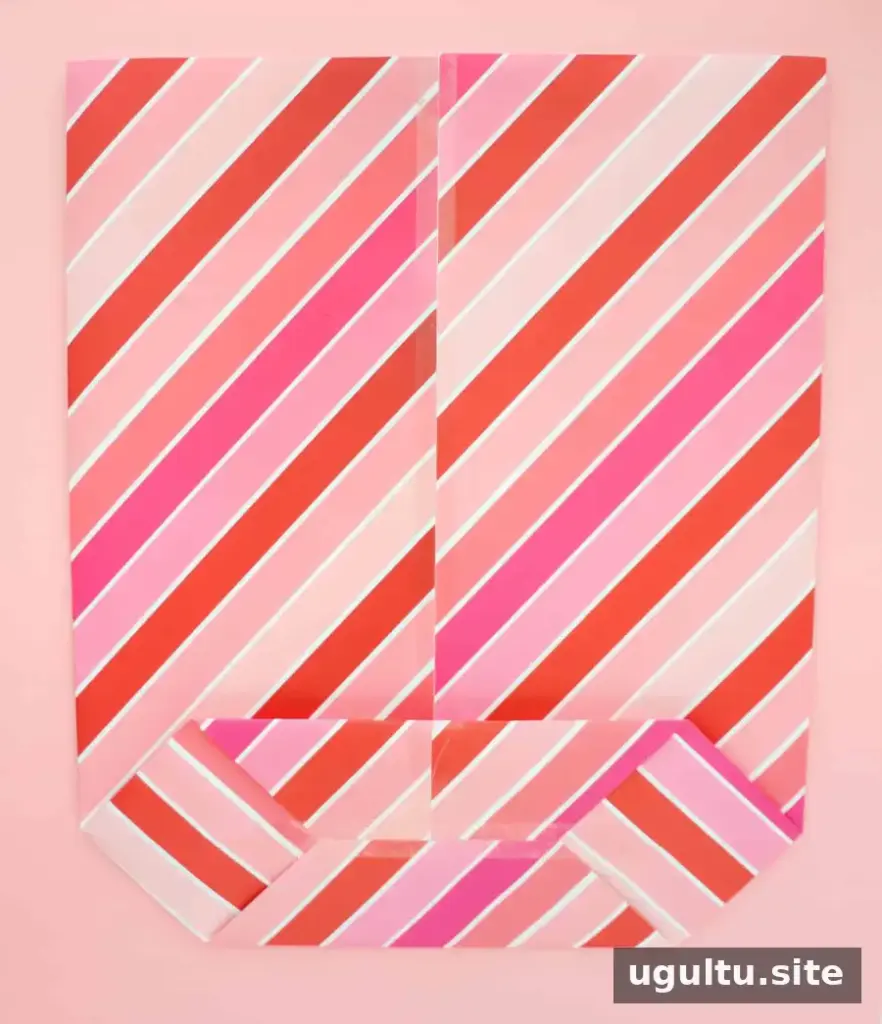
Open the bag from the top and place the gift inside. Add tissue paper, a bow, or ribbon as desired. Before decorating, make sure the base stays closed and the bag is wide enough for the item to slide in without tearing the paper.
Easy Ways to Customize the Bag
For a finished edge, fold the top of the paper inward to create a cuff before forming the side seam and bottom. The cuff gives the opening a more polished look. You can also place a second, coordinating patterned paper against the inside of the outer sheet before folding. A small section of the inner pattern will show when the cuff is folded over.
These variations are optional, so start with the basic bag if you are short on time. For a potted plant or other bulky gift, measure around the widest part first and leave a little extra room at the opening.
Conclusion
Making a gift bag out of wrapping paper is a practical way to present items that are difficult to wrap with traditional folds. Cut the paper to fit, tape the side seam, form and secure the base, then add a cuff or decorative details if you like. With the measurements and steps above, you can make a gift bag out of wrapping paper for a range of small gifts. Project by Kara.