admin
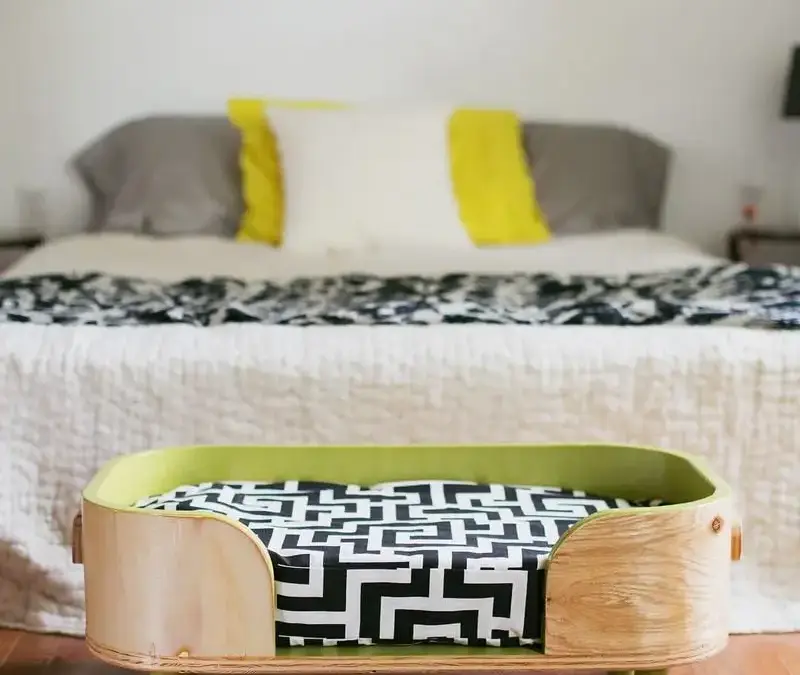
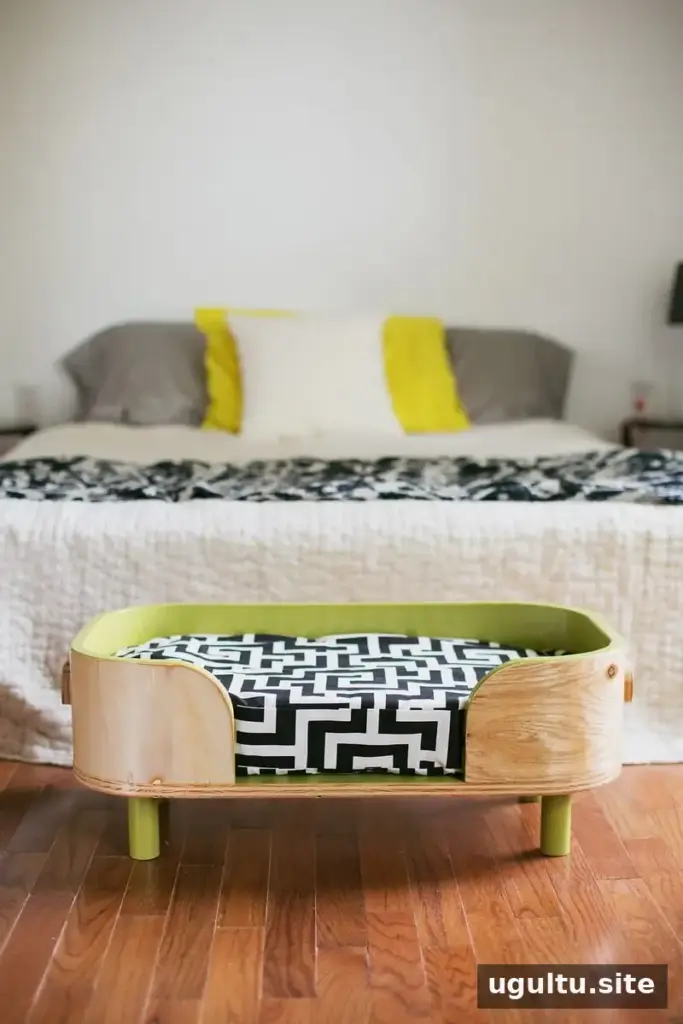
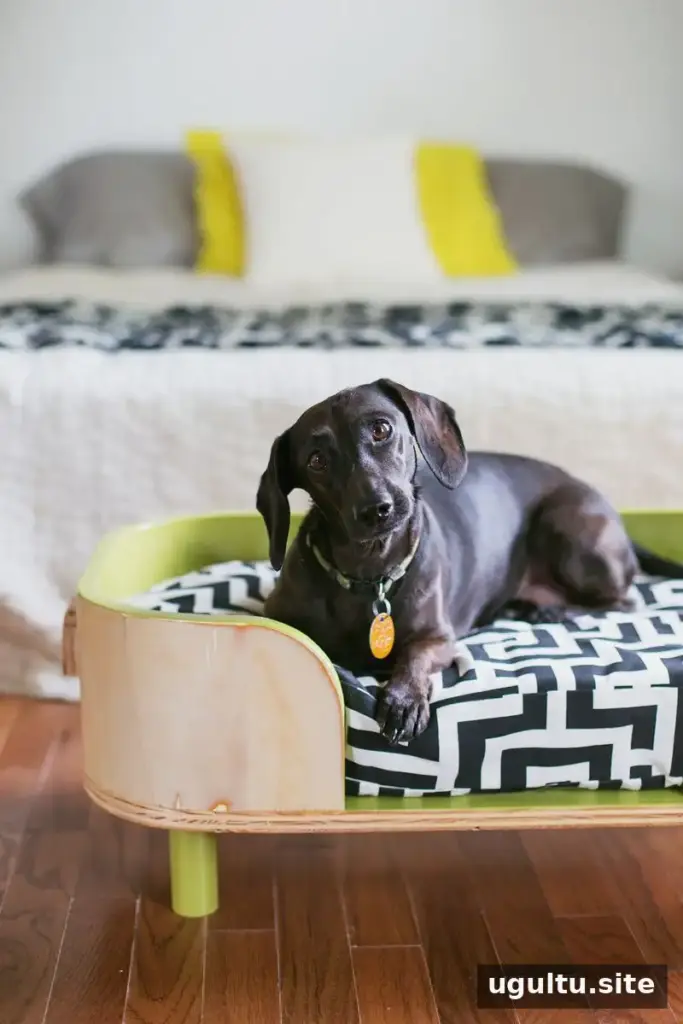
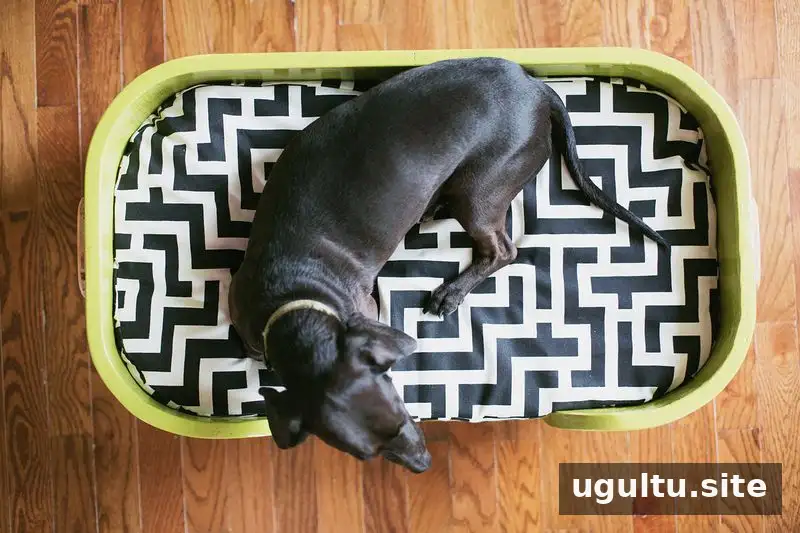
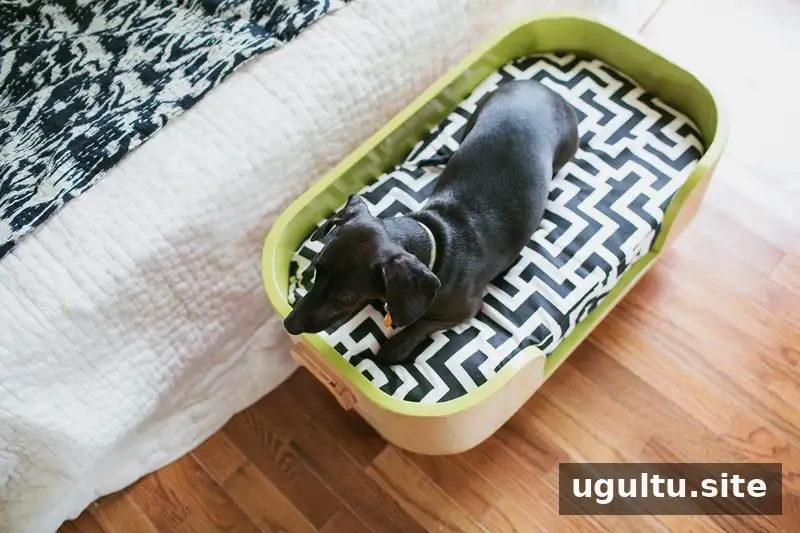
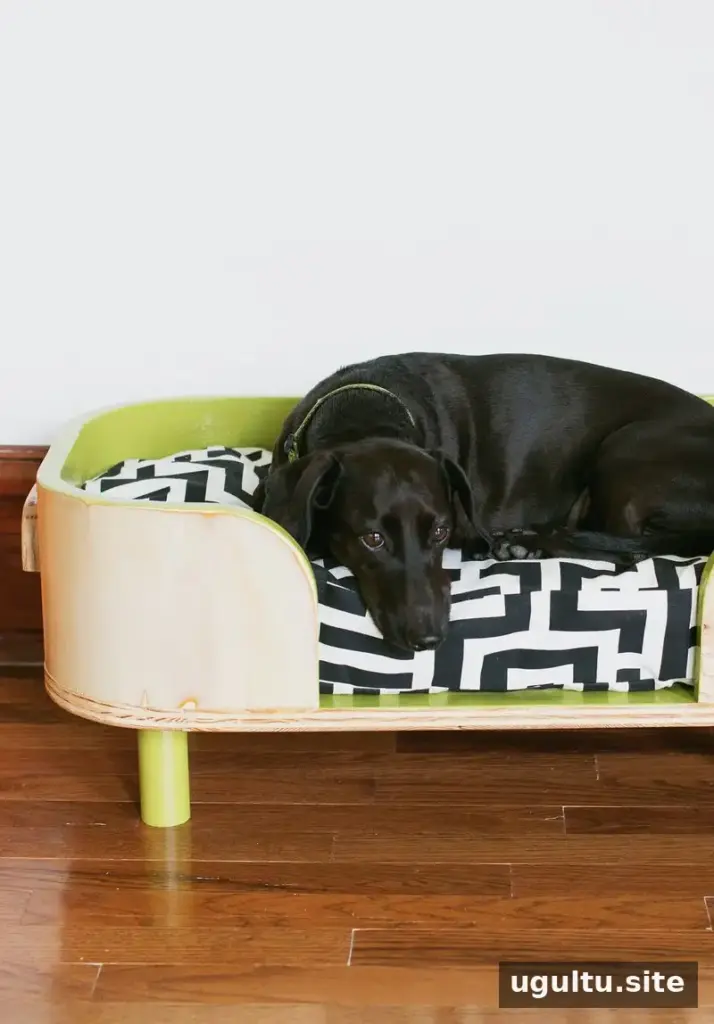
A DIY modern pet bed can be sized to suit your dog or cat and made with a curved plywood frame and a soft, removable-style cushion. This project uses kerfing—a woodworking method that makes plywood flexible—and is a practical way to create a distinctive bed from shop materials. The estimated cost is about $50, though the actual amount depends on the materials and supplies you already have.
Plan the bed around your pet’s size and sleeping posture rather than relying on a guessed measurement. The instructions below explain the general process, so you can adjust the dimensions to fit your space and animal.
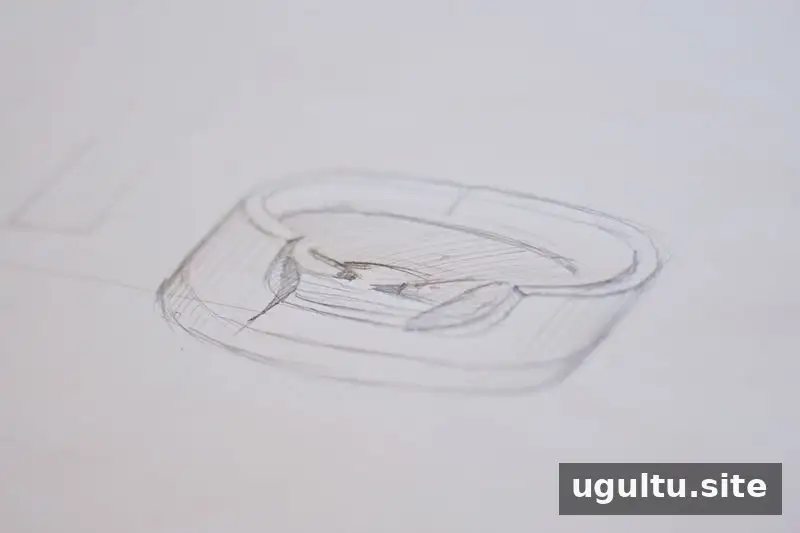
Materials and tools for a DIY modern pet bed
Gather the following supplies before you begin. Poplar plywood worked more easily for the curved wall than oak plywood; pine plywood was not suitable for this project because it snapped during bending.
- Poplar hardwood plywood
- 1–1 1/2-inch doweling (about one foot is needed)
- A couple of yards of heavier cloth
- Pillow stuffing or Poly-fil
- Wood filler
- Paint and/or stain
Tools used include a miter saw, table saw, drill, Kreg pocket hole jig, and sewing machine. Use appropriate eye and hearing protection, and follow the tool manufacturer’s safety instructions, especially when operating a table saw.
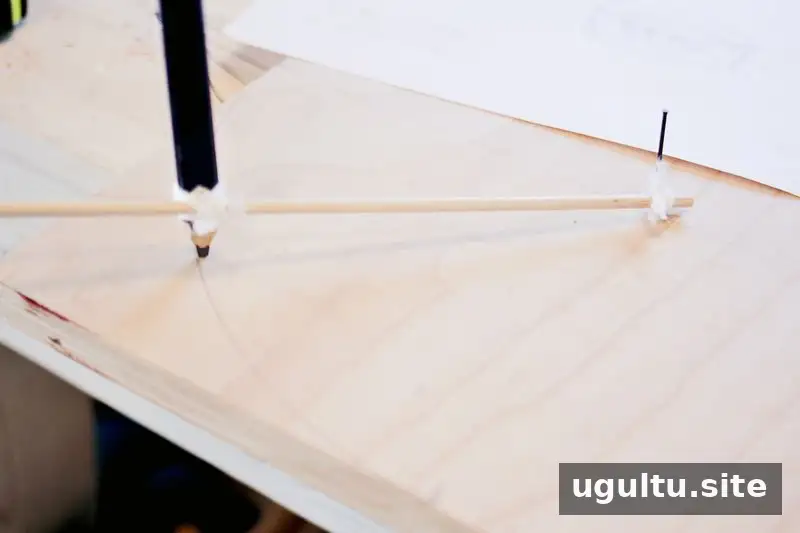
Step 1: Measure your pet and plan the frame
Measure your pet and consider how much room it needs to lie comfortably. Make the base large enough for your pet to stretch or turn around, while still fitting the intended spot in your home. Checking the dimensions before cutting can prevent having to remake the frame.
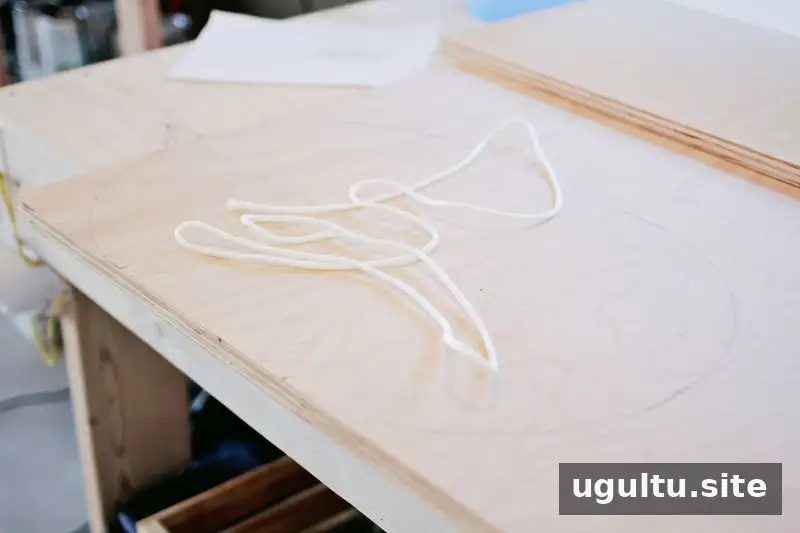
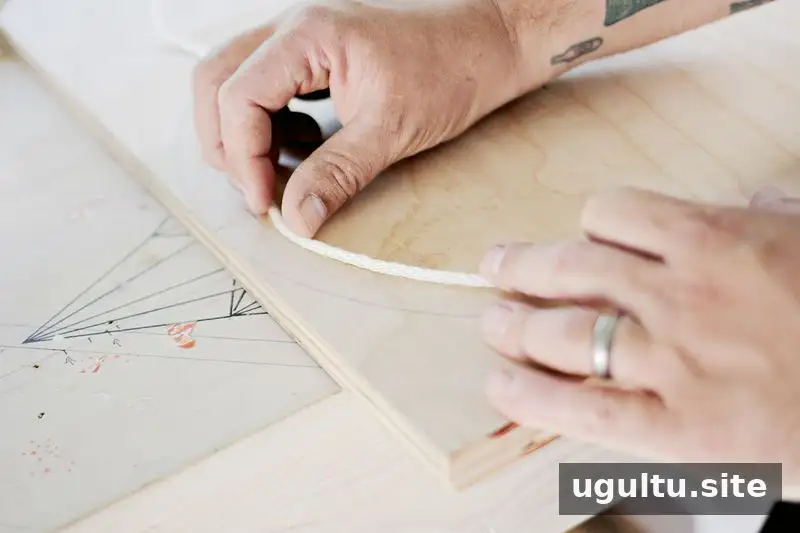
Before cutting the curved wall pieces, measure the perimeter of the base. A piece of rope or string can help: follow the edge in short sections, keeping the rope against the outline, then measure its total length. A stiffer rope can be easier to position. Decide on the wall height based on your pet’s size and access needs, then divide the perimeter into two sections for the two wall pieces.
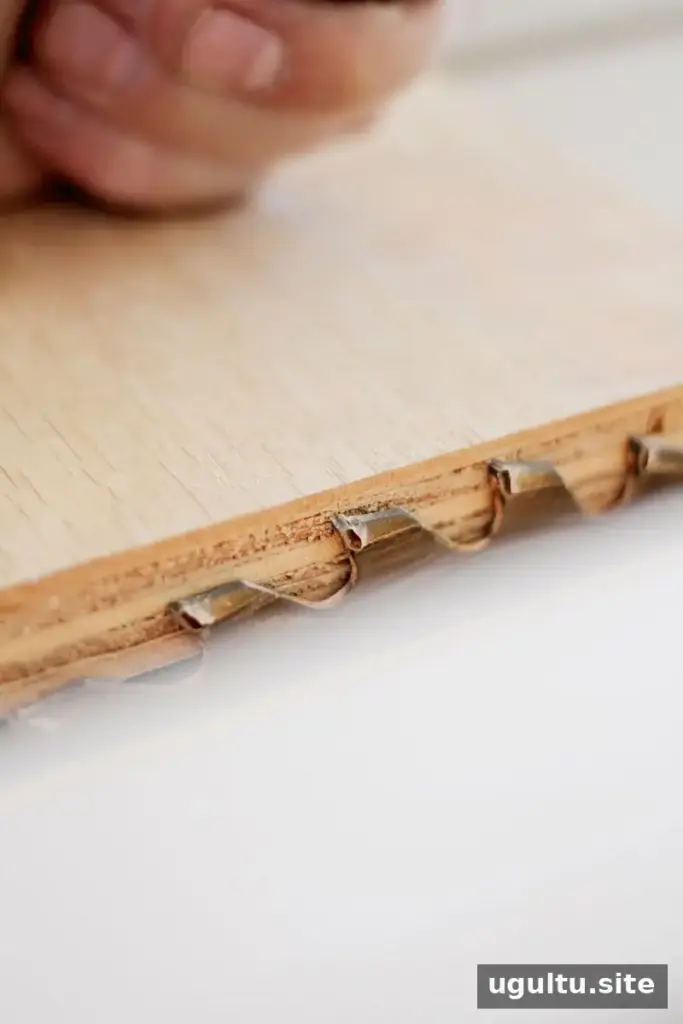
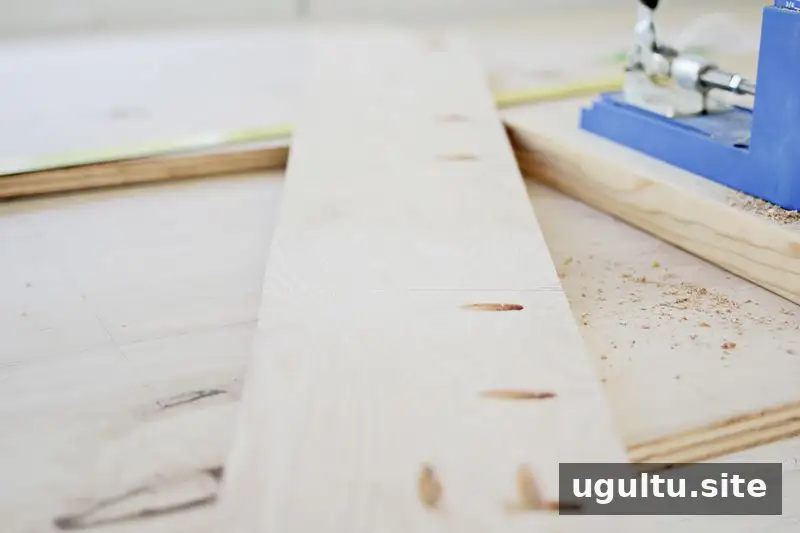
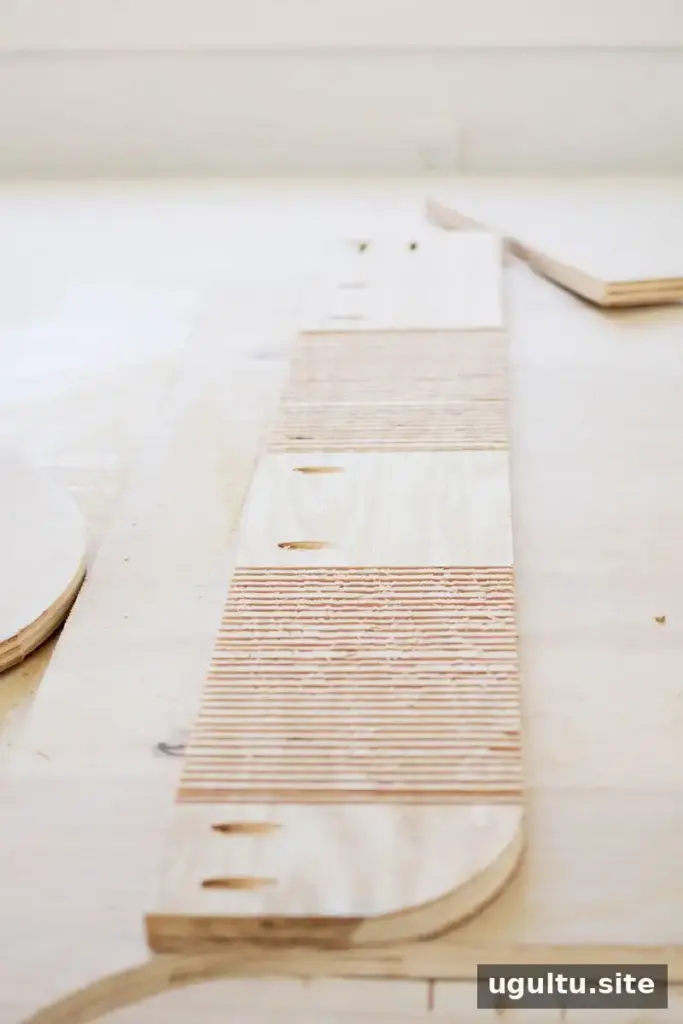
Step 2: Kerf the plywood wall sections
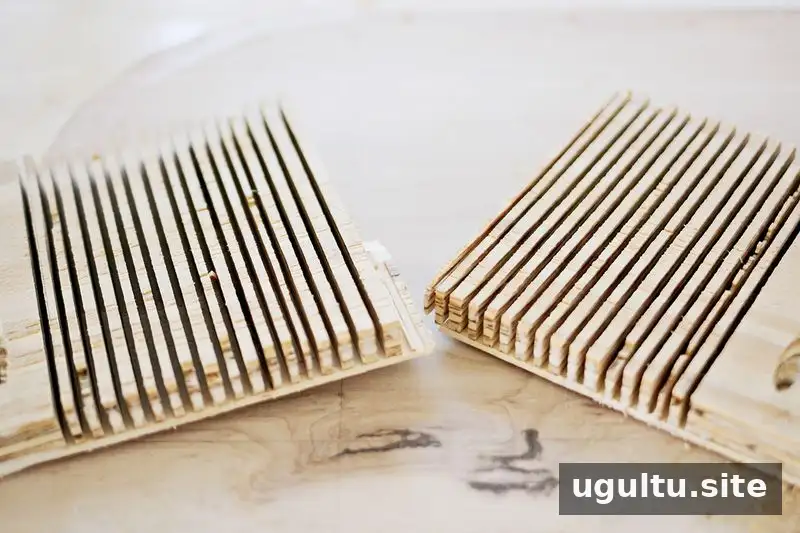
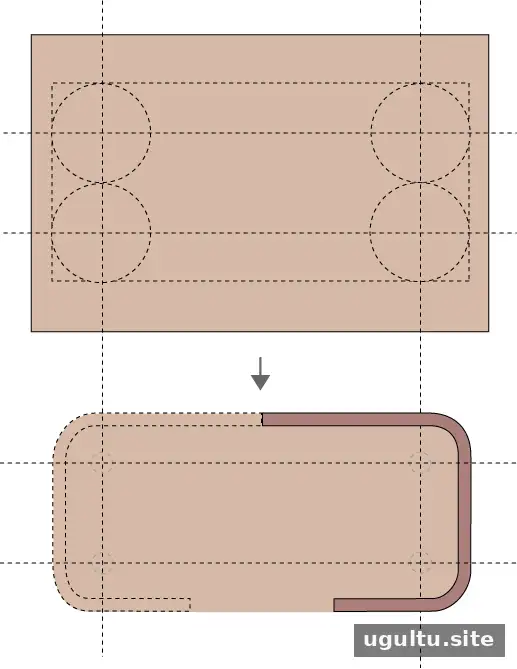
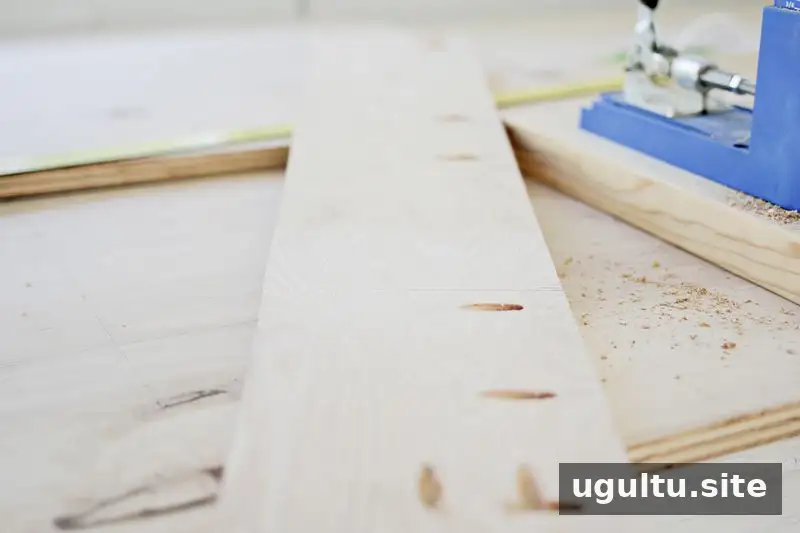
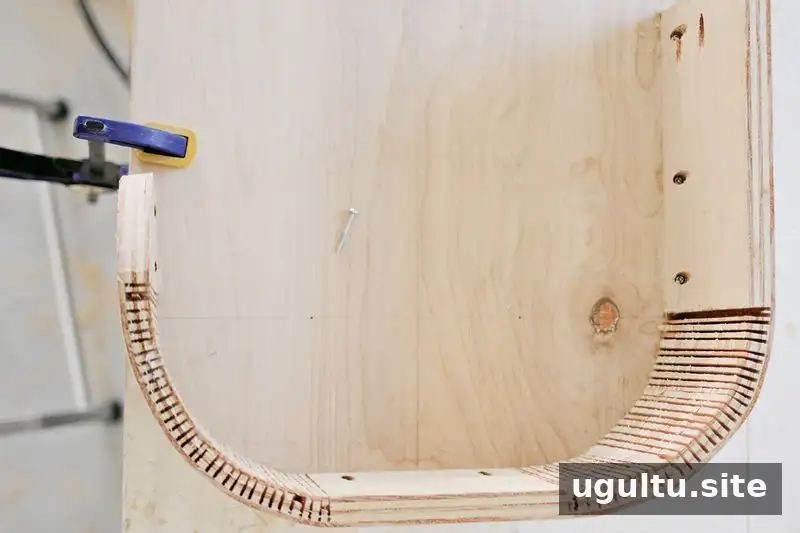
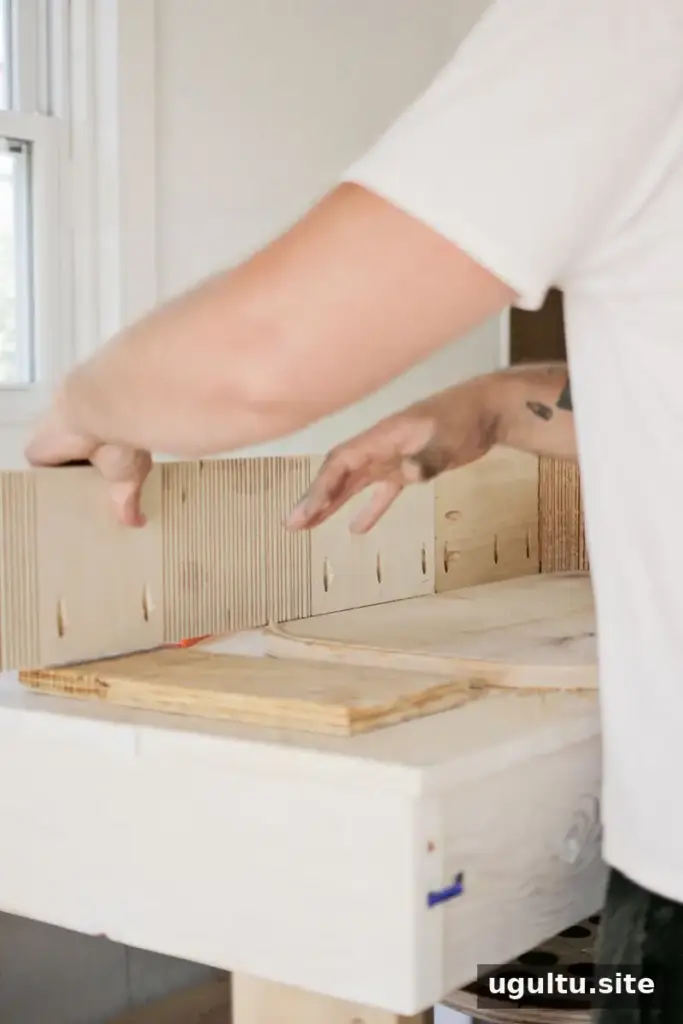
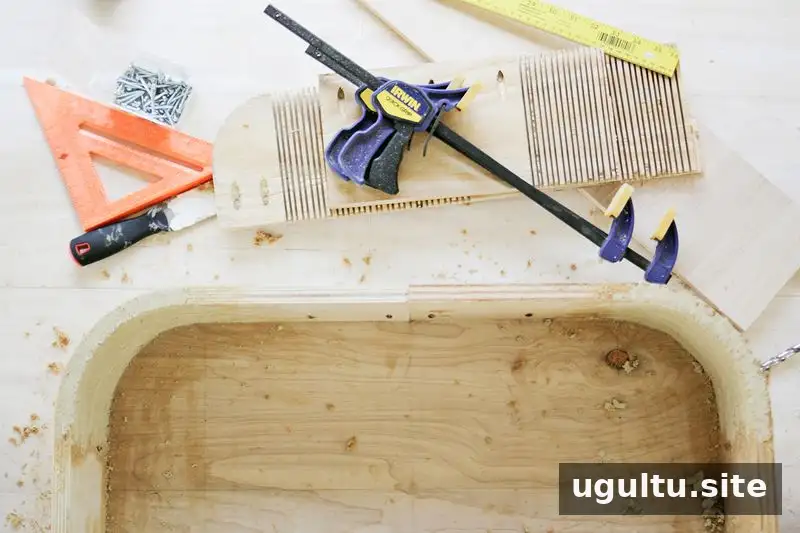
Kerfing means cutting a series of narrow slits into wood so it can bend. Cut the two plywood sections to the planned length and height, and round one corner to create the entrance side. Use the base outline as a guide for locating the curved sections. Leave about 1/4 inch before and after each curve, and drill pocket holes along the straight sections.
Set the table saw blade depth so about 1/8 to 3/16 inch of wood remains—approximately one plywood layer. Make the kerfs about 1/4 inch apart. Test the approach on a small offcut first, if available, and make sure the remaining layer is not cut through. Poplar plywood bent more readily in this project than oak, while pine plywood broke during the attempt.
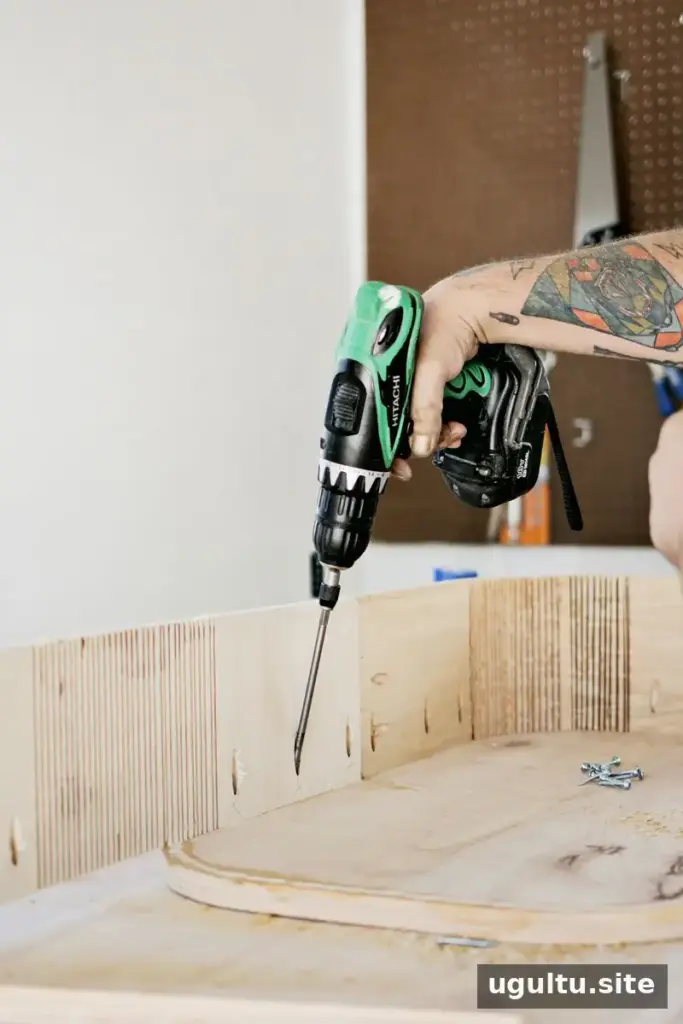
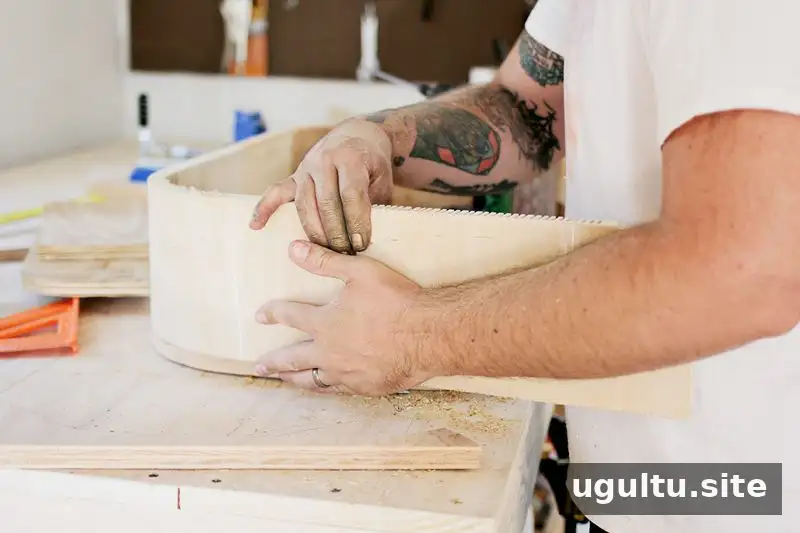
Step 3: Attach and bend the walls
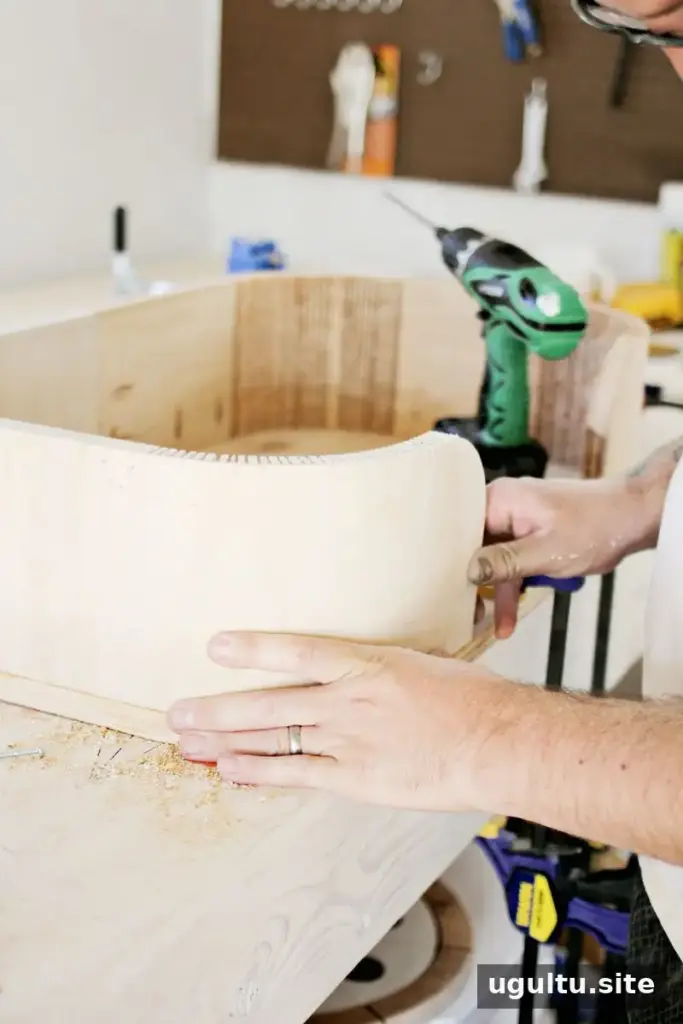
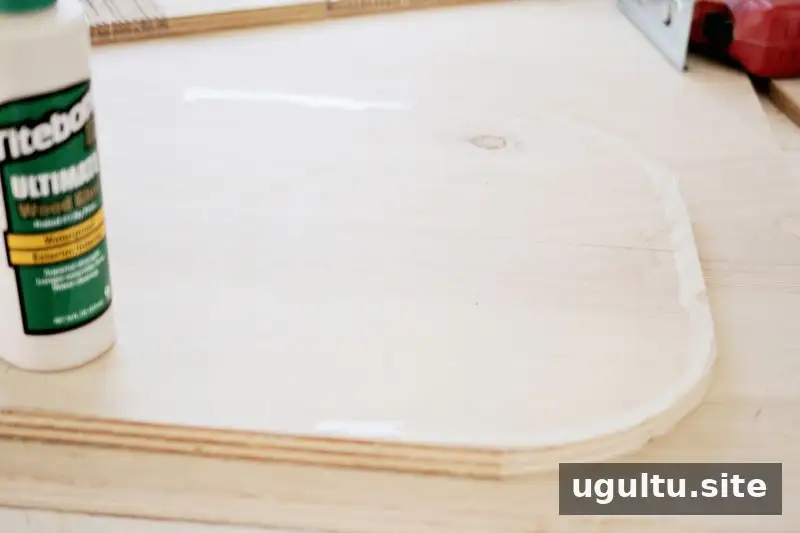
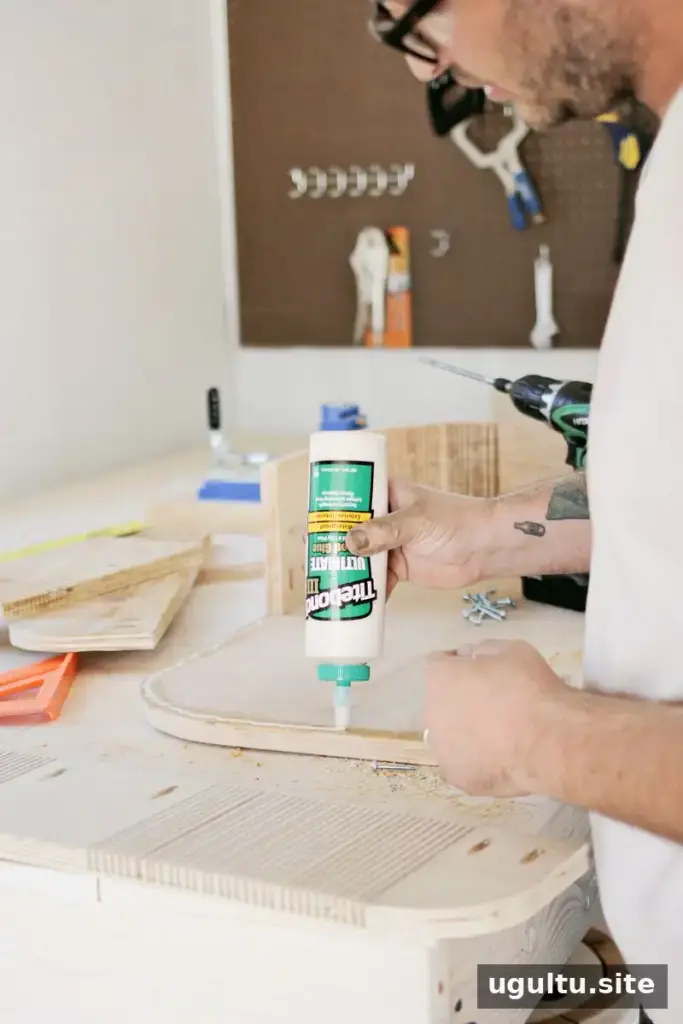
This stage requires patience because the kerfed plywood can still break if it is bent too quickly. Apply glue at the starting point and screw one end of the wall to the base. Starting at the back can help center the frame, leaving more flexibility for positioning the entrance at the front.
Slowly bend the plywood around the base, fastening the straight sections as you reach them. Repeat with the second section. If the wood resists, avoid forcing it; gradual pressure helps reduce the risk of snapping the wall.
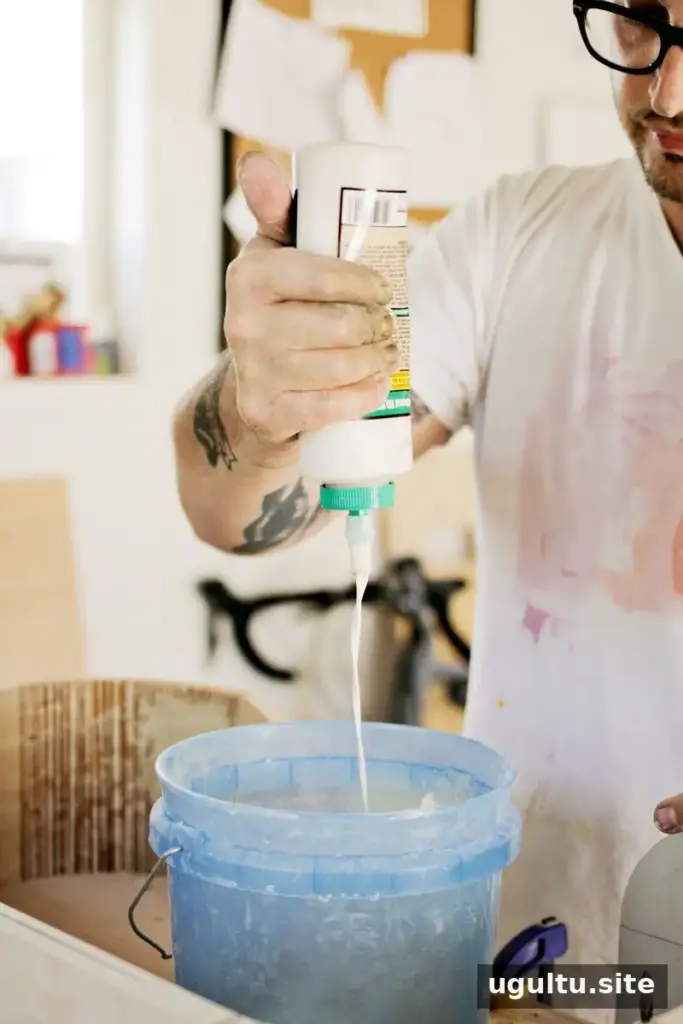
Step 4: Fill the kerfs and sand the frame
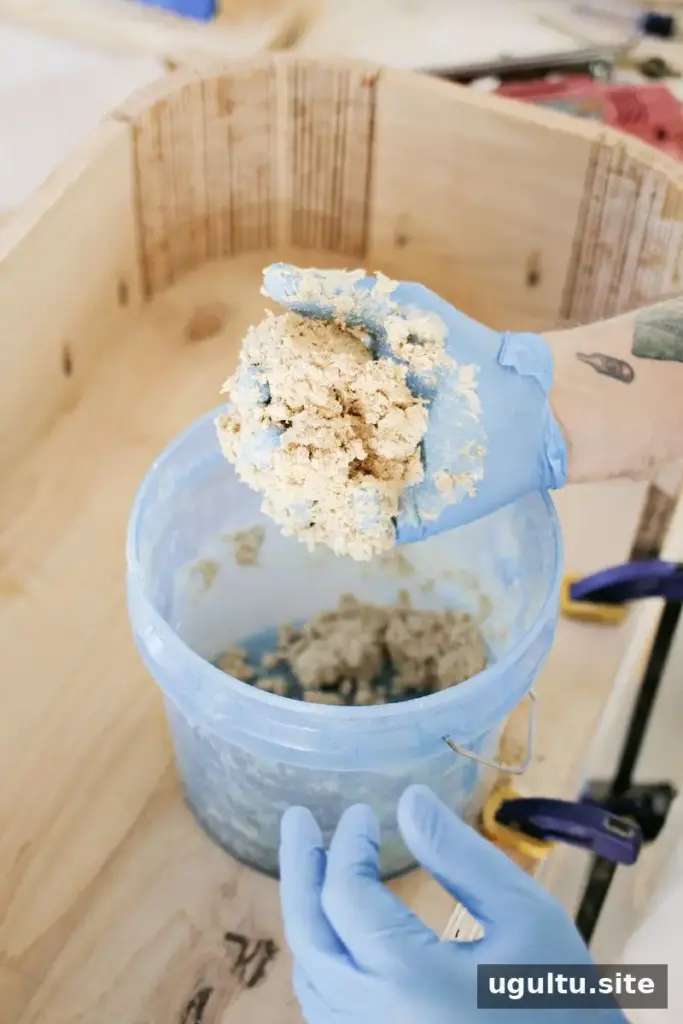
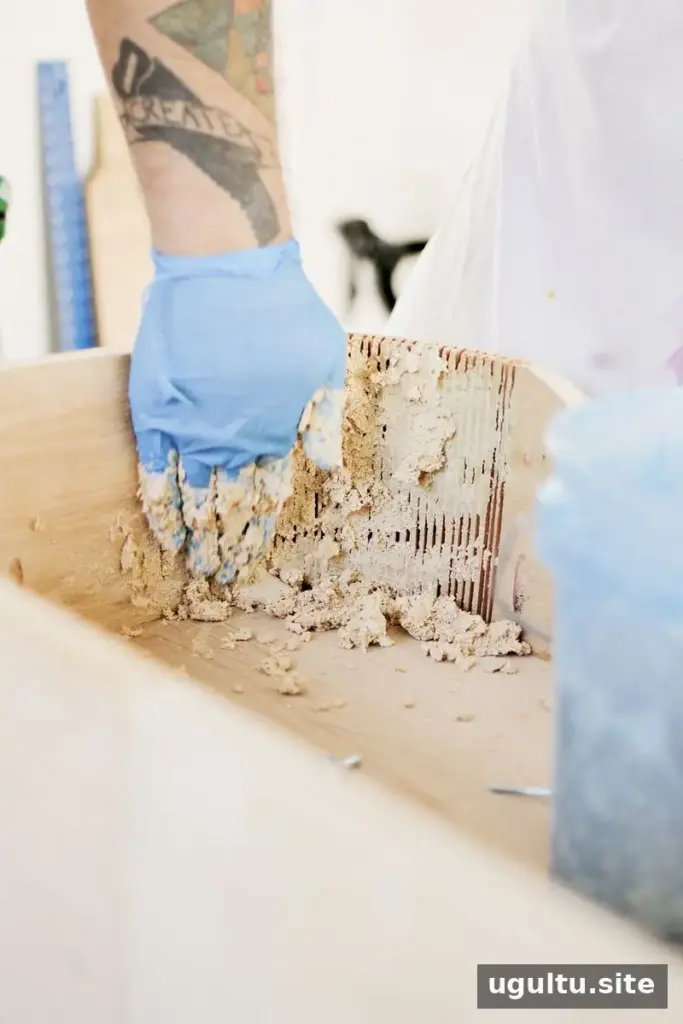
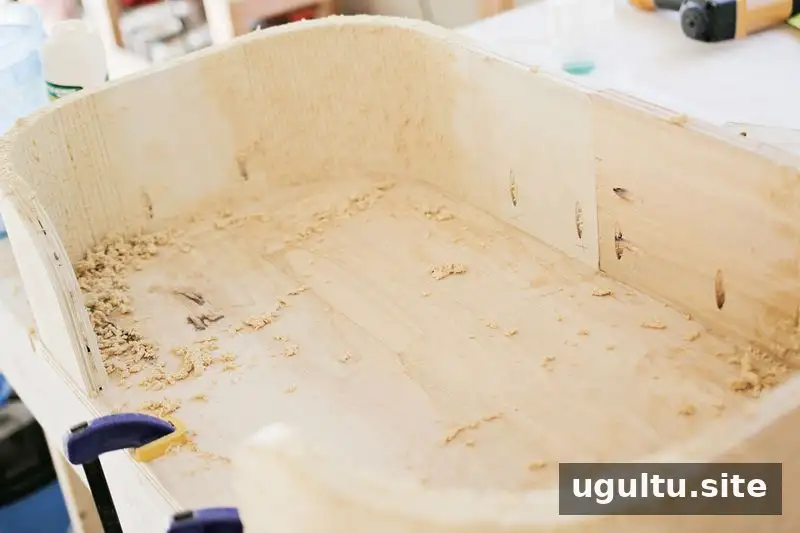
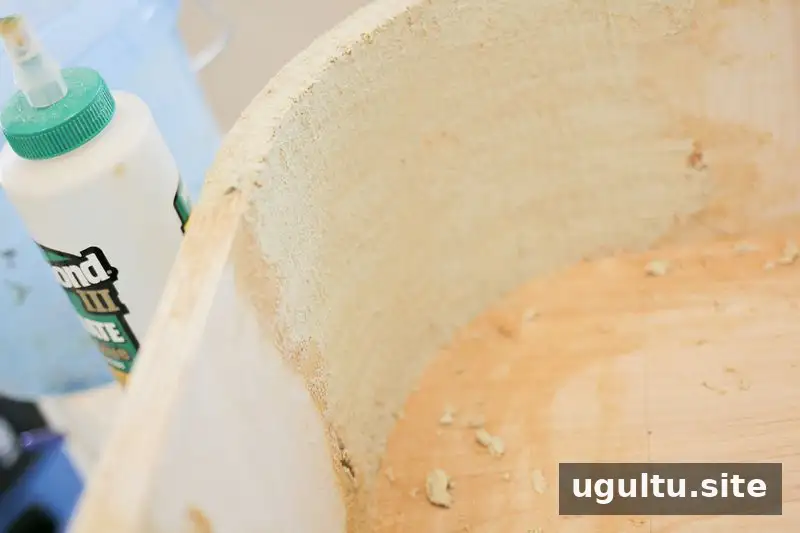
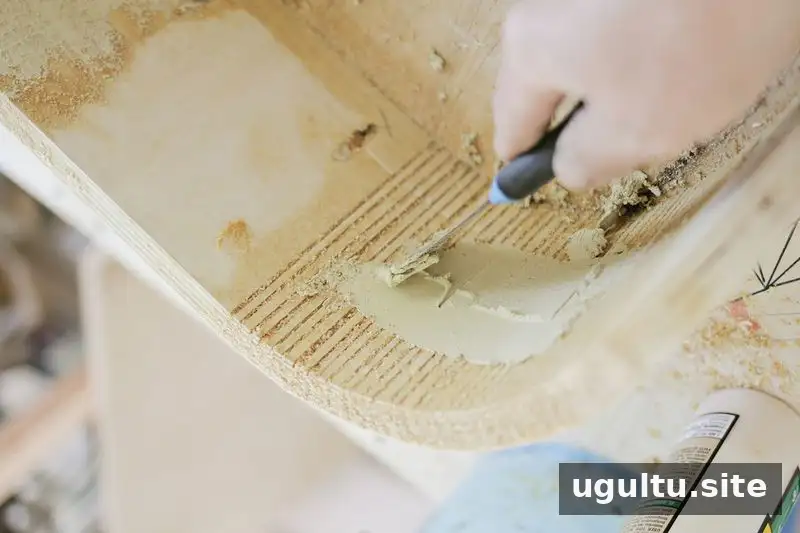
Once the walls are secured, fill the kerfs. One option is a mixture of sawdust and wood glue, combined to a putty-like consistency. Apply it to the openings with a putty knife, aiming for an even surface. Allow the mixture to dry overnight, then sand it.
Apply wood filler where needed to smooth the surface further. After it dries, sand again, moving from coarse grit to finer grit. Take care to remove loose dust before applying a finish, and follow the product instructions for drying and ventilation.
Step 5: Add feet and finish the wood
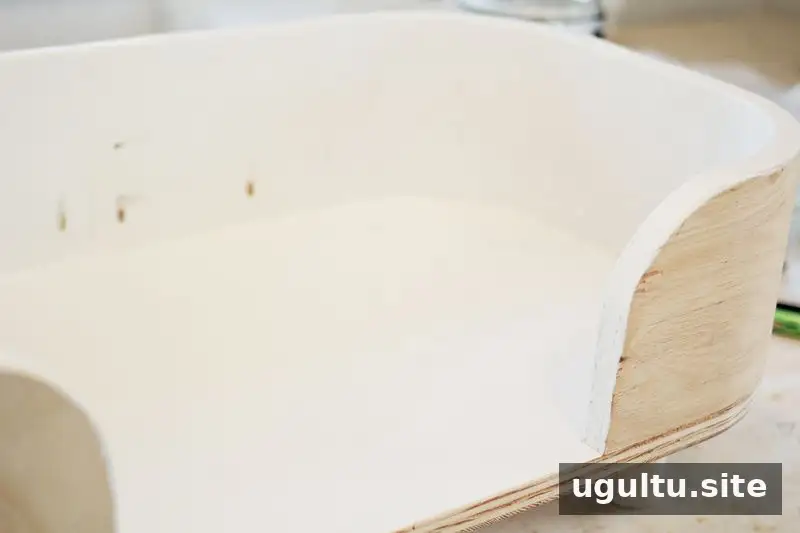
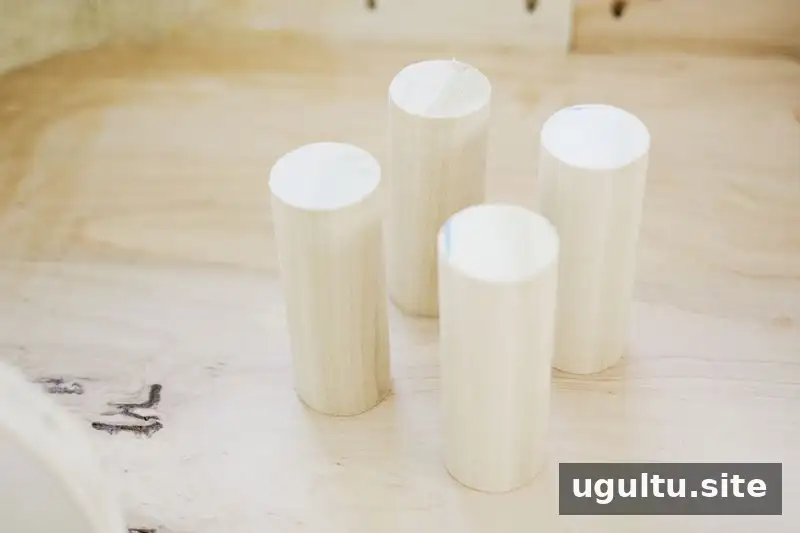
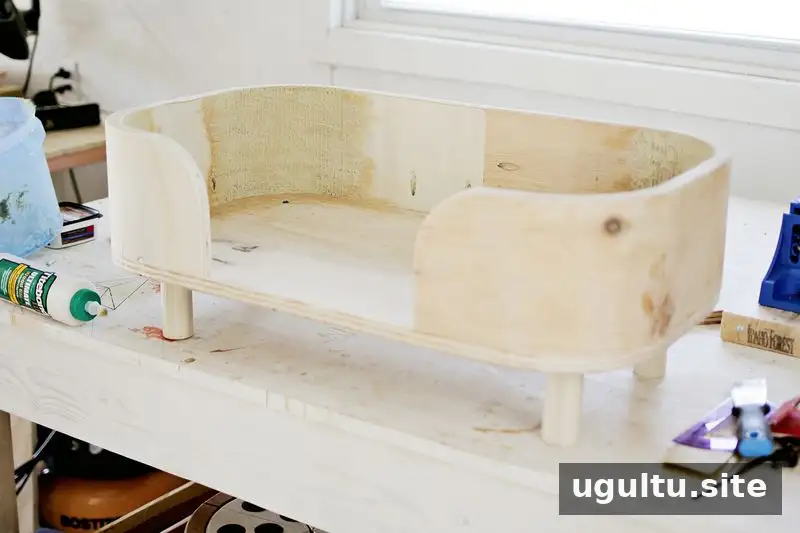
Cut four pieces of doweling and screw them to the underside of the bed to create feet. This detail is optional, so the bed can also be left without them. Paint, stain, or otherwise finish the frame according to the product directions. Let the finish dry and cure fully before allowing your pet to use the bed.
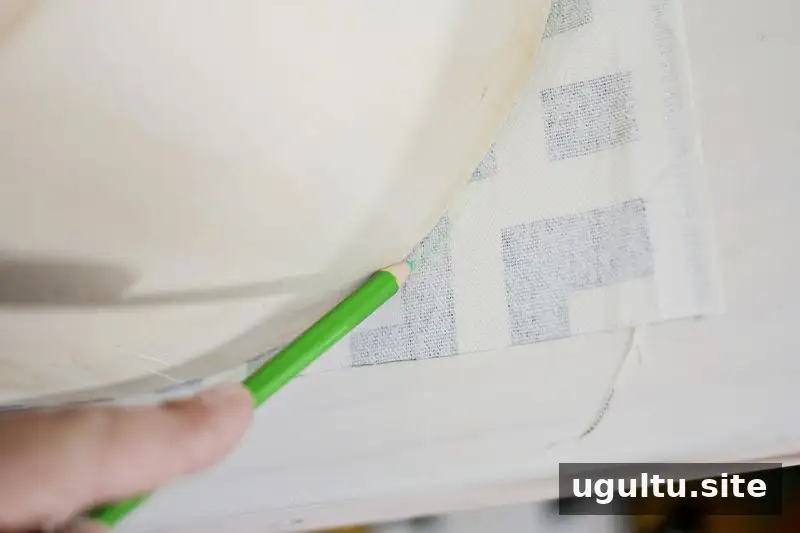
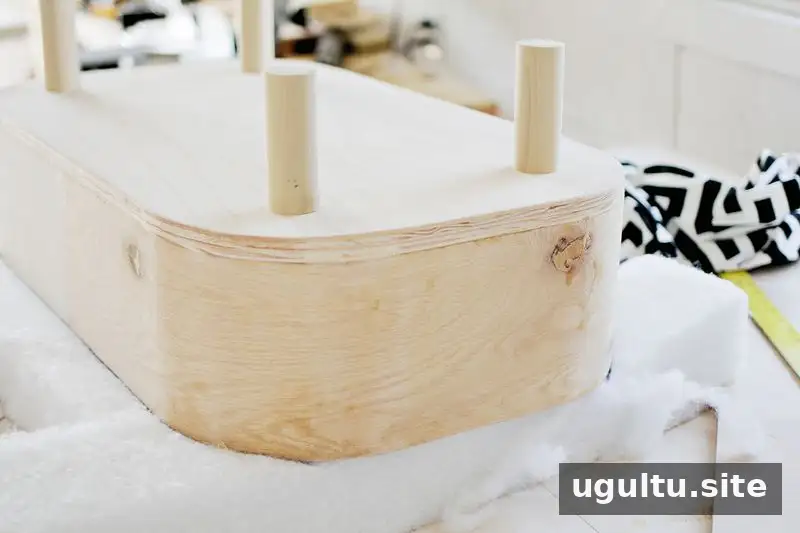
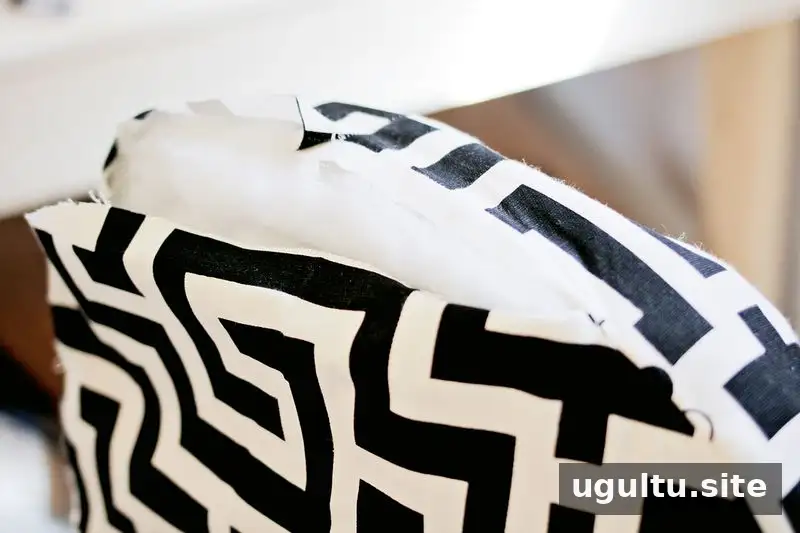
Make a cushion for the pet bed
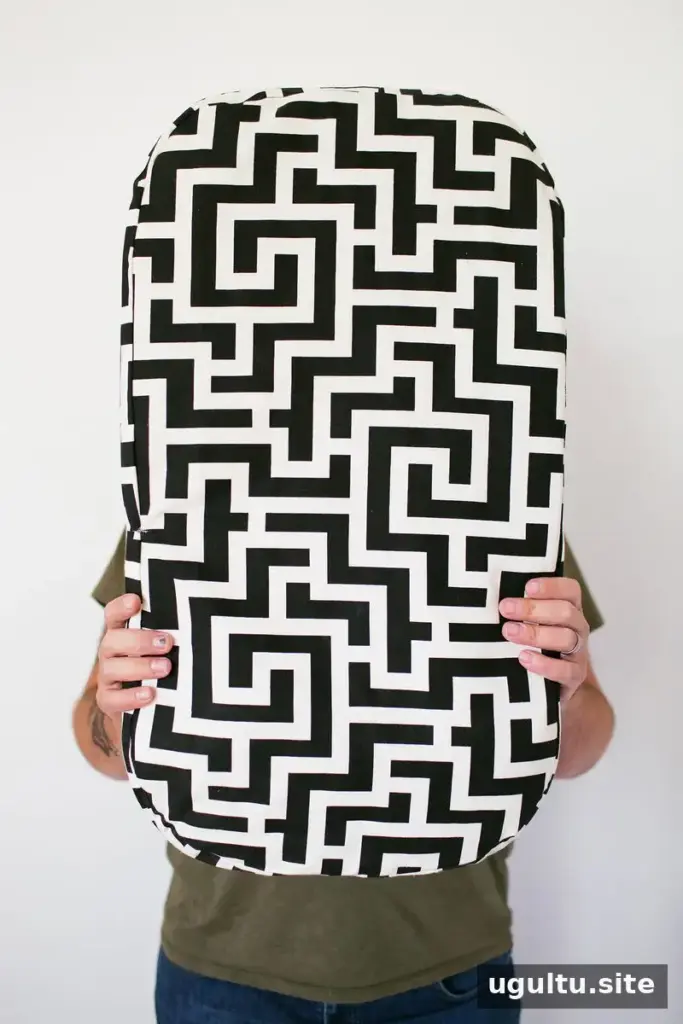
Use the heavier cloth and pillow stuffing or Poly-fil to make a cushion that fits inside the frame. Since sewing methods vary, follow a suitable pattern or sewing-machine instructions for the fabric you choose. A snug fit helps keep the cushion in place, but leave enough room to remove it for cleaning if you want easier care.
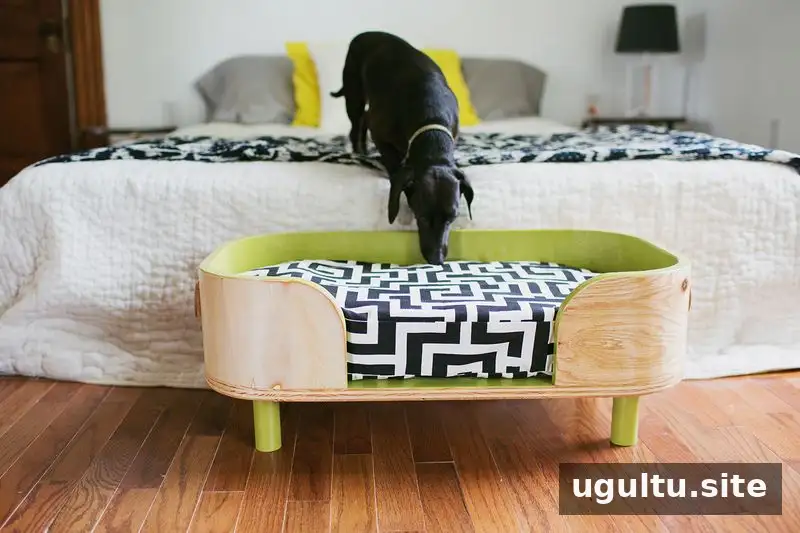
The finished bed combines a shaped plywood frame with a custom soft cushion. Before use, check that the frame is stable, screws are secure, and there are no sharp edges or loose pieces. Kerfing is manageable with careful measuring and a table saw, but it requires attention to blade depth and safe handling.
Conclusion: Make a DIY modern pet bed to fit your pet
A DIY modern pet bed can be customized to your pet’s size, your preferred finish, and the available materials. Measure before cutting, choose plywood that can bend without breaking, and work slowly when shaping the walls. With a well-finished frame and a comfortable cushion, the result is a practical handmade place for your pet to rest.