
 admin
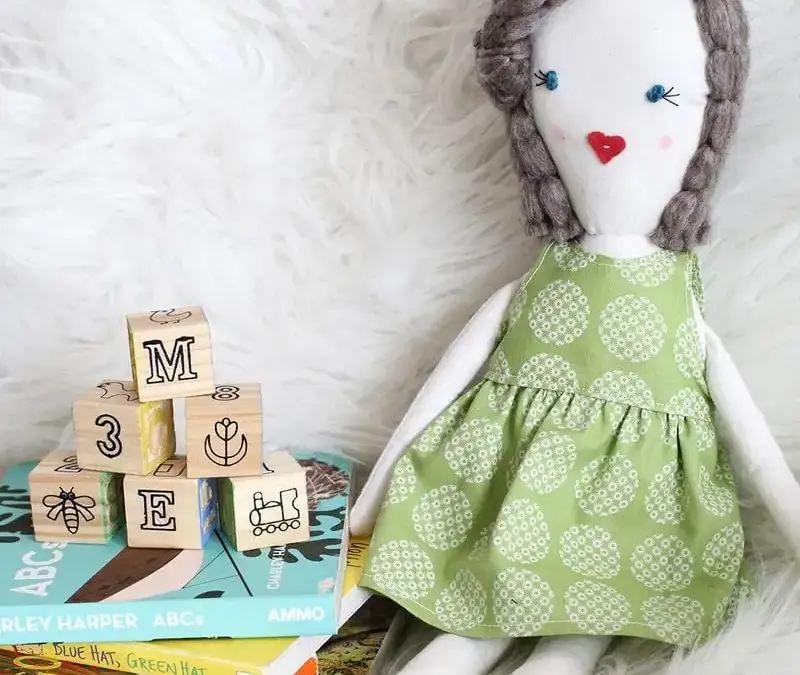
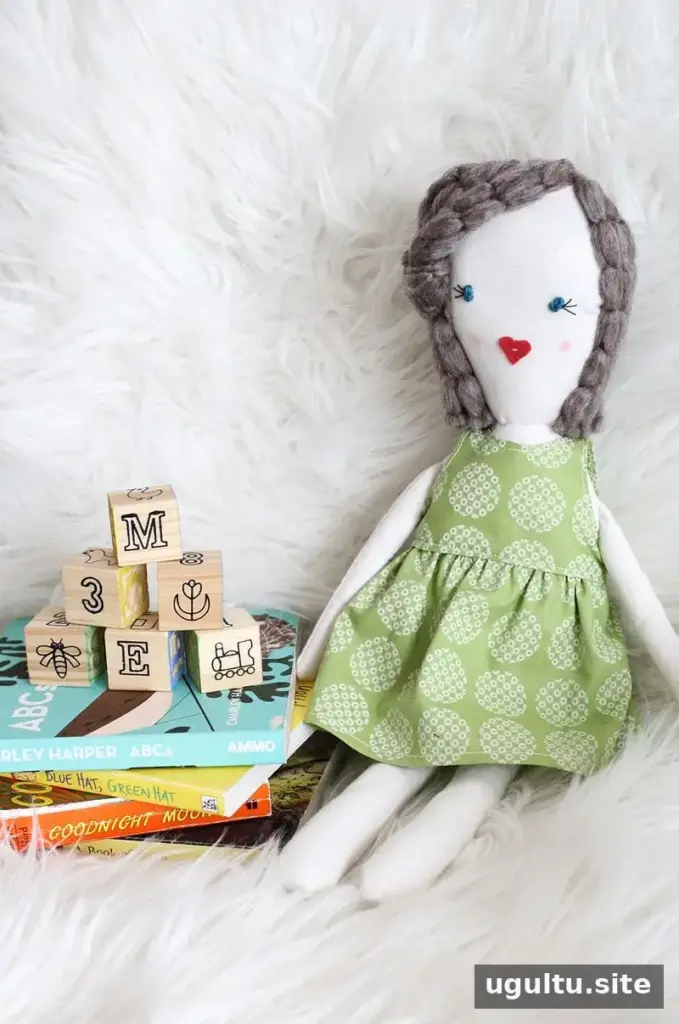
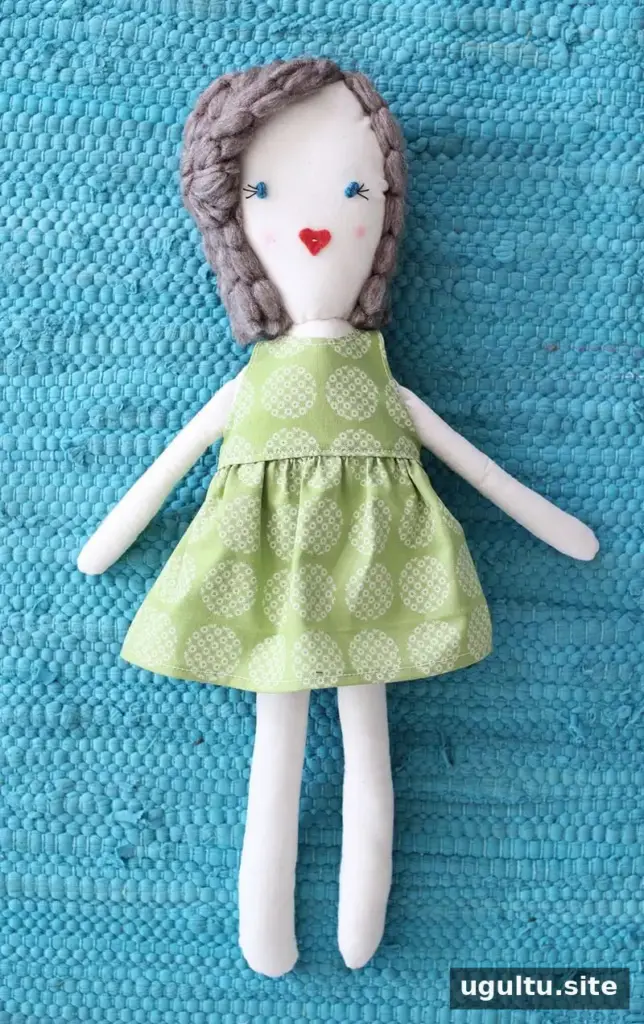
Learning how to make a rag doll is a rewarding sewing project that turns simple fabric and yarn into a handmade toy. This traditional-style doll has a soft stuffed body, yarn hair, a fabric face, and a removable dress. Gather the materials before you begin, then work through the steps in order; taking extra care with small curved seams can make assembly easier.
Materials for a handmade rag doll
- Muslin or medium-weight cotton fabric for the doll
- Fusible interfacing, if desired
- Patterned cotton fabric for the dress
- Polyfill or another suitable stuffing
- Yarn for the hair and facial details
- Buttons
- A small felt scrap
- Craft glue or fabric glue
- Needle and thread
- A printable rag doll pattern, body pattern, and dress pattern
Check that you have all pattern pieces and materials ready before cutting. If using interfacing, apply it to the fabric pieces that need extra support before sewing.
How to make a rag doll: sewing the body
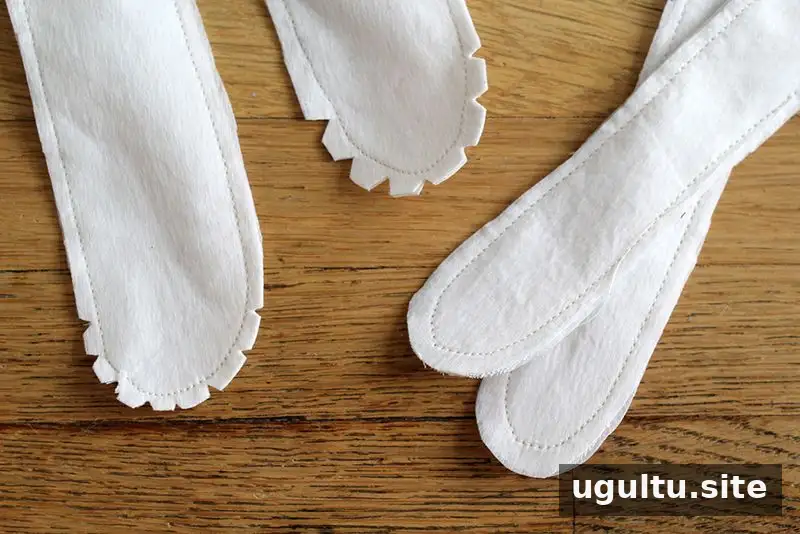
1. Prepare and sew the limbs
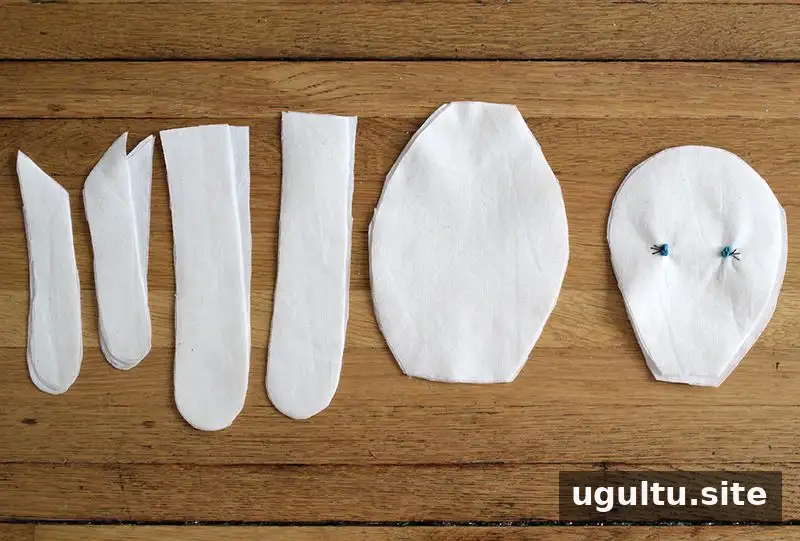
Print the pattern and cut out the required pieces. If you are adding fusible interfacing, iron it onto the appropriate fabric pieces according to the interfacing instructions. With the arm and leg pieces placed right sides together, sew around their edges. Carefully clip the curves, taking care not to cut through the stitching; this helps the sewn shapes turn more smoothly.
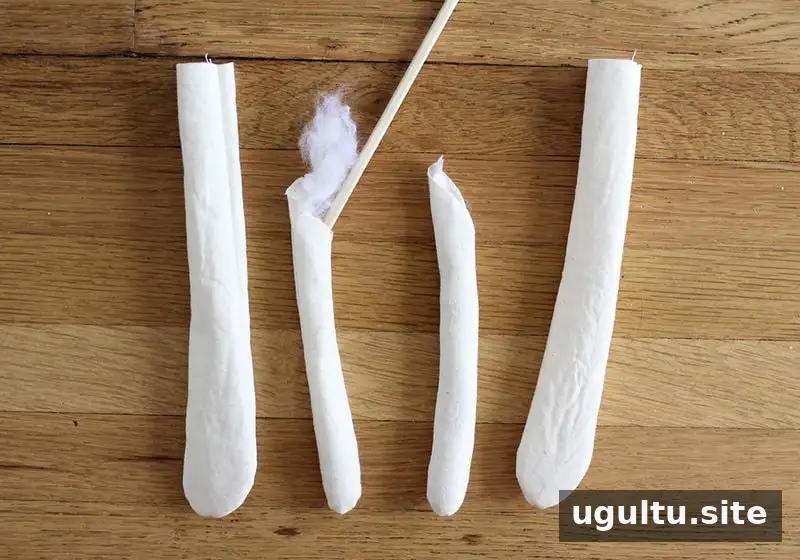
2. Turn and stuff the arms and legs
Turn each limb right side out and fill it with stuffing. Aim for a firm but flexible feel so the arms and legs can still bend. Distribute the stuffing evenly rather than packing it too tightly in one spot.
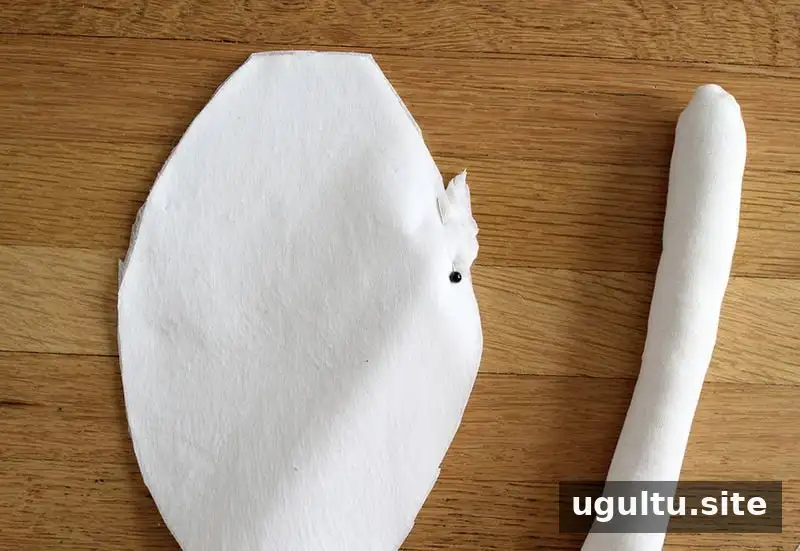
3. Attach the limbs and stuff the body
Place the two body pieces right sides together. Position the open ends of the arms and legs between the body layers, with the limbs pointing inward. Pin them in place, keeping their attachment points aligned with the body seams. Sew around the body from one shoulder to the other, leaving the neck open. Stitch the limbs into the seam only at their joining points, and check that none of the rest of each limb is caught in the seam.
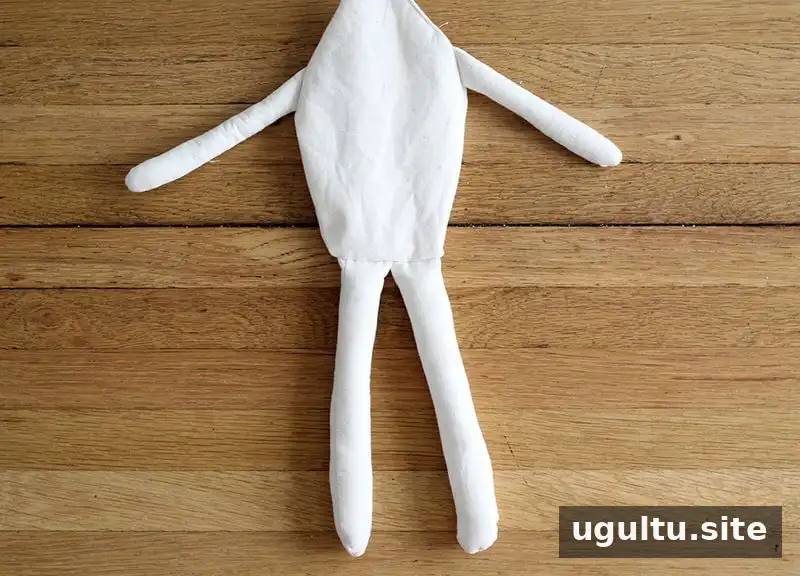
Turn the body right side out through the neck opening and add stuffing. Fill it evenly, paying attention to the shape of the torso.
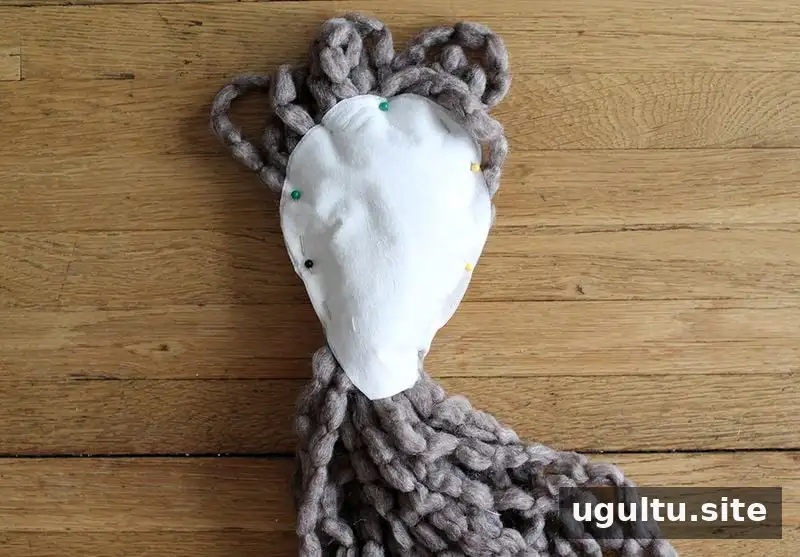
4. Make the face and sew the head
Embroider the face before closing the head. For the example shown, yarn and two French knots make the eyes, while a heart cut from felt forms the mouth. Position facial details securely and neatly; if the doll is intended for a young child, embroidered features are a safer choice than small pieces that could come loose.
With the face finished, place the head pieces right sides together so the face is hidden inside. Pin yarn along the top edge to create the hair, arranging it inside the fabric layers so it is caught by the seam. Sew around the head, leaving the neck open. Go slowly around the curves and check that the yarn stays in position.
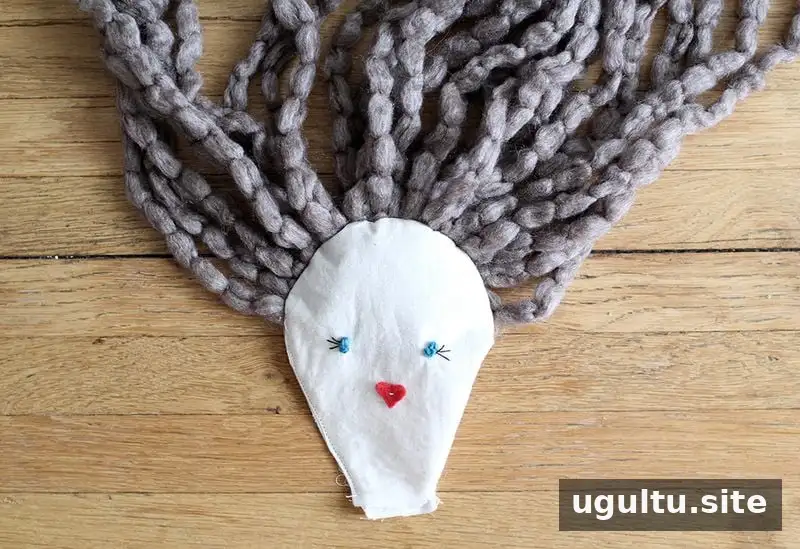
5. Stuff and attach the head
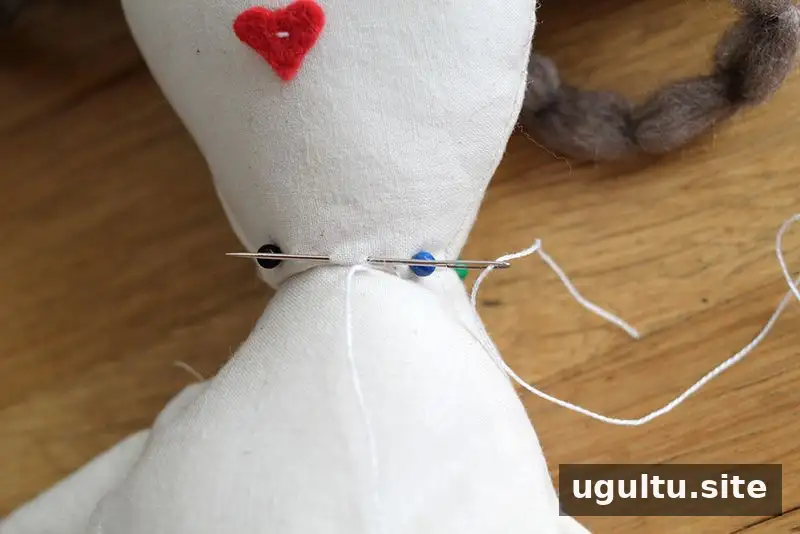
Turn the head right side out and stuff it. Join the head to the body with a blind stitch. Add enough stuffing around both the neck and its joining point to help support the head, but keep the seam secure and even.
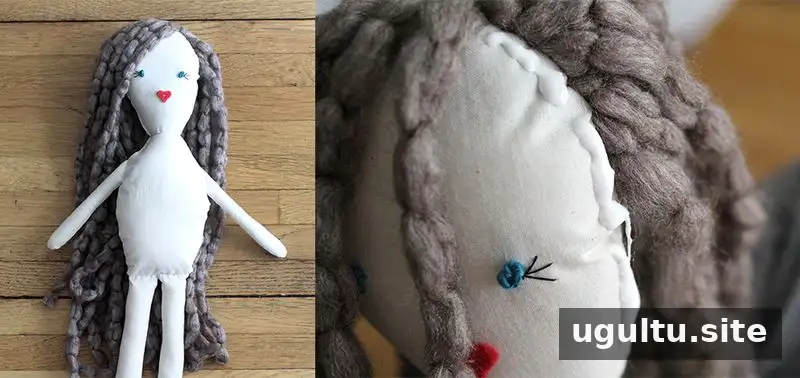
Sew a simple dress for the rag doll
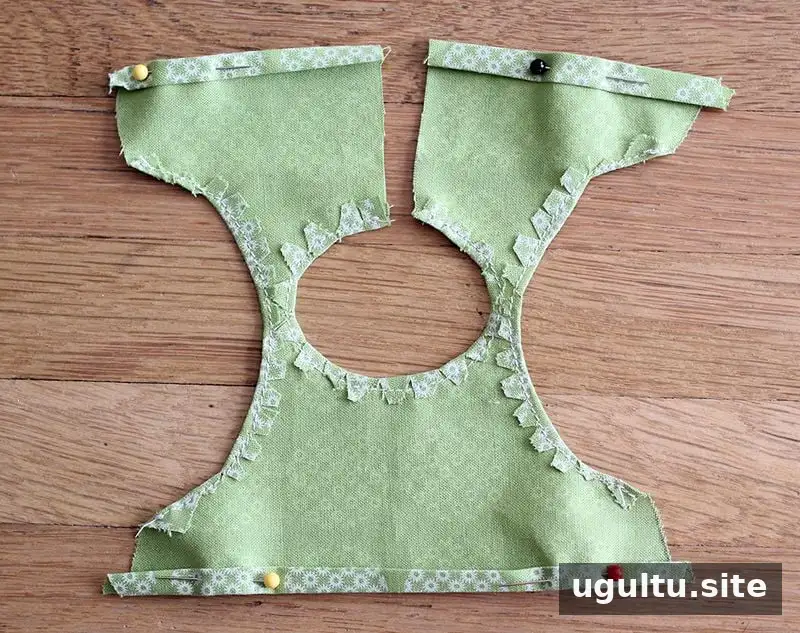
Once the doll is assembled, you can attach the yarn hair to the head with craft glue or fabric glue if needed. This step is optional. For a dress, print and cut the top pattern piece. Cut the skirt from a rectangle measuring 8" x 20".
Clip the fabric around the neckline and armholes as indicated by the pattern, then turn and press the edges before stitching them down. Since the dress is unlined, finish the raw edges with fabric-safe fray control or tacky glue, if appropriate for your materials. Hem the lower edge of the skirt rectangle as well.
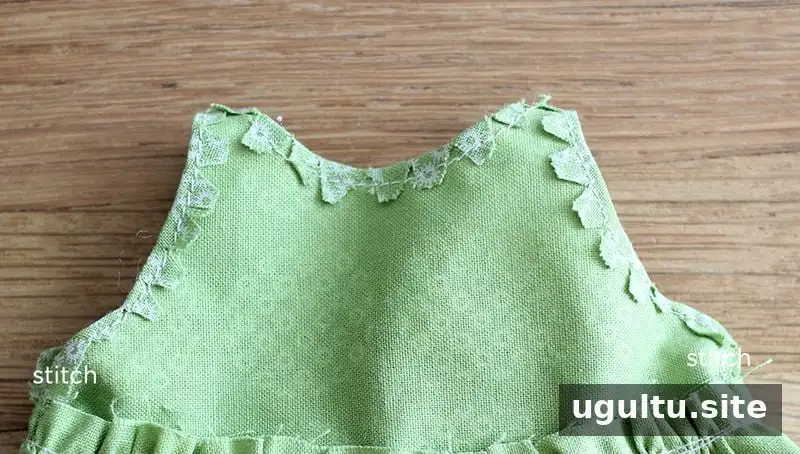
Fold the dress top in half and sew the side edges together where marked on the pattern or illustration. Hem the edges of the opening at the back of the top so they are finished neatly.
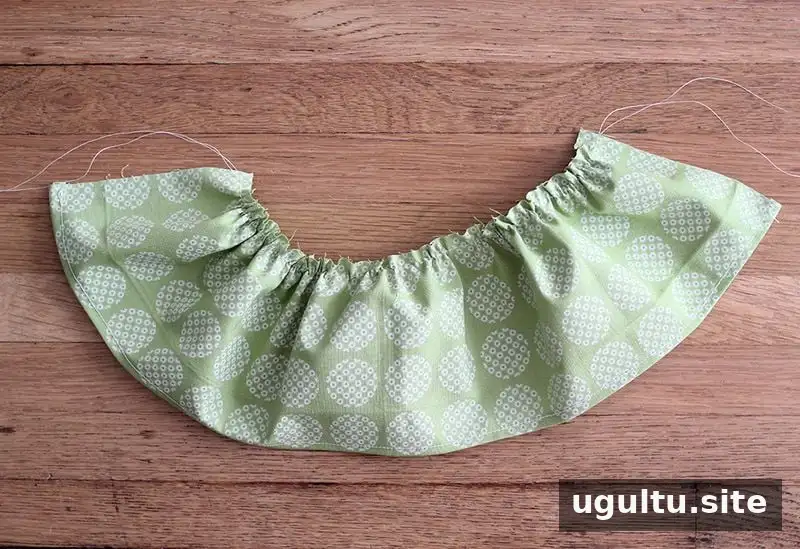
Hem the bottom of the 8" x 20" skirt rectangle. Sew a basting stitch along its top edge, then gently pull the thread to gather the fabric until the skirt fits the top. Work gradually to avoid snapping the thread, and tie off the ends when the gathers are even. Sew the skirt to the top.
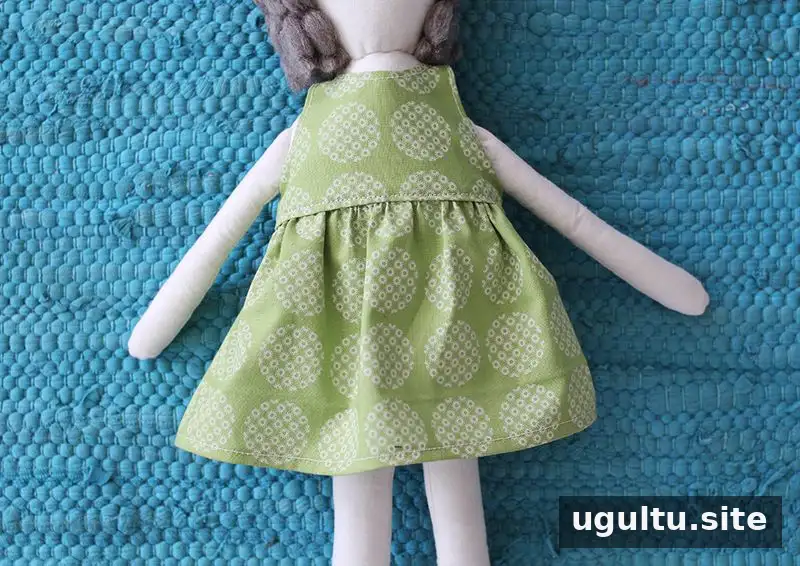
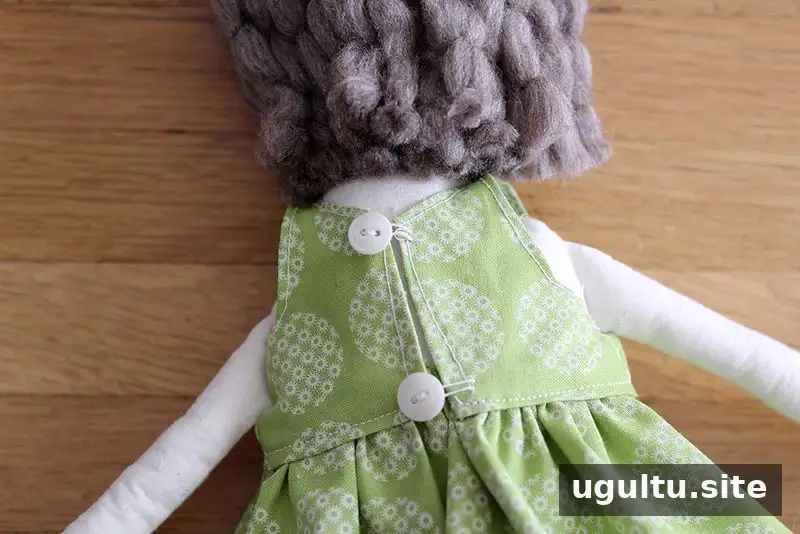
Finish the back with loops and buttons. For a doll intended for a baby or toddler, skip the buttons because small parts can pose a choking risk. A zipper or hook-and-loop fastening can be used instead, or the dress can be sewn closed if it does not need to be removed.
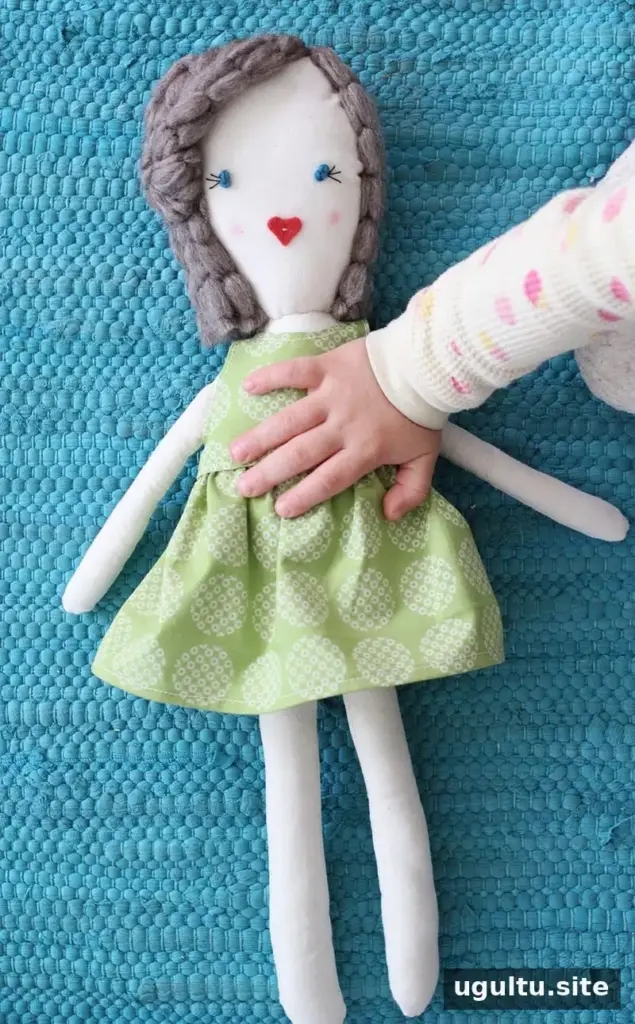
Finishing touches and customization
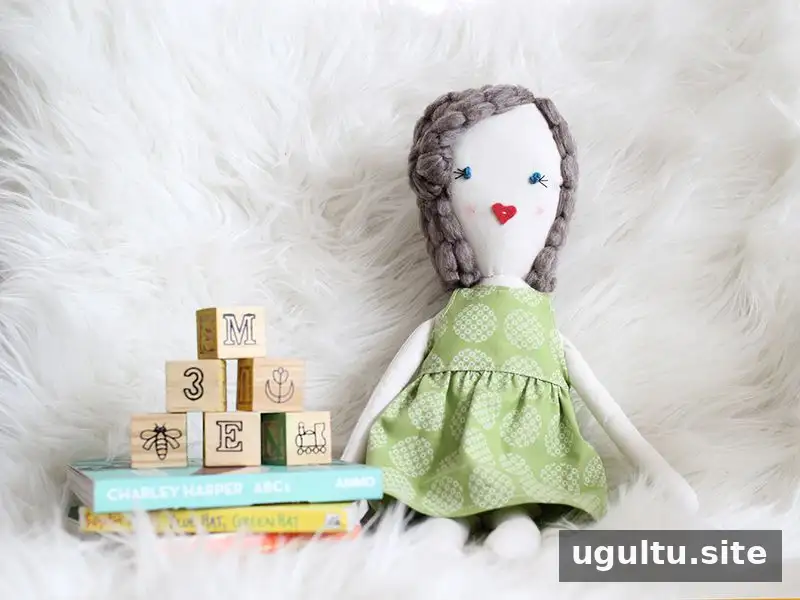
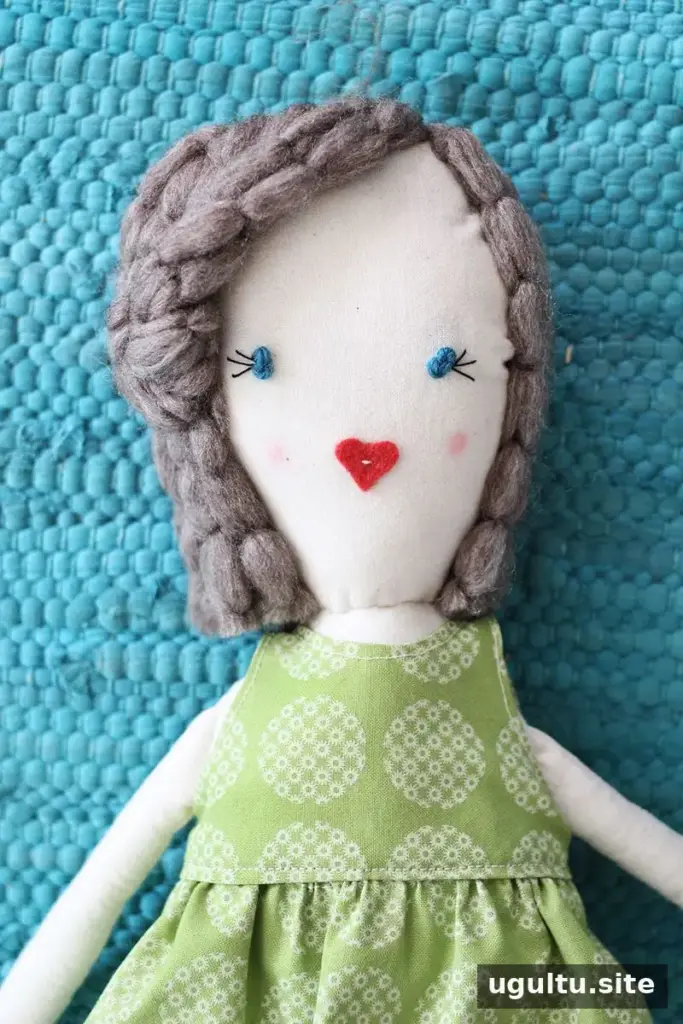
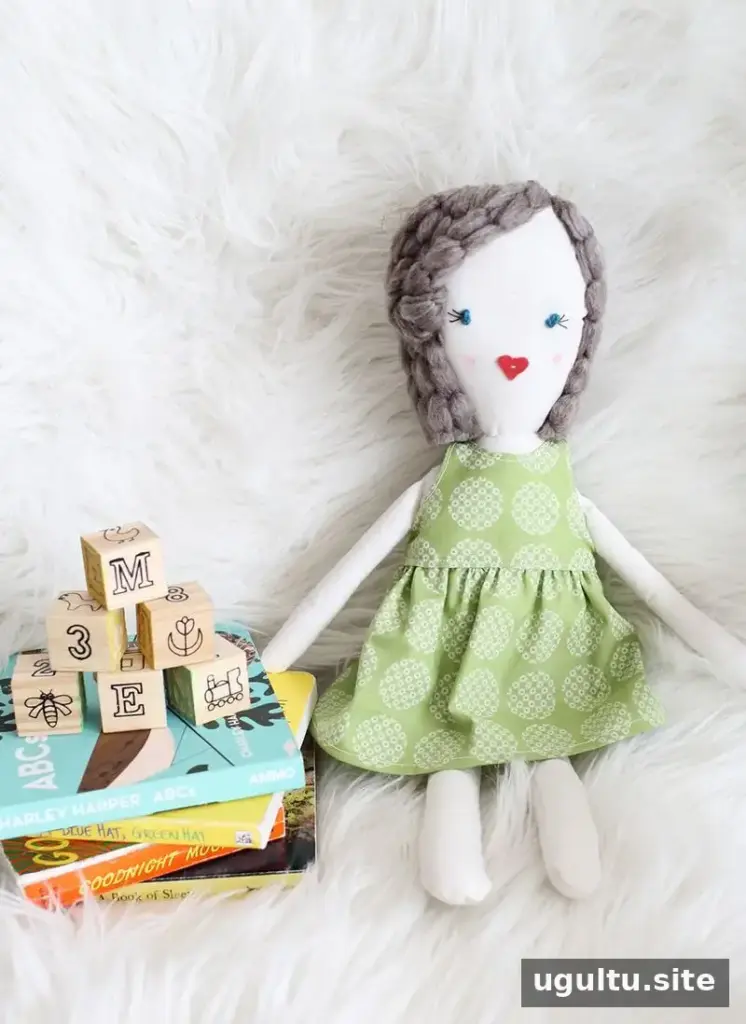
This project has several stages, but completing them one at a time makes the process manageable. You can personalize the finished doll with rosy cheeks made using chalk pastel, a different yarn hairstyle, or extra outfits. Short hair, finer yarn, and simple felt dresses are other options. If the hair is meant to be braided, sew it securely in place rather than relying on glue alone. Check all seams and decorative details before giving the doll to a child. With the pattern pieces prepared and the seams handled carefully, you now know how to make a rag doll and adapt its look to suit your project.
— Katie


