
 admin


Making a simple beaded necklace is a beginner-friendly way to learn the basics of jewelry making. With a few supplies and a little planning, you can create a single-strand design or combine several strands for a bolder look. Choose beads that suit your style, then follow these steps to assemble and finish your necklace.
Supplies for a Simple Beaded Necklace
Gather your materials before you begin so the wire and beads are easy to handle as you work. You will need:
- Beads
- Bead-stringing wire
- Wire cutters
- Needle-nose pliers
- A bead crimper or crimping pliers
- Crimping beads
- Chain
- Jewelry findings, including jump rings and a closure
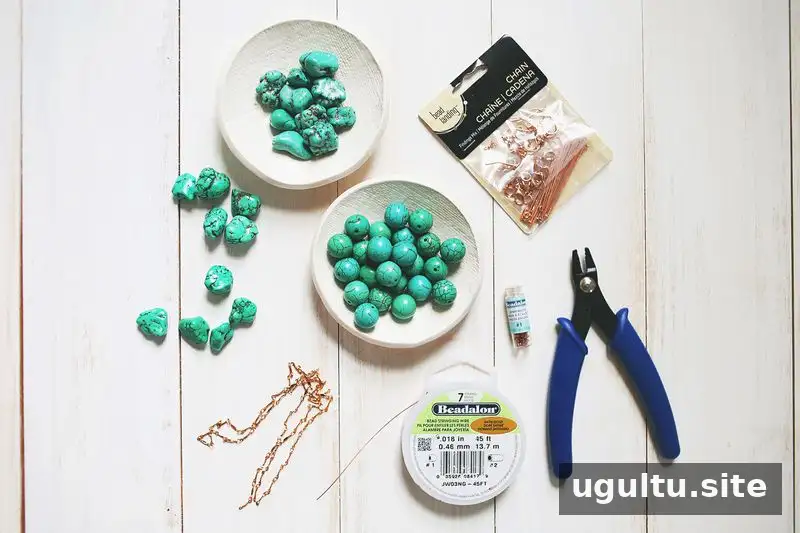
For a first project, keep the design manageable and use beads with holes large enough for your chosen wire. Lay out the beads in the order you want before stringing them; this makes it easier to spot gaps or adjust the pattern.
How to Make a Simple Beaded Necklace
1. String the beads
Cut a length of bead-stringing wire that gives you enough room to attach the findings at both ends. Arrange and string the beads in your chosen order. Make one strand for a classic necklace, or prepare several strands for a layered effect.
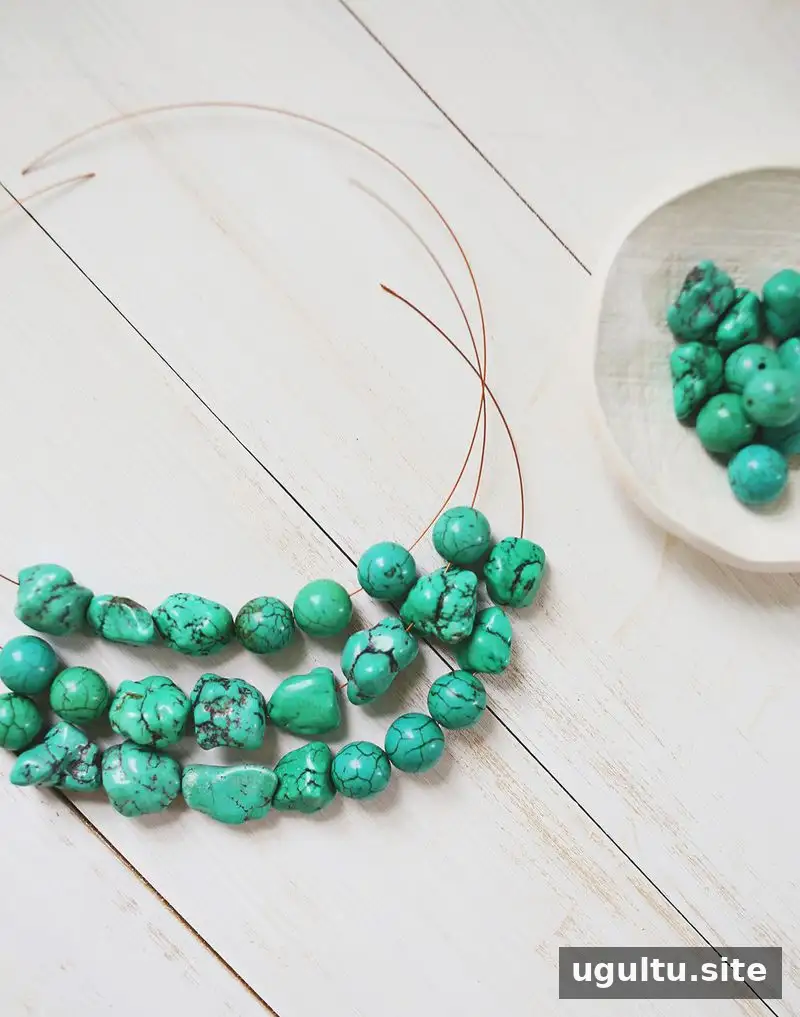
The example uses three strands, but one is a good starting point if you are new to this technique. Before securing anything, hold the design against your neck or measure it with a tape measure to check the approximate finished length.
2. Secure each wire with crimping beads
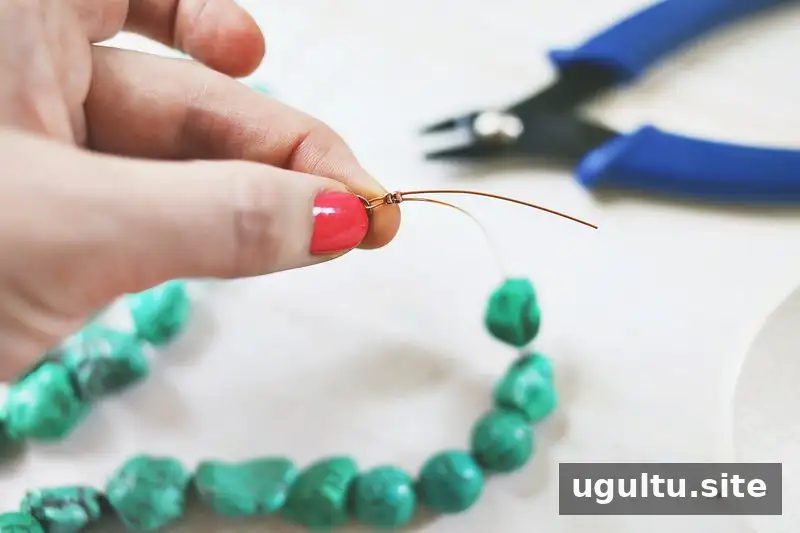
At one end, thread the wire through a crimping bead and a jump ring, then pass the wire back through the crimping bead and nearby beads. Use the crimping tool to flatten the crimp so it holds the wire in place. Trim the excess wire with wire cutters, taking care not to cut the section supporting the beads.
Repeat at the other end of each strand. Attach all strands to a jump ring on each side if you are making a multi-strand necklace. Check that every crimp is secure before moving on; a loose crimp can allow beads to slip off.
3. Add chain and a closure
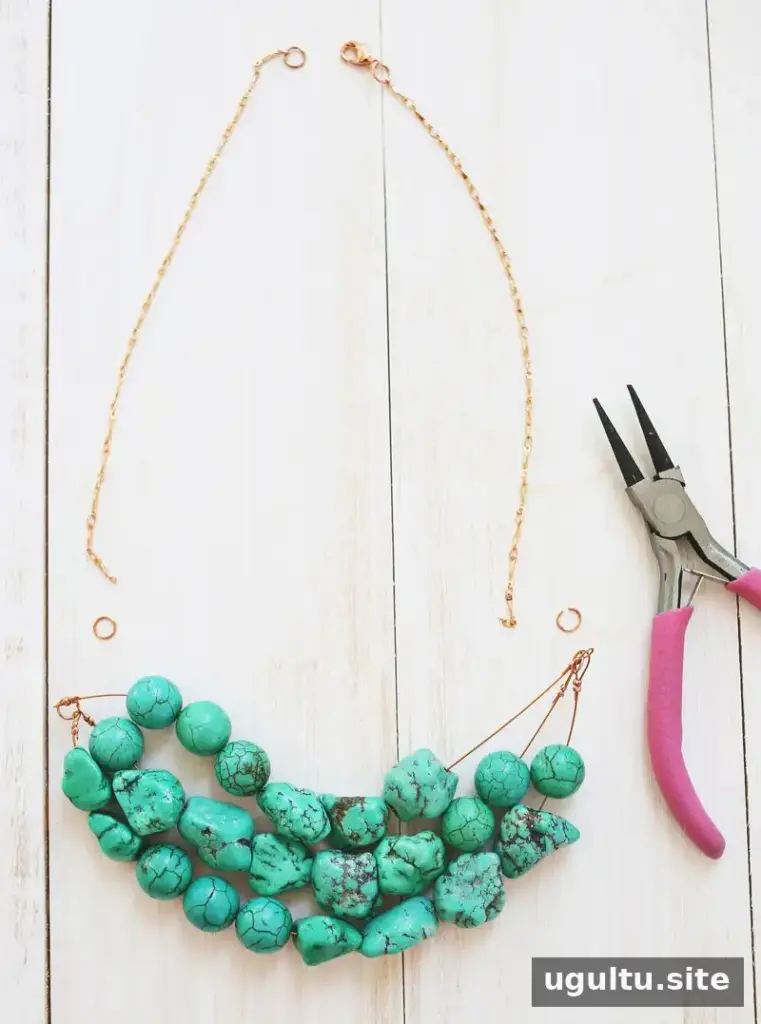
Use needle-nose pliers to attach chain and the chosen closure to the jump rings. Measure the necklace again before completing the connections, allowing for the chain and clasp when checking the final length. Open and close jump rings by twisting the ends sideways rather than pulling them apart, which helps them keep their shape.
Wear and Customize Your Necklace

A beaded necklace can be worn under a collar or paired with a lower neckline. Adjust the bead colors, shapes, and strand count to suit the outfit and the look you want. For a coordinated design, repeat a color or bead shape throughout the strands.

Once you are comfortable with the basic steps, you can experiment with different bead arrangements and necklace lengths. Store finished jewelry flat or hang it carefully to reduce tangling, especially when it has multiple strands. This simple beaded necklace project is a practical introduction to stringing, crimping, and attaching jewelry findings. With the basic tools ready, you can use the same techniques to make other designs. — Elsie


