admin
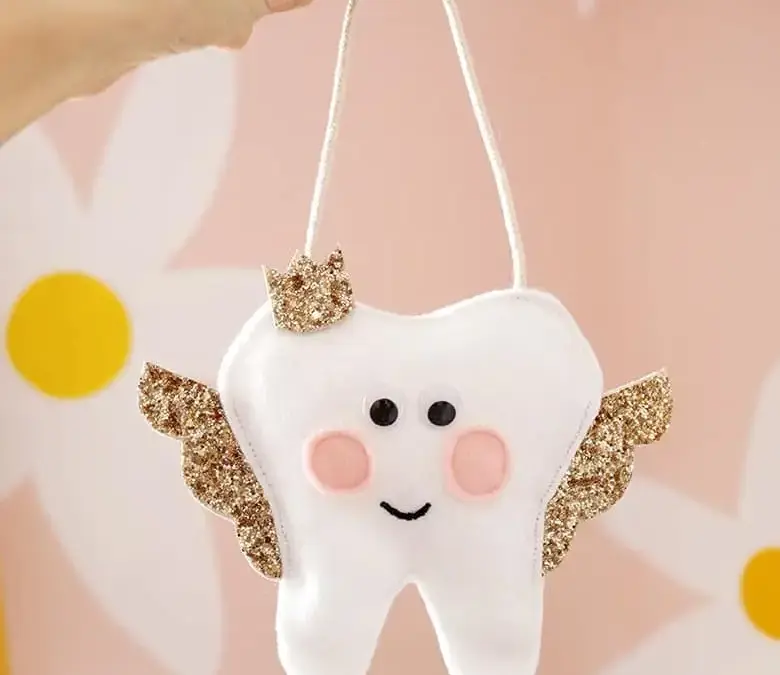
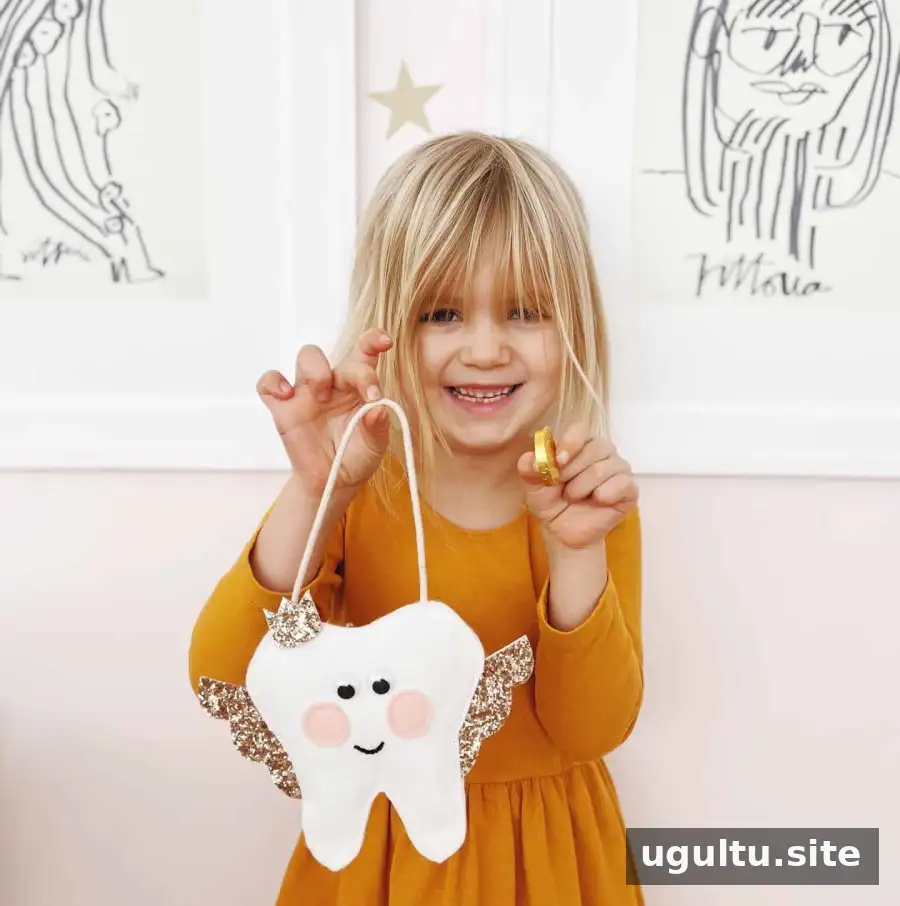
A tooth fairy pillow gives a lost baby tooth a special place to wait—and keeps it from getting misplaced under a regular pillow. This DIY tooth fairy pillow has a small pocket for the tooth or a tiny surprise, and you can make it with either sewing or fabric glue. The project takes about 2 hours and 10 minutes, including drying time, and costs approximately $7.
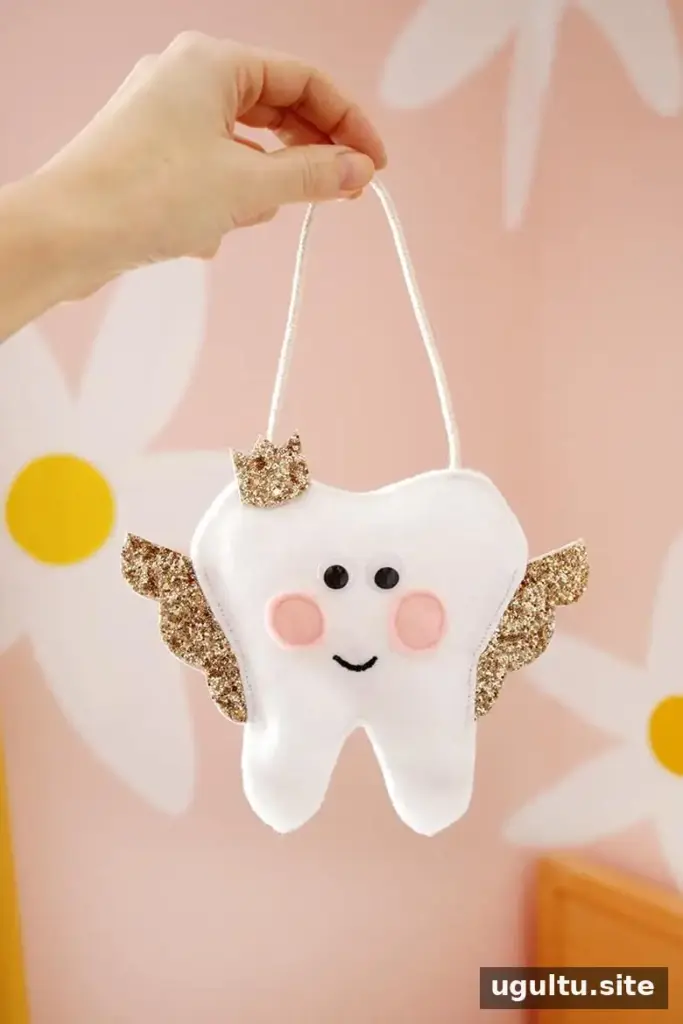
What Is a Tooth Fairy Pillow?
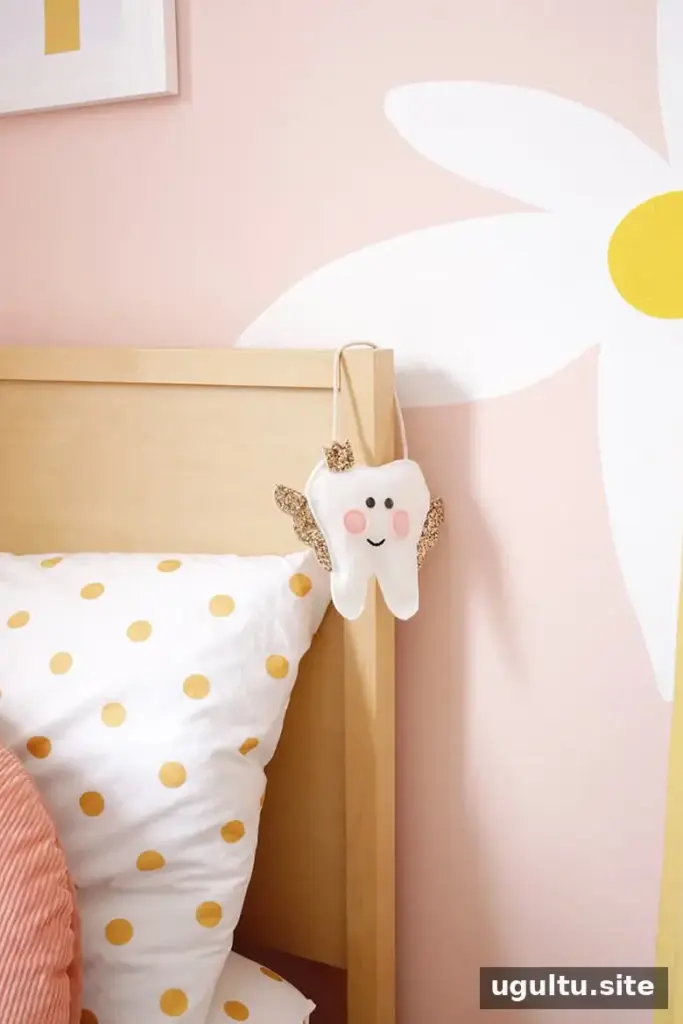
A tooth fairy pillow is a small, often tooth-shaped cushion with a pocket. Children can place a tooth in the pocket before bedtime, making it easier to find and replace with a small gift. It can also be hung from a bedpost or door handle instead of placed beneath a child’s pillow.
Choose the hanging option if you want to avoid reaching beneath the pillow while your child sleeps. If you prefer the traditional approach, make the pillow without a hanger and place it nearby or under the pillow.
What Can You Put in the Pocket?
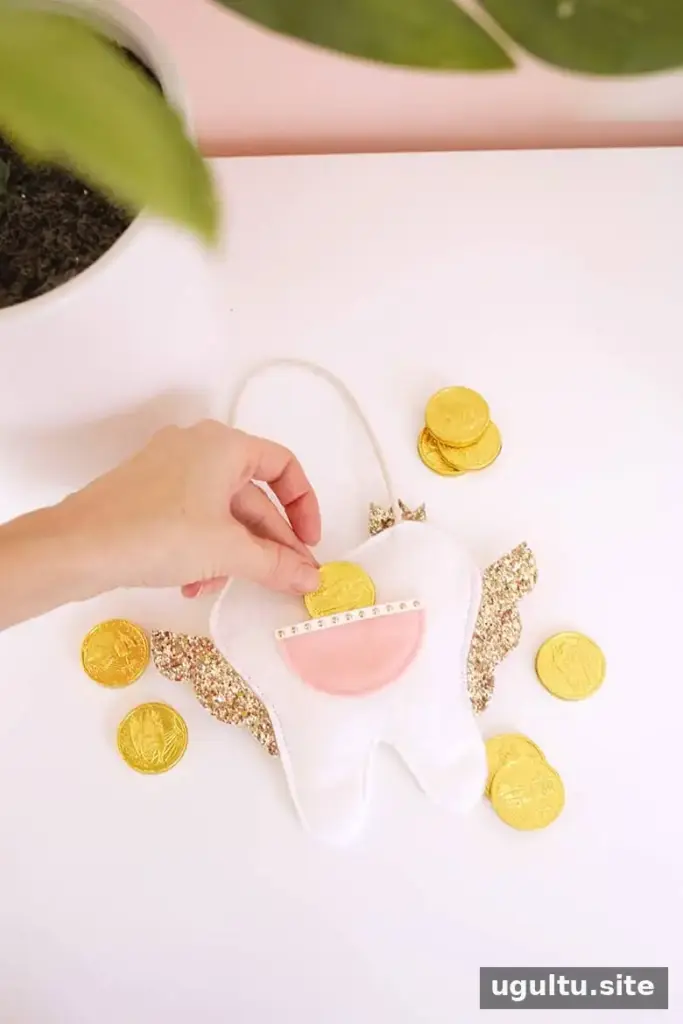
A small coin or folded bill is a classic choice. Stickers, temporary tattoos, or a chocolate coin can also fit, depending on the pocket size. Avoid chocolate if the room may be warm, since it can melt. If you plan to leave a non-food item, check that it fits securely in the pocket.
Families decide for themselves whether the Tooth Fairy visits for every baby tooth and what the gift should be. If you plan to give money each time, choosing an amount in advance can make it easier to budget.
Supplies and Project Details
Cost: $7
Yield: 1 pillow
Prep: 10 minutes
Glue drying: 30 minutes
Crafting time: about 1 hour 30 minutes
Total time: 2 hours 10 minutes
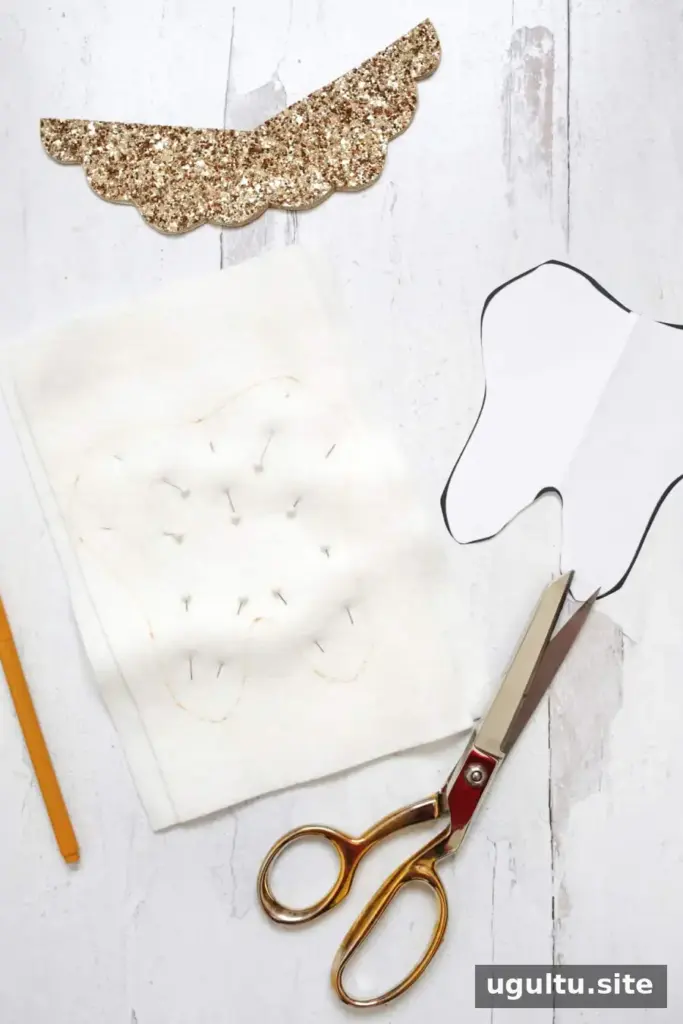
- White felt for the tooth and pink felt for the cheeks and pocket
- Free Tooth Fairy pattern download
- Fabric glue
- Straight pins
- Fabric scissors
- Black embroidery thread, or a paint pen for the no-sew option
- About 10 inches of thin rope or ribbon if you want a hanger
- Batting or pillow stuffing
- Googly eyes
- Glitter fabric for the wings and crown
A sewing machine is optional. Before cutting, print and check the pattern pieces; accurate shapes make it easier to line up the front, back, pocket, wings, and crown.
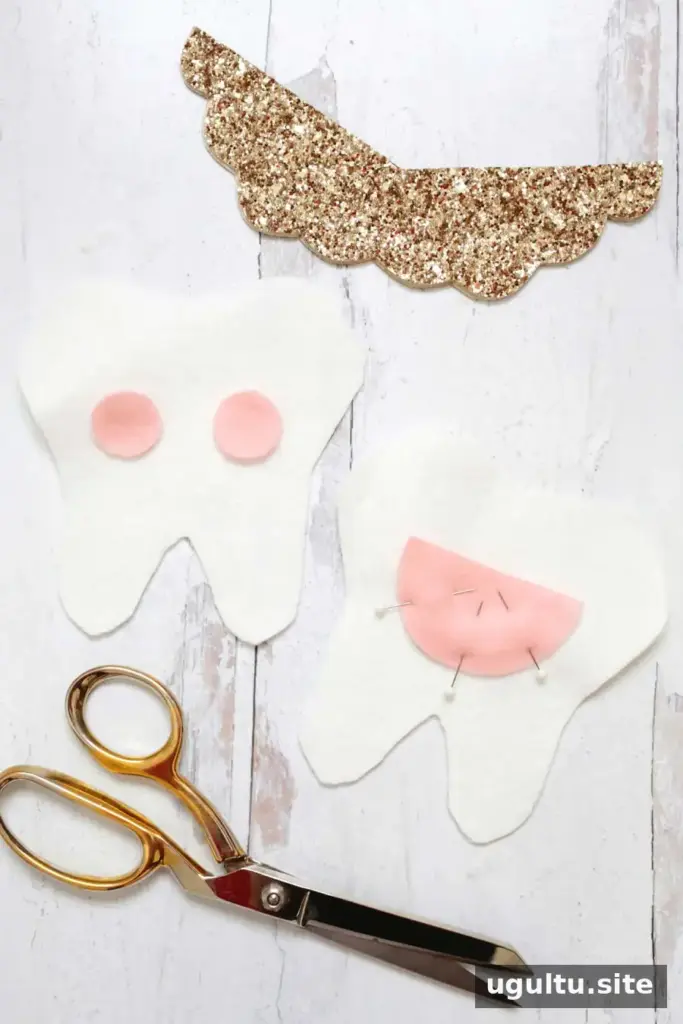
How to Make a Tooth Fairy Pillow
1. Cut the felt and glitter fabric
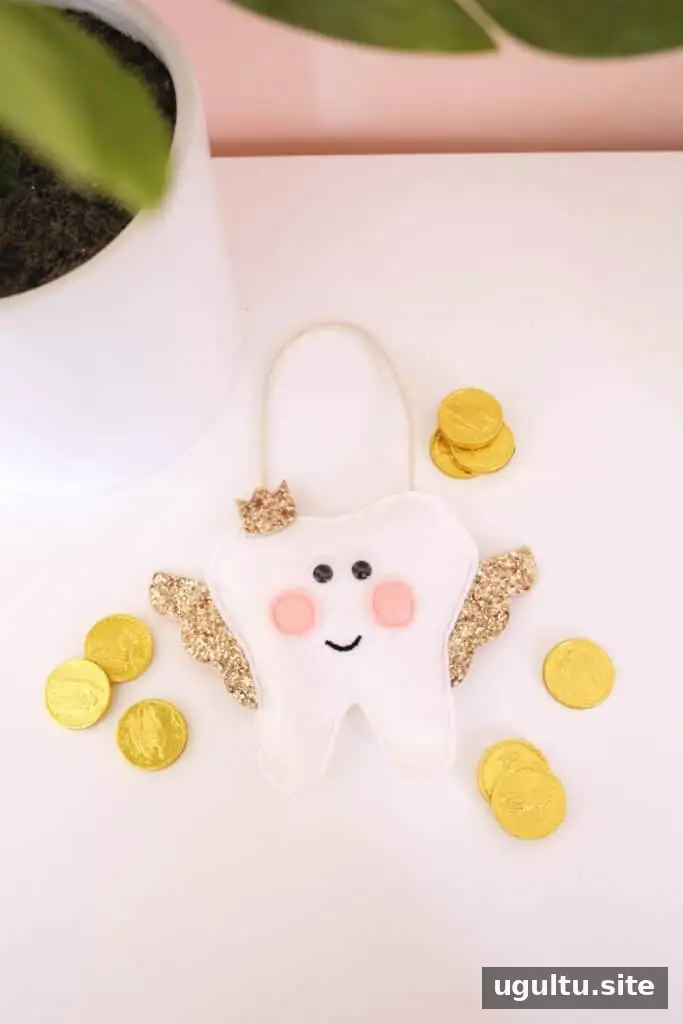
Print the pattern and cut two tooth shapes from white felt. From pink felt, cut two circles for the cheeks and one pocket piece. Cut the wings and crown from glitter fabric. Keep the pattern pieces organized so you can identify the front and back during assembly.
2. Add the face
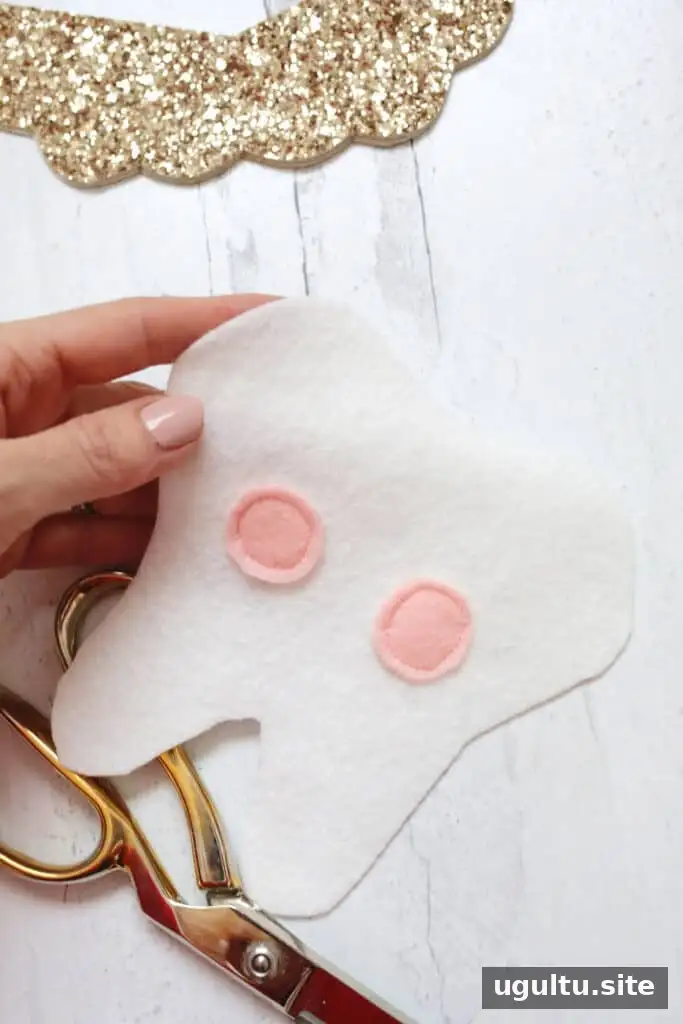
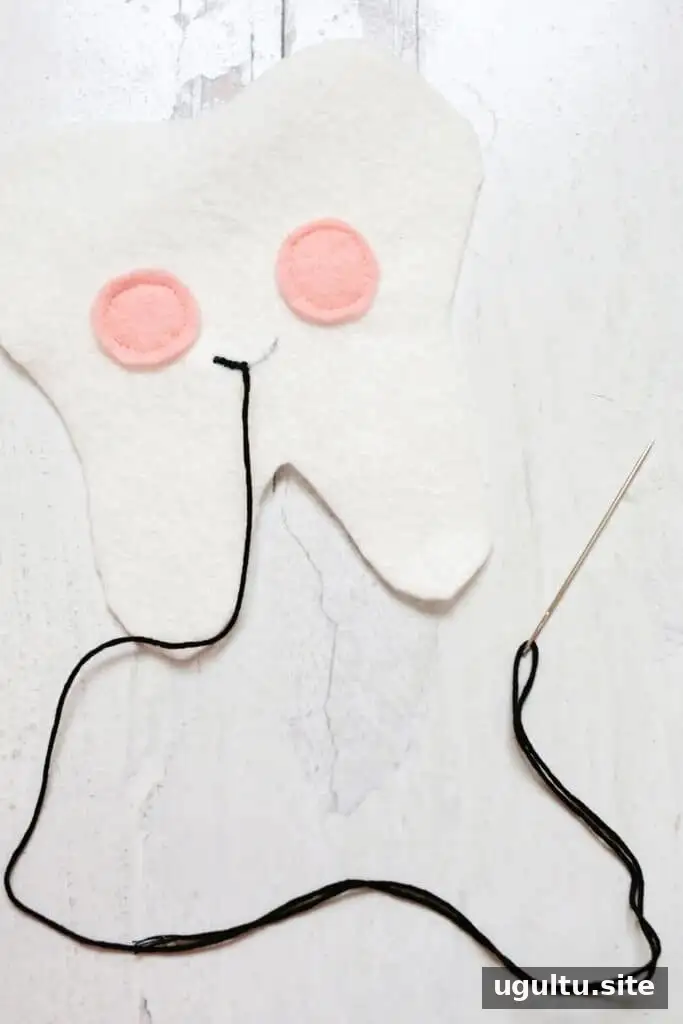
Sew the pink cheeks onto the front tooth shape with pink thread, or attach them with fabric glue for a no-sew finish. To make an embroidered smile, lightly draw a guide with a thin marker, then stitch along it with black embroidery thread. For the no-sew version, draw the smile with a black paint pen and let it dry completely before continuing.
3. Prepare the wings and pocket
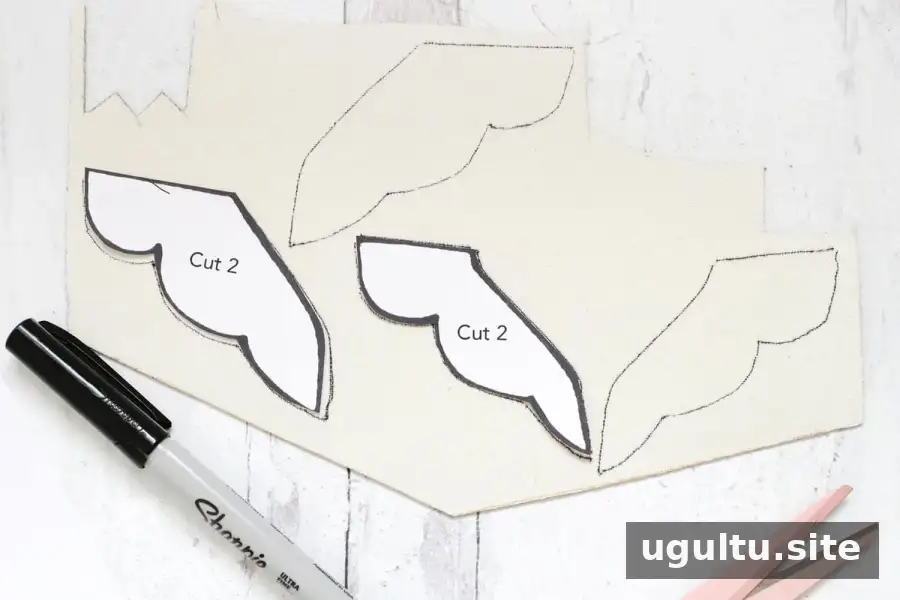
Trace one wing in one direction, then flip the template horizontally to trace its matching piece. This helps the glitter sides face outward when the pieces are joined. Trim the wings to the size you prefer, keeping enough fabric along the inner edge to secure them between the pillow layers.
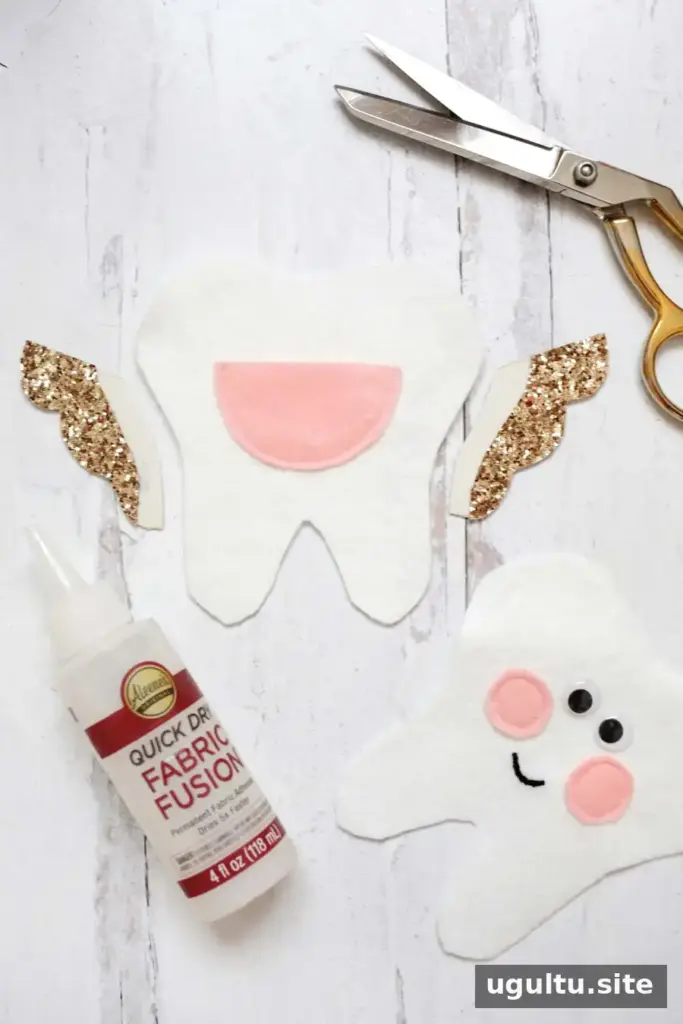
Attach the googly eyes with fabric glue. You can also embroider eyes or use buttons. If the pillow will be accessible to a young child, make sure decorative pieces are firmly attached and supervise use, since small parts can pose a choking risk.
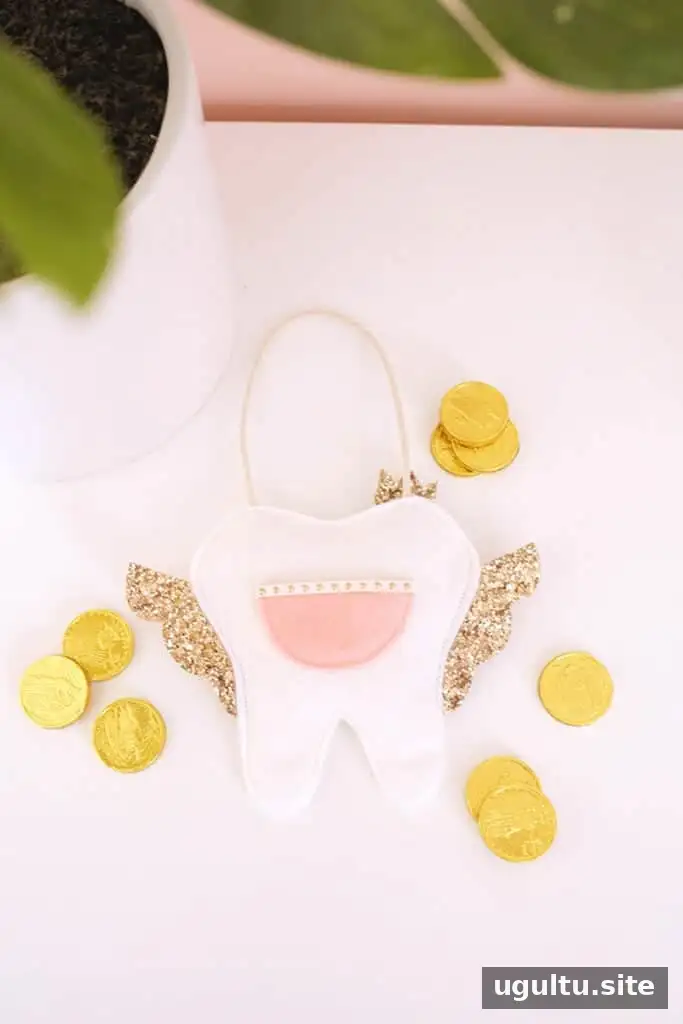
Center the pocket on the back tooth shape. Sew along the curved edge, leaving the top open, or glue along the same edge and leave the opening clear. A narrow ribbon or trim across the pocket opening is an optional decorative detail.
Join each pair of wings with the glitter sides facing outward, using fabric glue along the outer edges. Leave the inner strips available to attach the wings to the pillow.
4. Assemble the pillow
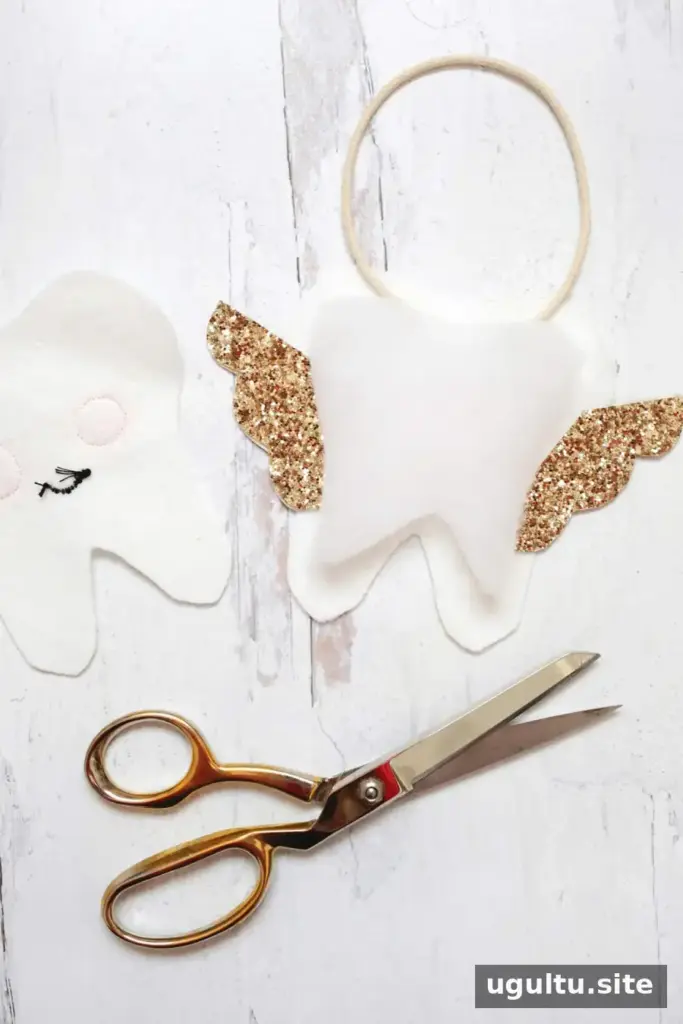
If you want a hanger, cut a piece of ribbon or thin rope about 10 inches long. Position the wings with their exposed inner strips facing up, then apply fabric glue to those strips. Place the back tooth piece over them and let the glue dry so the wings are held in place.
Turn the back piece and wings face down. Add a small amount of batting or pillow stuffing to the center. Several layers of batting cut about 1 inch smaller than the tooth shape can help keep the filling away from the edges.
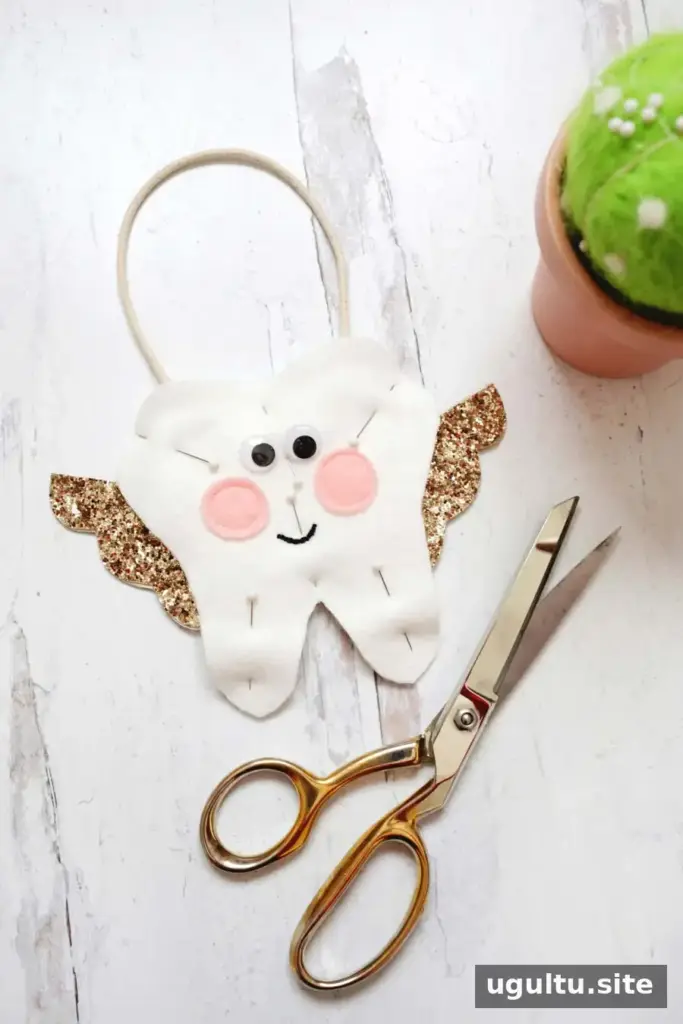
Place the decorated front piece on top, face side up. For a hanging pillow, tuck both ends of the ribbon or rope between the front and back layers, with the loop extending beyond the top edge. Use straight pins to keep the layers aligned while you work.
5. Close the edges and add the crown
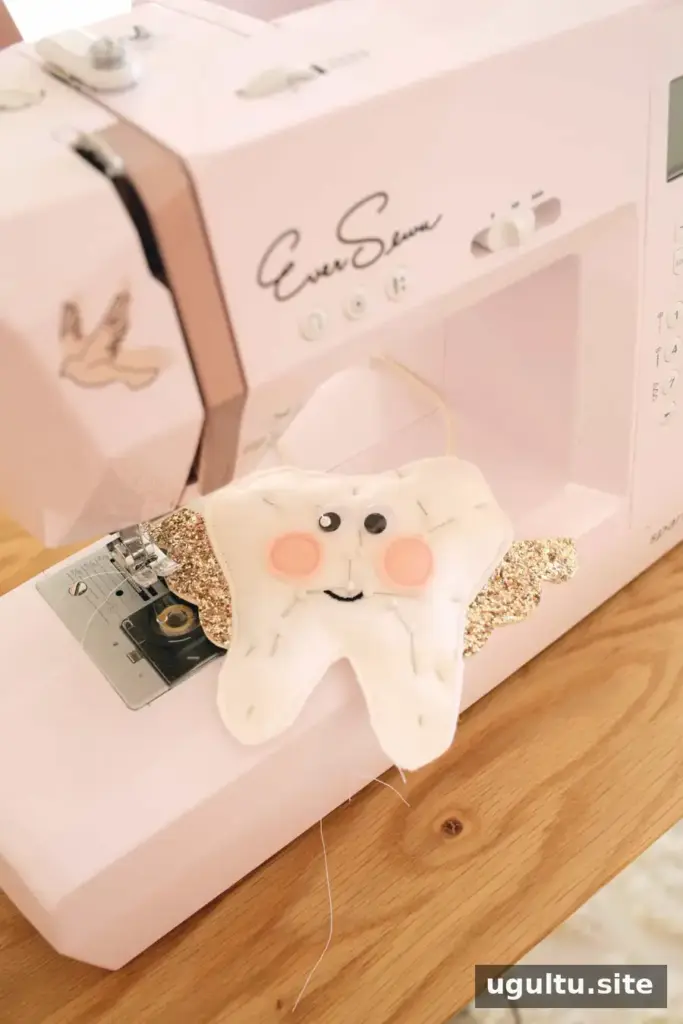
For the sewn version, stitch around the tooth with white thread and a 1/4-inch seam allowance. For a no-sew finish, apply fabric glue between the front and back pieces around the edge. Keep glue out of the pocket opening, and use pins to prevent the layers from shifting while the glue dries.
Glue the two crown pieces together with their glitter sides facing outward, then attach the crown to the pillow. Let all glued areas dry fully before putting a tooth or gift in the pocket.
Using and Personalizing Your Pillow
Once the glue or stitching is secure, place the lost tooth in the pocket before bedtime. Put the pillow under the child’s pillow or hang it somewhere easy to reach. You can personalize the design with different felt colors or decorative details, while keeping the pocket opening large enough for a tooth and a small replacement gift.
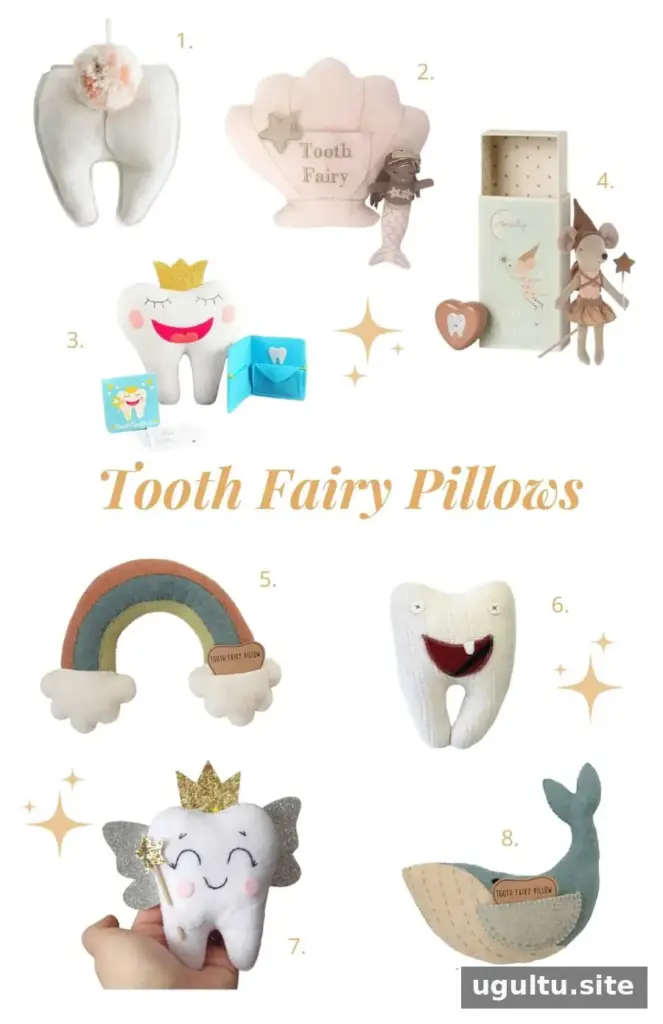
Small tooth boxes can be used to save baby teeth as keepsakes, and a simple printable receipt can make the exchange feel extra special. Keep any keepsakes and small decorations stored safely when they are not in use.
Tooth Fairy Pillow Project Summary
This tooth fairy pillow makes a practical place for a lost tooth and a small surprise. The project yields one pillow, costs approximately $7, and takes about 2 hours and 10 minutes from preparation through drying. Choose the sewn method for stitched edges or the no-sew method for an option that relies on fabric glue.
Designed by Laura.
More DIY Projects for Kids
- Toddler activity center
- DIY dollhouse
- Mid-century modern play kitchen makeover
- DIY mid-century play set makeover