
 admin
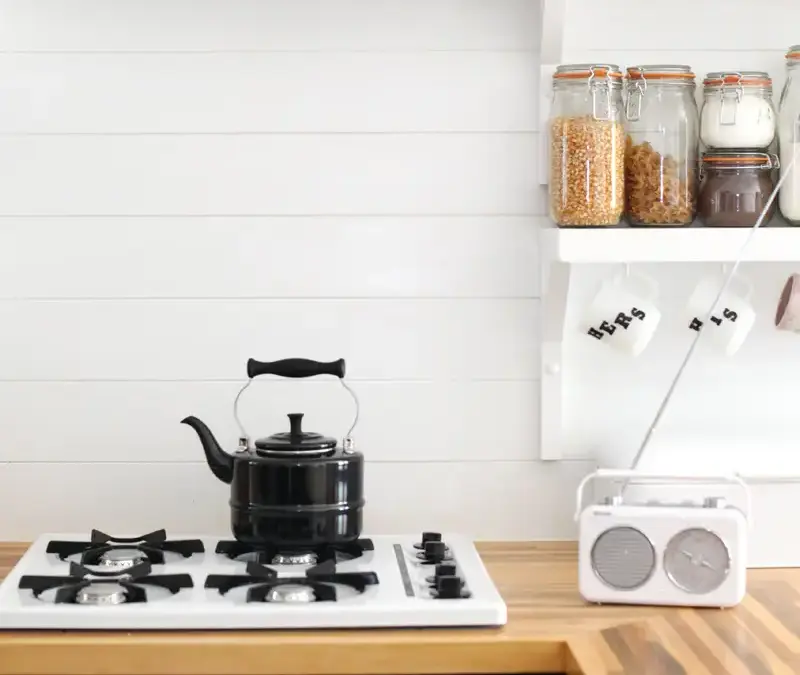
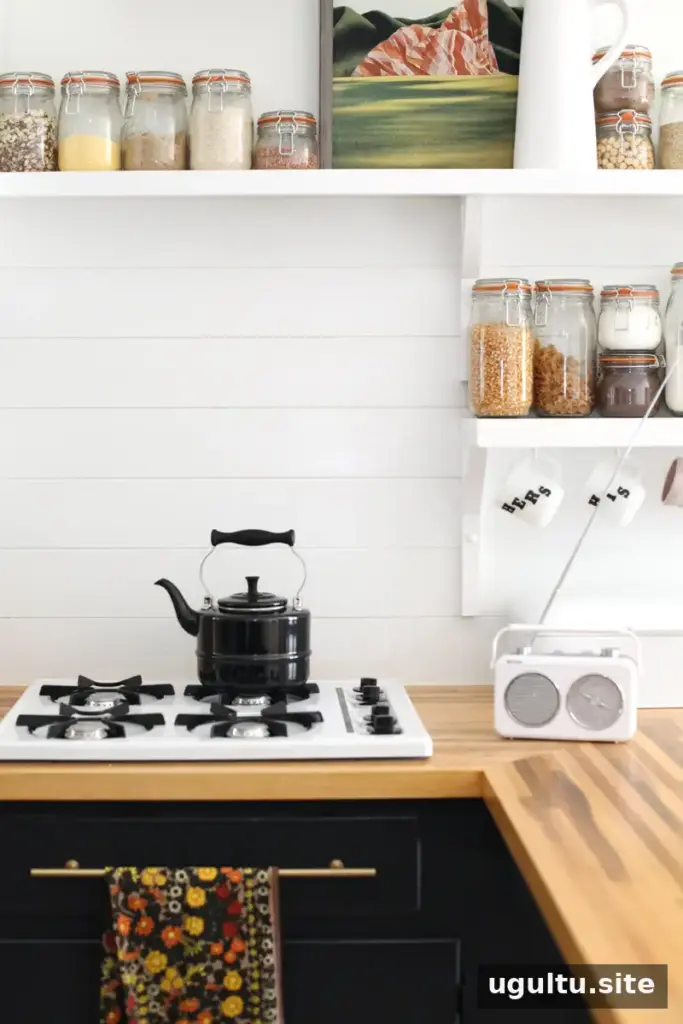
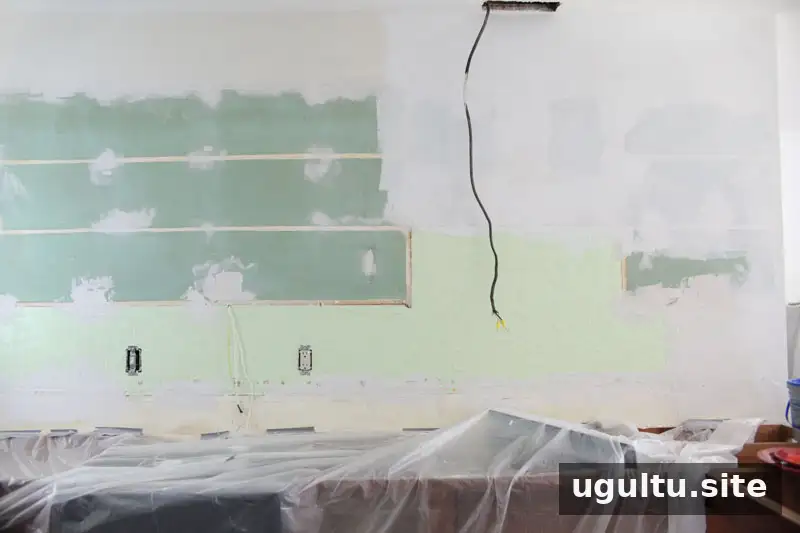
A textured wall behind the stove can be difficult to smooth and costly to replace. An inexpensive plank backsplash made from lauan plywood offers one way to cover an uneven surface and add a simple, rustic look to a kitchen. This project uses painted horizontal boards rather than tile, but careful planning is important—especially around outlets, heat, and ventilation.
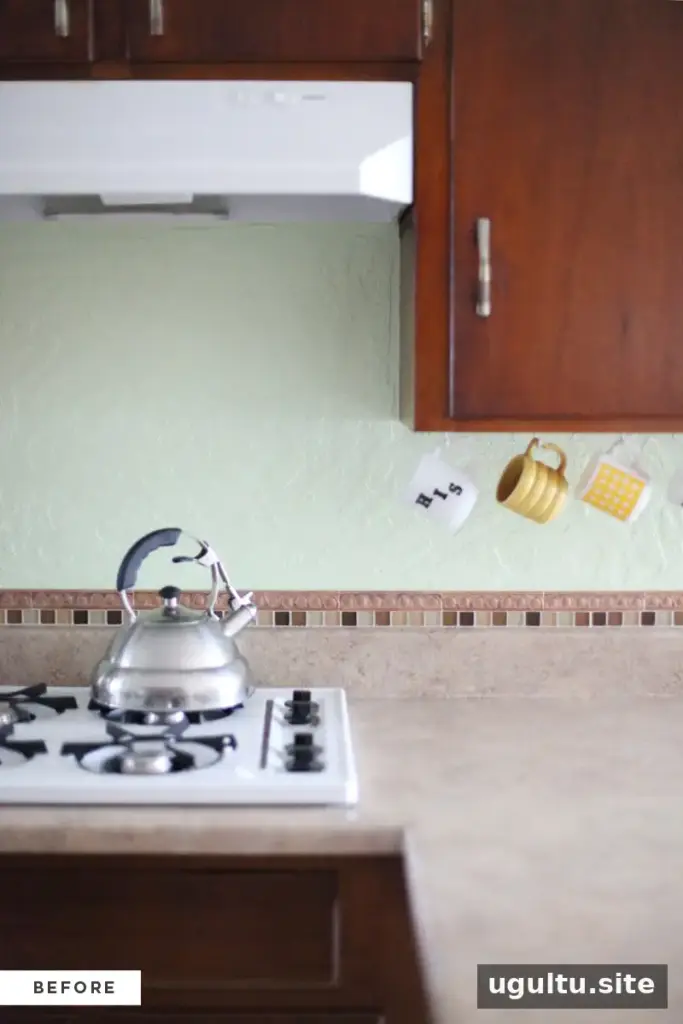
Why choose an inexpensive plank backsplash?
Subway tile was one possible finish, but preparing the wall and installing tile would have required more work and expense. Wider horizontal planks provided a different look without the awkward seam that can result from joining sheets of ready-made wainscoting. Making the boards from plywood also allowed their width and layout to be chosen for the wall.
For a kitchen project, plan the layout before cutting. Measure the backsplash area, mark the locations of cabinets, shelves, outlets, and switches, and check that the selected material is suitable for the location.
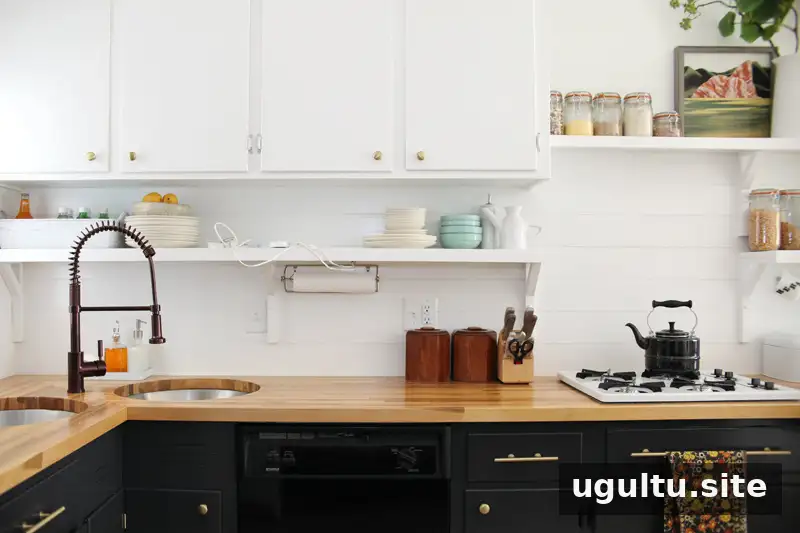
Materials and estimated cost
Lauan plywood was selected because it is thinner than 1/4-inch plywood, accepts paint, and is relatively inexpensive. A 4-by-8-foot sheet cost about $15 at hardware stores in northeast Ohio. The project used approximately one and a half sheets.
- Lauan plywood: two sheets at $15 each = $30; about one and a half sheets were used
- Construction adhesive: $2
- Caulk: $2
- Primer: $10 per quart; leftover primer was used
- Paint: $15 per quart; leftover paint was used
- Finishing nails: $2
The listed material total was $61. The out-of-pocket cost was $36 when the primer and paint did not need to be purchased. Prices vary by location, and the estimate does not account for tools or any extra supplies.
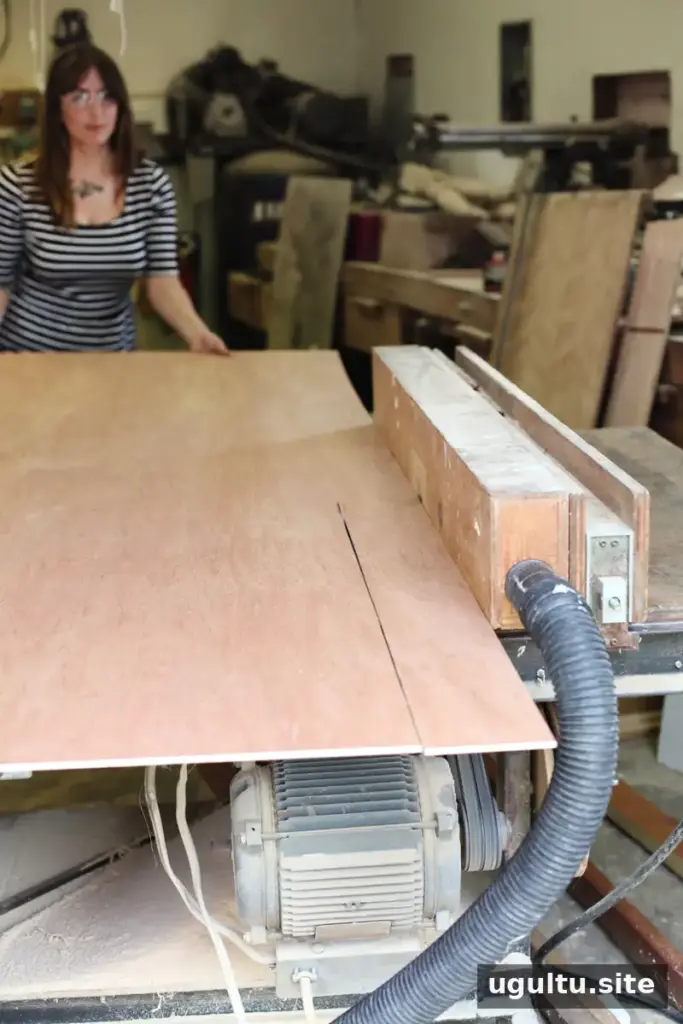
Cut the plywood into planks safely
The plywood was cut into 4 1/2-inch-wide strips using a table saw. Lauan is flexible, so it can bend while being cut. Do not copy an unsafe method that requires putting a hand close to a spinning blade. Support the sheet properly, use appropriate push equipment, and follow the saw manufacturer’s instructions. If the sheet cannot be controlled safely, ask an experienced operator or have the store cut it.
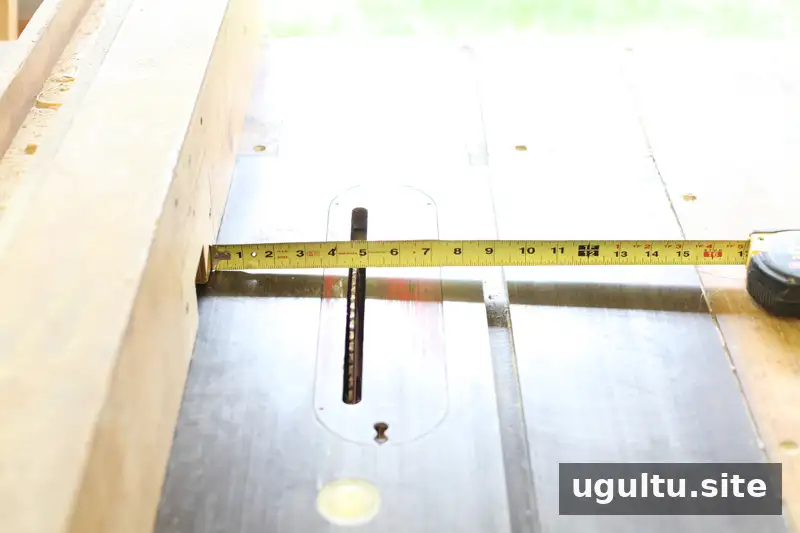
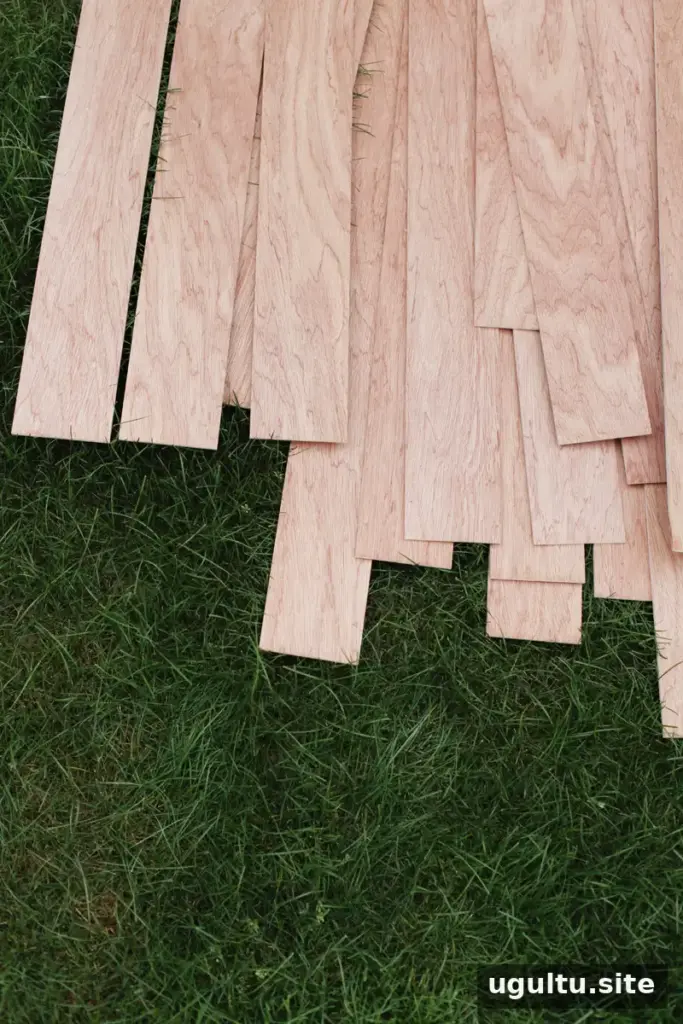
After cutting, lightly sand the edges of the planks. Sort the boards and plan a staggered arrangement before attaching them so that end joints do not all line up.
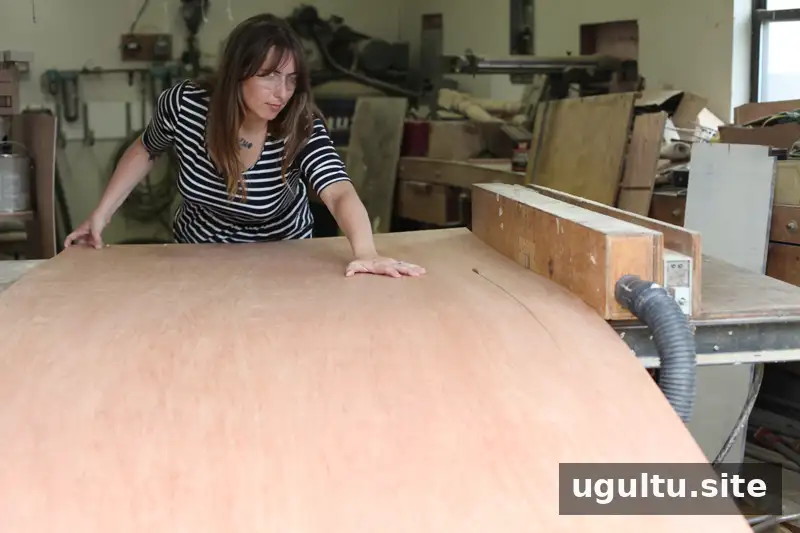
Install and fit the planks
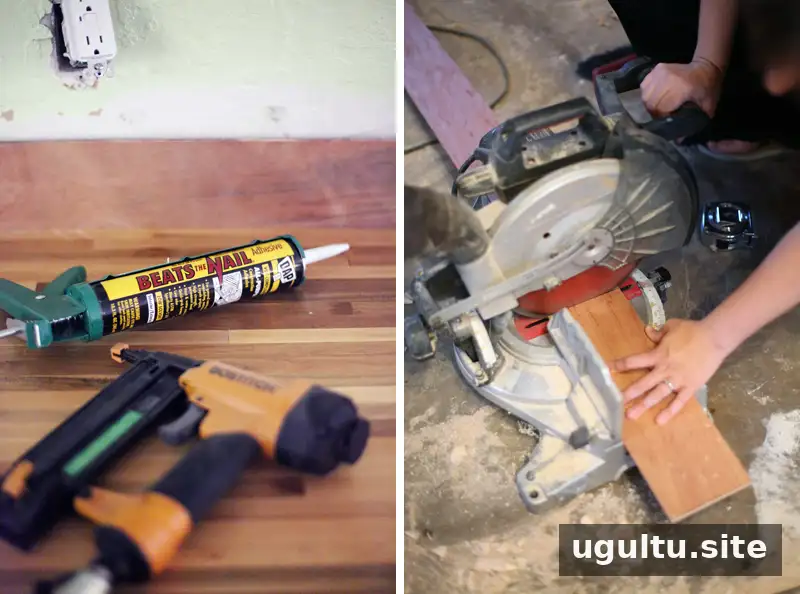
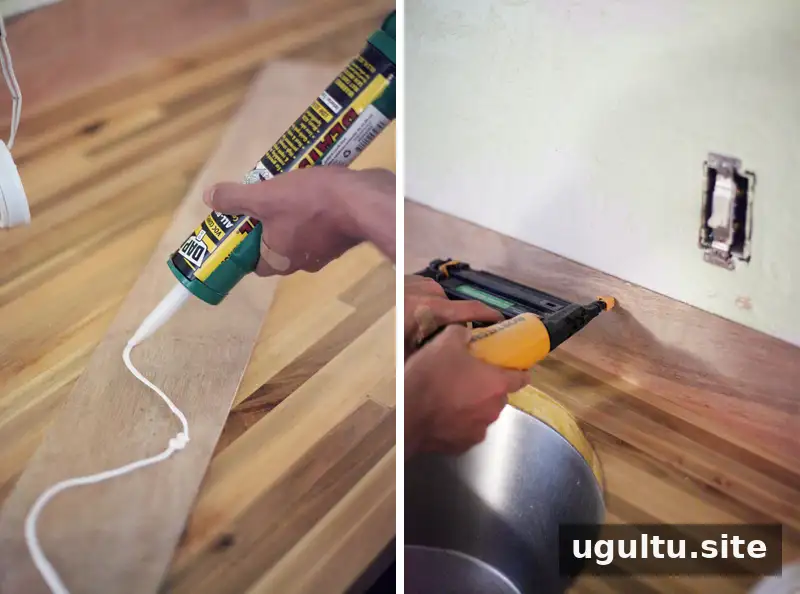
Construction adhesive was applied to the back of each plank, and finishing nails secured the boards to the wall. A nail gun was used in this project; a hammer and nails can also be used. Some planks were shortened with a miter saw to create variation, particularly around the window.
Measure carefully around outlets and switches, then cut the necessary openings with a suitable saw. Turn off power to the circuit before working around electrical fittings, and consult a qualified electrician if you are unsure how to proceed. Check local requirements and appliance instructions before installing plywood near a stove: wood is combustible, and required clearances depend on the appliance and installation.
Prime, paint, and caulk the joints
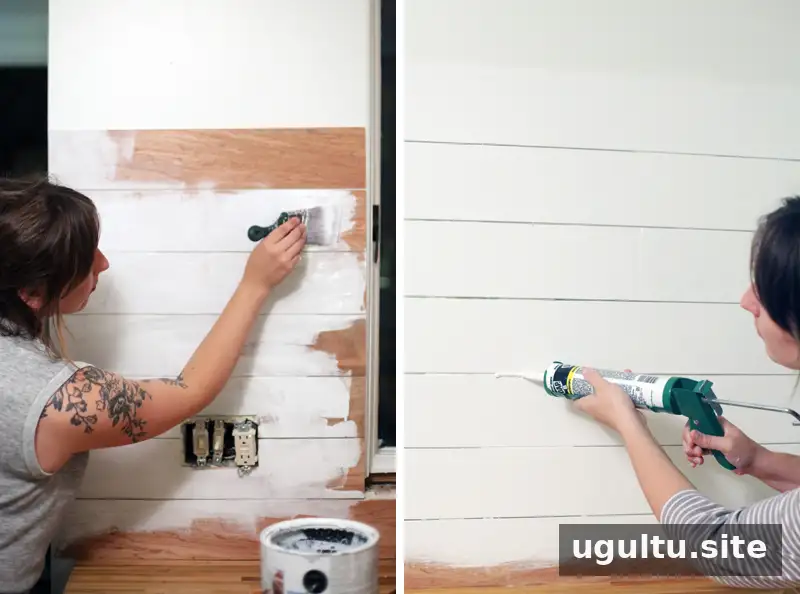
The boards received two coats of primer followed by two coats of semi-gloss white paint. Semi-gloss was chosen because its finish is easier to wipe clean than a matte surface. Allow each coat to dry according to the product directions rather than rushing the process.
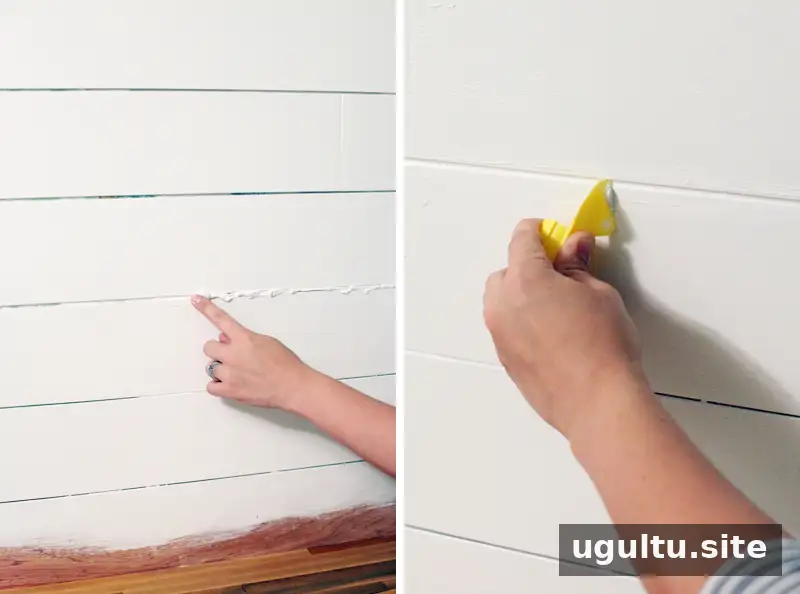
About 1/8 inch was left between planks. The gaps were later filled with waterproof caulk to reduce places where food or debris could collect and to cover the unpainted wall behind the boards. For a neater finish, consider using paintable caulk and applying it before the final paint coat. Alternatively, mask the board faces to limit residue. Caulk can affect the appearance of the painted surface, so test the finish in an inconspicuous area first.
Apply caulk to a manageable section at a time, smooth it into the joint, and remove excess with a caulking tool. Follow the caulk label for cleanup and curing instructions; avoid wiping it with a damp cloth if the product guidance warns that this may leave residue or affect the seal.
Finishing touches and maintenance
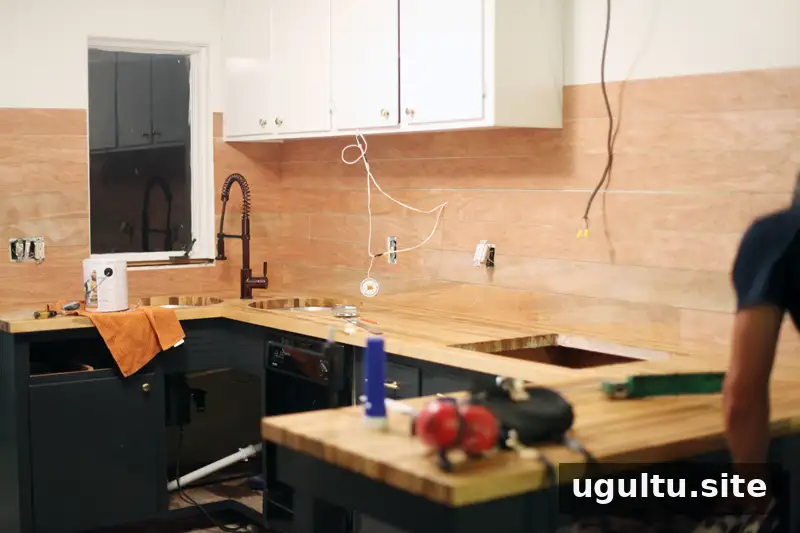
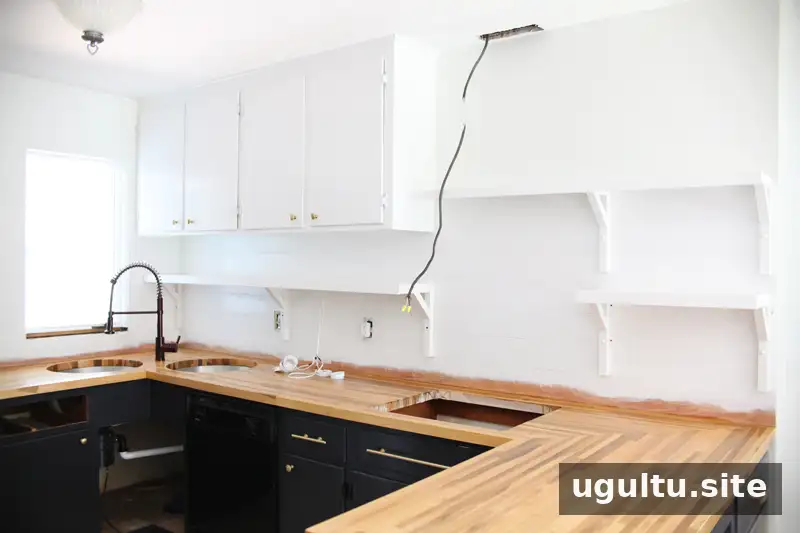
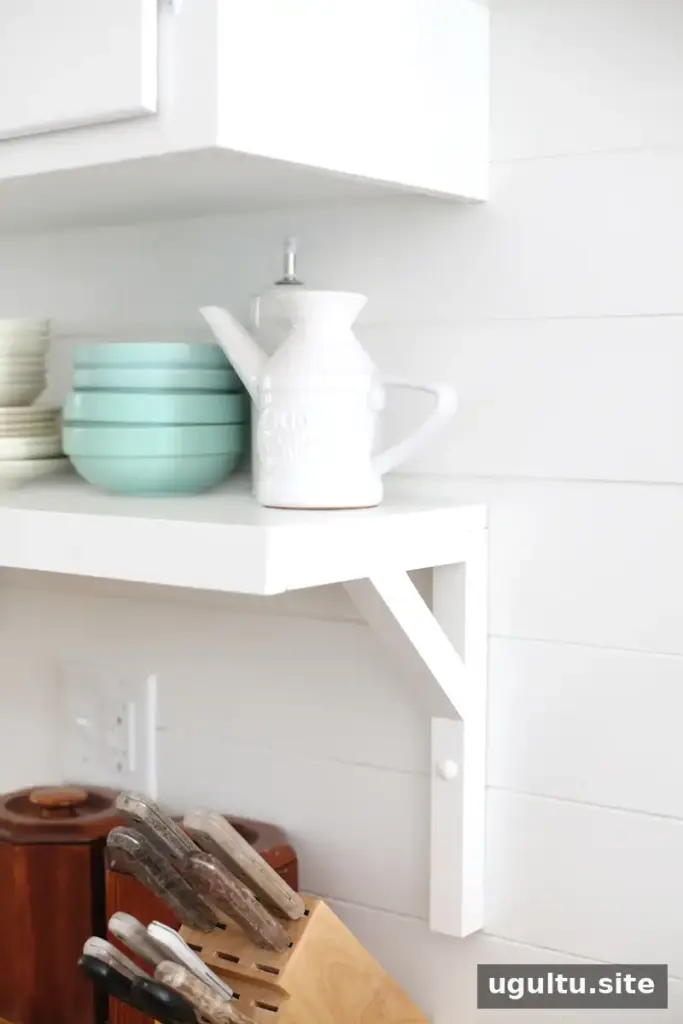
After the backsplash was installed, shelves were added. Caulk can also help tidy small gaps around cabinet edges or shelf brackets, provided the surfaces and product are compatible.
If nail holes need repair, sand the area, apply wood filler, let it dry, and sand again. Prime and paint the repaired spots to match. Keeping a small, clearly labeled container of leftover paint in a cupboard can make future touch-ups easier.
Ventilation and final considerations
The range hood was removed, but the kitchen was not left without an exhaust system. The plan was to install a ceiling exhaust fan, positioned farther out from the wall above the stove to draw steam away from the backsplash. Ventilation work should be planned to meet applicable requirements; this project description does not provide instructions for changing an exhaust system. Have installation assessed and completed by a qualified professional when needed.
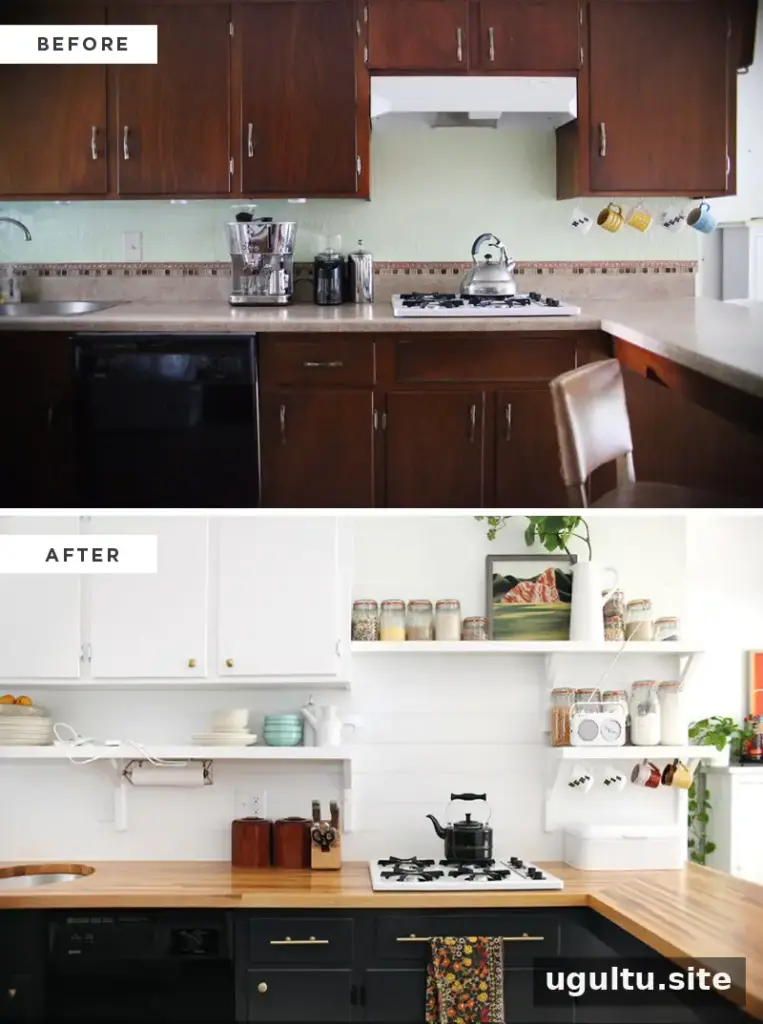
An inexpensive plank backsplash can cover a textured wall and create a more finished kitchen surface, with the example materials totaling $61. Measure carefully, use safe cutting practices, choose suitable finishes, and verify heat clearances and ventilation requirements before beginning.
—Mandi


